If your wrist starts complaining every time you bench, press, curl, plank, or even pick up your water bottle like it suddenly weighs as much as a small refrigerator, you are not alone. Wrist pain from lifting is incredibly common because the wrist is a small joint doing a big job. It has to handle force, stabilize the hand, transfer load from the forearm, and still somehow stay calm while you insist on “just one more set.”
The good news is that many cases of wrist pain from lifting improve with smart training changes, short-term symptom relief, and a gradual rebuild of strength and mobility. The less-good news is that wrists are not easily bribed. If you keep loading painful positions, your body tends to file a formal complaint in the form of swelling, stiffness, weakness, or that sharp little zing that makes you re-rack the bar immediately.
This guide walks through 12 practical steps to relieve wrist pain from lifting, protect your joint, and get you back to training without pretending pain is “just part of the grind.” It also covers common causes, examples from the gym, and the signs that mean it is time to stop self-managing and see a medical professional.
Why Wrist Pain Happens After Lifting
Wrist pain from weightlifting usually comes from one of a few culprits. Sometimes it is simple overuse. Sometimes it is poor wrist position under load. Sometimes it is a minor sprain, irritated tendons, or a nerve getting cranky. And sometimes the problem is not even the lift itself, but everything around it: too much volume, too little recovery, stiff shoulders, weak forearms, lots of keyboard time, or a sudden jump in intensity because you felt unusually heroic on Monday.
Common patterns include pain during pressing movements, discomfort on the thumb side of the wrist, pain on the pinky side during pushing or pulling, stiffness after heavy curls, or numbness and tingling that show up at night. Not every sore wrist is the same, which is why the smartest approach is not “do random stretches from the internet and hope for the best.” It is to calm the irritation, clean up the mechanics, and rebuild carefully.
12 Steps to Relieve Wrist Pain from Lifting
Step 1: Stop the Specific Lift That Triggers the Pain
The first move is not glamorous, but it works: stop doing the exact movement that lights your wrist up. If barbell bench press hurts, do not keep benching to “test it” every day like a scientist with terrible judgment. Pain during a lift is often your body’s way of saying that the tissue is irritated or overloaded.
This does not always mean full rest from all training. It means stop the specific aggravating pattern and switch to pain-limited alternatives. You may still be able to train legs, core, cardio, or upper-body movements that keep the wrist in a more comfortable position.
Step 2: Use Ice, Compression, and Elevation Early
If the pain is recent, especially after a bad rep, awkward rack position, or too much volume in one session, treat it like an irritated sports injury. Ice can help calm pain and swelling. A light compression wrap or elastic bandage may help, and elevating the wrist when you are resting can reduce swelling too.
A simple routine is to apply a wrapped ice pack for up to 20 minutes at a time, several times a day, especially during the first 24 to 72 hours. Do not put ice directly on the skin, and do not overdo compression to the point your hand feels numb, cold, or discolored. Your goal is “supported and less angry,” not “mummified.”
Step 3: Consider a Short-Term Wrist Brace or Splint
If daily movement hurts, a short-term wrist brace or splint can reduce stress on the joint and let irritated tissues settle down. This can be especially helpful if you have pain with basic tasks like typing, holding a pan, opening jars, or lifting your backpack. A brace can also be useful at night if your wrist keeps folding into awkward positions while you sleep.
That said, do not turn the brace into a long-term substitute for rehab. A splint is support, not magic. If you rely on it forever while continuing sloppy mechanics, the wrist will eventually send another complaint letter.
Step 4: Fix Your Wrist Position During Lifts
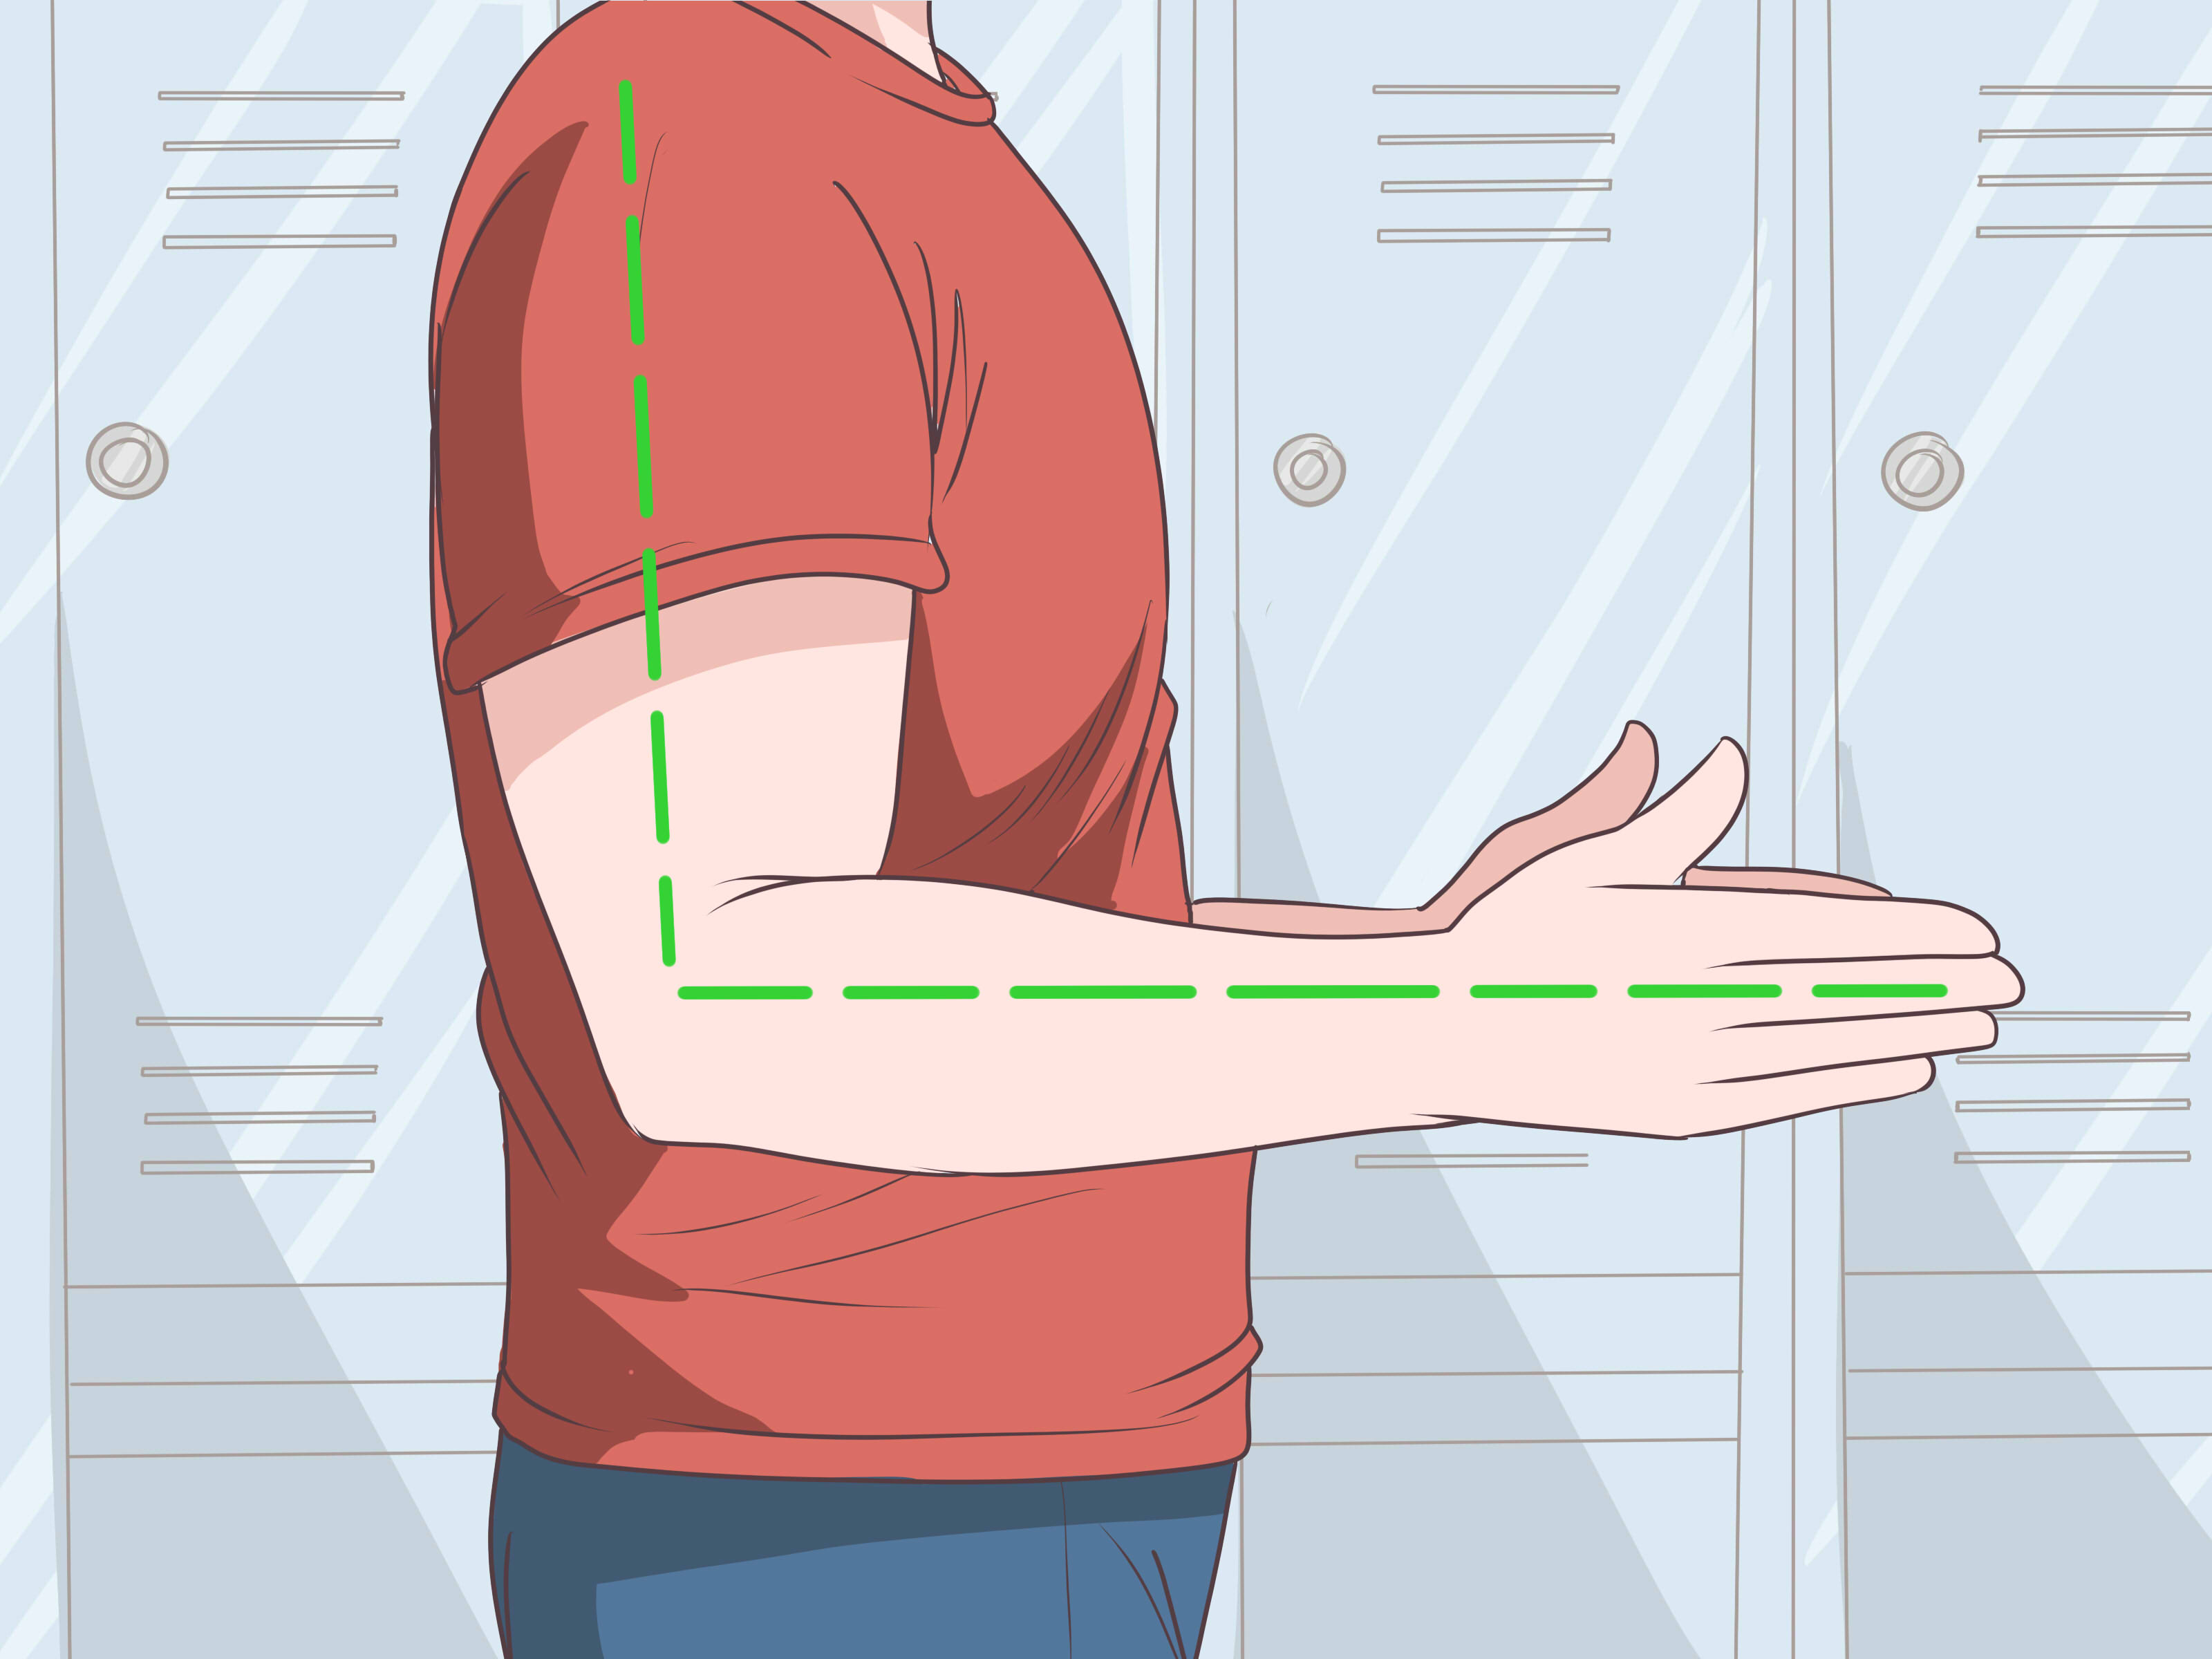
One of the biggest reasons lifters develop wrist pain is repeated loading in a bent-back position. In many exercises, the wrist should stay closer to a neutral wrist position, meaning it is stacked more cleanly with the forearm instead of dramatically extended or twisted.
Examples:
- Bench press: Let the bar sit lower in the palm so the wrist stays stacked over the forearm instead of folded backward.
- Overhead press: Keep the knuckles up and the wrist from collapsing behind the bar.
- Push-ups or burpees: Use handles, dumbbells, parallettes, or even fists if a flat hand position forces painful wrist extension.
- Curls: Try an EZ-bar or dumbbells if a straight bar aggravates the wrist.
If your wrist position looks like it is auditioning for a pretzel commercial, your setup probably needs work.
Step 5: Reduce Load, Volume, and Frequency for a While
Sometimes the problem is not one dramatic injury. It is death by a thousand reps. Too much pressing, too many push-ups, too many front rack holds, too much gripping, too many back-to-back upper-body days, or a sudden jump in intensity can all irritate the wrist.
Temporarily dial back the training load. Reduce the weight, shorten the range if needed, trim volume, and add more rest days between aggravating sessions. Think of this as a deload for your pride and your wrist. Your muscles may want war; your connective tissues want diplomacy.
Step 6: Swap Painful Exercises for Wrist-Friendlier Versions
You do not need to disappear from the gym while your wrist calms down. You just need smarter substitutions. Good options depend on the lift that hurts, but common swaps include:
- Barbell bench press to dumbbell floor press with a neutral grip
- Traditional push-ups to incline push-ups on handles
- Front squats to safety-bar squats or crossed-arm front squats
- Straight-bar curls to hammer curls or EZ-bar curls
- Heavy cleans or snatches to lower-load technique work, or a temporary break from Olympic lifting
The rule is simple: train around the pain, not through it. A good modification lets you keep fitness without poking the irritated area every session.
Step 7: Warm Up Your Wrists, Forearms, and Shoulders Properly
Jumping straight into heavy pressing with cold wrists is a little like starting a road trip by flooring the gas pedal in your driveway. A better warm-up improves blood flow, wakes up the forearms, and prepares the surrounding joints that influence wrist position.
Try a short sequence before lifting:
- Gentle wrist circles
- Open-and-close fist drills
- Light forearm flexion and extension movements
- Band pull-aparts or rows to wake up the upper back
- A few lighter warm-up sets before your working sets
Often, lifters focus only on the wrist itself and ignore shoulder stiffness or poor scapular control, both of which can change how force travels down the arm during pressing and pulling.
Step 8: Restore Gentle Range of Motion
Once the sharp irritation settles, gentle mobility can help prevent the wrist from getting stiff. The key word here is gentle. You are trying to nudge the joint toward normal movement, not force it into a dramatic stretch like you are trying to impress a yoga mat.
Use slow, pain-limited motion in flexion, extension, and rotation. Mild stretching on the forearm side can also help when the tissues feel tight, but stop if the movement creates sharp pain, tingling, or a feeling of instability. Fresh injuries are not the time to go hunting for “deep stretch” sensations.
Step 9: Rebuild Strength in the Forearms and Grip
When pain decreases, start strengthening the muscles that support the wrist. This matters because a wrist that only rests but never rebuilds often becomes a wrist that hurts again the moment training gets serious.
Begin with light resistance and controlled reps:
- Wrist flexion with a light dumbbell
- Wrist extension with a light dumbbell
- Hammer pronation and supination drills
- Farmer carries with moderate weight and a neutral wrist
- Grip squeezes with a soft ball or putty
Start low and progress slowly. Tendons usually prefer steady loading over sudden heroics. If soreness builds and lingers into the next day, you moved too fast.
Step 10: Clean Up Your Recovery Outside the Gym
A painful wrist does not care whether the stress came from bench press, texting, gaming, carrying grocery bags, or eight straight hours at a keyboard. If your day job or daily habits keep the wrist irritated, the gym may get blamed for pain it did not fully create.
Check your non-gym habits:
- Avoid long periods with the wrist bent while typing or using a mouse
- Do not grip your phone like it owes you money
- Switch hands when carrying bags
- Take short movement breaks during repetitive tasks
- Prioritize sleep, hydration, and recovery days
Sometimes the fix is not “more rehab.” It is “stop spending all day in terrible positions and then asking your wrist to perform at night.”
Step 11: Learn the Clues That Point to Tendons, Sprains, or Nerve Irritation
Wrist pain is a category, not a diagnosis. Certain symptom patterns can give you clues:
- Tendon irritation: Pain with gripping, lifting, and repeated motion; tenderness over a tendon; stiffness that improves after warming up but returns later.
- Sprain or strain: Pain after a sudden awkward movement, swelling, bruising, pain with loading, and discomfort around the joint itself.
- Nerve irritation or carpal tunnel-type symptoms: Numbness, tingling, burning, hand weakness, symptoms that wake you at night, or pain that radiates into the fingers or forearm.
You do not need to become your own hand surgeon, but knowing these patterns helps you avoid guessing blindly. If symptoms look more nerve-related than muscle-related, waiting it out forever is usually not the best strategy.
Step 12: Know When to See a Medical Professional
Not every case of wrist pain from lifting should be managed at home. Get checked sooner rather than later if you have:
- Significant swelling, bruising, or deformity
- Pain after a fall or sudden impact
- Numbness, tingling, or weakness that is worsening
- Trouble moving your fingers or gripping objects
- Pain that lasts more than a few days despite rest and activity changes
- Redness, warmth, fever, or severe tenderness
- Repeated night symptoms or ongoing hand weakness
A sports medicine physician, orthopedist, hand specialist, physical therapist, or occupational therapist can help figure out whether you are dealing with a sprain, tendon issue, nerve compression, or something else entirely. Getting the right diagnosis early can save you weeks or months of messing around.
A Simple Return-to-Lifting Plan
Once pain starts improving, return to lifting gradually. A smart progression often looks like this:
- Daily tasks become comfortable again.
- Gentle range of motion is pain-limited but improving.
- Light strengthening is tolerated without next-day flare-ups.
- You reintroduce modified gym exercises with lighter loads.
- You increase weight slowly while keeping the wrist stacked and symptoms mild.
A useful rule of thumb is that mild discomfort during rehab is sometimes acceptable, but sharp pain, increasing swelling, numbness, or worsening next-day symptoms are signs to back off. Your comeback should feel boringly reasonable, not cinematic.
Common Mistakes That Keep Wrist Pain Around
- Using wrist wraps to hide pain instead of fixing mechanics
- Testing painful lifts every workout “just to see”
- Skipping warm-ups and loading heavy too soon
- Stretching aggressively when the wrist is still inflamed
- Ignoring shoulder and forearm weakness
- Returning to max effort before the joint can tolerate normal volume
- Assuming all wrist pain is just tendonitis
If your wrist hurts every week, it is not “normal gym soreness.” It is a pattern. Patterns are fixable, but only if you stop treating the warning sign like background noise.
Experiences Lifters Commonly Have With Wrist Pain from Lifting
Many lifters describe the start of wrist pain the same way: it sneaks in quietly. At first, it is just a weird little ache after push day. Then it shows up during the last few reps of bench press. Then curls feel off. Then push-ups become annoying. Then one day opening a heavy door feels surprisingly rude. The pain rarely sends a calendar invite before arriving.
Beginners often run into trouble because they are still learning how to stack the wrist over the forearm. A new lifter might hold the bar too high in the hand during bench press, letting the wrist bend backward under load. The chest and triceps may be strong enough to move the weight, but the wrist absorbs more stress than it should. Once the setup is fixed, the pain often starts calming down almost immediately, which feels equal parts relieving and insulting.
Intermediate lifters often tell a different story. They usually know their form pretty well, but they let training volume creep up. More pressing, more accessory work, more planks, more burpees, more keyboard time, less sleep, and suddenly the wrist becomes the weak link. In these cases, the solution is often not one dramatic treatment. It is a collection of boring, effective habits: reduce volume, improve recovery, warm up better, and stop doing every hard thing on consecutive days.
Another common experience shows up with front squats or Olympic lifts. Lifters with limited mobility in the shoulders, elbows, or upper back may dump stress into the wrist because the rack position is not truly available. The wrist gets forced into a position it cannot manage comfortably, especially under heavy load. When those lifters switch temporarily to a safety bar, work on mobility, and return gradually, the wrist often becomes much less dramatic.
Desk workers who lift after work have their own special plot twist. They spend hours typing or using a mouse with poor wrist posture, then head to the gym and ask the same joint to handle pressing, pulling, and gripping. It is no surprise the wrist objects. Many of these lifters improve not because of some exotic rehab trick, but because they adjust workstation habits, take short breaks, and stop feeding the irritation all day long.
Perhaps the most universal experience is the temptation to push through pain because the rest of the body feels fine. Lifters are good at tolerating discomfort, and that toughness can be useful. But wrists are not impressed by motivational speeches. The people who recover best are usually the ones who act early, modify intelligently, and reload gradually. They do not panic, but they also do not pretend that sharp pain is a personality trait. In the long run, that mindset usually gets them back to training faster and with fewer repeat flare-ups.
Conclusion
If you want to relieve wrist pain from lifting, the winning formula is rarely mysterious: calm the irritation, avoid painful positions, improve wrist alignment, reduce overload, rebuild strength gradually, and get help when symptoms suggest something more serious. Most importantly, stop treating your wrist like an expendable accessory. It is a small joint with a big influence on how well you train.
Train smart, respect pain signals, and give your wrist the same attention you give your PRs. Your future grip strength, pressing comfort, and ability to open pickle jars without drama will thank you.