If you have ever looked at a banana peel and thought, “You could be doing more for society,” congratulations: you are exactly the kind of person ready for a worm farm. A worm farm, also called a vermicomposting bin, is a compact system that uses composting worms to turn kitchen scraps into dark, crumbly, nutrient-rich castings that plants absolutely adore. It is part recycling station, part science project, part tiny underground civilization with excellent work ethic.
The beauty of a worm farm is that it is surprisingly simple. You do not need a huge yard, a pitchfork, or the patience of a medieval monk. You need a container, the right kind of worms, moist bedding, and a sensible feeding routine. Done properly, a worm farm is tidy, low-odor, beginner-friendly, and incredibly useful for gardeners, apartment dwellers, families, teachers, and anyone who wants to reduce food waste without turning the backyard into a compost drama.
This guide walks you through exactly how to make a worm farm, how to keep it alive and thriving, what to feed your worms, what not to feed them, and how to harvest the finished compost without accidentally starting a worm jailbreak.
What Is a Worm Farm, Exactly?
A worm farm is a managed bin where composting worms and microbes break down food scraps and bedding into vermicompost. Unlike a traditional hot compost pile, a worm farm is smaller, cooler, and easier to maintain indoors or in a shaded outdoor spot. It is especially handy for fruit and vegetable scraps, coffee grounds, tea bags, shredded paper, and other soft organic materials.
The finished product is often called worm castings, but do not let the glamorous name fool you. Yes, it is worm poop. Yes, gardeners still get excited about it. And honestly, they should. Vermicompost can improve soil texture, increase moisture retention, and give container plants and garden beds a nice nutrient boost.
Why Start a Worm Farm?
There are a lot of good reasons to make a worm farm, and not all of them involve becoming the sort of person who casually says “my worms prefer melon rinds chopped smaller.” A worm farm helps reduce household food waste, keeps useful organic material out of the trash, and produces a valuable soil amendment right at home.
It is also a smart option for people with limited space. If you live in an apartment, condo, townhouse, or a house with a very small yard, a worm farm lets you compost without building a full backyard pile. A well-maintained system is compact, fairly clean, and easy to tuck into a laundry room, basement, pantry corner, garage, or shaded patio.
For families, it can be a genuinely fun project. Kids tend to find worms fascinating, adults tend to find less trash satisfying, and plants tend to approve of the arrangement in silent, leafy gratitude.
The Best Worms for a Worm Farm
Not all worms are cut out for bin life. The best worms for a worm farm are red wigglers, often sold as Eisenia fetida or Eisenia andrei. These worms thrive in shallow, rich organic matter and do well in confinement. They are the tiny, wriggly professionals of the compost world.
Do not grab random earthworms from the garden and expect them to adapt. Common garden worms and nightcrawlers prefer soil and deeper burrowing conditions. In a worm bin, they usually do poorly and may die off. That is less “sustainable gardening” and more “awkward worm housing mistake.”
A good beginner amount is about 1 pound of red wigglers, which is often roughly 1,000 worms, though counts vary by size and age. That is enough for a modest home system and gives the bin a solid workforce from day one.
What You Need to Make a Worm Farm
1. A bin
You can buy a commercial worm composter or make your own from an opaque plastic storage tote or untreated wood box. A good beginner bin is shallow rather than deep, because composting worms like to live near the surface where oxygen is available. A bin around 10 to 12 inches deep works well.
2. A lid, air holes, and drainage
Your bin needs a lid to keep the interior dark and help pests stay out. It also needs ventilation holes near the upper sides and drainage holes in the bottom if you are using a plastic container. Place the main bin inside a second tray or tub to catch excess liquid. If liquid is pooling regularly, though, your system is probably too wet, so think of the bottom tray as insurance, not a lifestyle.
3. Bedding
Bedding is not optional. It is the worms’ home, moisture buffer, and backup food source. Good bedding materials include shredded newspaper, plain office paper, cardboard, coconut coir, dry leaves, or a mix of these. Wet the bedding, then wring it out until it feels like a wrung-out sponge. Fluffy, damp, and airy is the goal, not soggy paper soup.
4. A handful of soil or finished compost
A small amount of soil or finished compost can help inoculate the system and support digestion. Some worm keepers also add a little crushed eggshell as grit, since worms use grit in their gizzards to help process food.
5. Food scraps
Worms love fruit and vegetable scraps, coffee grounds, paper filters, crushed eggshells, and plain tea bags without staples or plastic parts. Chop scraps into small pieces to speed up decomposition and make feeding easier.
How to Make a Worm Farm Step by Step
Step 1: Prepare the bin
If you are using a plastic tote, drill air holes around the upper sides and drainage holes in the bottom. Keep the holes small enough that the bin does not turn into an all-you-can-escape buffet. Set that bin inside another container or on a tray.
Step 2: Add bedding
Fill the bin almost halfway with moist, fluffed-up bedding. Mix in a handful of soil or a little finished compost. The bedding should feel damp, springy, and breathable. If it drips when squeezed, it is too wet. If it feels crispy and dry, your worms are moving into a desert and will not appreciate it.
Step 3: Add the worms
Place the worms on top of the bedding and leave the lid off for a few minutes in a softly lit room. Worms dislike light, so they will naturally burrow downward. Once they disappear into the bedding, put the lid on.
Step 4: Feed lightly at first
Do not dump in a mountain of scraps on day one like you are stocking a tiny buffet cruise. Start small. Bury a modest amount of chopped food under the bedding in one corner of the bin. Cover it fully. That cover matters because exposed food attracts fruit flies and odors.
Step 5: Put the bin in the right location
Keep your worm farm in a cool, shaded spot. Indoors, places like a basement, closet, mudroom, or under-sink cabinet can work. Outdoors, keep the bin out of direct sun and protect it from extreme heat, heavy rain, and cold snaps. Composting worms are happiest in mild temperatures, roughly similar to what humans find comfortable.
What to Feed Worms
Good worm food includes:
- Fruit and vegetable scraps
- Coffee grounds and paper filters
- Tea bags without staples or plastic mesh
- Crushed eggshells
- Small amounts of bread, cereal, or pasta
- Soft plant trimmings
Foods to avoid include:
- Meat, bones, and dairy
- Greasy or oily foods
- Pet waste
- Large amounts of citrus
- Onions and garlic if odor becomes an issue
- Very salty or heavily processed leftovers
As a rule, think “plant-based and not gross.” The more a food tends to rot, smell, or attract pests in your kitchen, the less it belongs in your worm farm.
How Often to Feed a Worm Farm
This is where many beginners get overexcited. Worms are efficient, but they are not competitive eaters on a sports network. The safest rule is simple: do not add more food until the previous food is mostly gone.
Some systems do well with weekly feeding, while others can handle smaller amounts two or three times per week. The right schedule depends on temperature, worm population, scrap size, and how moist the bin is. Start conservatively, observe, and adjust. If you see old food sitting around untouched two weeks later, slow down.
A useful feeding method is pocket feeding. Bury scraps in a different section of the bin each time. This spreads activity around, reduces smell, and makes it easier to see which areas are being processed fastest.
How to Keep the Worm Farm Healthy
Watch moisture closely
The bedding should stay as moist as a wrung-out sponge. Too wet, and the bin turns smelly and airless. Too dry, and the worms become stressed. If the bin is wet, add dry shredded paper or cardboard. If it is dry, add moist bedding or water sparingly.
Keep a bedding layer on top
A fresh top layer of bedding helps control moisture, blocks fruit flies, and keeps the system looking civilized. It is like a comforter for the worms, except nobody argues about who stole it in the night.
Give them grit now and then
A little crushed eggshell or other suitable grit every so often can help worms process food more efficiently.
Do not panic about harmless bin life
You may see mites, springtails, or sow bugs. Some are normal companions in decomposition systems. Focus on the big signs: smell, excess liquid, worm escape attempts, and persistent untouched food. Those tell you more than the occasional mysterious tiny creature.
Common Worm Farm Problems and Fixes
Problem: Bad smell
Usually means: too much food, too much water, or not enough air.
Fix: remove rotting scraps, mix in dry bedding, improve airflow, and stop feeding for a few days.
Problem: Fruit flies
Usually means: exposed food, overly wet bedding, or rotting scraps.
Fix: bury all food, keep a newspaper or cardboard cover on top, reduce wet scraps, and use sticky traps nearby if needed.
Problem: Worms climbing the sides or trying to escape
Usually means: the environment is off. The bin may be too acidic, too wet, too dry, too hot, or newly disturbed.
Fix: check moisture, cut back acidic foods, add bedding, and let the bin settle. A new worm bin may see some wandering at first, but that should calm down quickly.
Problem: Bin is too wet
Fix: add lots of dry bedding, reduce feeding, make sure drainage holes are open, and avoid dumping in water-heavy foods like melon all at once.
Problem: Bin is too dry
Fix: add moist bedding, lightly mist if needed, and make sure the lid is helping the system retain moisture.
When and How to Harvest Worm Castings
Most home worm farms produce usable vermicompost in about three to six months, depending on conditions. Finished castings are dark, crumbly, earthy-smelling, and much finer than the original bedding and scraps.
One easy harvesting method is side feeding. Feed the worms on one side of the bin for a couple of weeks so they migrate there. Then harvest the finished compost from the other side. Another method is to dump the contents onto a tarp or newspaper in bright light. Worms move away from light, so you can gradually scrape finished compost from the top until you are left with a wriggling core to return to the refreshed bin.
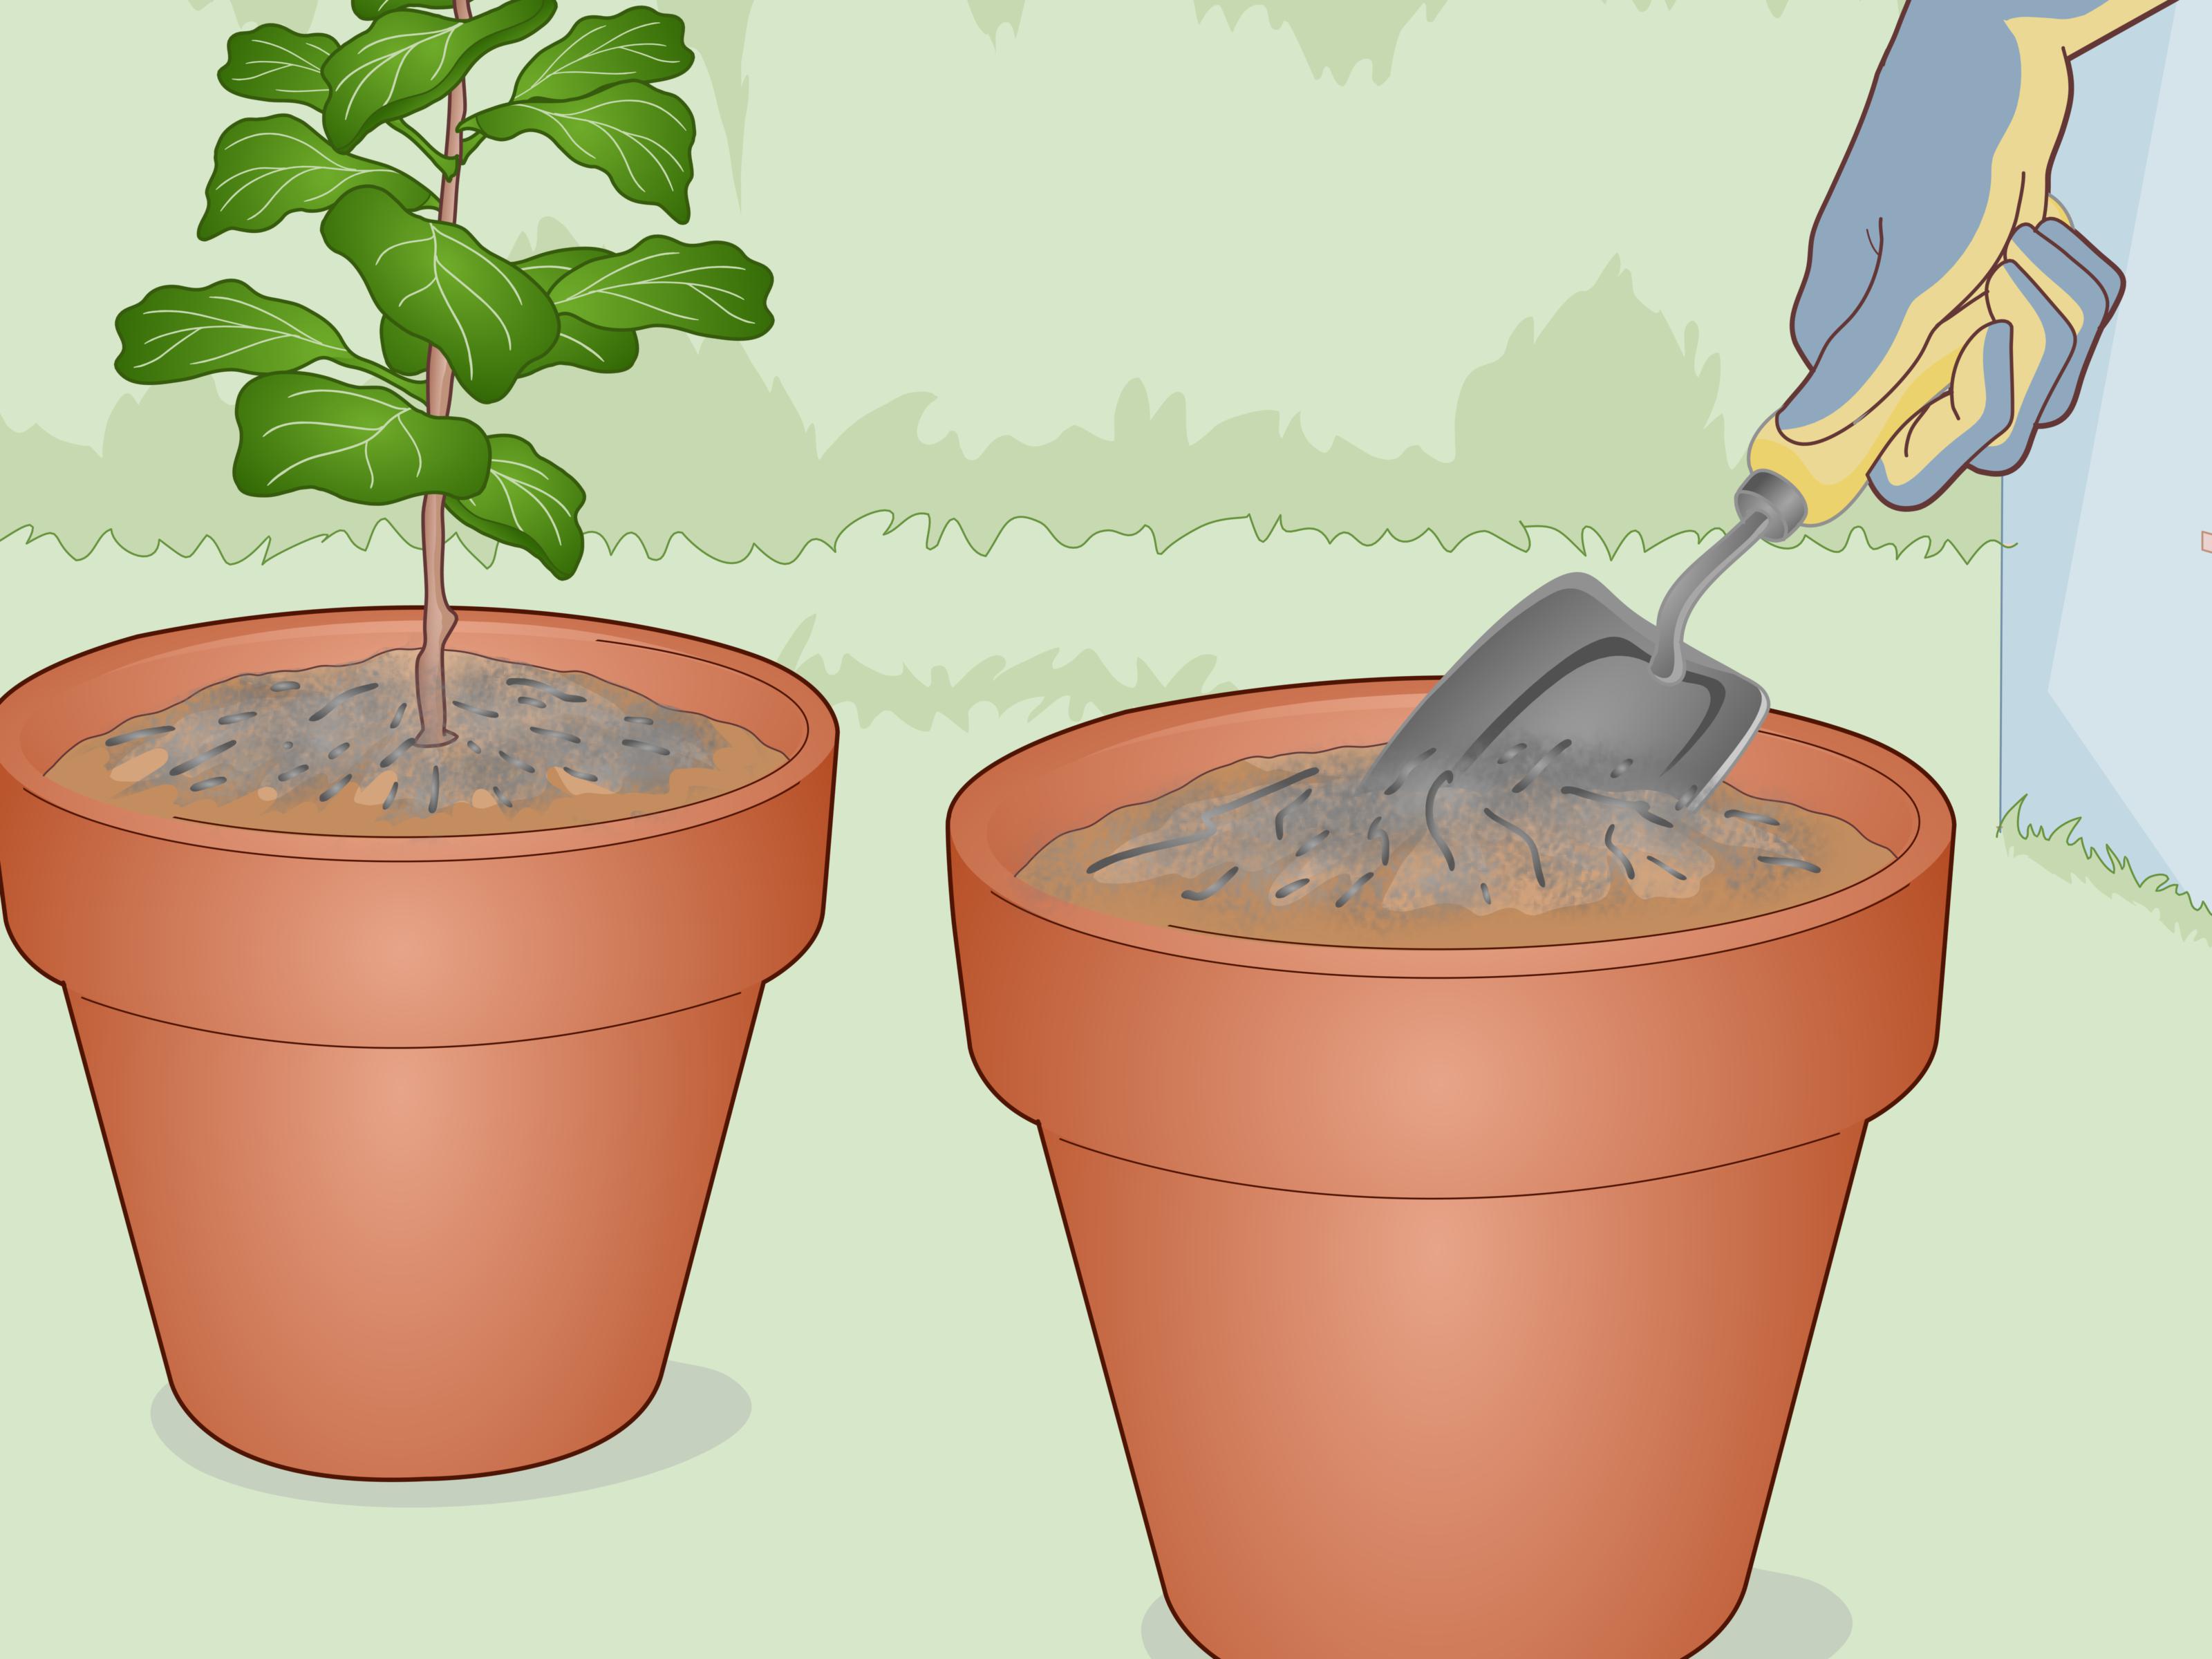
Use castings by mixing them into potting soil, top-dressing houseplants, blending them into garden beds, or adding a little around vegetables, herbs, and flowers. You do not need huge amounts. Worm compost is potent stuff, like espresso for your soil but with fewer emotional consequences.
Best Practices for Long-Term Success
If you want your worm farm to last, focus less on fancy gear and more on steady habits. Keep the bedding generous, the food modest, the scraps buried, and the moisture balanced. Observe before you react. Worm farming rewards consistency far more than enthusiasm-driven overfeeding.
It also helps to think of bedding as part of the system, not an accessory. Many worm bin problems improve simply by adding more dry shredded cardboard or paper. Bedding absorbs excess moisture, creates air pockets, and gives worms a safer, more stable environment.
And remember this: a healthy worm farm should smell earthy, not rotten. If opening the lid makes you question your life choices, something needs adjusting.
Real-World Experience: What Keeping a Worm Farm Is Actually Like
In real life, a worm farm usually starts with equal parts curiosity and doubt. Most beginners wonder whether the bin will smell, whether the worms will die, whether fruit flies will stage a hostile takeover, and whether keeping a box of worms near the house is a sign of admirable environmental commitment or a very specific hobby that friends may mention later. The answer is that it is usually much easier than expected, but only after a short learning curve.
One common early experience is overfeeding. People get excited, assume the worms are hungry around the clock, and load the bin with a heroic amount of scraps. Then they open it a week later and discover a damp, gloomy pile of uneaten food. This is the moment when most new worm farmers learn the first golden rule: feed less, not more. Once that lesson clicks, everything gets smoother.
Another very typical experience is becoming weirdly protective of bedding. At first, shredded cardboard looks like packing waste. A month later, you are tearing up boxes with the seriousness of a habitat manager because you now understand that bedding is the secret to odor control, airflow, and worm comfort. The humble cardboard box becomes farm infrastructure.
People also tend to notice that the worms do not move at the dramatic speed movies led us to expect. They work slowly, steadily, and without applause. But over time, the transformation is impressive. Coffee grounds disappear. Banana peels collapse into the system. Eggshells soften. Bedding darkens. The bin starts to look less like trash and more like rich soil. That change is satisfying in a way that surprises most beginners.
Seasonal changes are part of the experience too. In cooler weather, the worms slow down and eat less. In hot weather, the bin may need more protection and closer moisture checks. Many people learn to adjust their feeding rhythm with the seasons rather than force the bin to perform the same way year-round. That flexibility is part of becoming good at worm farming.
There is also a moment, sooner or later, when you harvest your first batch of finished castings and realize that your kitchen scraps have turned into something genuinely useful. That is the point when the system stops feeling like an experiment and starts feeling like a habit. Houseplants perk up. Seedlings seem happier. Garden soil gets darker and looser. Suddenly the worms are not just a novelty under the sink; they are part of how the home works.
Perhaps the most interesting long-term experience is how a worm farm changes the way you see food waste. Scraps that once went into the trash begin to look like inputs. Wilted lettuce, carrot peels, tea bags, and coffee filters become future compost instead of garbage. That shift is small, but it sticks. A worm farm does not just process waste; it teaches a different way of thinking about it.
And yes, you may eventually become the person who lifts a bin lid, nods approvingly, and says, “Nice moisture balance in here.” At that point, there is no going back. You are a worm farmer now.
Conclusion
Learning how to make a worm farm is not complicated, but it does reward a thoughtful setup and a little patience. Start with the right worms, create a shallow bin with airflow and drainage, use generous moist bedding, feed lightly, and keep scraps covered. From there, the system mostly runs on observation and adjustment. When the balance is right, a worm farm is low-mess, low-odor, and surprisingly productive.
For gardeners, it is a reliable way to make high-quality compost. For households, it is a practical way to reduce food waste. And for anyone who enjoys simple systems that quietly do something useful every day, it is one of the most satisfying home projects around. Tiny workers, big payoff.