Stone veneer is one of those home upgrades that can make an ordinary wall look like it suddenly got promoted. A plain fireplace becomes dramatic. A boring exterior becomes “Oh, wow, that looks expensive.” And the good news is that installing stone veneer is absolutely doable for a skilled DIYer or a patient homeowner working with a mason’s mindset: slow, steady, and allergic to shortcuts.
That said, stone veneer is not just about sticking pretty pieces of stone to a wall and hoping for the best. It is really a moisture-management project disguised as a design project. If you prep the surface correctly, choose the right mortar, follow a smart layout, and pay attention to flashing, drainage, and clearances, your finished wall can look sharp for years. If you skip those steps, your “rustic feature wall” may turn into a very expensive lesson in gravity and water.
This guide walks through the common installation process for adhered manufactured stone veneer and many thin stone veneer applications. Because products vary, always double-check your manufacturer’s instructions before opening the first bag of mortar.
What Is Stone Veneer?
Stone veneer is a thin decorative facing designed to mimic or use real stone without the full weight and structural demands of traditional full-bed masonry. In practical terms, it gives you the look of stone without requiring your wall to behave like a medieval castle.
There are two broad categories you will run into:
- Manufactured stone veneer: A lightweight cement-based product molded and colored to look like natural stone.
- Natural thin stone veneer: Real stone cut into thin pieces or modular panels for vertical surfaces.
The installation method can differ depending on the product. Some systems use metal lath and a scratch coat. Some natural stacked stone or panel systems go over an approved backer with thin-set mortar. That is why the box, spec sheet, or manufacturer PDF matters almost as much as your trowel.
Where You Can Install It
Stone veneer is commonly used on exterior accent walls, foundation facades, chimneys, columns, fireplace surrounds, outdoor kitchens, retaining-wall features, and interior accent walls. It performs beautifully in many places, but not everywhere. Areas with constant water exposure, poor drainage, or below-water-line conditions usually require different materials or special design details.
Translation: a dry feature wall is a friend. A waterfall wall without proper detailing is a dare.
Tools and Materials You Will Likely Need
- Stone veneer or stone veneer panels
- Manufacturer-approved mortar or polymer-modified thin-set
- Metal lath, fasteners, and accessories if your system requires them
- Weather-resistant barrier and flashing materials for exterior framed walls
- Trowels, including a margin trowel and finishing trowel
- Grout bag if the profile uses mortar joints
- Level, chalk line, tape measure, and spacers or shims as needed
- Wet saw or grinder with diamond blade
- Mixing bucket or mortar pan
- Soft brush, sponge, and clean water
- Safety glasses, gloves, hearing protection, and a proper dust mask or respirator
Step 1: Make Sure the Surface Is Suitable
Before you even think about layout, inspect the wall. The substrate should be structurally sound, clean, flat enough for the product you are installing, and free of bond-breaking materials like grease, dust, loose paint, release agents, or failing finishes.
On some surfaces, such as clean masonry or concrete, veneer may go directly over the wall if the product allows it. On framed walls or many remodel situations, you will usually need a weather-resistant barrier, lath, scratch coat, or an approved cement-board system. If your wall is wavy, fix that now. Stone does not magically hide a bad substrate; it often highlights it with enthusiasm.
Step 2: Handle Moisture Before You Handle Stone
For exterior applications, water management is the grown-up part of the project. Install the required weather-resistant barrier, flashing, weep screed, and accessories according to code and the veneer manufacturer’s instructions. Many framed wall systems using lath and scratch coat call for two layers of weather-resistant barrier, while some cement-board assemblies differ.
Flashing matters around penetrations, terminations, windows, doors, roof intersections, and any place water might try to sneak in like it pays rent. Overlap materials shingle-style so water sheds downward, not inward. Also maintain the required ground clearances. A common rule is to keep veneer about 4 inches above grade and 2 inches above paved surfaces, unless your product instructions say otherwise.
Step 3: Install Metal Lath or the Approved Backer System
If your product requires lath, fasten corrosion-resistant metal lath securely to the wall over the barrier. Install it with the proper orientation and overlap, and use the correct fasteners for the framing or substrate behind it. This is not the place for mystery screws from the bottom of a coffee can.
If your product is designed for cement board or another approved panel system, follow that system exactly. The main goal is the same either way: create a stable, bondable, code-compliant base that will support the veneer long term.
Step 4: Apply the Scratch Coat
For traditional adhered veneer installations, trowel mortar over the metal lath until it is fully embedded. A scratch coat is typically around 1/2 inch thick, though you should follow the system requirements for your specific product. Once the mortar firms up slightly, rake horizontal grooves into it. Those grooves help the setting mortar grip better later.
Then let the scratch coat cure as directed. Do not rush this step. Wet mortar may look confident, but it is still figuring things out.
Step 5: Dry-Lay the Stone Before Installing
Open several boxes or crates and blend pieces from different packages. This helps prevent color blotches or obvious repeats on the wall. Lay the pieces out on the ground first so you can experiment with size, shape, and color variation.
Look for a balanced mix. Avoid creating unintentional patterns that scream, “I installed this while half-watching football.” Also decide where your cuts will go. Try to hide cut edges away from eye level or tuck them into less noticeable spots.
Step 6: Establish Your Layout Lines
Use a level and chalk line to establish control lines, especially on large walls, fireplace surrounds, columns, or any project where drift will be noticeable. Some profiles are installed from the bottom up; others, especially certain grouted or irregular styles, may be worked differently. Many installers start with corners first and then fill in the field.
If your veneer includes dedicated corner pieces, install those before the flats. Alternating long and short legs at the corners creates a more natural look and keeps the wall from looking like it was assembled by a geometry teacher with a grudge.
Step 7: Mix Mortar the Right Way
Follow the bag directions carefully. Too much water weakens the mix, changes workability, and can make color consistency harder to control. Too little water makes the mortar stubborn and difficult to spread. You want a mix that holds on the trowel, bonds well, and does not slump like it had a long week.
Only mix what you can use within the working time. Fresh mortar is helpful. Half-cured bucket mortar is just a bad attitude in paste form.
Step 8: Back-Butter and Set Each Stone
Now the wall starts looking like a wall. Dampen very dry scratch-coated surfaces or the backs of certain stones if your product instructions recommend it, especially in hot weather. Then apply mortar to the back of the stone, pressing it across the full back surface. This is called back-buttering, and it helps achieve good coverage and bond strength.
Press the piece firmly into place with a slight wiggle or twisting motion. The goal is full contact, not a casual handshake. With many profiles, mortar should squeeze out around the edges when the piece is properly bedded. Remove excess mortar before it hardens.
Work carefully, one piece at a time. If a piece gets bumped loose after setting, do not just shove it back in place and hope. Remove it, clean off the compromised mortar, and reset it properly.
Step 9: Cut Pieces Carefully
Use a wet saw or a diamond blade approved for the material. Wear eye protection and proper dust protection, especially when dry cutting. Silica dust is not a decorative finish.
Plan your cuts so they look intentional. On rustic styles, mix cut pieces with full pieces so the wall does not develop a suspiciously repetitive “every third stone was trimmed” rhythm. When possible, hide cut edges in corners, under caps, or in less visible areas.
Step 10: Grout Joints or Finish the Dry-Stack Look
If you are installing a grouted profile, allow the pieces to firm up first, then fill the joints with a grout bag. Once the mortar joints are thumbprint hard, tool them to the desired finish. Joint depth, texture, and color can dramatically change the final look. Deep-raked joints feel more rustic; fuller joints can look more traditional and substantial.
If you are doing a dry-stack or tightly fitted profile, make sure the setting bed fully supports the pieces and that voids behind the veneer are minimized. Good coverage matters even more when there is little or no visible joint to hide problems.
Step 11: Clean the Surface Gently
Clean mortar smears while they are still manageable. Use a sponge, soft brush, and clean water as appropriate. Avoid harsh acid cleaners, wire brushes, or pressure washing unless the manufacturer specifically allows something different. Those “shortcut cleaning methods” can discolor the veneer, damage the surface, or create a bigger mess than the one you were trying to fix.
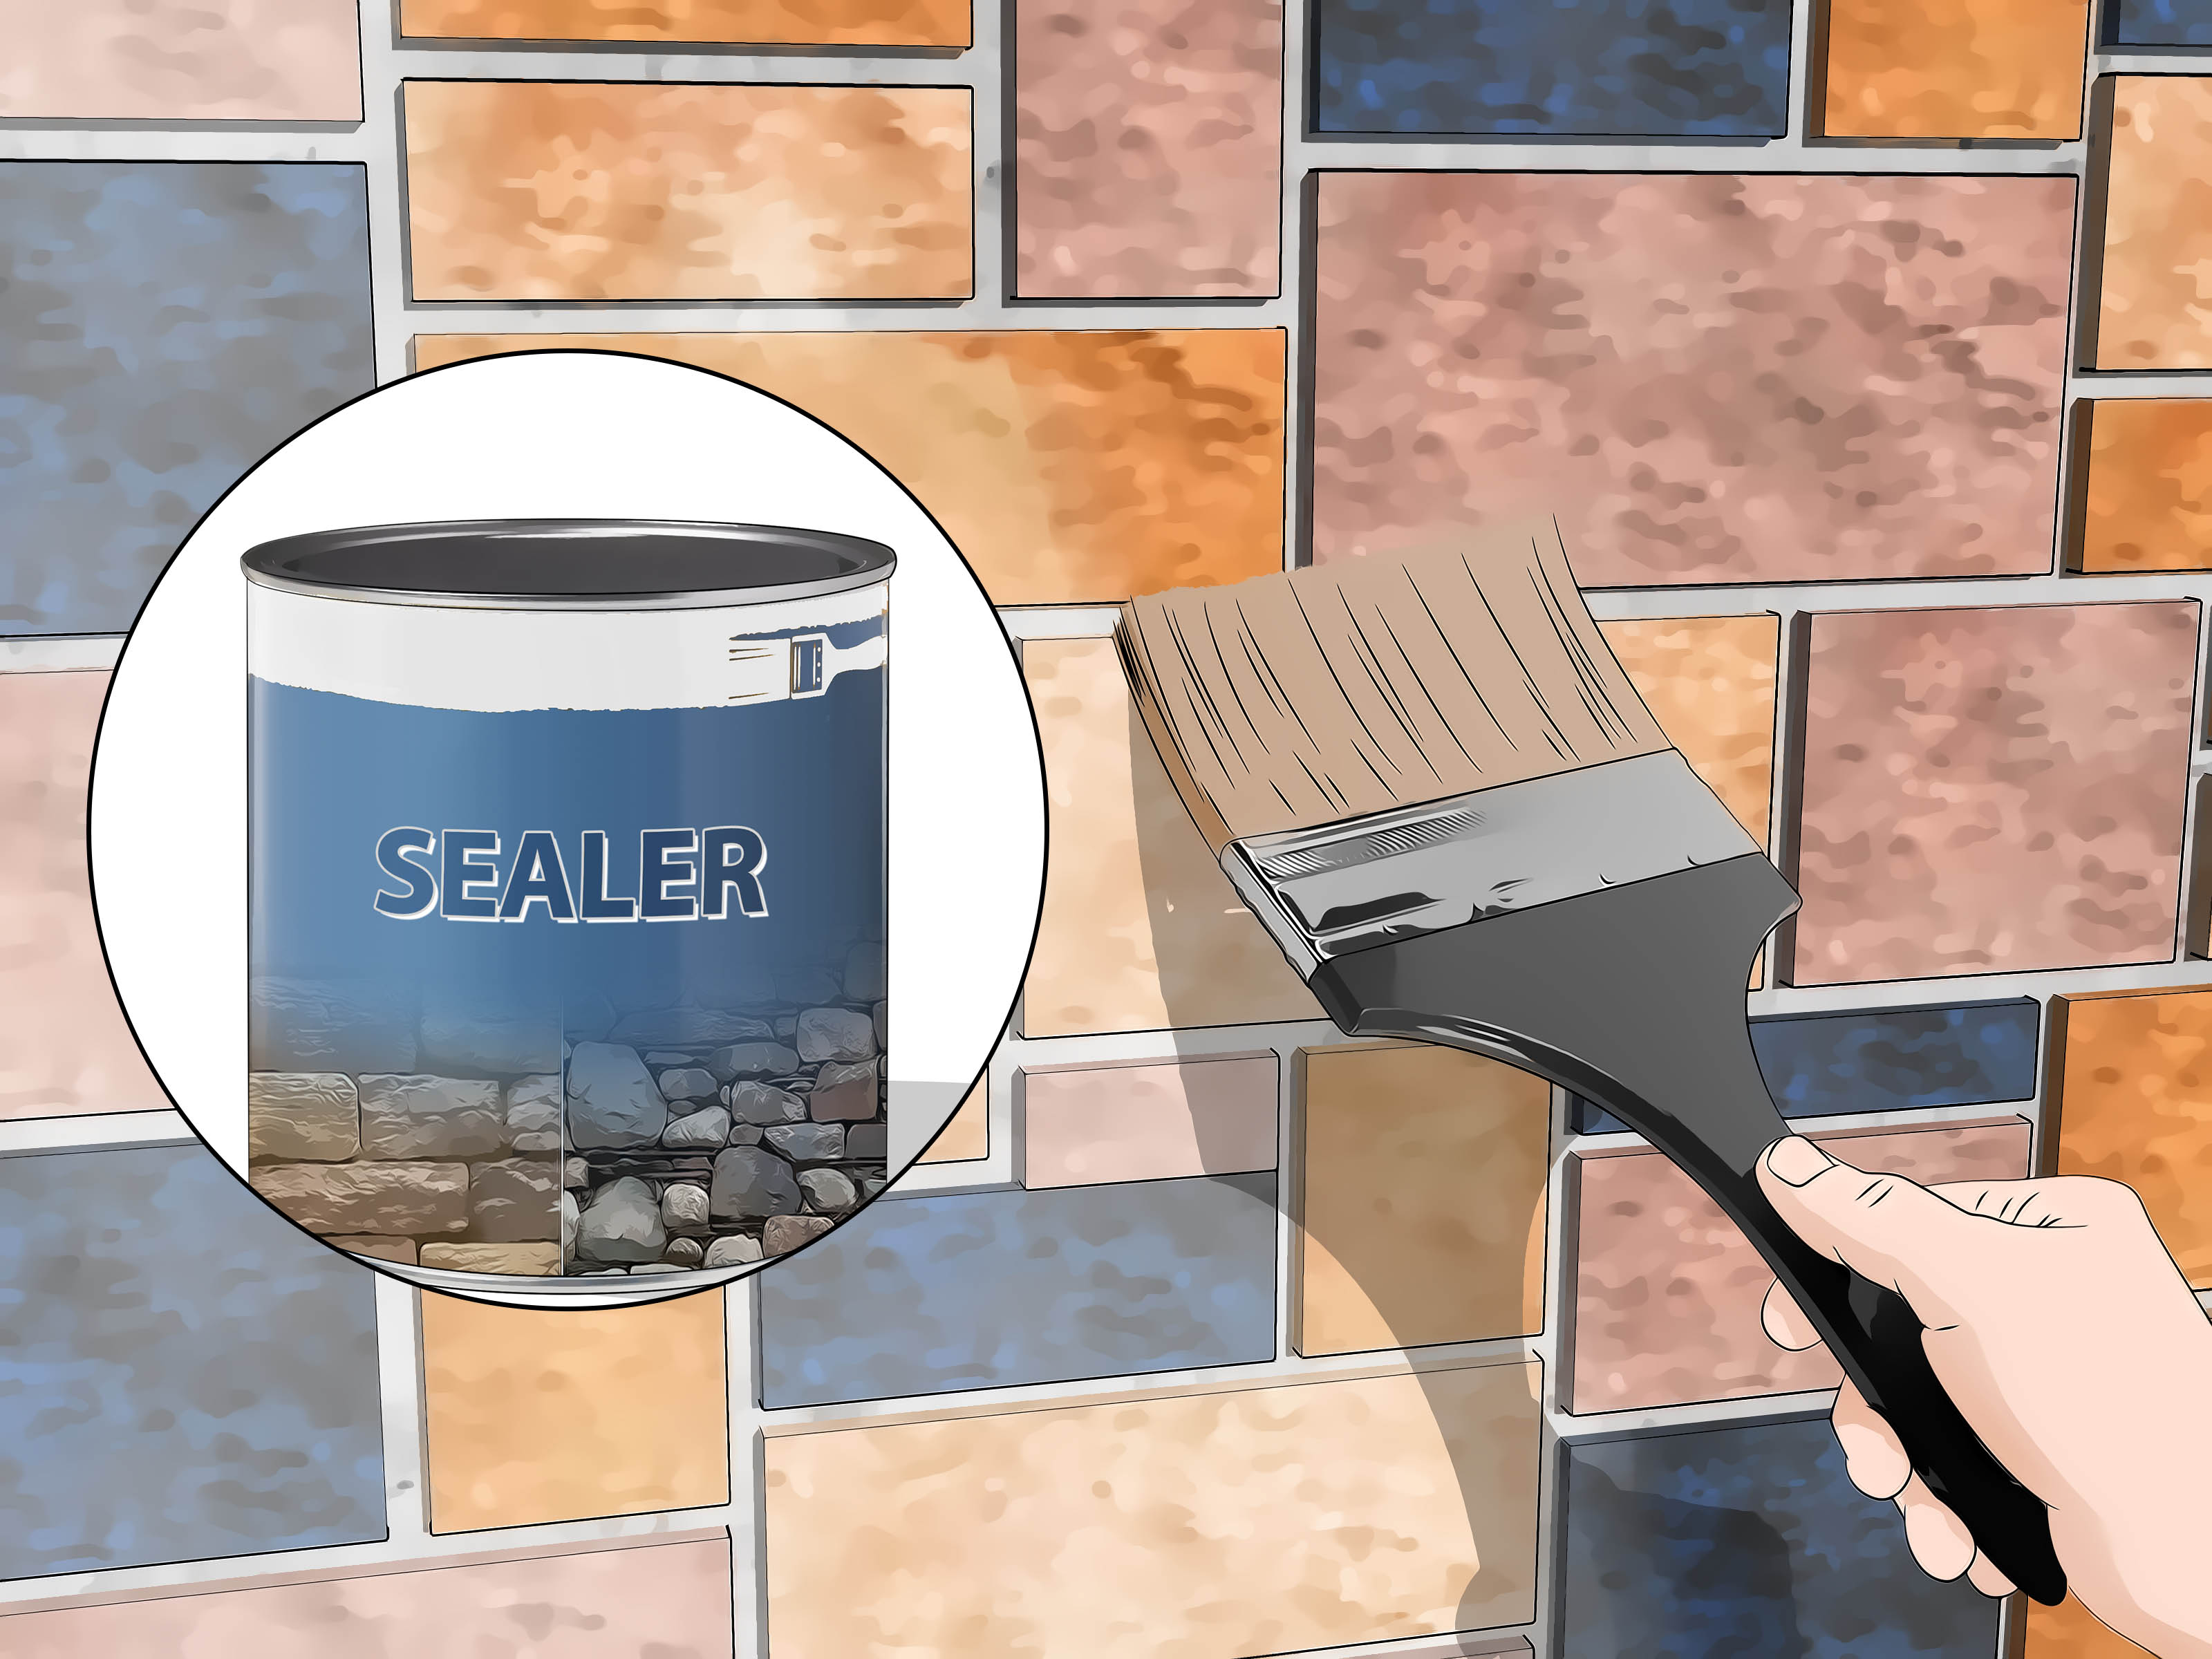
If you are considering a sealer, check the product guidance first. Some manufacturers do not require sealing at all, while others allow only breathable silane or siloxane-type products in certain situations.
Common Stone Veneer Installation Mistakes
Skipping drainage details
A beautiful wall with poor flashing is basically a water feature with better branding.
Installing over a weak or dirty substrate
If the base is wrong, the finish will not save it.
Not blending stones from multiple boxes
This can leave obvious color clusters that make the project look patched together.
Using the wrong mortar
Always match the mortar or thin-set to the product requirements, especially on dry-stack profiles and freeze-thaw exteriors.
Ignoring movement joints
If the wall assembly includes movement joints, do not bridge them with veneer.
Working in bad weather
Very cold or very hot conditions can affect bond, cure, and moisture behavior. When temperatures are extreme, extra precautions or a schedule change may be the smarter move.
When It Is Better to Hire a Pro
Call in a professional mason or experienced installer if your project includes tall exterior walls, complicated flashing, curved surfaces, large-format stone, structural questions, major water exposure, or anything involving scaffold work that makes you say, “This seems fine,” while your inner voice whispers, “It is not fine.”
A pro is also worth it when the veneer is going on a focal point, like the front elevation of your home or a prominent fireplace. Stone is gorgeous, but crooked gorgeous is still crooked.
Real-World Experience: What Installing Stone Veneer Actually Feels Like
If you have never installed stone veneer before, the first surprise is that the job is less about stone and more about pacing. People imagine the exciting part is choosing the color and sticking pieces on the wall. In reality, the project becomes enjoyable only after the prep is done right. Once the barrier, lath, scratch coat, and layout are handled, the wall starts cooperating. Before that, it is mostly a lesson in patience, measuring, and not convincing yourself that “close enough” is a building standard.
Another thing most people notice is how much better the project looks when they slow down and dry-lay pieces first. On paper, opening the boxes and setting stones straight from the pile sounds efficient. In practice, that is how you end up with three dark stones stacked together, four cuts lined up in one area, and one section that somehow looks like a frowning face. Taking time to lay out pieces on the ground makes the wall look natural instead of accidental.
The physical experience is also different from what people expect. Stone veneer is thinner and lighter than full stone, but it is still heavy enough to wear out your forearms, especially when you are holding a piece in one hand and a loaded trowel in the other. By the middle of the job, most installers become very respectful of bucket placement, tool organization, and not walking back and forth for the one thing they forgot. Efficiency stops being a productivity buzzword and starts feeling like knee preservation.
There is also a learning curve with mortar. Early on, many DIYers either mix it too wet because they want it spreadable, or too stiff because they are afraid the stone will slide. After a few test pieces, you begin to understand the sweet spot. Good mortar feels workable, grabs the stone, and does not ooze everywhere like cake frosting with ambition. Once you find that consistency, installation gets smoother, cleaner, and much less stressful.
Perhaps the biggest real-world lesson is that corners, cuts, and cleanup determine whether the finished wall looks professional. Straight runs are forgiving. Corners tell the truth. Bad cuts tell the truth louder. And mortar haze has a way of introducing itself to visitors if you do not clean it promptly. The best-looking projects usually come from installers who wipe as they go, hide cut edges smartly, and step back often to look at the whole wall instead of obsessing over one perfect stone.
Finally, nearly everyone who finishes a stone veneer project says the same thing: the last 10 percent takes much longer than expected. Touch-ups, joint finishing, detail cuts, cleanup, and final inspection always stretch the schedule. But when the wall is done, the payoff is huge. Stone veneer has a way of making a room or exterior elevation feel permanent, textured, and thoughtfully designed. It adds character without requiring a time machine or a castle budget, and that is a pretty satisfying result for a project built one careful piece at a time.
Final Thoughts
Installing stone veneer successfully comes down to respecting the system. Prep the wall correctly. Manage water like it is actively plotting against you. Use the right mortar. Blend your pieces. Start with a smart layout. Back-butter thoroughly. Clean as you go. And never assume a beautiful finish can compensate for lazy prep, because stone veneer is many things, but merciful is not one of them.
Done right, stone veneer delivers serious visual impact with less weight and less complexity than traditional masonry. Whether you are upgrading a fireplace, dressing up a foundation wall, or adding curb appeal to the front of your house, careful installation is what turns a pile of stone into a finished surface that looks timeless instead of temporary.