Note: Toilet bowl cleaner is a powerful bathroom product, not a gentle everyday grout cleaner. Use it only as an occasional spot-cleaning method on compatible glazed ceramic or porcelain tile, and always read the product label first. Never mix it with bleach, vinegar, ammonia, hydrogen peroxide, drain cleaner, or any other cleaning product. Your grout wants to be clean, not star in a chemistry disaster movie.
Can You Clean Grout with Toilet Cleaner?
Yes, in some cases you can clean grout with toilet cleaner, but the better question is: should you? Toilet bowl cleaners are designed for glazed toilet bowls, where they cling to vertical porcelain and attack mineral stains, rust, soap scum, and organic buildup. That clingy gel texture is exactly why people try it on grout lines. It sits where you put it, does not run everywhere immediately, and can make dingy grout look brighter fast.
However, many toilet bowl cleaners are acidic, bleach-based, or otherwise harsh. Grout is usually porous, especially cement-based grout, and repeated exposure to strong chemicals can weaken it, discolor it, or strip away sealer. If your tile is natural stone, such as marble, travertine, limestone, slate, or granite, skip this method completely. Acidic cleaners can etch stone, and bleach formulas can cause discoloration. If the grout is cracked, crumbling, loose, or already missing in places, cleaning will not fix it; regrouting is the real solution.
Think of toilet cleaner as the emergency stain remover you invite over for one tough jobnot the roommate who moves in permanently.
What You Need Before You Start
- Toilet bowl cleaner, preferably a gel formula
- Rubber gloves
- Eye protection
- Old clothes or an apron
- Grout brush or old toothbrush with nylon bristles
- Microfiber cloths or clean rags
- Bucket of clean water
- Mild dish soap
- Painter’s tape or plastic sheeting for nearby sensitive surfaces
- Fan or open window for ventilation
How to Clean Grout with Toilet Cleaner: 10 Steps
1. Read the Toilet Cleaner Label First
Before the cap comes off, read the label like it contains bathroom treasure map instructions. Check the active ingredients, warnings, approved surfaces, dwell time, ventilation advice, and first-aid instructions. Some toilet cleaners are made only for toilet bowls and should not be used on floors, showers, countertops, or walls. If the label says not to use the product outside the toilet bowl, believe it. Labels are not bathroom poetry; they are there because the product has limits.
Also check whether the cleaner contains bleach or acids. Bleach-based cleaners and acid-based cleaners should never be mixed with other products. Even using one cleaner immediately after another can be risky if residue remains on the surface.
2. Confirm Your Tile and Grout Are Compatible
This method is safest only on glazed ceramic or porcelain tile with light-colored cement grout that is in good condition. Do not use toilet cleaner on natural stone, unglazed tile, handmade tile, metallic tile, colored grout, epoxy grout unless the manufacturer allows it, or any surface with a delicate finish.
If your grout is sealed, harsh toilet cleaner may weaken that protective coating. If your grout is unsealed, the cleaner can soak in more deeply. Either way, compatibility matters. When in doubt, choose a dedicated tile and grout cleaner instead. It may be less dramatic, but your grout will not file a complaint.
3. Ventilate the Bathroom
Open a window, turn on the exhaust fan, and keep the door open if possible. Good airflow matters because toilet cleaners can release strong fumes, especially in small bathrooms. If you feel coughing, burning eyes, dizziness, or throat irritation, leave the area immediately and get fresh air.
Ventilation is not optional. A bathroom can become a tiny chemical cave very quickly, and nobody needs their Saturday grout project to include dramatic coughing noises.
4. Remove Loose Dirt and Dust
Sweep, vacuum, or wipe the tile before applying cleaner. Loose dust, hair, and grit can turn into gray sludge once wet. For shower grout, rinse the area with warm water and wipe away surface soap scum first. For floor grout, vacuum the tile edges carefully so you are cleaning stains, not simply rearranging bathroom confetti.
This step also helps the toilet cleaner contact the actual grout instead of sitting on top of dirt. Better contact means better results with less product.
5. Do a Small Spot Test
Apply a tiny amount of toilet cleaner to a hidden grout line, such as behind the toilet, under a vanity edge, or in a corner. Let it sit for one to two minutes, scrub lightly, then rinse thoroughly. Wait until the area is dry before judging the result.
Look for discoloration, dull tile, etched spots, weakened grout, or a chalky texture. If anything looks strange, stop. A failed spot test is not bad luck; it is your bathroom politely saving you from a much larger problem.
6. Protect Nearby Surfaces
Toilet cleaner can damage metal, wood, painted trim, carpet, fabric, rubber, natural stone, and some fixture finishes. Use painter’s tape, plastic sheeting, or towels to shield baseboards, cabinet legs, tub drains, shower hardware, and nearby rugs. Remove bath mats, towels, and anything that might accidentally touch the cleaner.
Pay special attention to chrome, brushed nickel, brass, and stainless steel. Some strong acidic products can discolor or pit metal. If cleaner touches a fixture, rinse it immediately with plenty of water.
7. Apply a Thin Line of Cleaner to the Grout
Squeeze a narrow line of toilet cleaner directly onto the grout. Do not flood the tile. More cleaner does not mean more clean; it usually means more rinsing, more fumes, and more chances of damaging something. Work in small sections, such as two to four square feet at a time, so the cleaner does not sit too long.
If you are cleaning floor grout, start at the farthest corner and work toward the exit. This prevents you from stepping in cleaner and doing the awkward “chemical sock shuffle.” For wall grout, start low enough that drips are easy to control.
8. Let It Sit Briefly
Allow the cleaner to dwell for about one to five minutes, depending on the label and the condition of the grout. Do not let it dry on the surface. Dry toilet cleaner can leave residue, increase the chance of discoloration, and make rinsing much harder.
For light stains, one or two minutes may be enough. For stubborn grime, a few minutes can help loosen buildup. Still, longer is not always better. Harsh cleaners can attack the grout itself if left too long.
9. Scrub Gently with a Grout Brush
Use a grout brush or old toothbrush with nylon bristles. Scrub along the grout line using short, controlled strokes. Avoid metal brushes, steel wool, or abrasive pads because they can scratch tile and chew up grout. The goal is to lift dirt, not excavate a tiny canyon between your tiles.
If the grout starts to brighten, keep the pressure moderate. If nothing changes after gentle scrubbing, do not keep grinding away. The stain may be deep, the grout may be permanently discolored, or the product may not be right for that surface.
10. Rinse Thoroughly, Dry, and Inspect
Rinsing is the most important step. Wipe the area several times with clean water and microfiber cloths. Change the water frequently. After the first rinse, wash the area again with mild dish soap and water, then rinse once more. You want zero cleaner residue left behind.
Dry the grout with a clean towel and let the room air out. Once dry, inspect the grout. If it looks clean and intact, great. If it looks patchy, chalky, or rough, avoid repeating the method. Consider resealing the grout after it has fully dried, especially in showers, bathrooms, and kitchens.
What Not to Do When Using Toilet Cleaner on Grout
Do not mix toilet cleaner with any other cleaning product. Do not follow it with vinegar. Do not add bleach. Do not use ammonia-based glass cleaner nearby. Do not sprinkle baking soda into fresh toilet cleaner unless the product label specifically allows it. Mixing cleaners can create dangerous fumes or unexpected reactions.
Do not use this method as a weekly cleaning routine. If grout gets dirty quickly, the problem may be poor ventilation, old sealer, hard water, soap residue, or damaged grout. Repeatedly using harsh toilet cleaner may make the grout easier to stain over time because it can weaken the surface.
Safer Alternatives for Cleaning Grout
If the toilet cleaner method feels too risky, you have safer options. For everyday dirt, try warm water, mild dish soap, and a grout brush. For mild discoloration, make a paste with baking soda and water, apply it to the grout, let it sit, scrub gently, and rinse well. For tougher stains, use a commercial grout cleaner designed for tile and grout. Choose a product that matches your tile type, especially if you have natural stone.
Hydrogen peroxide can help brighten some light grout stains, but it should not be mixed with other cleaners. Oxygen-based cleaners may also work well for maintenance. Steam cleaning can be useful on sealed grout, but unsealed or damaged grout may not tolerate repeated heat and moisture.
How Often Should You Clean Grout?
For bathroom floors, a light weekly mop and monthly grout touch-up usually keeps dirt under control. Shower grout may need more frequent attention because moisture, soap scum, and body oils build up quickly. After every shower, run the fan, leave the curtain or door open, and squeegee wet tile if possible. Boring? A little. Effective? Absolutely.
Grout sealer can make a major difference. Sealed grout resists stains better and is easier to clean. If water soaks into the grout instead of beading on the surface, it may be time to reseal. Always clean and dry grout completely before applying sealer.
When Cleaning Is Not Enough
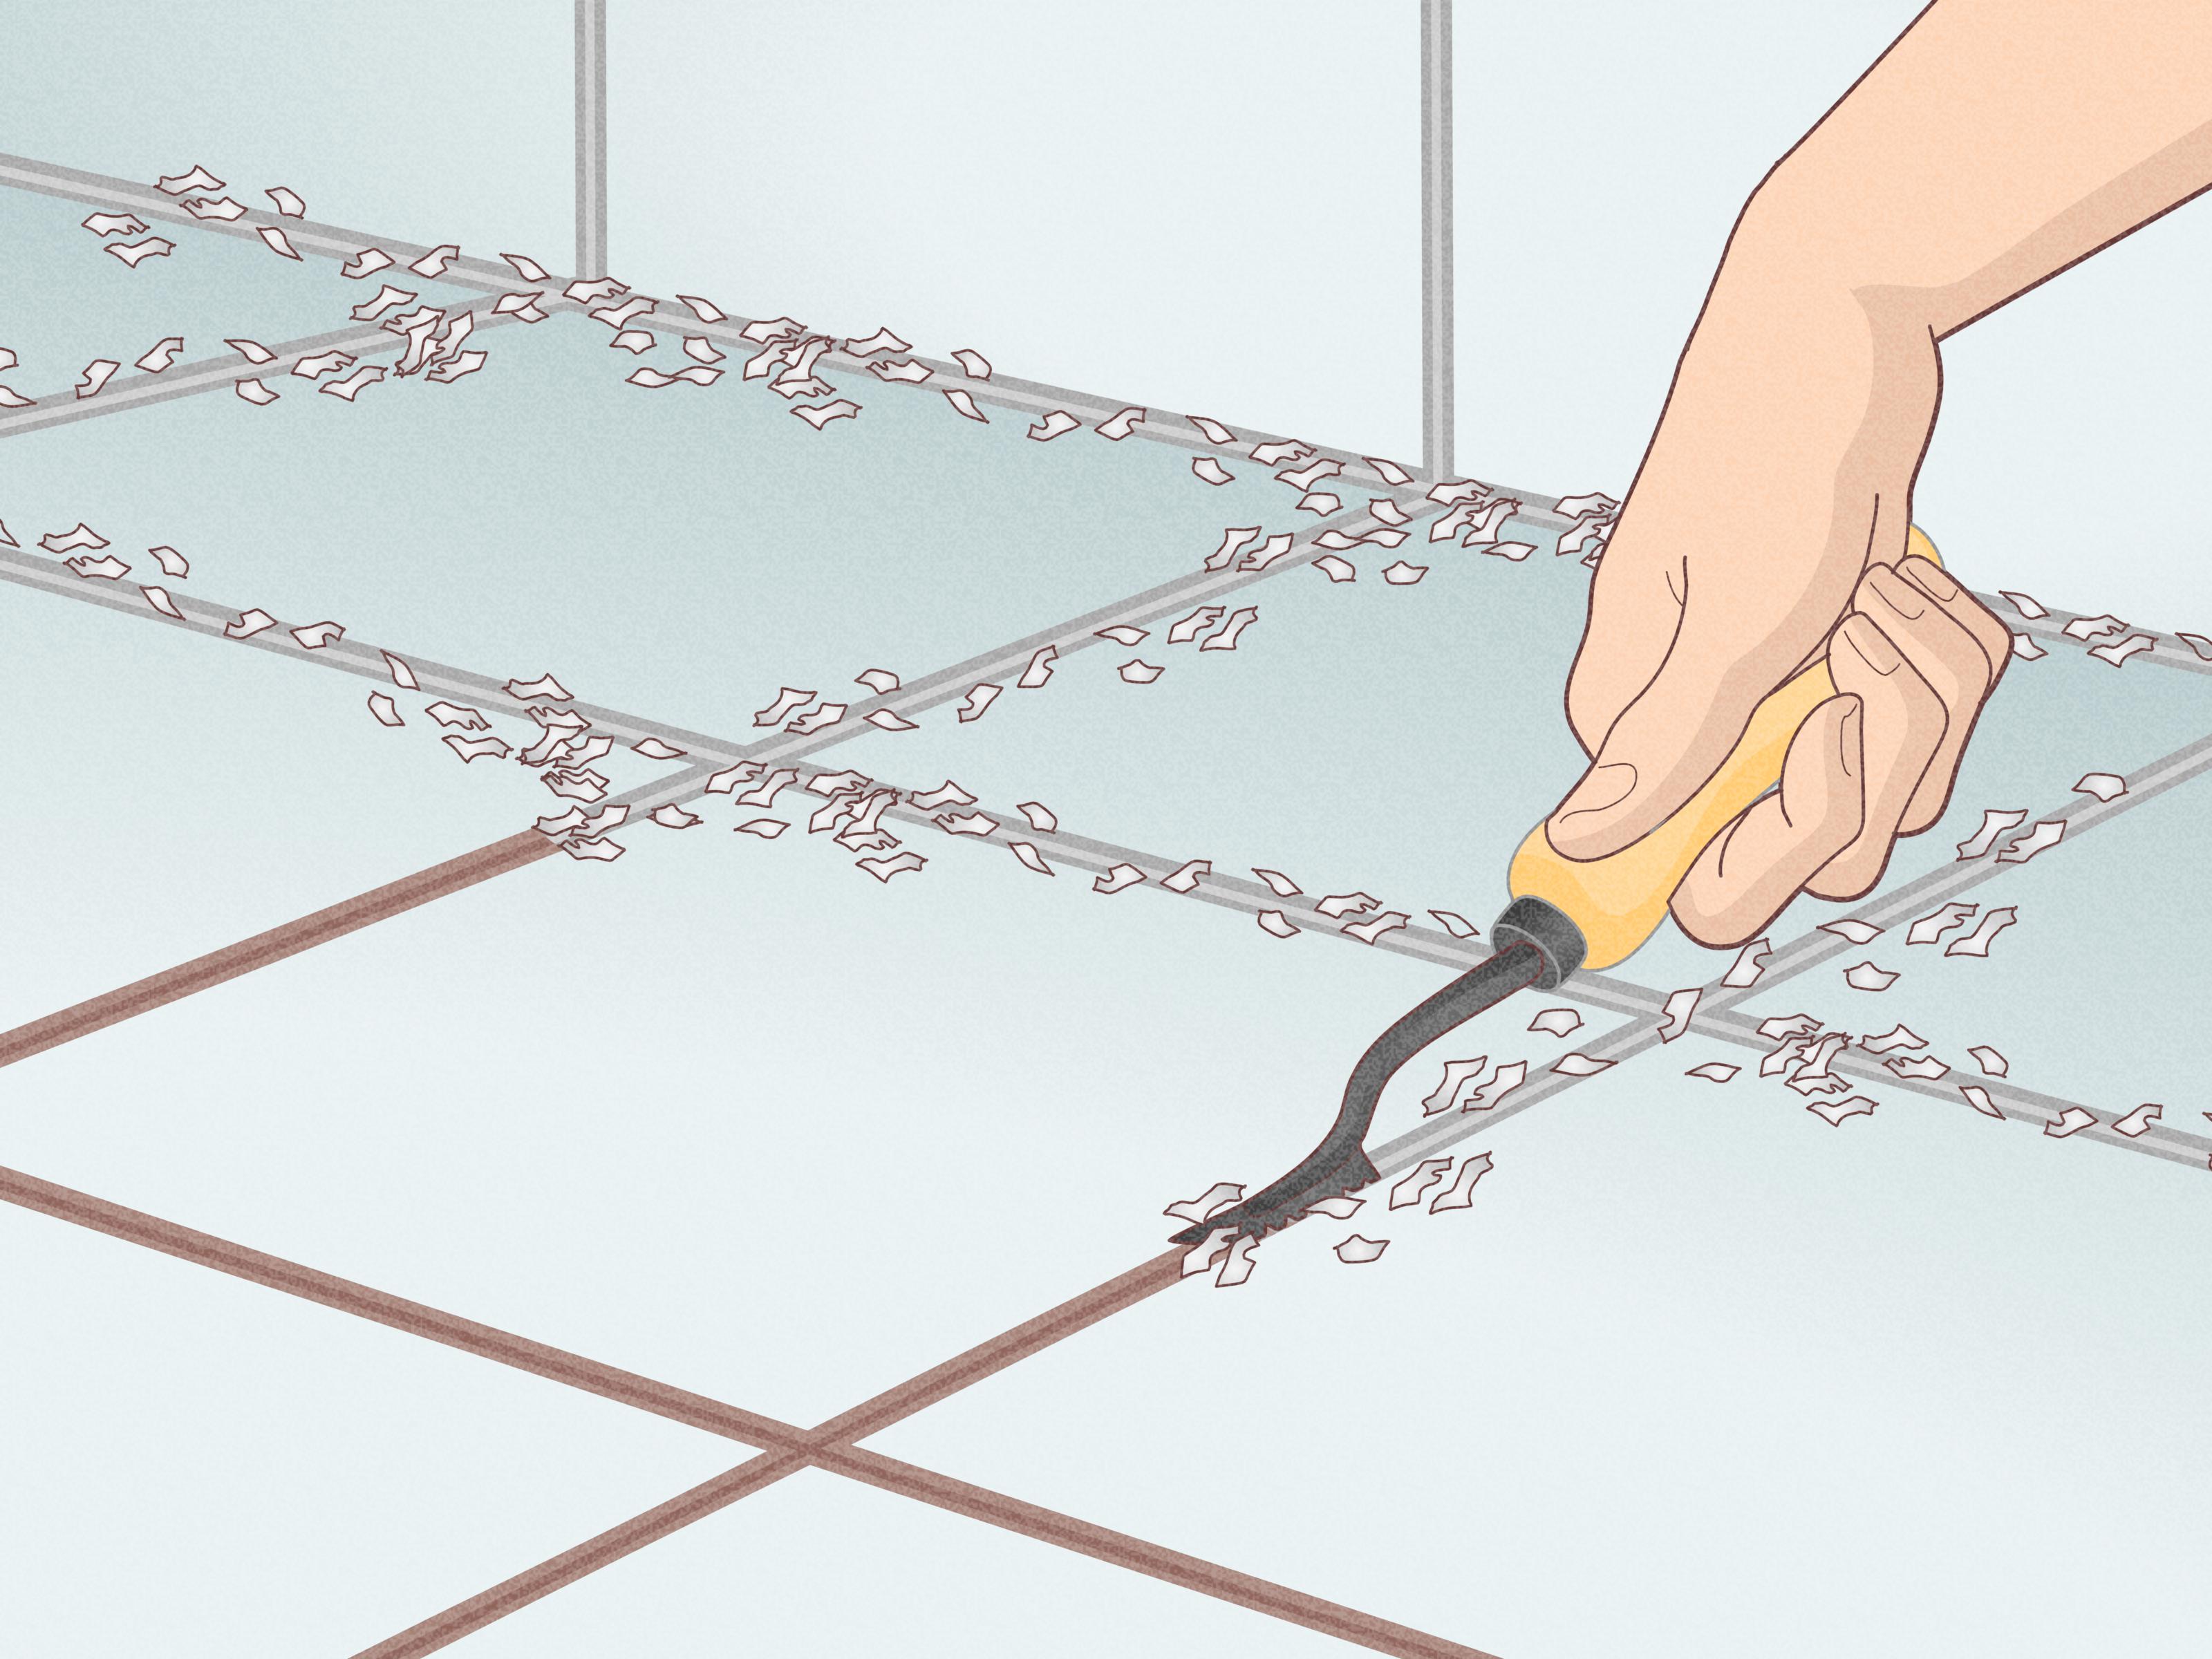
Sometimes dirty-looking grout is not dirty; it is damaged. If grout is cracked, missing, soft, crumbling, or pulling away from the tile, stop scrubbing and plan a repair. In showers, damaged grout can allow moisture behind the tile, leading to mold, loose tile, and expensive repairs. At that point, regrouting is not overkill. It is prevention wearing a tool belt.
Permanent staining can also happen when grime, dye, minerals, or mildew penetrate deeply. If repeated gentle cleaning does not work, consider using a grout colorant or hiring a tile professional. A grout colorant can refresh old grout lines and create a more uniform appearance.
Real-World Experience: What Usually Happens When People Try This Method
In practical household cleaning situations, the toilet cleaner grout trick tends to produce three kinds of results. The first result is the dramatic “before and after” moment. This usually happens on light-colored grout between glazed ceramic or porcelain tiles where the main problem is surface grime, soap scum, or hard-water staining. The gel clings, the brush agitates, and the grout looks brighter within minutes. This is the version people love to post online because it feels like discovering a secret cleaning spell.
The second result is more modest. The grout improves, but it does not return to showroom white. This is common when grout has years of embedded dirt, old sealer, mildew stains, or mineral discoloration. The surface grime lifts, but deeper staining remains. In that case, repeating toilet cleaner again and again is not the best answer. A dedicated grout cleaner, oxygen cleaner, grout colorant, or regrouting project may produce better and safer results.
The third result is the one nobody wants: damage. This tends to happen when toilet cleaner is used on natural stone, left on too long, applied too often, or allowed to touch metal fixtures. It can also happen when people combine products because they assume more bubbles mean more cleaning power. Unfortunately, the bathroom is not a science fair booth. Strong cleaners can discolor grout, weaken sealers, dull tile finishes, or create fumes. The biggest lesson is simple: fast results are nice, but surface compatibility matters more.
A smart approach is to treat toilet cleaner as a limited rescue method. Use it only after milder methods fail. Test first. Work small. Rinse like you mean it. Dry the area. Then protect the result with better habits: ventilation, regular wiping, mild weekly cleaning, and grout sealer when appropriate. The long-term win is not just making grout look clean today; it is keeping it from turning into a gray puzzle grid again next month.
Another useful experience-based tip is to clean grout in daylight or under bright bathroom lighting. Dim light hides residue and uneven spots. Bright light shows whether the cleaner actually worked, whether the grout changed color, and whether you missed a section. It also helps you avoid over-scrubbing areas that are already clean. Your knees will thank you. Possibly not out loud, but still.
Finally, remember that grout is a material, not a miracle. It ages, stains, absorbs moisture, and sometimes needs repair. If your grout only looks bad, cleaning may solve it. If it feels sandy, breaks apart, or has gaps, cleaning is like putting a tiny bow tie on a leaking pipe. Cute, but not the solution. Repair first, then clean and seal.
Conclusion
Cleaning grout with toilet cleaner can be effective, but it should be done carefully, rarely, and only on compatible surfaces. The best results come from preparation: read the label, ventilate the room, test a hidden spot, protect nearby finishes, use a small amount, scrub gently, and rinse thoroughly. If your tile is natural stone, your grout is colored or damaged, or the product label warns against off-bowl use, choose a safer grout cleaner instead.
Bright grout is satisfying, but safe cleaning is better. The goal is a bathroom that sparklesnot one that smells like regret and emergency ventilation.