A Dyson vacuum can inhale an impressive amount of suction may weaken, and the machine can begin sounding as though it has strong opinions about your housekeeping habits.
Fortunately, learning how to clean a Dyson filter is straightforward. Most washable Dyson vacuum filters require only water, careful handling, and enough drying time. The actual rinsing takes a few minutes; waiting for the filter to dry is the part that tests your patience.
This guide explains how to wash a Dyson vacuum filter in 10 practical steps, how often to perform the job, which mistakes to avoid, and what to do when cleaning the filter does not restore suction. Because filter designs vary, always compare these general instructions with the manual for your exact Dyson model.
Why Cleaning a Dyson Filter Matters
A vacuum depends on steady airflow. Air enters through the cleaner head, travels through the wand and cyclone system, passes through filtration components, and exits the machine. When fine dust accumulates in the filter, less air can move through that route.
A clogged Dyson filter can contribute to several problems:
- Reduced suction or inconsistent pickup
- Pulsing, stopping, or an unusually strained motor sound
- Shorter effective runtime on a cordless vacuum
- Musty or dusty odors during use
- More frequent automatic blockage warnings
- Extra stress on the motor and other components
Filter maintenance is not a magical cure for every vacuum problem, but it is one of the simplest places to begin. A clean filter helps the machine maintain airflow while trapping the fine material the filtration system is designed to capture.
Before You Begin: Confirm That the Filter Is Washable
This guide focuses on washable filters in Dyson vacuum cleaners. It should not automatically be applied to every product carrying the Dyson name. Air purifiers, hair-care appliances, wet floor cleaners, and certain specialized machines may use different filter materials and cleaning methods.
Check the product manual, the label on the filter, or the support information for your model before adding water. Never assume that a filter is washable merely because it can be removed. Some pleated, carbon, or sealed filtration components are intended for replacement rather than rinsing.
Common Dyson Vacuum Filter Locations
Depending on the model, the washable filter may be:
- Inserted into the top of the cyclone assembly
- Twisted onto the rear of a cordless vacuum
- Located beneath or beside the dust bin
- Housed inside the ball of an upright vacuum
- Split into separate pre-motor and post-motor filters
Many V6, V7, and V8 configurations use more than one filter. Later cordless models frequently have a rear filter unit that twists off as a single assembly. Upright and canister designs vary more widely, so model identification is important.
What You Need to Clean a Dyson Filter
You do not need a chemistry set or an industrial pressure washer. Gather these simple supplies:
- Access to clean tap water
- A sink or basin
- A clean, dry, well-ventilated place
- A microfiber cloth for the filter housing
- Your Dyson owner’s manual or model-specific instructions
Do not use dish soap, laundry detergent, bleach, disinfectant, vinegar, scented cleaner, or essential oil on the filter unless the instructions for your exact model explicitly permit it. Cleaning products can remain in the material, affect airflow, damage the filter, or create a foam party inside a machine that did not RSVP.
How to Clean a Dyson Filter in 10 Steps
Step 1: Turn Off and Disconnect the Vacuum
Switch off the machine before removing any component. Unplug a corded Dyson from the wall. For a cordless model, remove it from the charging dock and make sure the trigger or power button cannot be activated accidentally.
Do not work on the filter while the vacuum is running or charging. Water and powered electrical equipment have never been famous for their teamwork.
Step 2: Identify Every Washable Filter
Locate all washable filters before beginning. Some Dyson vacuums have only one filter assembly, while others have separate pre-motor and post-motor filters. Consult the manual if you are unsure.
Cleaning only one of two clogged filters may produce disappointing results. It is similar to washing one sock and wondering why laundry day still feels unfinished.
Step 3: Remove the Filter Carefully
Release or twist the filter according to the model’s design. Do not yank it by the fabric, force a stubborn latch, or pry it loose with a screwdriver. Most cordless rear filters unlock with a short counterclockwise turn, while top-mounted pre-filters generally lift out.
Notice the filter’s orientation before removal. Taking a quick photo can help if the design is unfamiliar. Place the vacuum body away from the sink so no water splashes into the motor, electrical contacts, or cyclone assembly.
Step 4: Tap Away Loose Dust
Hold the dry filter over a trash can and tap it gently against the side of the bin or against your hand. This removes loose dust before rinsing and prevents your sink from receiving an instant sediment collection.
Use light taps rather than aggressive impacts. A filter is a precision component, not a tambourine. Avoid scraping the pleats or pushing sharp objects into the material.
Step 5: Rinse the Exterior With Water
Place the washable filter under running tap water. Cold water is the safest general choice unless the instructions for your model specify another temperature. Gently rub the exterior with clean fingers to loosen embedded dust.
Do not apply detergent. Avoid very hot water, high-pressure spray nozzles, stiff brushes, or abrasive sponges. These can deform delicate filter material or affect the seal around the assembly.
Rotate the filter as you rinse so water reaches the entire surface. Early runoff may look gray, brown, or alarmingly similar to a small mudslide. That is normal when the filter has been neglected.
Step 6: Flush the Inside of the Filter
If the filter has an open end and the model instructions permit it, fill the interior with clean water. Cover the openings with your hands and shake the filter gently but firmly. Pour out the dirty water and repeat.
This motion helps release fine dust trapped deeper within the filter. Continue filling, shaking, and emptying until the discharged water becomes clear. Several cycles may be necessary after heavy use, pet-hair cleanup, renovation dust, or an unfortunate encounter with spilled flour.
Step 7: Remove Excess Water
When the rinse water is clear, shake the filter over the sink to remove as much water as possible. Follow the model-specific technique for squeezing, tapping, or draining. Some soft pre-filters can be squeezed gently, while rigid pleated units should not be crushed or twisted.
Inspect the filter during this step. Watch for torn fabric, cracked plastic, collapsed pleats, damaged seals, or material that remains permanently clogged. Washing cannot repair physical damage. A compromised filter should be replaced with a compatible part.
Step 8: Air-Dry the Filter for at Least 24 Hours
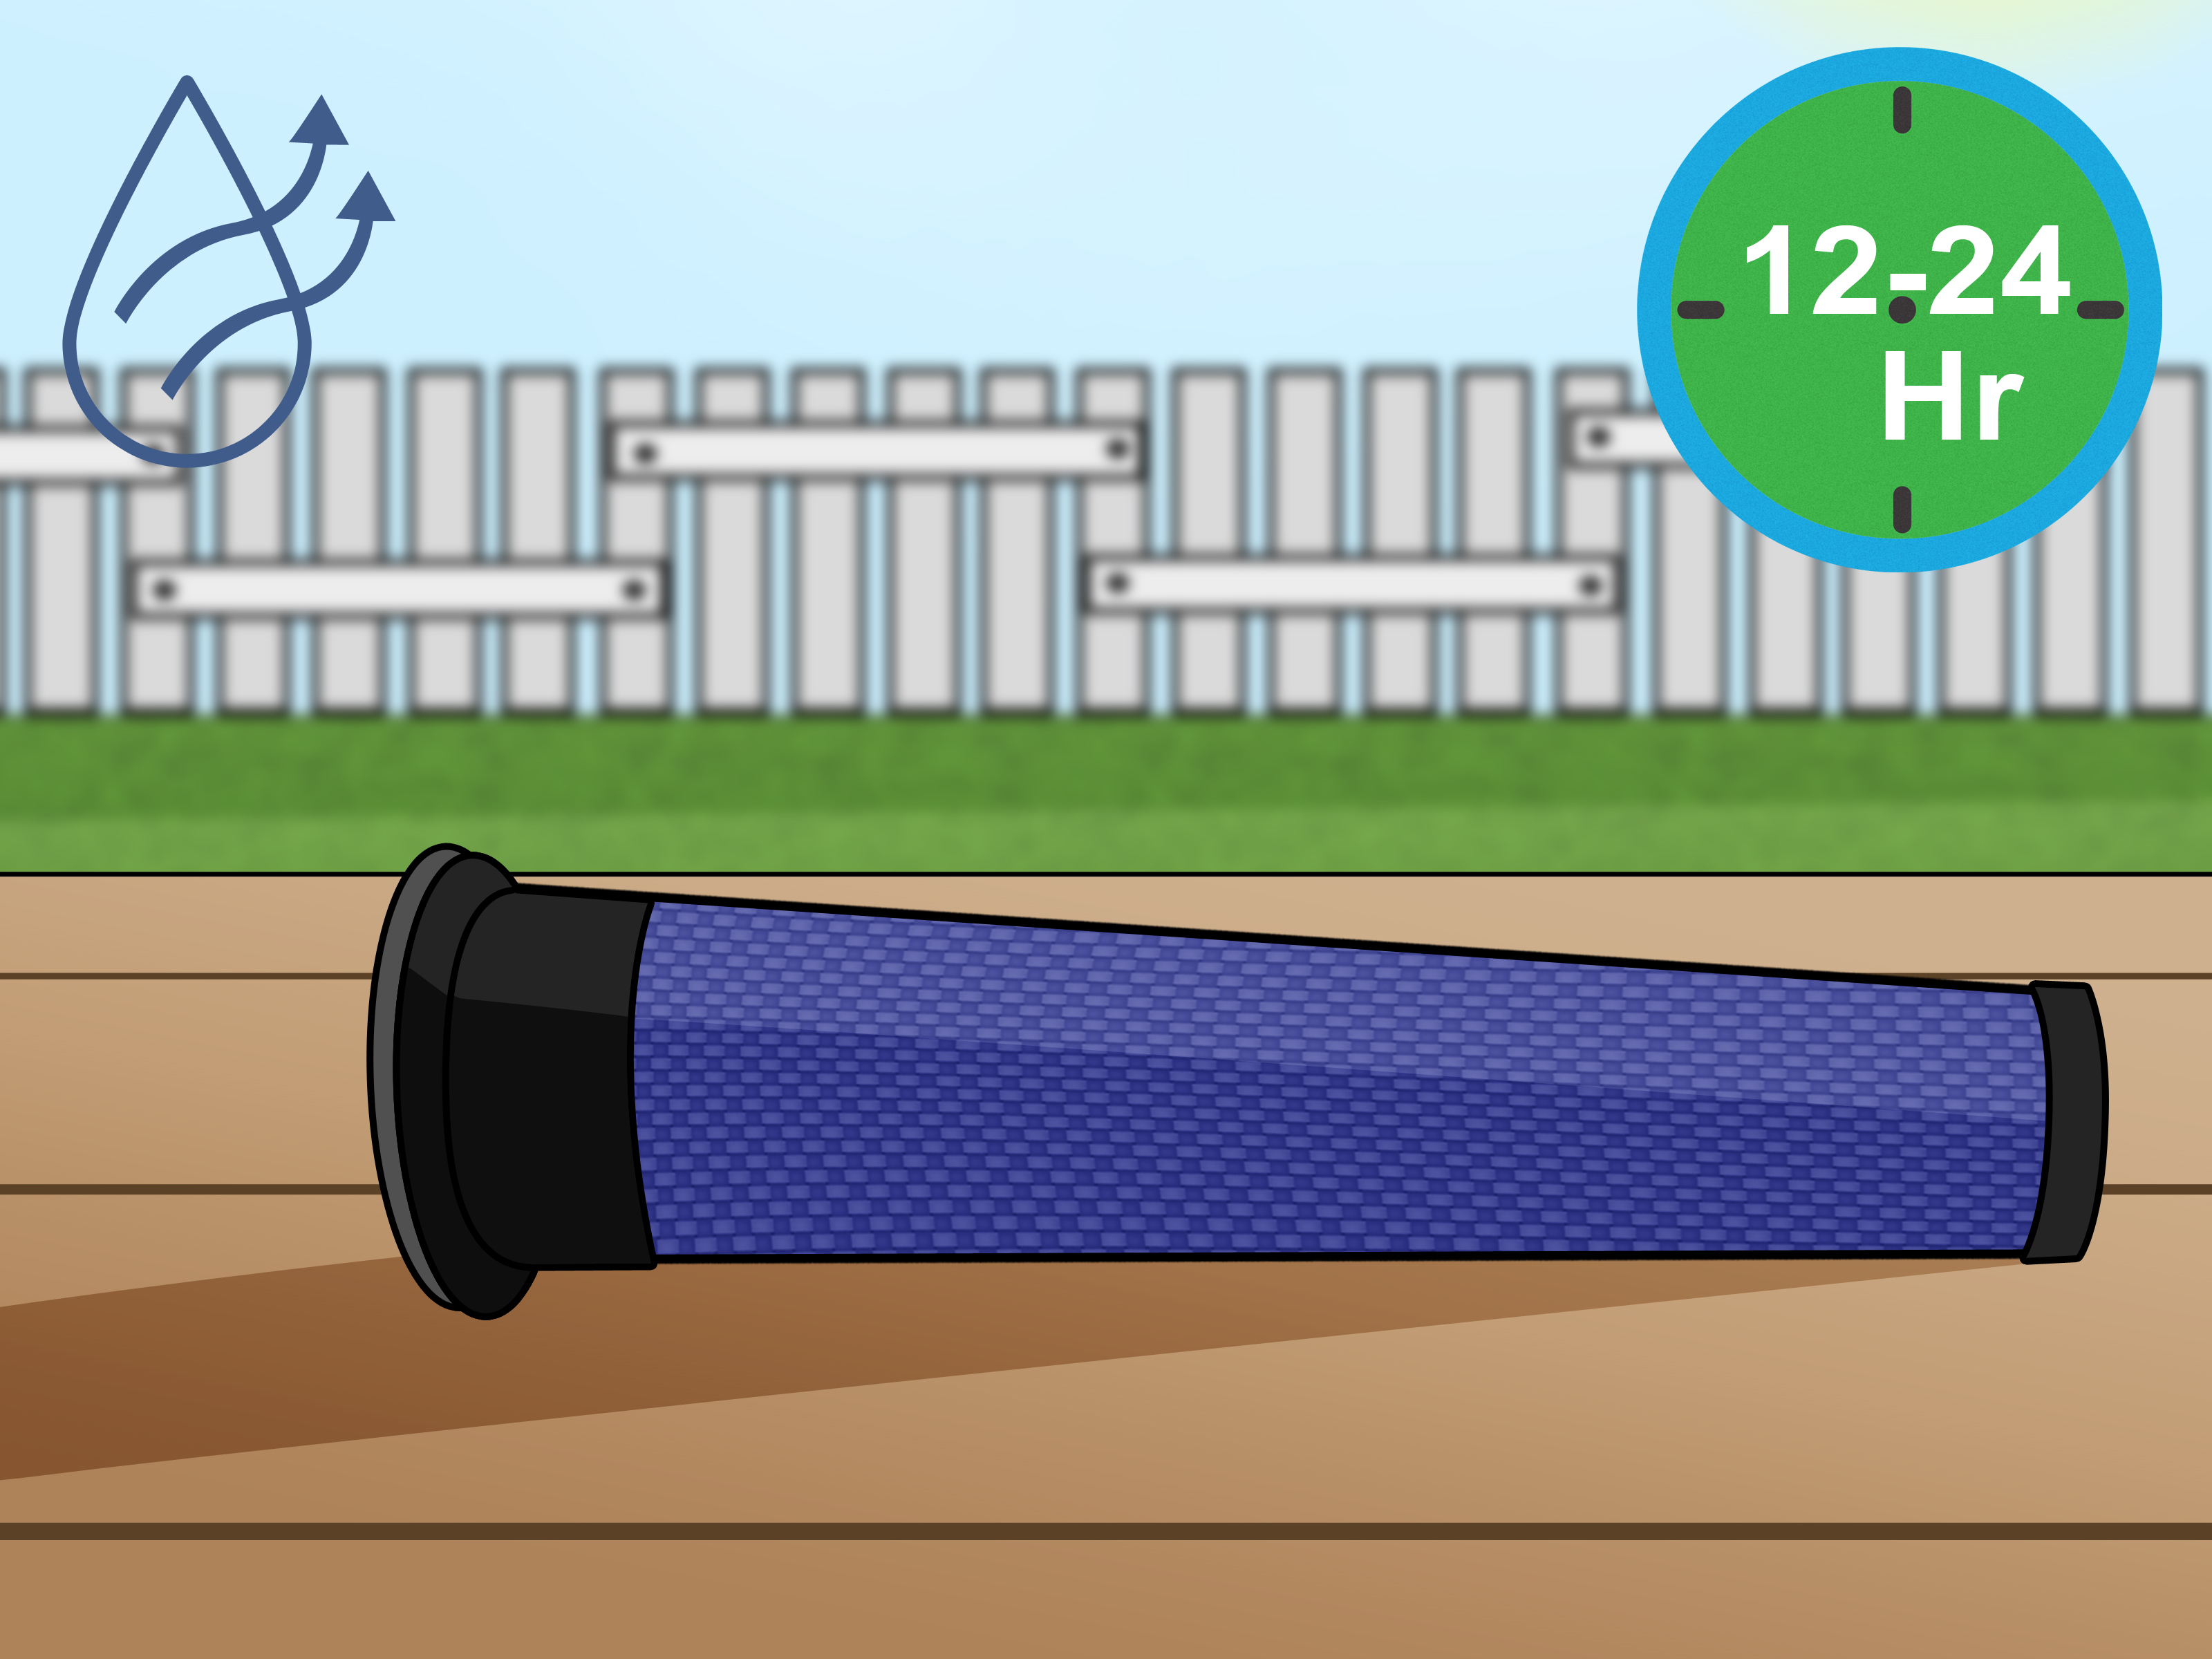
Place the filter in a dry location with good airflow and leave it for a minimum of 24 hours, or longer if necessary. Humid weather, thick filter material, and limited ventilation can extend the drying period.
Position the filter as directed in the manual. In general, keep it off damp counters and allow air to circulate around all sides. A drying rack or clean shelf nearnot ona source of ordinary room ventilation works well.
Do not use a tumble dryer, hair dryer, microwave, oven, radiator, open flame, or intense direct heat. High heat can warp plastic, damage filter media, or weaken seals. Direct sunlight may also become excessively hot depending on the location.
Step 9: Confirm That the Filter Is Completely Dry
Before reinstalling the filter, check more than the outer surface. The interior and deepest layers must also be dry. Hold the filter in several positions and look for moisture. It should not feel cool and damp, release droplets, or smell musty.
Installing a wet Dyson filter is one of the most serious maintenance mistakes. Moisture can combine with dust to create stubborn buildup, cause unpleasant odors, encourage microbial growth, and potentially reach components that should remain dry.
When uncertain, allow another 12 to 24 hours. The floor can survive one more day without being vacuumed. The motor would prefer not to become an aquarium.
Step 10: Reinstall the Filter and Test the Vacuum
Return the dry filter to its original position. Align tabs, arrows, or locking marks and twist or press until the filter is securely seated. Reinstall every filter that was removed.
Turn on the vacuum and listen for normal operation. Test it on a small area using the standard power setting. Suction should feel steady, and the machine should not pulse or display a filter warning.
If performance remains poor, turn the vacuum off and investigate other causes rather than repeatedly washing the filter.
How Often Should You Wash a Dyson Filter?
A monthly cleaning schedule is a useful general rule for many washable Dyson vacuum filters. Actual frequency depends on how the vacuum is used.
You may need to clean the filter more often if:
- You have shedding pets
- You vacuum several times per week
- Your home has heavy foot traffic
- You frequently collect fine dust or powdery debris
- You use the vacuum in a large home
- The machine displays a filter-maintenance warning
Occasional users may not see rapid buildup, but the filter should still be inspected regularly. A recurring calendar reminder can prevent the familiar discovery that the “monthly” filter cleaning last occurred during a completely different season.
Five Dyson Filter Cleaning Mistakes to Avoid
Using Soap or Household Cleaner
Soap may seem helpful, especially when the filter looks grimy. However, residue can remain in the filter and interfere with airflow. Water alone is normally recommended for washable Dyson vacuum filters.
Reinstalling the Filter While Damp
The exterior can feel dry while moisture remains deep inside. Always allow the full recommended drying period and extend it in humid conditions.
Using Heat to Speed Up Drying
A hair dryer or radiator may save time but can damage plastic and filtration material. Natural air-drying is slower and considerably less dramatic.
Washing a Non-Washable Filter
Not every removable filter can be rinsed. Washing a replaceable paper, carbon, or sealed filter may ruin it. Confirm the filter type first.
Assuming Every Suction Problem Is the Filter
A clean filter cannot compensate for a blocked wand, packed cleaner head, overfilled bin, damaged seal, tangled brush bar, or exhausted battery. Diagnose the entire airflow route when symptoms continue.
What to Do If Your Dyson Still Has Weak Suction
If cleaning and fully drying the filter does not improve performance, work through these checks:
- Empty the dust bin. Debris above the maximum fill line can restrict airflow.
- Inspect the cleaner head. Remove hair, thread, and fibers wrapped around the brush bar.
- Check the wand. Detach it and look through the tube for compacted debris.
- Inspect the inlets. Small objects often become trapped where components connect.
- Examine seals and fittings. Loose or damaged seals can reduce suction.
- Confirm proper filter installation. A filter that is not fully locked may trigger warnings or allow air leakage.
- Consider filter replacement. Old, torn, misshapen, or permanently clogged filters may no longer perform correctly.
A pulsing cordless Dyson commonly indicates restricted airflow. Turn the machine off before checking for obstructions. Never insert fingers or tools into moving components while the vacuum is powered.
When Should a Dyson Filter Be Replaced?
Washable does not mean immortal. Replace the filter when it is physically damaged, no longer fits securely, has deteriorated seals, remains heavily discolored and restricted after proper washing, or produces persistent odors after complete drying.
Replacement may also be appropriate when performance problems repeatedly return soon after cleaning. Use a filter specifically listed as compatible with your model. An inexpensive filter that fits poorly can create air leaks, reduce filtration performance, or trigger machine errors.
Owners who vacuum frequently sometimes keep a second compatible filter. While one filter dries, the other can be used, provided both are clean, undamaged, and approved for the machine. This is especially convenient in humid climates where 24 hours may not be enough for thorough drying.
Experience-Based Lessons From Cleaning Dyson Filters
The most noticeable practical lesson is that filter maintenance works best as a routine rather than an emergency response. Waiting until a Dyson pulses, overheats, or loses most of its suction turns a small chore into a much messier project. A lightly dirty filter may rinse clear after a few cycles. A neglected filter can release clouds of dry dust before producing several sinkfuls of gray water.
A useful household routine is to clean the filter immediately after the final vacuuming session of the day. The machine is already empty, the dust is fresh, and the filter can dry overnight and through the following day. Beginning the process five minutes before guests arrive is less successful. A washed filter cannot be hurried back into service simply because the living room contains visible cracker evidence.
Drying conditions make a larger difference than many owners expect. In an air-conditioned or well-ventilated room, a filter may become thoroughly dry after the minimum period. In a humid laundry room or bathroom, moisture can remain deep inside long after the exterior feels dry. Placing the filter on an open rack with space around it is more effective than leaving it flat on a damp towel. Rotating it once during drying can also expose areas that were resting against the surface.
Another common experience is assuming that dark rinse water means the filter is damaged. Usually, it simply shows how much fine material has accumulated. Continue rinsing until the water becomes clear, but avoid turning the cleaning session into an endurance sport. Aggressive twisting and squeezing can harm rigid or pleated sections. The goal is to flush the filter, not interrogate it.
Homes with pets often need a shorter maintenance interval. Pet dander and fine dust can load a filter even when the visible bin seems to contain mostly hair. Similarly, vacuuming construction debris, fireplace ash, large amounts of flour, or other ultrafine material can clog filtration rapidly. Standard household vacuums are not designed for every type of cleanup, so choosing the correct equipment prevents unnecessary filter trouble.
It is also helpful to inspect the rest of the vacuum while the filter is drying. Hair wrapped around the brush bar, a toy lodged in the wand, or debris packed into an elbow can mimic the symptoms of a dirty filter. Cleaning the filter and clearing the airflow path during the same maintenance session usually produces a more obvious improvement than addressing either issue alone.
Finally, patience is the habit that protects the machine most effectively. A filter that appears “probably dry enough” is not dry enough. Keeping a spare compatible filter can eliminate the temptation to reinstall a damp one. Without a spare, allowing extra drying time is still less inconvenient than dealing with odors, repeated blockages, or moisture near the motor.
Conclusion
Cleaning a Dyson filter is a simple maintenance task with an outsized effect on everyday performance. Turn off the vacuum, identify every washable filter, remove loose dust, rinse with water, shake out the excess, and allow at least 24 hours of natural drying time. Once the filter is completely dry, reinstall it securely and check the rest of the airflow path if suction does not improve.
A monthly reminder can help prevent restricted airflow before it becomes obvious. Use only the cleaning method approved for your exact Dyson model, avoid detergent and artificial heat, and replace filters that are damaged or permanently clogged. Your reward is steadier suction, fewer warning messages, and a vacuum that returns to collecting dust instead of becoming part of it.
Note: This guide applies primarily to washable Dyson vacuum filters. Filter care for Dyson air purifiers, hair-care tools, wet floor cleaners, and other product categories may be different. Always follow the instructions supplied with the specific machine.