Polypropylene is the quiet overachiever of the plastic world. It shows up in storage bins, car bumpers, battery cases, toys, outdoor furniture, appliance parts, food containers, luggage shells, laboratory trays, and enough household items to make your garage look like a small plastics museum. It is light, tough, chemical-resistant, and affordable. Unfortunately, when it cracks, splits, snaps, or develops a mystery hole, polypropylene also likes to act like nothing on Earth wants to stick to it.
That is because polypropylene, often labeled as PP, is a low-surface-energy plastic. In plain English, glue looks at it and says, “No thanks, I’m busy.” Ordinary super glue, standard epoxy, and general household adhesives may peel off after curing, especially if the part bends, gets wet, or lives outdoors. The good news is that polypropylene can be repaired. You simply need to choose the right method for the type of damage.
This guide explains 5 simple ways to repair polypropylene, from quick adhesive fixes to stronger plastic welding methods. Whether you are saving a cracked storage tote, repairing a polypropylene bumper tab, fixing a garden sprayer, or rescuing a plastic chair before it becomes modern art, the key is preparation, patience, and not trusting a mystery glue from the junk drawer.
Why Polypropylene Is Tricky to Repair
Before grabbing tools, it helps to understand what makes polypropylene different from plastics like PVC, acrylic, ABS, or polycarbonate. Polypropylene is a thermoplastic polyolefin. It softens with heat and can be welded, but its surface is naturally resistant to wetting by many adhesives. That resistance is one reason PP is used for containers, caps, hinges, packaging, and chemical-resistant parts.
In practical repair terms, polypropylene has three important quirks:
- It is hard to glue. Many common adhesives do not bond well unless you use a primer, adhesion promoter, or specialty adhesive made for polypropylene.
- It can flex. A rigid repair on a flexible PP part may crack again because the patch and the plastic move differently.
- It can be heat-welded. Because polypropylene is thermoplastic, heat-based repairs can work extremely well when done with matching PP welding rod or compatible filler.
The best repair method depends on the job. A small cosmetic chip may need only a specialty adhesive. A split bumper cover, outdoor bin, or equipment panel may need welding, reinforcement, or a mechanical patch. The repair should match the stress level of the part. A cracked laundry basket is one thing. A pressure tank, fuel container, load-bearing chair leg, or safety-critical automotive part is another. For anything that could leak hazardous material, carry weight, or affect vehicle safety, replacement or professional repair is usually the smarter choice.
How to Identify Polypropylene Before Repairing It
Look for recycling code 5, the letters PP, or molded marks on the back or underside of the part. Automotive parts may also be marked PP+EPDM, TPO, or similar blends. These related polyolefin plastics behave much like polypropylene when it comes to bonding: they need special preparation.
If there is no label, use clues. Polypropylene is usually lightweight, slightly waxy to the touch, and resistant to many solvents. It may float in water, though fillers and reinforcements can change that. When heated carefully, PP softens rather than turning gummy like some plastics. Still, do not perform burn tests indoors or on unknown materials. A label, manufacturer information, or a small hidden test is safer and more useful.
Tools and Supplies You May Need
You do not need a full-body lab coat and dramatic movie lighting, but a few basic supplies make polypropylene repair much easier:
- Dish soap or plastic-safe cleaner
- Isopropyl alcohol for final cleaning
- Fine and medium-grit sandpaper
- Clamps, tape, or spring clips
- Polypropylene-compatible adhesive or plastic bonding system
- Adhesion promoter or primer for low-surface-energy plastics
- Plastic welder, soldering-style plastic repair tool, or hot air welder
- Polypropylene welding rod or scrap PP from a matching donor piece
- Stainless steel mesh or hot staples for reinforcement
- Gloves, eye protection, and ventilation
Always clean first. Dust, oil, mold-release residue, hand grease, sunscreen, and road grime can sabotage a repair faster than a toddler with permanent markers. Wash with soap and water, dry completely, then wipe the repair area with isopropyl alcohol. Sanding helps create mechanical grip, but sanding alone does not turn ordinary glue into polypropylene glue.
1. Use a Polypropylene-Specific Adhesive System
Best for: small cracks, tabs, household items, lightweight parts, and clean breaks
The easiest repair for many polypropylene items is a specialty adhesive system designed for low-surface-energy plastics. These products often use a primer or activator followed by cyanoacrylate adhesive, or they use a structural adhesive formulated for difficult plastics. The important word is polypropylene. If the label only says “bonds most plastics,” keep reading the fine print. “Most” often means “not this stubborn little rectangle of PP.”
For a clean break, dry-fit the parts first. The pieces should touch closely without large gaps. Sand both bonding surfaces lightly with 120- to 220-grit sandpaper, then clean them again. Apply the primer or adhesion promoter if the product requires it. Add a thin layer of adhesive, join the parts, and hold them steady until the initial bond forms. Do not flood the joint. More glue does not always mean more strength; sometimes it just means more mess and a repair that looks like it sneezed.
This method works well for small household repairs such as a broken storage box corner, a loose plastic tab, a cracked organizer drawer, or a snapped toy part. It is less ideal for flexible hinges, large holes, high-impact areas, or parts exposed to constant vibration. Adhesive bonds can be strong, but polypropylene still prefers welding for many structural repairs.
2. Plastic Weld the Crack with Matching Polypropylene Rod
Best for: structural cracks, automotive parts, outdoor bins, tanks not used for pressure or fuel, and thick PP pieces
Plastic welding is often the strongest way to repair polypropylene because it fuses compatible thermoplastic material together. Instead of asking glue to cling to a slippery surface, you melt the base plastic and a matching PP filler rod so they become one continuous repair. This is the plastic version of “let’s not argue, let’s become one.”
Start by cleaning the damaged area thoroughly. Drill a tiny stop hole at each end of a long crack if the crack keeps spreading. Then use a rotary tool, utility knife, or scraper to create a shallow V-groove along the crack. The groove gives the welding rod a place to sit and increases the bonding area. Align the broken edges and tack them in place with a plastic welder or tape on the opposite side.
Use polypropylene welding rod, not random plastic. Matching the material matters. Heat the groove and the rod until both soften and blend, then press the rod into the joint. Move steadily and avoid burning the plastic. A good weld looks fused, not charred. If the repair turns brown, smokes heavily, or smells harsh, the tool is probably too hot or moving too slowly.
For thicker parts, weld from both sides if possible. After cooling, trim or sand the excess material. Do not rush the cooling process with water unless the tool or material instructions allow it. Letting the repair cool naturally reduces stress and helps prevent warping.
3. Reinforce the Repair with Stainless Steel Mesh or Hot Staples
Best for: cracks that reopen, flexible parts, bumper tabs, panels, chair backs, bins, and large splits
Sometimes the crack itself is not the only problem. The surrounding area may flex every time the part is used. In that case, glue or welding alone may fail. Reinforcement spreads the load across a wider area, making the repair tougher and more forgiving.
Hot staples are small metal staples heated and pressed across a crack. Once embedded, they act like hidden stitches. Stainless steel mesh works similarly but covers a wider area. It is especially useful on the back side of a repair where appearance is less important. Think of it as adding rebar to plastic, minus the construction crew and questionable gas station coffee.
To use mesh, clean and sand the back side of the damaged part. Cut a piece of stainless steel mesh large enough to extend beyond the crack by at least half an inch on each side. Heat the mesh with a plastic repair iron or welder and press it gently into the polypropylene. The plastic should soften around the mesh without being scorched. After embedding the mesh, cover it with melted PP welding rod or compatible filler for a smoother, stronger patch.
Hot staples are helpful for narrow cracks or broken tabs. Insert several staples perpendicular to the crack, spacing them evenly. Clip off the exposed ends if needed, then cover the area with welded PP filler. This technique is common in automotive plastic repair because it adds strength while keeping the front side of the part relatively clean.
4. Patch Holes with a Donor Piece of Polypropylene
Best for: missing chunks, worn-through areas, holes, and flat or gently curved surfaces
If polypropylene has a hole or missing section, do not expect glue alone to perform magic. A patch gives the repair new material to work with. The best patch is another piece of polypropylene, ideally similar in thickness and flexibility. You can often cut a donor patch from a broken PP container, an old storage bin lid, or a scrap piece labeled PP.
Trim the hole into a clean shape if the edges are ragged. Round corners are usually better than sharp corners because they reduce stress points. Cut the patch so it overlaps the damaged area by at least one inch on all sides. Sand the back of the patch and the surface around the hole. Clean both pieces carefully.
There are two good ways to attach the patch. For a light-duty repair, use a polypropylene-compatible adhesive system with primer or adhesion promoter. Clamp the patch until the adhesive cures. For a stronger repair, plastic weld around the edges of the patch and, if possible, add a few tack welds or mesh reinforcement on the back.
For curved parts, warm the patch gently so it conforms to the shape before welding or bonding. Do not overheat it. Polypropylene can warp quickly, and once it waves goodbye to its original shape, convincing it to come back is not always easy.
5. Use Heat Reshaping and Surface Sealing for Minor Damage
Best for: stress whitening, shallow gouges, small dents, and light surface cracks
Not every polypropylene repair requires glue or welding rod. Some damage is mostly cosmetic. White stress marks, shallow scratches, and slight deformation can sometimes be improved with careful heat. The key word is careful. Polypropylene softens with heat, but too much heat can distort the part, create shiny spots, or make the damage worse.
Use a heat gun on a low setting and keep it moving. Hold it several inches away from the surface and warm the area gradually. Stress whitening may fade as the plastic relaxes. Small dents may lift slightly if the plastic is not permanently stretched. For scratches, gentle heat can reduce contrast, but it will not fill deep gouges.
This method is useful for plastic bins, trim pieces, appliance parts, and outdoor furniture where appearance matters more than structural strength. It is not a substitute for welding a real crack. If the part is split, flexing, leaking, or carrying weight, use a stronger method.
Common Mistakes When Repairing Polypropylene
Using the Wrong Glue
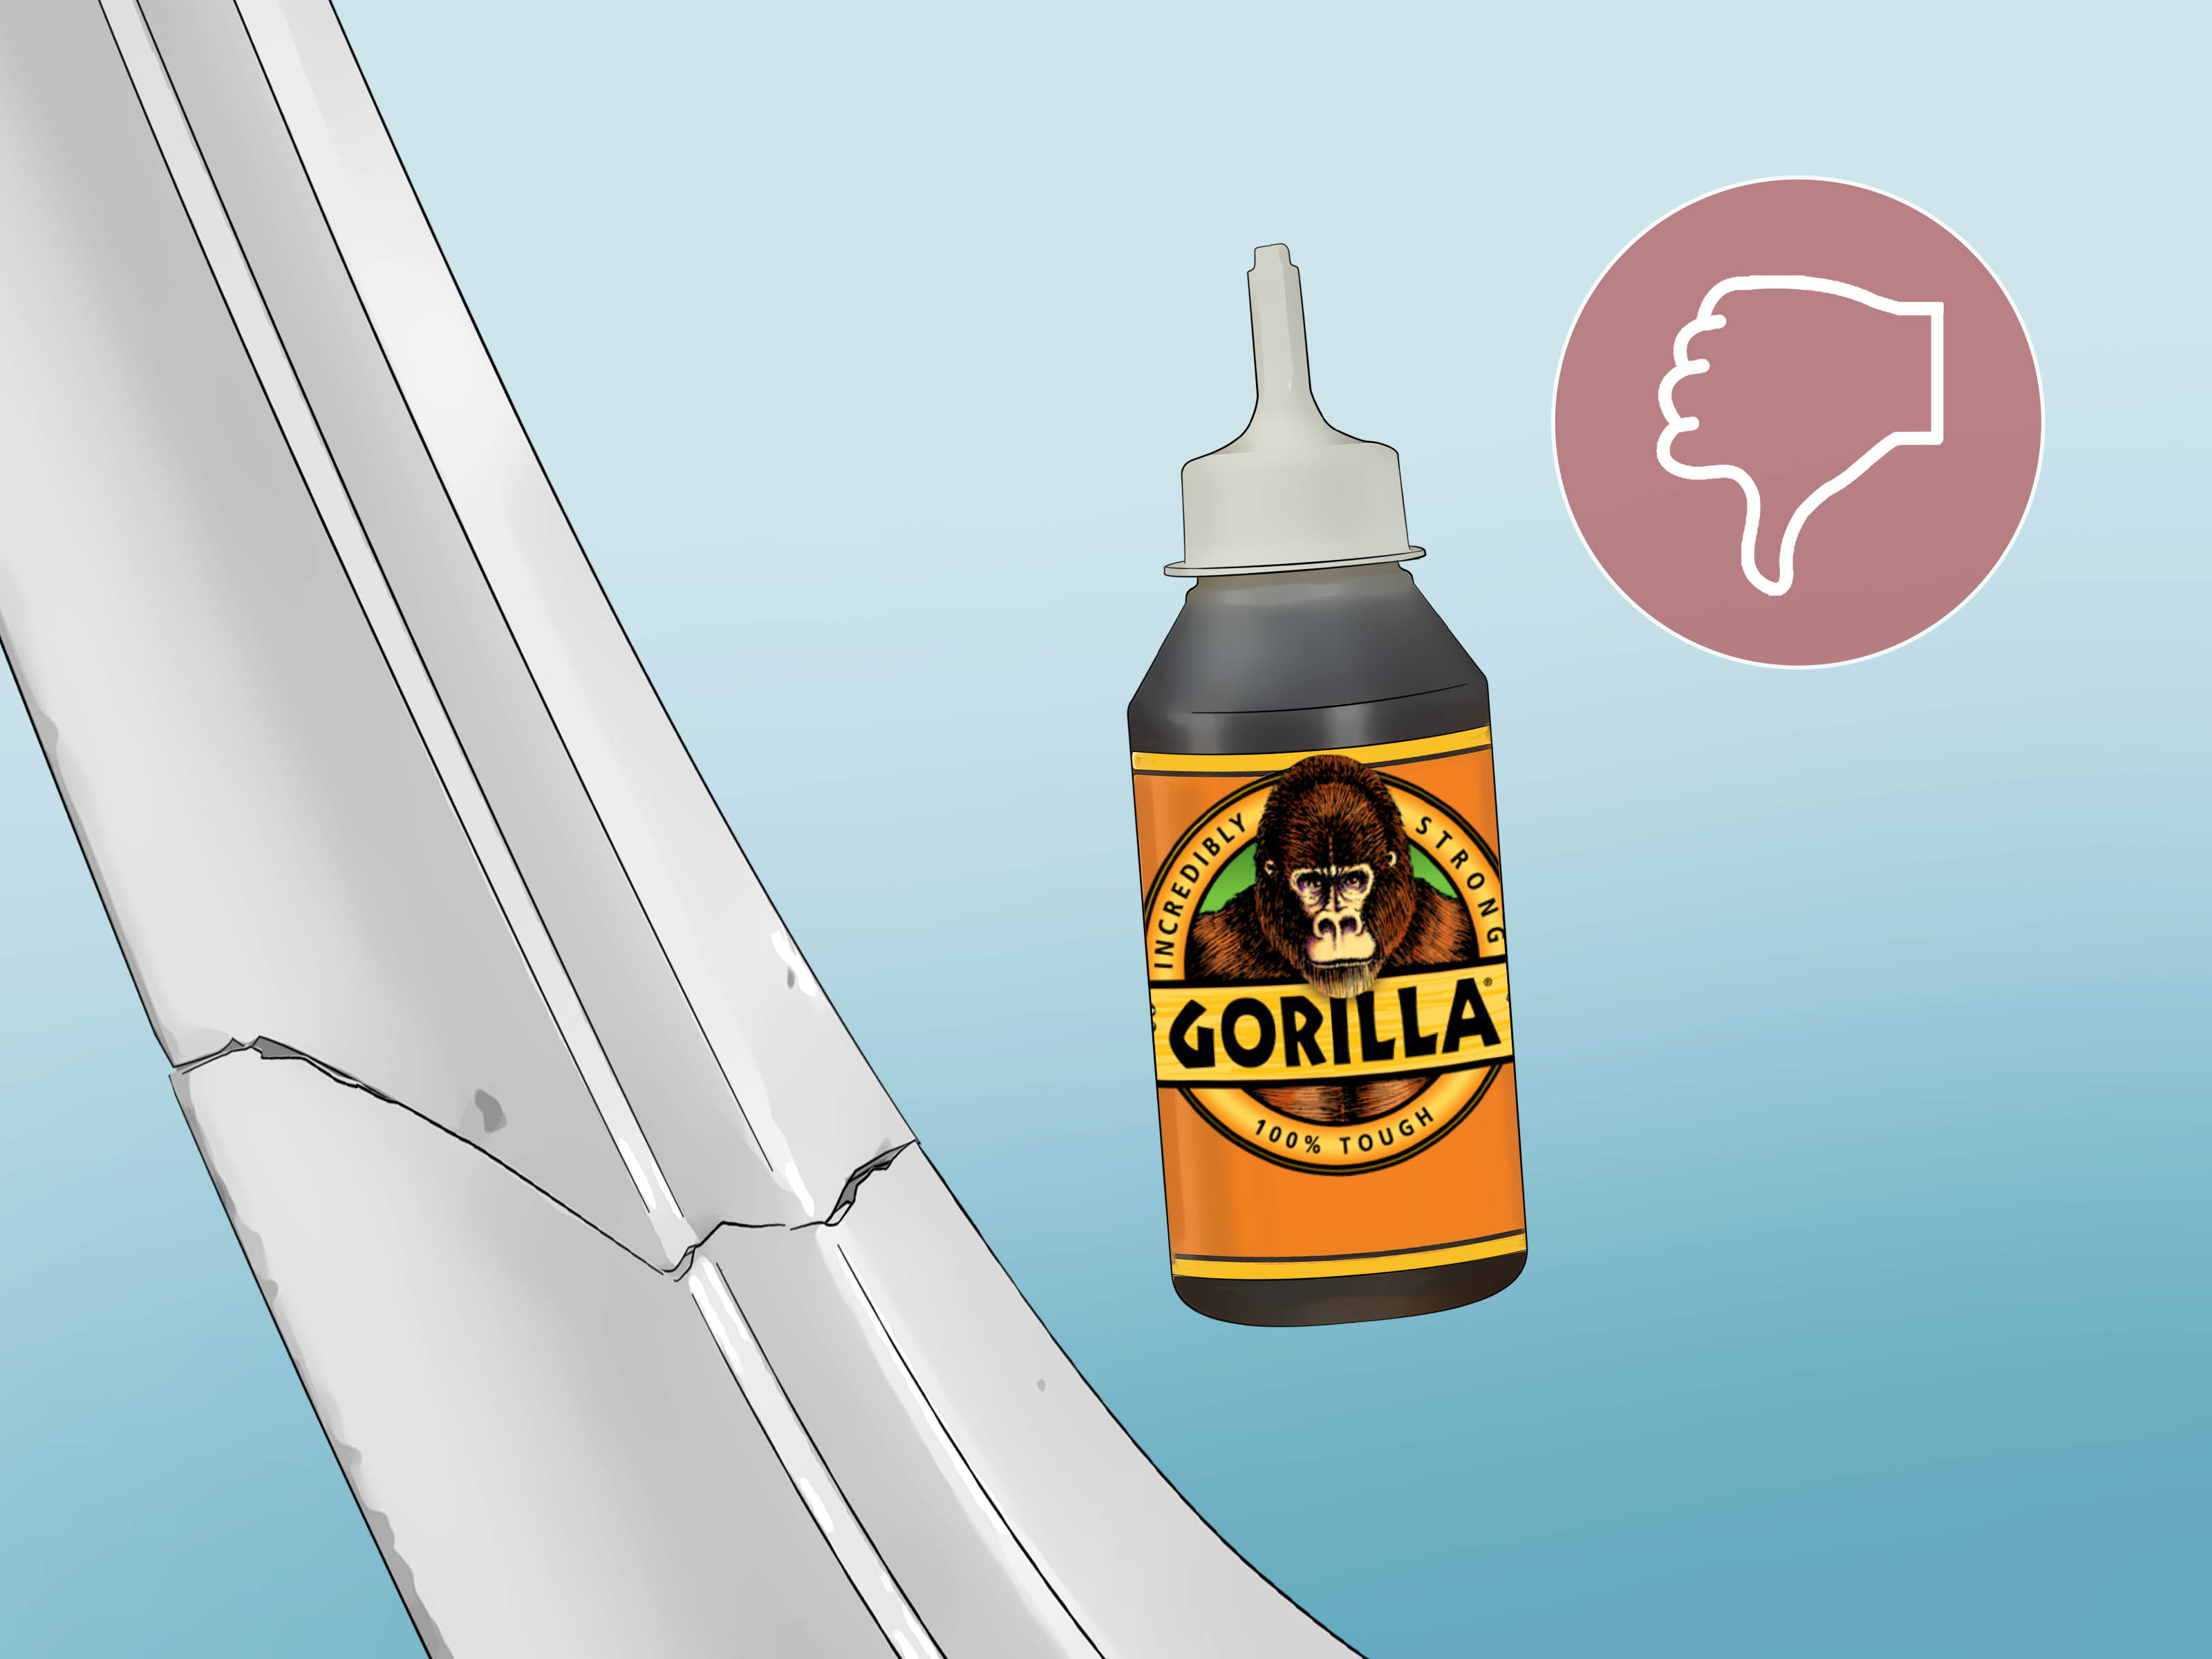
Regular super glue, standard craft glue, hot glue, and many epoxies may fail on polypropylene. They might seem to work at first, then pop loose after a few days. Use products specifically labeled for polypropylene, polyethylene, polyolefins, or low-surface-energy plastics.
Skipping Surface Preparation
Even the right adhesive can fail on dirty plastic. Clean, sand, clean again, and let everything dry. Surface prep is not glamorous, but neither is watching your repair fall off like a bad toupee.
Overheating the Plastic
Burned polypropylene becomes weak and ugly. Heat should soften and fuse the plastic, not turn it into toast. Practice on scrap material before repairing a visible or valuable part.
Ignoring Flexibility
A rigid patch on a flexible part may crack at the edge of the repair. Reinforcement, flexible adhesive systems, or welded PP filler usually performs better than a brittle repair.
Repairing Unsafe Items
Do not casually repair fuel tanks, pressure containers, medical equipment, child safety gear, or structural automotive parts unless you know exactly what you are doing and the repair is approved for that use. Some items are cheap to replace and expensive to trust.
Which Polypropylene Repair Method Should You Choose?
For small, clean breaks, start with a polypropylene-specific adhesive system. For cracks that need strength, use plastic welding with matching PP rod. For flexible or high-stress cracks, add mesh or hot staples. For holes, use a polypropylene patch. For cosmetic surface marks, try careful heat reshaping.
If you are unsure, ask one question: Will this part flex, carry weight, hold liquid, or take impact? If yes, choose welding or reinforcement. If no, adhesive may be enough. The repair does not need to be fancy; it needs to match the job.
Extra Experience: What Real Polypropylene Repairs Teach You
After repairing polypropylene a few times, you learn that the material has a personality. It is not mean. It is just suspicious. It does not immediately welcome glue, heat, filler, or your optimistic belief that “this should only take five minutes.” Polypropylene rewards slow preparation and punishes shortcuts with the emotional drama of a repair that fails right when you proudly show someone.
One useful experience is that cleaning matters more than most beginners expect. A cracked storage bin that has lived in a garage may look clean, but it can carry oil mist, dust, detergent residue, or mystery grime from 2017. If you glue over that, you are bonding to dirt, not plastic. Washing with dish soap, rinsing well, drying completely, sanding, and wiping with alcohol often makes the difference between a repair that lasts and one that gives up during its first shift.
Another lesson is that matching the repair to the part is more important than chasing the “strongest” product. A rigid adhesive may be impressive on a test coupon but terrible on a flexible polypropylene lid. A welded repair may be excellent on a thick bin or bumper tab but too aggressive for a thin, delicate part. A mesh reinforcement may look excessive until you realize the crack has been reopening because the entire panel flexes. Polypropylene repair is not about brute force. It is about choosing the right kind of strength.
Practice pieces are also underrated. Before welding a visible part, test your heat setting on scrap PP. Watch how the surface changes. Properly softened polypropylene becomes workable and slightly glossy. Overheated PP may smoke, discolor, shrink, or smear. The first test bead may look like a worm having a difficult day, and that is perfectly normal. Better to create that masterpiece on scrap than across the front of an expensive part.
For adhesive repairs, dry-fitting is a habit worth building. Many broken PP parts have tiny distortions around the crack. If the pieces do not sit naturally together, clamping pressure may create stress that pulls the joint apart later. Trim ragged edges, align the parts, and plan how you will hold them before applying adhesive. Once some fast-setting plastic bonding systems touch the surface, you may not have much time to negotiate.
Finally, the best polypropylene repair often looks boring from the outside. The real work may be hidden on the back: a V-groove, a welded bead, embedded mesh, or a donor patch. A repair does not have to look like a factory mold to be useful. It needs to stop the crack, spread stress, and survive normal use. If it does that, celebrate. You have defeated one of the most stubborn everyday plastics, and your storage bin, bumper tab, or garden part gets a second life instead of a dramatic trip to the trash.
Conclusion
Polypropylene is durable, lightweight, and wonderfully useful, but it is not the easiest plastic to repair. The secret is knowing that PP needs special treatment. Ordinary glue often fails because polypropylene has low surface energy. Stronger repairs usually require a compatible adhesive system, surface primer, plastic welding, reinforcement, or a polypropylene patch.
For quick fixes, use a bonding system made for polypropylene. For serious cracks, weld the plastic with matching PP rod. For areas that flex, add stainless steel mesh or hot staples. For holes, patch with donor polypropylene. For cosmetic marks, use gentle heat. With the right method and a little patience, polypropylene repair is completely possibleand far less mysterious than it first appears.
Note: This article is for general DIY education. Do not rely on home repairs for safety-critical, pressure-bearing, fuel-contact, medical, or load-bearing polypropylene parts unless the repair method is approved by the manufacturer or completed by a qualified professional.