Note: Dish soap slime is usually softer, fluffier, or more putty-like than the super-stretchy slime you get from classic glue-and-activator recipes. That is not failure. That is chemistry being a little dramatic.
If you have dish soap, a mixing bowl, and a child who just said, “I’m boooored,” congratulations: you are now five minutes away from turning your kitchen into a tiny science lab. The good news is that dish soap slime is easy, cheap, and weirdly satisfying. The even better news is that you do not need a cabinet full of mysterious craft ingredients with names that sound like they belong in a superhero origin story.
There are several ways to make dish soap slime, and each one gives you a slightly different texture. Some versions feel like silly putty with a soap commercial budget. Others are fluffier, stretchier, or more like soft sensory dough than classic store-bought slime. That is why this guide covers three different methods instead of pretending one magic recipe rules them all.
Below, you will learn how to make dish soap slime with cornstarch, how to make a fluffier version with glue and baking soda, and how to try a toothpaste version when you are feeling brave, curious, or dangerously committed to kitchen chemistry. You will also get troubleshooting tips, cleanup advice, storage help, and a long real-world section on what the experience of making dish soap slime is actually like.
What Is Dish Soap Slime, Exactly?
Dish soap slime is a homemade sensory mixture that uses liquid dish soap as one of its main ingredients. Depending on what you pair it with, the result can be stretchy, squishy, fluffy, doughy, glossy, or gloriously odd. In many homes, “slime” becomes a catch-all term, but the texture can range from classic oozy slime to something closer to putty or soft modeling dough.
That matters because expectations make or break the whole project. If you are hoping for giant Instagram-worthy slime bubbles, the glue-based method below is your best bet. If you want a quick, no-glue, low-fuss sensory activity, the dish soap and cornstarch version is the winner. If you want to experiment and do a little “let’s see what happens” crafting, the toothpaste version is the fun wildcard.
Before You Start: Supplies, Setup, and Sanity-Saving Tips
Basic supplies
- Mixing bowl
- Spoon or spatula
- Measuring cups or spoons
- Dish soap
- Cornstarch, glue, baking soda, toothpaste, or salt depending on the recipe
- Food coloring, optional
- Airtight container or zip-top bag for storage
Best setup
Cover your work area first. I know. Nobody ever wants to do that. But the two minutes you spend protecting the table can save you from ten minutes of scraping turquoise mystery goo off the placemats later. A tray, plastic tablecloth, parchment paper, or even an old baking sheet works well.
Safety first, because nobody wants a slime emergency
Use regular liquid dish soap, not automatic dishwasher detergent. Keep the slime away from babies, toddlers who still taste-test the universe, and pets who believe every craft project is secretly a snack. Wash hands after play, supervise younger kids, and do not use homemade slime on broken or irritated skin. If someone swallows a non-edible slime ingredient, get expert help right away.
Method 1: Classic Dish Soap and Cornstarch Slime
This is the easiest and most beginner-friendly way to make dish soap slime. It is fast, inexpensive, and does not require glue or an activator. The finished texture is usually somewhere between silly putty, soft dough, and oozy slime. In other words, it is messy in a charming way.
Ingredients
- 1/2 cup liquid dish soap
- 1 cup cornstarch
- 1 to 2 tablespoons water, if needed
- Food coloring, optional
How to make it
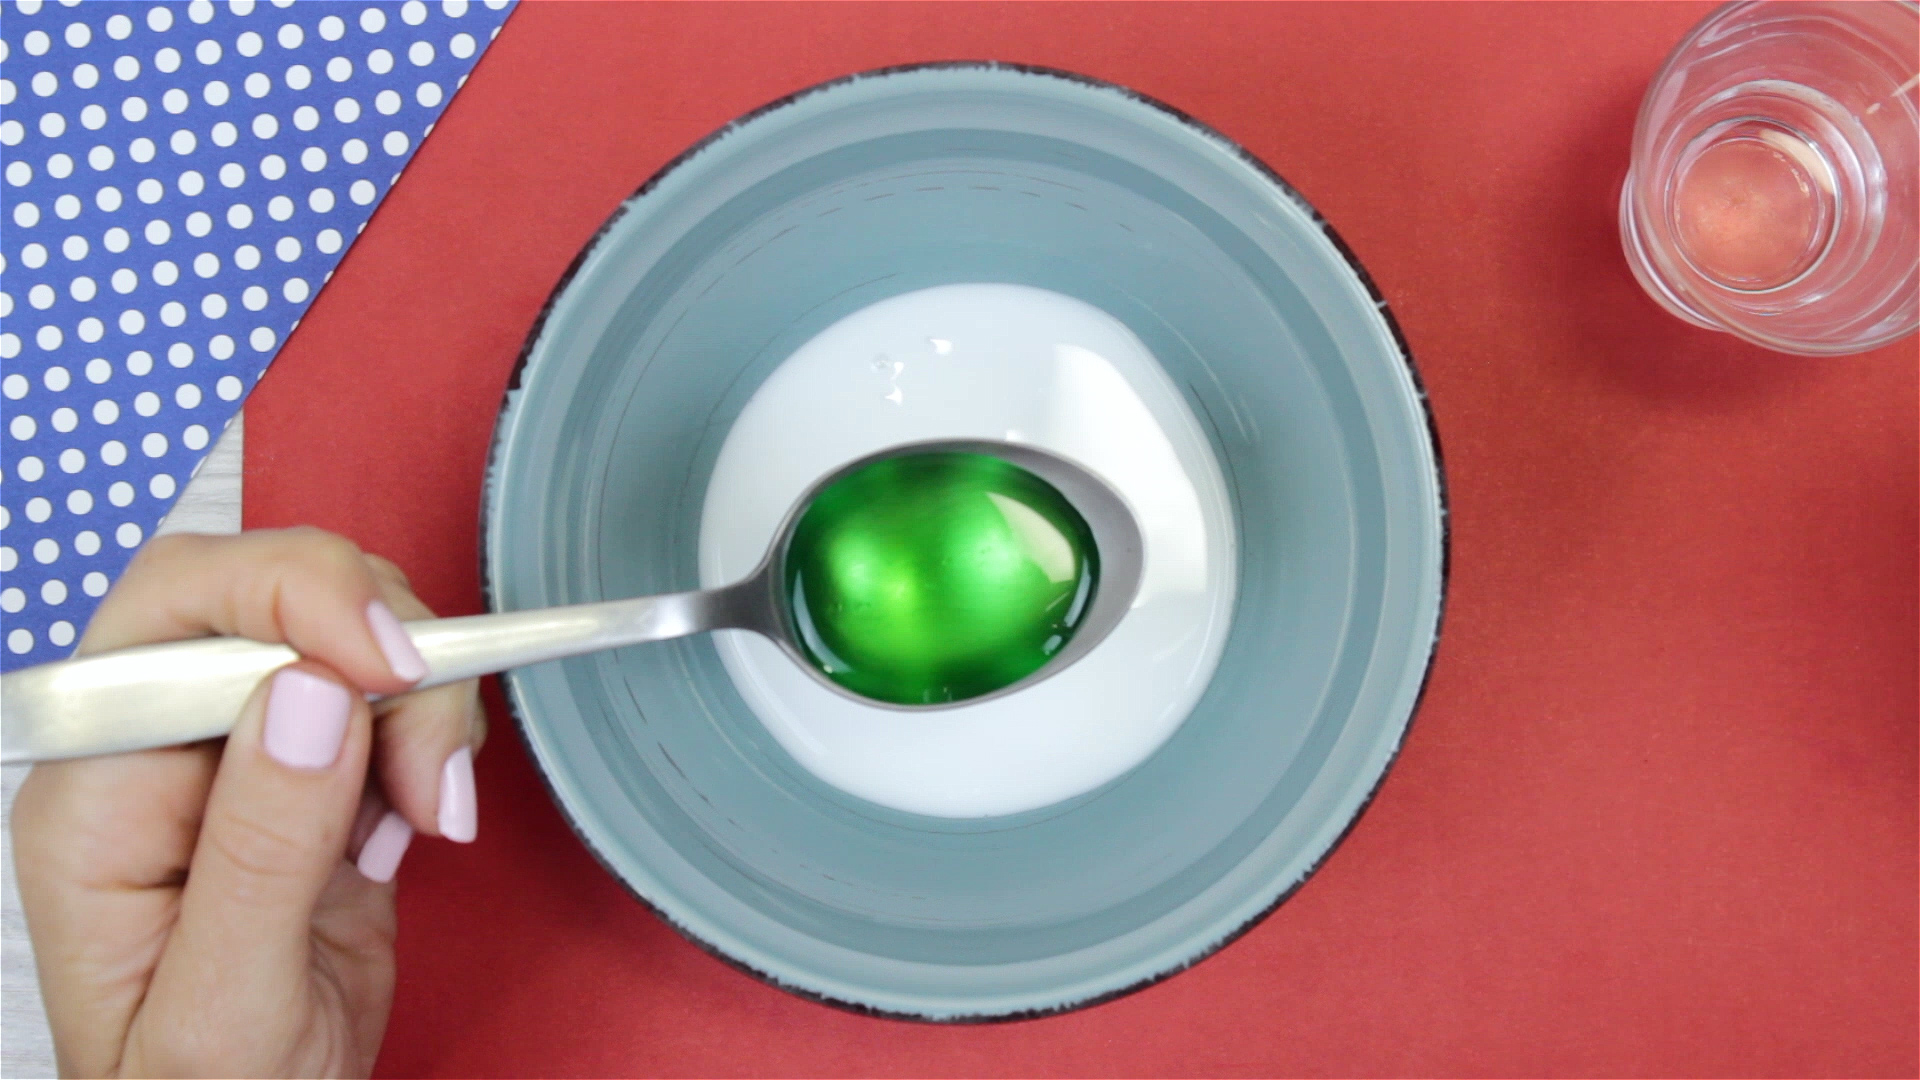
- Pour the dish soap into a mixing bowl.
- Add food coloring if you want a bolder color.
- Stir in the cornstarch slowly.
- Mix until the texture gets thick and hard to stir.
- If it looks crumbly, add water a little at a time.
- If it feels too sticky, knead in more cornstarch.
- Knead with your hands for 1 to 2 minutes until smooth.
What this texture feels like
This version is soft, moldable, and satisfying to squish. It usually does not act like ultra-stretchy commercial slime, so do not judge it too harshly. Think of it as the laid-back cousin of traditional slime: less dramatic, more cooperative, and much less likely to require a chemistry degree.
Best for
- Quick sensory play
- No-glue slime fans
- Parents who do not want to hunt down specialty ingredients
- Kids who enjoy squeezing, poking, and shaping more than long stretches
Method 2: Fluffy Dish Soap Slime With Glue and Baking Soda
If you want a slime that feels closer to the classic stretchy stuff, this is the method to try. It uses dish soap for foamy texture, glue for body, and baking soda to thicken things up. The result is fluffier and more elastic than the cornstarch recipe, though it can still lean a little doughy if you overdo the baking soda.
Ingredients
- 1/2 cup white school glue
- 1 tablespoon dish soap
- 2 to 3 tablespoons water
- 1 cup baking soda, plus more if needed
- Food coloring, optional
How to make it
- Mix the glue and dish soap in a bowl.
- Add water and stir until the mixture looks foamy.
- Add food coloring if desired.
- Stir in the baking soda gradually.
- Keep mixing until the slime thickens enough to handle.
- Knead it with your hands until smooth and less sticky.
- If it is still sticky, add a little more baking soda.
- If it becomes too stiff, work in a tiny bit more dish soap.
What this texture feels like
This method can create a thicker, fluffier slime with more stretch than the cornstarch version. Humidity matters here. On muggy days, you may need a bit more baking soda. On dry days, the slime may come together faster. In other words, your kitchen weather report has entered the chat.
Best for
- Kids who want a more traditional slime feel
- People who like fluffy slime textures
- Weekend crafters willing to tweak the consistency
Method 3: Dish Soap, Toothpaste, and Salt Slime
This version is the chaotic fun option. It is not always as reliable as the first two methods, but when it works, it creates a cool flubbery, putty-like texture. It is great for experimenting, especially if you want to make slime with everyday ingredients and do not mind a little trial and error.
Ingredients
- 3 tablespoons dish soap
- 3 tablespoons toothpaste
- A few shakes of salt
- Food coloring, optional
How to make it
- Add the dish soap to a bowl.
- Mix in the toothpaste until combined.
- Add a few shakes of salt and stir well.
- Place the mixture in the freezer for about 45 to 60 minutes.
- Take it out and test the texture.
- If it is too loose, stir and chill it a little longer.
What this texture feels like
This is usually less stretchy and more flubbery or putty-like than classic slime. It can be fun to poke, scoop, and squish, but it may not hold up for long play sessions. Different brands of toothpaste and soap can change the result a lot, so this one rewards curiosity more than perfectionism.
Best for
- Experimenters
- Short craft sessions
- Kids who enjoy the “can we make this work?” part of DIY projects
How to Choose the Best Dish Soap Slime Method
If you are standing in the kitchen staring at the dish soap like it personally owes you answers, here is the quick breakdown:
- Choose Method 1 if you want the easiest no-glue dish soap slime.
- Choose Method 2 if you want something fluffier and closer to classic slime.
- Choose Method 3 if you want a fun experiment and do not mind an unpredictable result.
For most families, the cornstarch version is the easiest place to start. It is simple, forgiving, and fast enough to hold a child’s attention before they wander off to ask for a snack they definitely did not want three minutes ago.
Troubleshooting Dish Soap Slime
If your slime is too sticky
Add more cornstarch for Method 1, more baking soda for Method 2, or a little more chill time for Method 3. Go slowly. Dumping in a giant scoop all at once is how slime turns into sadness.
If your slime is too stiff
Add a small amount of dish soap or a few drops of water and knead again. This is especially common with cornstarch slime and baking-soda slime.
If your slime is crumbly
It needs more moisture. Add water or soap one small splash at a time, then knead. Slime is dramatic, but it also responds well to patience.
If your slime will not stretch
That can be normal with dish soap slime. Many dish soap recipes produce a putty-like or soft dough texture rather than long, stretchy strands. If stretch is your top priority, try the glue-based method.
If the color looks weird
Some dish soaps are already heavily tinted. Blue soap plus yellow food coloring can turn into a suspicious swampy green. Not bad, just… swamp-adjacent.
Storage and Cleanup Tips
Store slime in an airtight container or zip-top bag. The cornstarch version is best used the same day or the next day, because it can dry out or separate. The glue-based version tends to last longer if sealed well. The toothpaste version is more of a short-term sensory experiment than a long-haul slime relationship.
For cleanup, wipe surfaces first, then rinse bowls and spoons with warm water. If slime sticks to fabric, scrape off as much as you can before washing. And yes, this is the exact kind of knowledge people wish they had about 15 minutes earlier.
Why Kids Love Making Dish Soap Slime
Part of the appeal is the texture, obviously. Slime is squishy, stretchy, pokable, and deeply satisfying in a way adults pretend not to understand while secretly poking it too. But there is also real value in the process. Kids measure, pour, stir, observe, test, and adjust. That means they are doing a hands-on science activity without needing a lab coat or a dramatic soundtrack.
Dish soap slime also works well as a rainy-day activity, a boredom buster, a low-cost sensory play option, or a fun family project. It can be customized with color, scent, glitter, and texture tweaks. It is part craft, part experiment, and part harmless kitchen chaos. Honestly, that is a pretty solid combo.
Real-Life Experiences Making “3 Ways to Make Dish Soap Slime”
The first time you make dish soap slime, you expect a clean little craft moment. You imagine a cheerful bowl, a spoon, a smiling child, and maybe a few tasteful drops of food coloring. What you often get instead is a full sensory event. Somebody pours too fast. Somebody else says, “It looks weird.” The mixture seems wrong for 90 seconds. Then suddenly it comes together, and everyone acts like they personally invented slime. That is the real dish soap slime experience.
The cornstarch version usually delivers the quickest payoff. It starts as a glossy, stubborn mess, then turns into a soft, moldable blob that feels surprisingly satisfying. Kids love the transformation because it happens right in front of them. Adults love it because the ingredients are cheap and easy to find. The biggest surprise is how much the texture can change with tiny adjustments. One extra spoonful of cornstarch and it behaves like silly putty. One little splash of water and it relaxes into a softer slime. It is basically the mood ring of kitchen crafts.
The glue-and-baking-soda method feels a little more like a “real” slime project. There is more stirring, more suspense, and more kneading. It can be weirdly exciting when the mixture finally stops sticking to everything and starts acting like actual slime. This version tends to get the biggest reactions because it looks closer to the classic stretchy slime kids expect. It also teaches patience. A child who wants perfect slime in 30 seconds may discover that the secret ingredient is not magic. It is kneading. Lots of kneading.
The toothpaste method is the wildcard. Sometimes it is fantastic. Sometimes it becomes a glossy lump that feels more like chilled putty than slime. And honestly, that unpredictability is part of the fun. It turns the project into a mini experiment. Kids get to compare textures, notice differences, and talk about what changed. That kind of trial-and-error play is valuable, even when the end result is not picture-perfect.
One of the most interesting parts of making dish soap slime is how personal the process becomes. Different dish soap brands behave differently. Humid weather changes the texture. One child wants glitter. Another wants blue slime “but not too blue.” Someone inevitably asks if it can glow in the dark. The kitchen starts to feel less like a kitchen and more like a tiny DIY lab run by enthusiastic consultants under the age of ten.
And then there is the sensory side. Some kids love the stretch. Some love the squish. Some just want to poke it repeatedly like they are testing an alien life form. Dish soap slime gives them a hands-on activity that feels creative and calming at the same time. Even adults tend to linger. They stir. They squeeze. They say things like, “Okay, wait, this is actually kind of amazing,” which is exactly the sort of sentence a slime project loves to hear.
Final Thoughts
If you want a fun, low-cost, hands-on activity, dish soap slime is absolutely worth trying. The trick is choosing the right version for the result you want. The cornstarch method is quick and easy. The glue method is fluffier and more slime-like. The toothpaste method is playful, experimental, and just unpredictable enough to keep everyone interested.
No matter which version you choose, the real win is not just the slime. It is the process: mixing, testing, laughing, adjusting, and watching ordinary household ingredients turn into something unexpectedly fun. Sure, you may end up with a little extra cleanup. But you will also get a memorable activity, a mini science lesson, and at least one moment where someone says, “Whoa, that actually worked.” And really, that is the good stuff.