Your car’s suspension springs have a fairly thankless job. They carry the vehicle’s weight, help maintain ride height, and work with shocks or struts to keep every pothole from being translated into a full-body interpretive dance inside the cabin. When a spring sags, cracks, or breaks, your vehicle may sit crooked, ride poorly, make clunking noises, or start wearing tires in ways that look expensive from across the parking lot.
Replacing suspension springs is not always a beginner-friendly repair, but it can be manageable when you choose the correct method for your suspension design. The smartest approach is not necessarily the one with the fewest bolts. It is the one that keeps stored spring energy, vehicle weight, brake lines, and your fingers from becoming unexpected enemies.
This guide covers three practical ways to replace suspension springs: installing complete loaded strut assemblies, replacing separate coil springs on an axle or control-arm suspension, and changing leaf spring packs on trucks and older vehicles. The details vary by make, model, drivetrain, and suspension layout, so always use the factory service information for your exact vehicle before turning the first wrench.
First, Know What You Are Replacing
A suspension spring supports the weight of the vehicle. A shock absorber or strut controls the spring’s motion after a bump. In other words, the spring carries the car, while the damper prevents it from bouncing down the road like a shopping cart with a grudge.
Common signs of worn or damaged suspension springs include a vehicle sitting lower on one corner, excessive bouncing, uneven tire wear, clunking or rattling noises, reduced handling confidence, and visible corrosion or a broken coil. A sagging corner is especially important because it may indicate a weak or fractured spring, a damaged spring seat, or another suspension problem that deserves inspection before more parts are ordered.
Replace Springs in Pairs
In most cases, replace left and right springs as a matched pair. Springs lose height and rate gradually, so replacing only one can leave the vehicle uneven from side to side. The same logic applies to struts and shocks: paired replacement helps preserve balanced handling and ride control.
Also inspect nearby components while everything is apart. Spring isolators, upper strut mounts, bump stops, dust boots, sway-bar links, shocks, struts, bushings, and mounting hardware may all deserve attention. Reusing cracked rubber pads or worn strut mounts can turn a fresh suspension repair into an expensive rerun.
Safety Rules Before Replacing Suspension Springs
Suspension spring work can be dangerous because springs store tremendous energy when compressed. A loose or poorly positioned spring compressor can turn a normal repair into a very bad day with impressive speed. “Simple” should describe the strategy, not the risk level.
- Work on level, solid ground.
- Set the parking brake and chock the wheels that remain on the ground.
- Use a floor jack only to lift the vehicle, never as the only support while working.
- Support the vehicle with properly rated jack stands placed at approved lifting points.
- Wear safety glasses and gloves.
- Use a torque wrench for final tightening.
- Never cut, heat, weld, or “reshape” a coil spring to make it fit.
- Do not remove the center shaft nut on a loaded strut unless the spring is safely compressed with the correct equipment.
Vehicle-support mistakes can be fatal. Government safety records include incidents involving vehicles falling from jacks or stands, which is why stable support, wheel chocks, and correct lifting points are non-negotiable.
Way 1: Replace a Strut-Mounted Spring With a Complete Loaded Strut
For many front-wheel-drive cars and crossovers, the easiest path is replacing the entire strut-and-spring assembly with a complete loaded strut. This assembly typically includes the strut, coil spring, upper mount, bearing plate, spring seats, bump stop, and dust boot.
The biggest advantage is simple: you do not need to compress and transfer the old coil spring. That removes the most dangerous part of many spring replacement jobs and makes this method the best choice for DIYers who want fewer opportunities for a spring compressor to develop opinions about their life choices.
Step 1: Buy the Correct Complete Assembly
Confirm the exact year, make, model, trim, engine, drivetrain, suspension package, and ride-height option. Some vehicles use different struts depending on all-wheel drive, sport suspension, towing package, adaptive damping, or electronic suspension systems.
Match the replacement assembly to the original side. Many loaded struts are side-specific because the brake hose bracket, sway-bar link tab, upper mount orientation, or camber bolt position differs from left to right.
Step 2: Prepare the Vehicle and Remove the Wheel
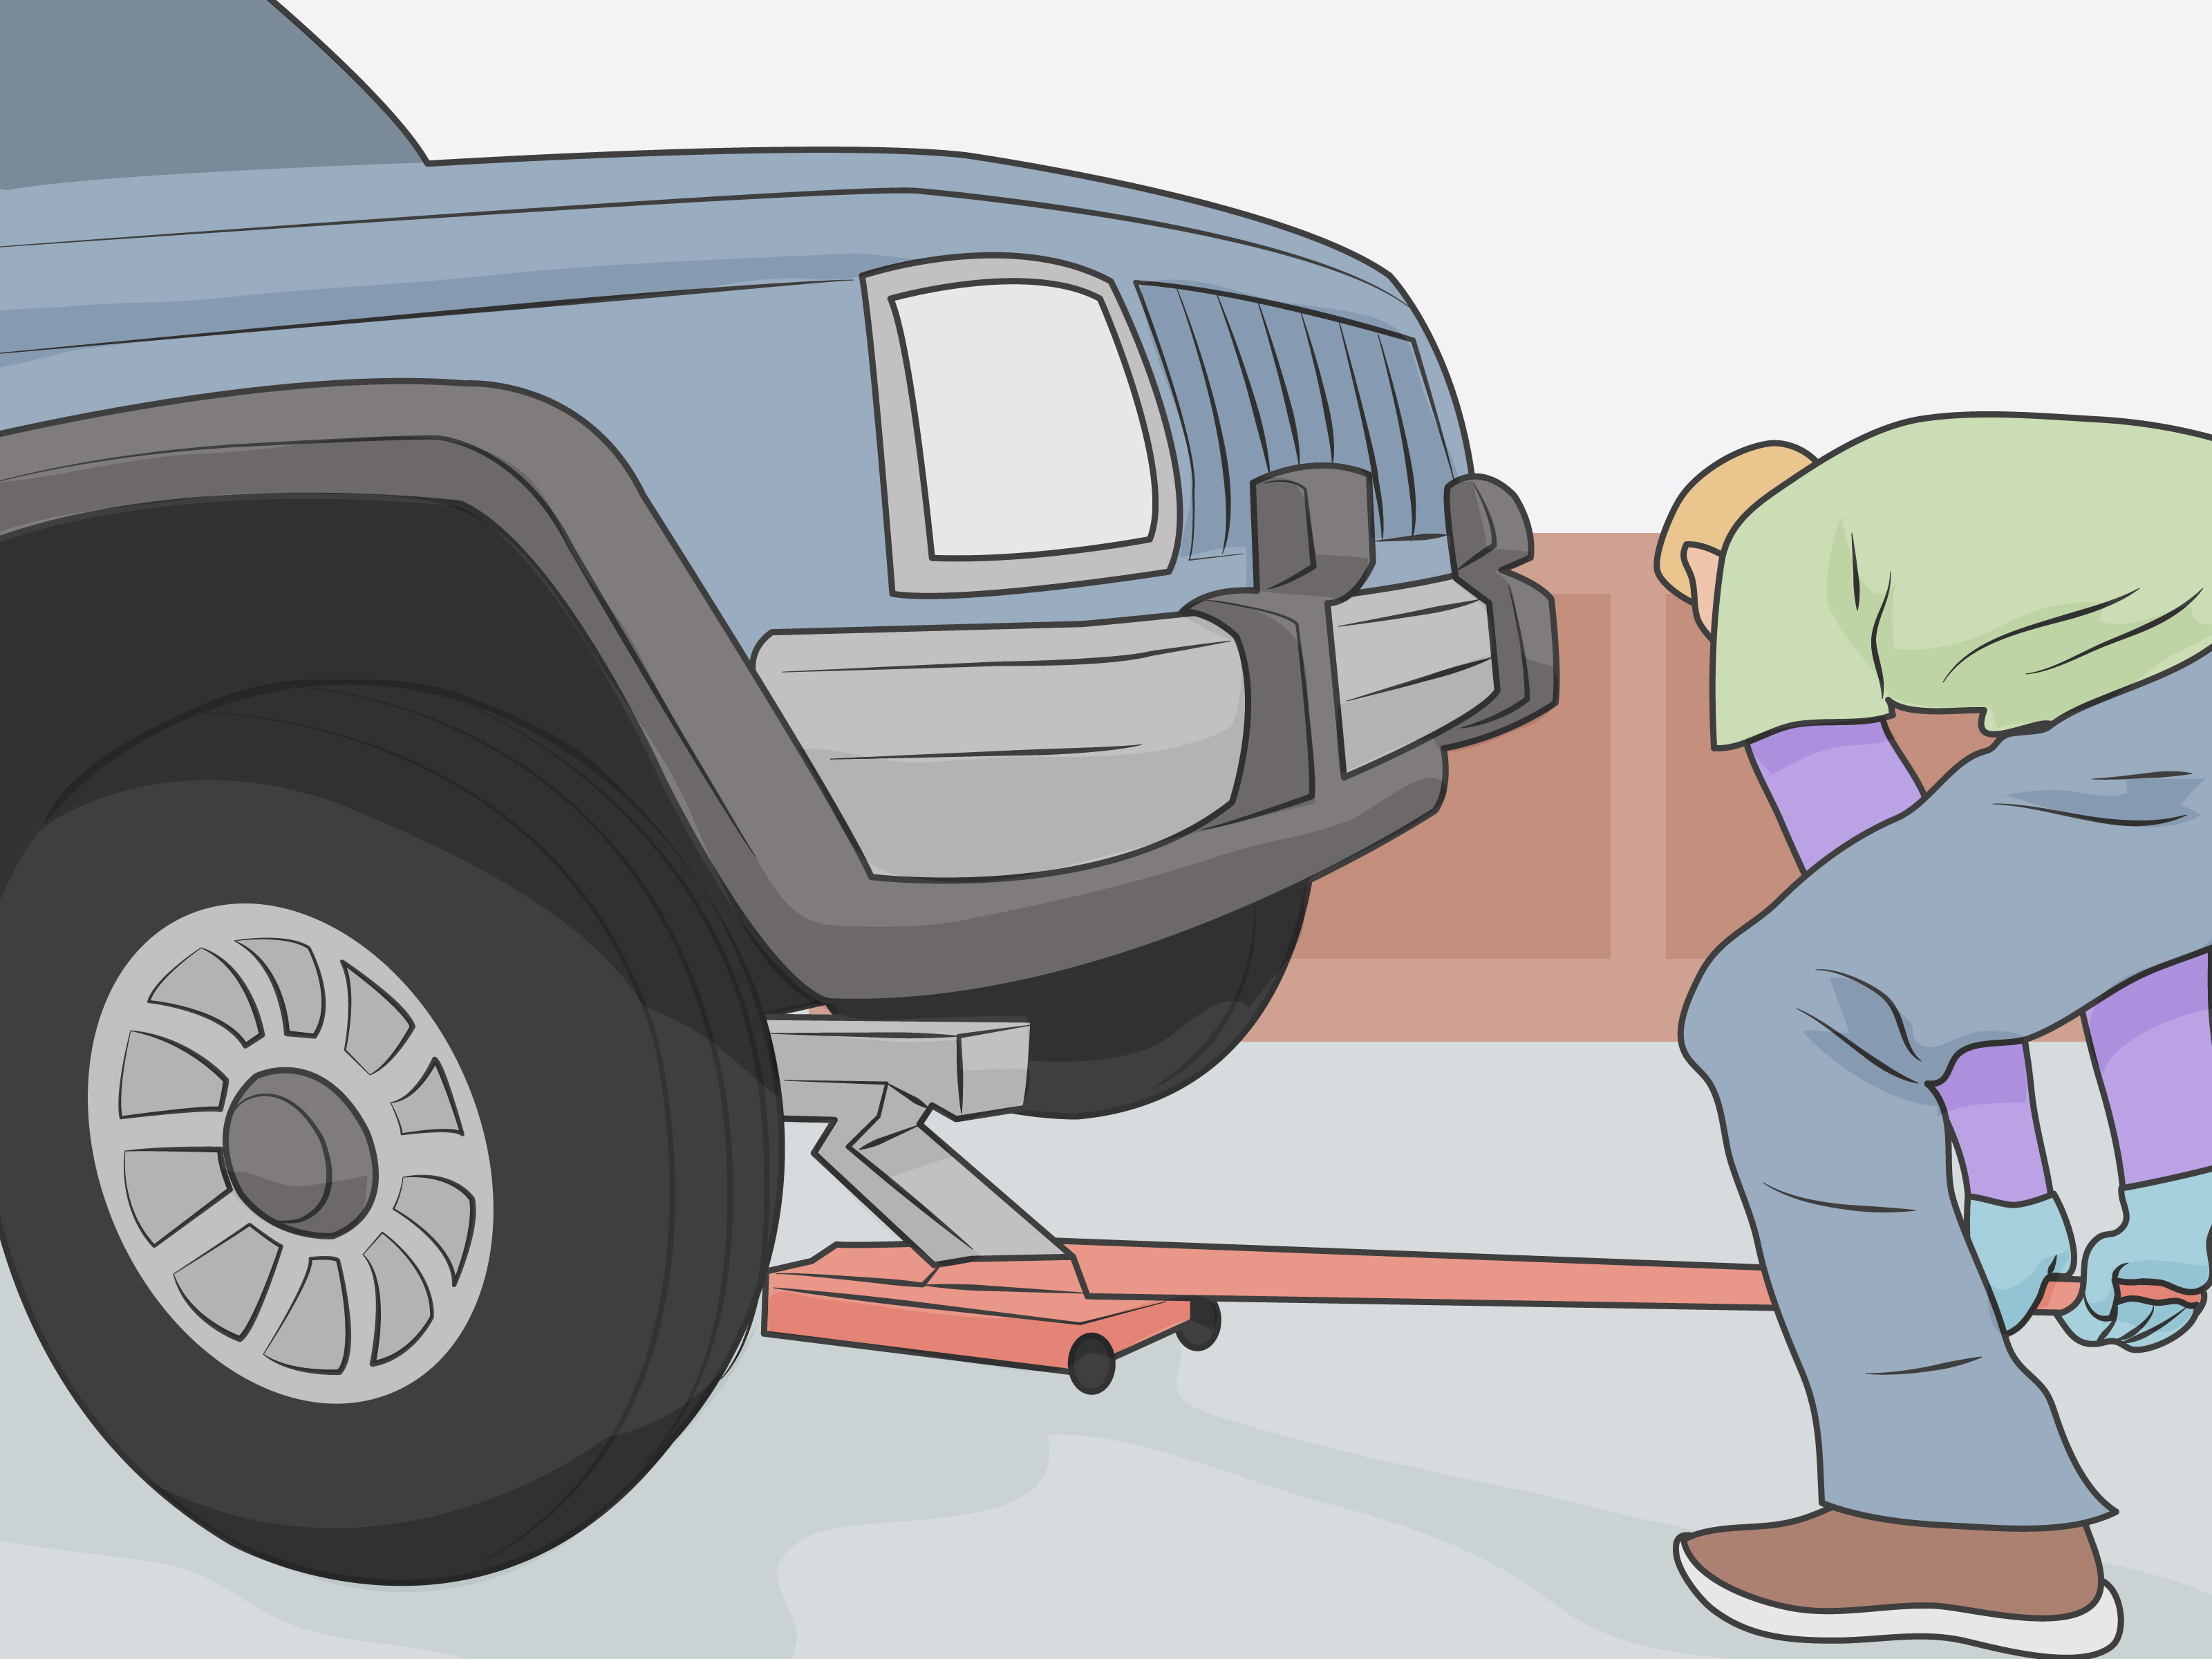
Loosen the lug nuts while the tire is still on the ground. Raise the vehicle, place it securely on jack stands, and remove the wheel. Support the steering knuckle or lower control arm with a floor jack before disconnecting the strut. This prevents the suspension from dropping suddenly and placing tension on brake hoses, ABS wiring, or CV joints.
Step 3: Disconnect Components Attached to the Strut
Depending on the vehicle, disconnect the sway-bar end link, brake hose bracket, ABS wire clip, and any ride-height sensor link attached to the strut. Mark camber bolt positions if your vehicle uses them, but remember that paint marks are helpful reference points, not a substitute for a professional alignment.
Remove the lower strut-to-knuckle bolts and then loosen the upper mounting nuts. Leave the center nut in the middle of the upper strut mount alone. That center nut is usually holding the loaded spring and strut together, and it is not a souvenir bolt.
Step 4: Install the New Loaded Strut
Guide the new assembly into place with the upper studs aligned correctly. Start the upper mounting nuts by hand, then align the lower strut mount with the steering knuckle. Use the floor jack under the control arm or knuckle only as needed to line up bolt holes safely.
Reconnect brackets, links, sensors, and hardware in the reverse order. Tighten all fasteners to the vehicle manufacturer’s torque specifications. Avoid using an impact wrench on upper strut-shaft hardware unless the service procedure specifically permits it.
Step 5: Repeat on the Other Side and Get an Alignment
Install the matching strut assembly on the opposite side. Once both sides are complete, lower the vehicle, torque the lug nuts, and schedule a wheel alignment. Strut replacement can affect camber and toe, and alignment errors can quickly chew through otherwise innocent tires. Complete strut assemblies are specifically designed to simplify replacement by eliminating the need to transfer a compressed coil spring.
Way 2: Replace Separate Coil Springs on a Rear Axle or Control-Arm Suspension
Many rear-wheel-drive cars, SUVs, and trucks use separate coil springs that sit between the frame or body and a control arm, axle housing, or spring perch. These springs may be easier to replace than front strut-mounted coils because they can often be removed after the suspension is carefully lowered.
That word is carefully. The axle may be heavy, brake lines may be short, and shock absorbers may limit how far the suspension can drop. Your goal is controlled suspension droop, not a dramatic reenactment of gravity discovering a new hobby.
Step 1: Support the Frame and the Axle Separately
Raise the vehicle and place jack stands under the frame or body at approved support points. Then position a floor jack under the axle housing or lower control arm to support the suspension. Remove the wheels.
The frame should be supported by the jack stands. The axle should be controlled by the floor jack. This lets you lower the axle gradually without leaving the vehicle itself balanced on wishful thinking.
Step 2: Disconnect Anything That Limits Suspension Droop
Depending on your vehicle, disconnect lower shock mounts, sway-bar links, track bars, stabilizer links, or other components listed in the service manual. Watch brake hoses, parking-brake cables, and ABS sensor wiring as the axle lowers. If any line begins to stretch, stop immediately.
Step 3: Lower the Axle Slowly and Remove the Old Spring
Lower the axle a little at a time until the coil spring becomes loose enough to remove by hand. Some vehicles require a small internal or external spring compressor, while others provide enough droop for the spring to come out without one. Never assume that a spring is relaxed just because it looks bored.
Remove the upper and lower rubber isolators or spring pads. Inspect them for cracking, flattening, missing sections, or hardened rubber. The end of the coil must sit in the correct clocked position against the stop in the spring seat. Incorrect orientation can create noise, uneven ride height, or a spring that rubs where it should not.
Step 4: Install the New Coil Spring and Reassemble
Install new isolators if needed, position the coil spring in the correct upper and lower seats, and slowly raise the axle until the spring is captured securely. Reconnect shocks, links, brackets, and other hardware according to the service manual.
Before reinstalling the wheels, visually confirm that the spring ends are seated against their locating stops and that no brake hose, sensor wire, or cable is twisted or pinched.
Way 3: Replace Leaf Springs on Trucks, Vans, and Older Vehicles
Leaf springs are common on pickups, work vans, trailers, and older body-on-frame vehicles. Instead of a single coil, a leaf spring uses stacked steel leaves mounted to the frame with front eye bolts, rear shackles, and U-bolts clamping the axle to the spring pack.
Leaf spring replacement usually avoids a coil spring compressor, but do not mistake that for a lightweight repair. Leaf packs are heavy, U-bolts can be severely rusted, and the axle must remain supported throughout the process.
Step 1: Support the Vehicle Frame and Axle
Raise the vehicle and place jack stands under the frame, allowing the axle to hang. Position a floor jack under the axle to control its height. Remove the wheel if access requires it.
Step 2: Remove the U-Bolts and Separate the Axle
Apply penetrating oil to rusted hardware well before starting. Disconnect shocks or sway-bar components only if they prevent axle movement. Remove the U-bolt nuts evenly, then carefully lower the axle enough to separate it from the leaf spring pack.
Inspect the axle perch, center pin hole, spring plate, U-bolts, and mounting pads. The center pin on the leaf spring must locate correctly in the axle perch. If it misses the hole, the axle can sit crooked, creating alignment, driveline, and tire-wear problems that no amount of optimistic steering input will solve.
Step 3: Remove the Spring Eye and Shackle Bolts
Support the leaf spring with a jack or helper before removing the front spring-eye bolt and rear shackle bolt. Rust can make these bolts stubborn, especially when the inner sleeve has bonded to the bushing. Avoid damaging the frame bracket with uncontrolled hammering or cutting unless you have a clear repair plan.
Step 4: Install the New Spring Pack
Install the replacement spring in the same orientation as the original. Some leaf springs are directional because the center pin is offset, the arch differs from front to rear, or one end is designed for the shackle.
Fit the front eye bolt and rear shackle bolts loosely first. Raise the axle until the center pin fully engages the axle perch, then install new U-bolts if recommended by the manufacturer. Tighten U-bolts evenly and follow the specified torque sequence.
Final-tighten spring-eye and shackle bolts with the suspension at normal ride height when the vehicle’s service information calls for it. This helps prevent rubber bushings from being preloaded in a twisted position.
Parts Worth Replacing While You Are There
Suspension work is a little like repainting a room: once everything is apart, the nearby worn parts become impossible to ignore. Consider replacing these items when appropriate:
- Upper strut mounts and bearings
- Spring isolators and coil spring pads
- Bump stops and dust boots
- Worn shocks or struts
- Sway-bar links and bushings
- Leaf spring shackles, bushings, and hardware
- Rust-damaged U-bolts and mounting plates
A spring replacement is also a good time to inspect tires. Cupping, feathering, or unusual inner-edge wear may point to alignment issues, worn dampers, or loose steering and suspension parts.
Mistakes to Avoid When Replacing Suspension Springs
Using the Wrong Spring Rate or Ride Height
Do not choose a spring just because it physically fits. The correct spring rate, free length, wire diameter, and end shape matter. A spring designed for a heavier engine, towing package, sport trim, or different drivetrain can alter ride height and handling.
Ignoring Spring Orientation
Many coils have a specific upper and lower end shape. The spring tail must rest against a stop in the isolator or perch. A spring installed upside down or rotated incorrectly may squeak, shift, rub, or sit unevenly.
Skipping Torque Specifications
Suspension bolts are not “tight enough when the wrench gets dramatic.” Torque settings matter because the components carry vehicle weight, control wheel movement, and influence steering geometry. Use the factory manual, not a vague internet comment from someone named TurboDave92.
Forgetting the Post-Repair Check
After the repair, inspect both sides for correct spring seating, secure brake line brackets, intact ABS wiring, and properly tightened lug nuts. Drive slowly in a safe area, listen for clunks, and verify that the steering wheel feels normal. Have the alignment checked after front strut or suspension geometry work.
Real-World Experiences and Lessons From Suspension Spring Replacement
One of the most common experiences people have with suspension spring replacement is discovering that the “hard part” is rarely the spring itself. The hard part is usually deciding which parts should be replaced together and recognizing how much stored energy is involved before the vehicle is already halfway apart.
For example, many DIYers begin with a plan to replace only one front coil spring because one corner of the car is sagging. Once the strut comes out, they notice the upper mount bearing is noisy, the dust boot has split, the bump stop has crumbled into foam confetti, and the opposite spring is just as tired. At that point, a pair of complete loaded struts often becomes the sensible solution. The upfront cost may be higher than buying bare springs, but the installation is usually quicker, safer, and less likely to require repeating the job a few months later.
Rear coil springs often create a different surprise. On paper, they can look easy because the spring is separate from the shock. In practice, the axle may not drop as far as expected because the shocks, sway bar, parking-brake cables, brake hoses, or electronic ride-height sensors limit travel. Experienced technicians lower the axle gradually, watch every hose and wire, and stop before anything is stretched. The spring should come out because the suspension is safely unloaded, not because someone used a pry bar with the enthusiasm of a medieval siege engineer.
Leaf spring jobs tend to teach people patience. Rusted U-bolts, frozen shackle bolts, and heavy spring packs can turn a three-hour plan into an all-day garage event. A common lesson is to inspect replacement hardware before starting. New U-bolts, spring-eye bolts, shackles, bushings, and nuts may be cheap insurance compared with trying to rescue old hardware that has spent fifteen winters auditioning for a shipwreck documentary.
Another practical lesson is that ride height should be measured before and after the repair. Park on level ground and measure from the wheel center to the fender opening, or use another consistent reference point recommended by the manufacturer. This makes it easier to confirm that the correct springs were installed and that the vehicle is no longer leaning. Measuring from the ground to the fender can be less reliable because tire pressure and tire size can muddy the result.
People also learn quickly that new springs can expose unrelated problems. Once a sagging spring is replaced, a worn shock absorber, loose sway-bar link, noisy strut mount, or tired control-arm bushing may become more noticeable. That does not necessarily mean the new spring caused the issue. It often means the old, worn suspension had been masking a chorus of smaller problems.
The best experience-based advice is to prepare more than you think you need. Have penetrating oil, replacement clips, a torque wrench, correct sockets, a breaker bar, a sturdy floor jack, rated jack stands, and access to factory torque data before beginning. Take photos before disconnecting brackets, mark components where appropriate, and work methodically. Suspension repairs reward calm planning far more than speed.
Most importantly, know when to stop. If a compressed spring does not sit securely in the compressor, if a bolt requires excessive heat near fuel lines or brake components, if the vehicle is unstable on the stands, or if the replacement part does not match the original, pause the job. Calling a qualified technician is not admitting defeat. It is simply choosing to keep your vehicleand your skeletonfactory aligned.