Note: This guide is for educational DIY use. Automotive electrical work can affect vehicle safety, warranties, and legal compliance. Always check your owner’s manual, the light kit instructions, and your state or local vehicle lighting laws before installing running lights.
Introduction: Give Your Vehicle a Cleaner, Safer Glow
Installing running lights is one of those upgrades that seems tiny until you step back, look at the vehicle, and say, “Well, hello there, professional-looking machine.” Whether you call them running lights, daytime running lights, DRLs, LED marker lights, accent lights, or auxiliary visibility lights, the goal is usually the same: make your vehicle easier to see, give it a cleaner modern look, and avoid turning your wiring harness into spaghetti with anxiety issues.
The good news? Many running light kits are surprisingly simple to install if you take your time, plan the wiring route, and resist the heroic urge to “just twist the wires together and hope.” The better news? You do not need to be a master mechanic to do a clean, safe job. You do, however, need the right tools, a basic understanding of 12-volt wiring, and enough patience to test twice before you zip-tie everything into a permanent plastic spiderweb.
This in-depth guide explains simple ways to install running lights in 13 steps, from choosing the right kit to mounting the lights, wiring them through a relay or fuse tap, waterproofing connections, and testing the final setup. We will focus mainly on automotive LED running lights for cars, trucks, SUVs, and motorcycles, but many of the principles apply to similar 12-volt vehicle lighting projects.
What Are Running Lights?
Running lights are low-intensity lights designed to improve vehicle visibility. On modern vehicles, factory daytime running lights often turn on automatically when the engine is running and the headlights are off. Aftermarket running lights may be installed as LED strips, small pods, halo rings, bumper lights, grille lights, side marker lights, or running board lights.
They are not the same as high beams, fog lights, brake lights, or turn signals, though some advanced kits can combine more than one function. For example, a white LED strip may act as a daytime running light, while an amber function may operate as a turn signal. If your kit has multiple modes, read the instructions carefully before wiring anything. Multicolor lights may look fun in the garage, but red, blue, flashing, or color-changing lights can be illegal for road use in many places.
Before You Start: Safety, Legality, and Common Sense
Before installing running lights, confirm three things: the lights are designed for vehicle use, the color is legal for your intended placement, and the wiring method will not overload a factory circuit. As a general rule in the United States, forward-facing lights for ordinary road vehicles are typically white or amber, while rear-facing lights are commonly red or amber depending on function. Rules vary by state, and motorcycles may have different allowances than passenger cars.
Also remember that brighter is not automatically better. A running light should help other drivers see you; it should not interrogate them like a police spotlight in a detective movie. Aim, placement, brightness, and beam pattern matter. A clean installation looks intentional, protects your vehicle’s electronics, and does not distract or blind other road users.
Tools and Materials You May Need
Gather your supplies before you begin. Nothing ruins a smooth install like crawling under the bumper, realizing you need one more connector, and then doing the “half-installed car parts walk of shame” to the store.
- Running light kit or LED DRL kit
- Wiring harness with relay, fuse, and switch if included
- Fuse tap or add-a-circuit adapter for switched power
- Automotive wire, usually 16- or 18-gauge for low-current LED lights
- Inline fuse holder if the harness does not include one
- Crimp connectors, solder sleeves, or waterproof butt connectors
- Heat-shrink tubing and electrical tape
- Wire loom or split conduit
- Zip ties and adhesive mounts
- Multimeter or test light
- Socket set, screwdrivers, trim tools, and pliers
- Drill and bits if mounting requires holes
- Rubbing alcohol and microfiber cloth for adhesive-mounted lights
- Safety glasses and gloves
Simple Ways to Install Running Lights: 13 Steps
Step 1: Choose the Right Running Light Kit
Start by choosing a kit that matches your vehicle and your goal. Universal LED running lights are flexible and affordable, but vehicle-specific kits often fit cleaner and may include brackets, adapters, and instructions tailored to your model. If you want a factory-style look, choose lights with a clean housing, weatherproof rating, and a color temperature that matches your headlights.
Look for lights labeled for automotive use. Cheap decorative LED strips can fail quickly when exposed to heat, rain, road salt, vibration, and pressure washing. For exterior use, weather resistance matters. For bumper, grille, or underbody locations, choose sealed housings and proper connectors. If the product description sounds like it was translated by a toaster, proceed carefully.
Step 2: Check Your Local Lighting Laws
Before opening the toolbox, check your state laws regarding auxiliary lights, daytime running lights, color restrictions, flashing modes, and mounting locations. In many areas, white and amber are the safest choices for front-facing running lights. Red and blue lights are commonly restricted because they can be associated with emergency vehicles. Flashing lights can also create legal problems unless they are part of approved turn signals, hazards, or emergency equipment.
If you plan to use off-road lights, RGB lights, strobe patterns, or very bright LED pods, confirm whether they must be covered or disabled on public roads. “But it looked cool on Instagram” is rarely a winning legal defense.
Step 3: Plan the Mounting Location
Hold the lights in place before drilling, sticking, or bolting anything. Good running light locations include the lower grille, bumper openings, factory fog light blanks, running boards, mirror housings, or motorcycle lower frame areas. The lights should be symmetrical, visible, secure, and away from extreme heat or moving parts.
Avoid placing lights where they block airflow to the radiator, interfere with parking sensors, cover factory signals, or sit directly in the blast zone of tires throwing rocks. If using adhesive-backed LED strips, test the curve of the surface first. Some strips bend easily in one direction but not another, which is how many DIY projects become abstract art.
Step 4: Map the Wiring Route
Before connecting wires, decide where every wire will travel. A clean wiring route avoids hot exhaust parts, sharp metal edges, belts, pulleys, steering components, suspension movement, and pinch points. Use existing factory wire paths when possible. If a wire must pass through metal, use a rubber grommet to prevent chafing.
For engine bay wiring, route wires along factory harnesses and protect them with split loom. For interior switches, pass wires through an existing firewall grommet instead of drilling unless absolutely necessary. If you do drill, inspect both sides first. Accidentally drilling into a hidden harness is the automotive equivalent of stepping on a rake.
Step 5: Disconnect the Battery
For most installations, disconnect the negative battery terminal before making final electrical connections. This reduces the risk of short circuits, accidental sparks, and blown fuses. Some testing steps may require temporary power, but do not splice, crimp, or mount live wires unless the instructions specifically require testing at that moment.
Modern vehicles can have sensitive electronic modules, so work carefully. If your vehicle has special battery registration procedures, hybrid systems, or complex driver-assistance wiring near the installation area, consider professional help.
Step 6: Test-Fit the Lights
Temporarily tape or clamp the running lights in place and step back. Look at the vehicle from the front, sides, and a low angle. Are both lights level? Are they equally spaced? Do they point straight ahead or slightly downward? Are they hidden behind grille bars? This is the moment to fix appearance and alignment, not after the adhesive cures and your lights look like they are arguing with each other.
If your kit uses brackets, loosely install them first. If it uses adhesive, clean the surface with rubbing alcohol and let it dry completely. Adhesive pads bond best to smooth, clean surfaces at moderate temperatures. Cold, waxy, dusty, or textured surfaces can cause early failure.
Step 7: Mount the Running Lights Securely
Once you are happy with placement, mount the lights according to the kit instructions. Bolted brackets are usually the most secure option for exterior lights. Adhesive strips can work well for lightweight LED strips if the surface is clean and the strip is not under constant tension. Some installers use both adhesive and small mounting clips for extra security.
Do not overtighten small light housings. Plastic tabs and thin brackets can crack if you attack them like a lug nut. Tighten until snug, verify alignment, and use thread locker only if the manufacturer approves it. After mounting, gently tug the lights to confirm they will not bounce loose on the first pothole.
Step 8: Decide How the Lights Will Turn On
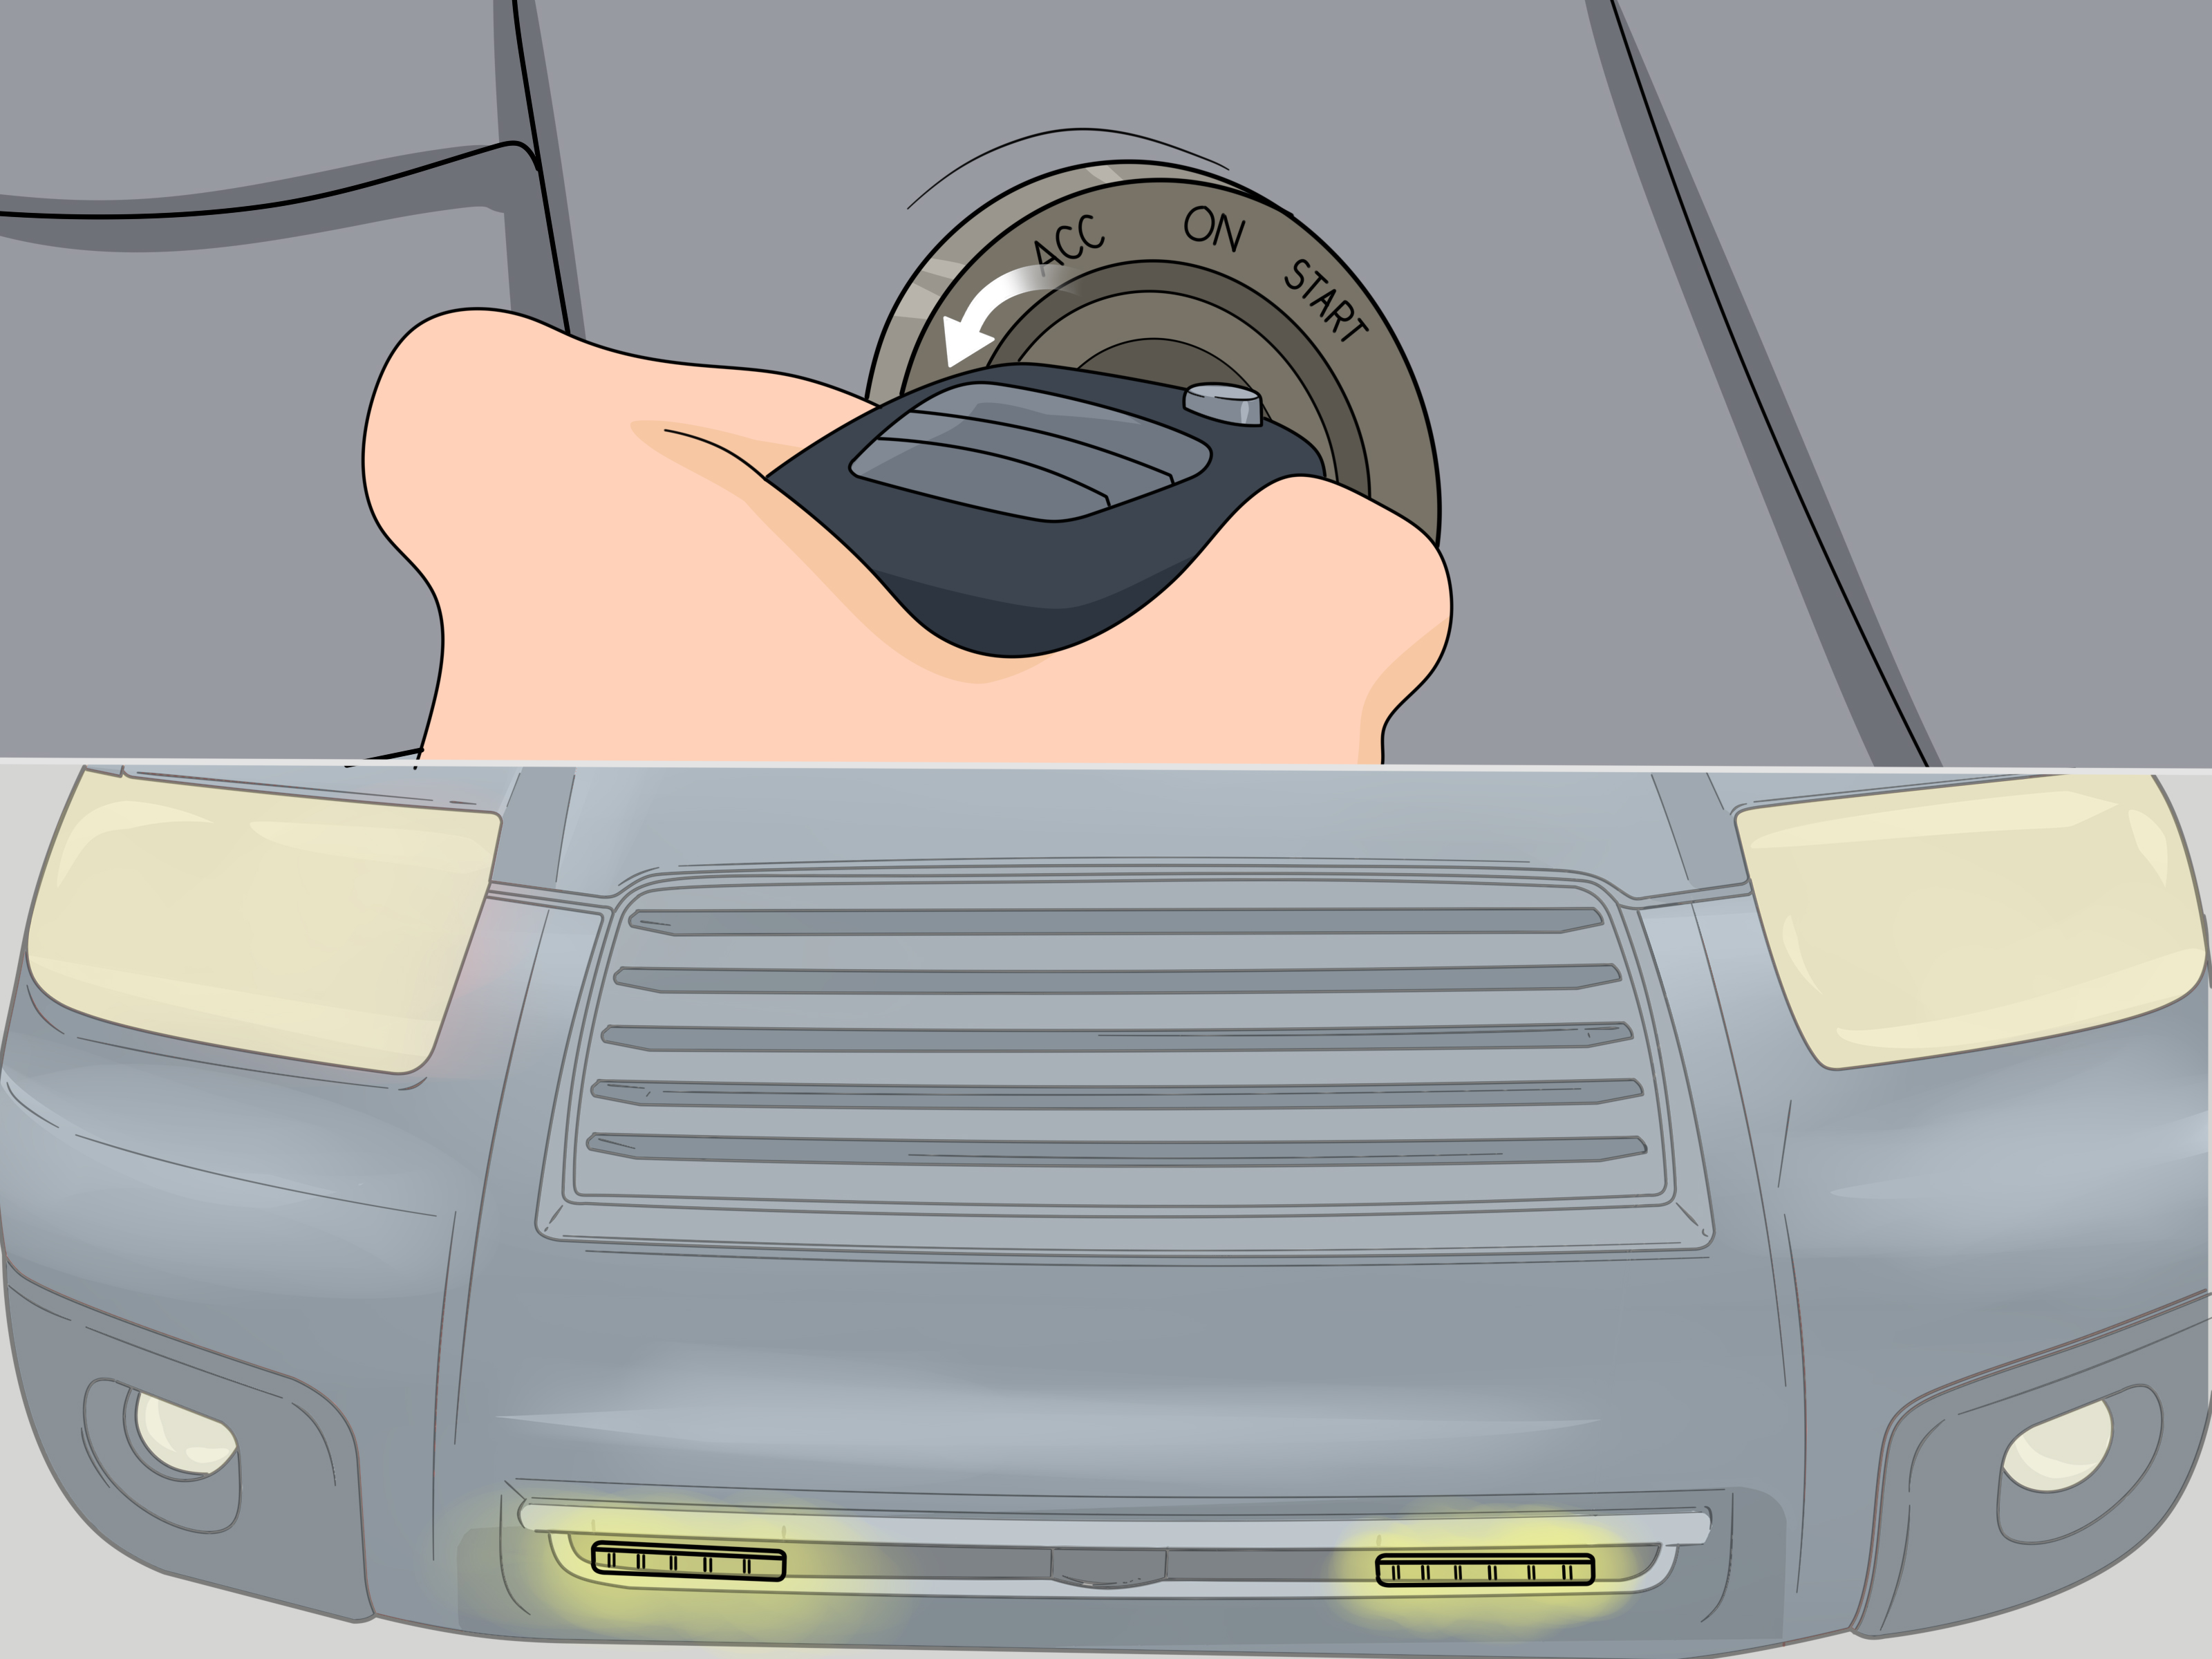
There are several common ways to power running lights. The simplest is a manual switch, but that means you must remember to turn the lights off. A better daily-driver method is using a switched 12-volt source, meaning the lights turn on only when the ignition or accessory power is on. Many DRL modules also dim or turn off when the headlights activate.
Common options include:
- Fuse tap: Connects to an existing switched fuse circuit without cutting factory wires.
- Relay harness: Uses a low-current trigger to control power directly from the battery.
- DRL controller: Automatically manages daytime running light behavior.
- Manual switch: Gives driver control but requires discipline.
For a clean and safe setup, use a fused circuit. If powering lights directly from the battery, place the fuse close to the battery connection. The fuse protects the wire, not just the light. That little detail is important enough to deserve its own tiny parade.
Step 9: Connect the Ground Wire
A poor ground is one of the most common causes of flickering lights, dim output, or mysterious electrical drama. Connect the ground wire to clean, bare metal on the chassis or an approved factory ground point. Remove paint or corrosion if needed, use a ring terminal, and tighten the fastener securely.
Avoid grounding to random brackets that may be isolated by rubber mounts, paint, or plastic. After attaching the ground, protect the connection from corrosion with dielectric grease or an appropriate protective coating. Do not rely on electrical tape alone for exterior grounding points.
Step 10: Wire the Power Side Correctly
Follow the wiring diagram included with your running light kit. If the kit includes a relay, the relay usually allows battery power to feed the lights while a small trigger wire tells the relay when to turn on. This prevents overloading a factory lighting circuit.
If using a fuse tap, identify a circuit that is powered only when the ignition is on. Good candidates may include accessory circuits, but avoid safety-critical systems such as airbags, ABS, ECU power, fuel pump circuits, or advanced driver-assistance systems. Use a multimeter to confirm the circuit behavior rather than guessing. Guessing is fine for jellybean flavors, not vehicle wiring.
Make tight, insulated, weather-resistant connections. Crimp connectors should be properly sized and firmly crimped. Soldered joints should be supported so vibration does not crack them. Heat-shrink tubing is better than loose electrical tape for long-term reliability, especially in the engine bay.
Step 11: Protect and Secure the Wiring
Once the lights are connected, protect the wiring. Slide exposed runs into split loom, secure the loom with zip ties, and leave enough slack for engine movement or panel flex. However, do not leave giant loops of wire hanging under the bumper like automotive spaghetti.
Keep wires away from heat sources, sharp edges, fan blades, belts, and suspension components. If the wire passes near metal, add abrasion protection. If it passes through a firewall or body panel, use a grommet. Exterior connectors should face downward when possible so water does not sit inside them.
Step 12: Test the Running Lights
Reconnect the battery and test the lights before reinstalling panels. Verify that the running lights turn on and off as intended. If they are connected to ignition power, make sure they shut off when the vehicle is off. If they dim with headlights, test that function. If they include amber turn signal mode, test both sides separately and confirm the hazard lights still work correctly.
Walk around the vehicle and inspect the light output. The lights should be visible but not glaring. If they point upward, adjust them downward. If one side is dimmer, check the ground, connector, and polarity. LEDs are polarity-sensitive, so reversing positive and negative can prevent them from lighting.
Step 13: Finalize the Installation
After testing, reinstall trim panels, tighten brackets, trim excess zip tie ends, and clean the work area. Take the vehicle for a short drive, then recheck the lights. Vibration can reveal loose brackets or wires that looked perfect in the driveway.
After a few days, inspect the installation again. Look for moisture inside housings, loose adhesive, wire rubbing, blown fuses, or connectors working loose. A good installation should look tidy, function consistently, and survive rain, heat, and normal driving without complaint.
Common Mistakes to Avoid
Using the Wrong Color
One of the fastest ways to turn a harmless lighting upgrade into a legal headache is using restricted colors on public roads. White and amber are usually the safest choices for front running lights. Save RGB rainbow mode for shows, private property, or off-road use where allowed.
Skipping the Fuse
Every added power circuit should be fused. A fuse is cheap. A melted wire harness is not. Install the fuse as close to the power source as practical, especially if drawing power from the battery.
Mounting Lights Too High or Too Bright
Running lights are meant for visibility, not revenge against oncoming traffic. Avoid aiming them into other drivers’ eyes. If the lights are extremely bright, consider a dimmer module or a lower-output kit.
Poor Waterproofing
Exterior lighting lives in a rough neighborhood: rain, road grime, heat, cold, vibration, and pressure washers. Use sealed connectors, heat shrink, and proper wire routing. If water gets into a connection, corrosion can quietly ruin your masterpiece.
Trusting Adhesive Alone on Dirty Surfaces
Adhesive-backed LED strips can work, but only on clean, dry, compatible surfaces. Clean with rubbing alcohol, avoid waxed areas, and apply firm pressure. For high-vibration areas, add mechanical clips when possible.
Troubleshooting Running Lights After Installation
The Lights Do Not Turn On
Check the fuse, ground, power source, polarity, and connectors. Use a multimeter to confirm voltage at the light. If there is power and ground but no light, the unit may be defective or polarity may be reversed.
The Lights Flicker
Flickering often points to a weak ground, loose connector, unstable power source, or incompatible controller. Recheck the ground first. Many lighting mysteries begin and end there.
The Fuse Keeps Blowing
A repeatedly blown fuse can indicate a short circuit, incorrect fuse size, damaged wire insulation, or too much current draw. Do not simply install a larger fuse. Find the cause. A bigger fuse can allow the wire to overheat before the fuse protects it.
The Lights Stay On When the Vehicle Is Off
This usually means the lights are connected to constant power instead of switched power. Move the trigger wire or fuse tap to a circuit that turns off with the ignition. If using a DRL controller, confirm it is wired according to the instructions.
Best Practices for a Clean, Professional-Looking Install
A professional-looking running light installation is mostly about planning. Keep both sides symmetrical, hide wires in loom, use proper connectors, and avoid random holes. When possible, use existing mounting points and grommets. Label wires if the system has multiple functions. Take photos before disassembly so you know how panels and clips go back together.
For higher-end vehicles, newer vehicles, hybrid vehicles, or vehicles with advanced sensors, professional installation may be worth the cost. Modern bumpers can hide radar sensors, parking sensors, camera wiring, and airbag-related components. Accidentally interfering with those systems can cost far more than the light kit.
Experience Notes: What Real DIY Installs Teach You
The first thing you learn when installing running lights is that the “simple 30-minute job” written on the product listing was probably completed by a professional installer, in a warm shop, with a vehicle already half-disassembled, while angels held the flashlight. For regular humans, the job is still manageable, but it rewards patience. The most useful experience tip is to spend more time planning than cutting, drilling, or crimping. A ten-minute test fit can prevent a two-hour repair.
Another lesson is that symmetry matters more than you think. When the lights are off, a quarter-inch difference may not seem obvious. When they are on, the vehicle suddenly looks like it raised one eyebrow. Use painter’s tape, a measuring tape, and reference points on the bumper or grille. Stand far enough away to see the whole front of the vehicle. Close-up alignment can trick your eyes.
Wiring also teaches humility. Many beginners assume the positive wire is the only important part, but the ground connection is just as critical. A clean chassis ground can make the difference between bright, steady lights and a flickering mess that behaves like it is haunted. Scrape paint only where appropriate, use a proper ring terminal, and tighten the fastener securely. If the lights act strange, check the ground before blaming the universe.
Fuse taps are convenient, but they should be used thoughtfully. The best experience is to test several fuse locations with a multimeter and choose a non-critical switched circuit. Avoid circuits tied to airbags, engine control modules, ABS, or safety systems. A running light should not share drama with your vehicle’s most important electronics. If you are not sure what a fuse powers, look it up in the owner’s manual or service information.
Weatherproofing is another area where small details matter. A connection that works perfectly in the driveway can fail after one rainy week if water sits inside the connector. Face connectors downward when possible, seal splices with heat shrink, and keep wires away from tire spray. Under-bumper installations especially need protection because water, grit, and road salt are relentless little goblins.
Adhesive-mounted LED strips can be convenient, but they are not magic. Clean the surface thoroughly, warm the adhesive slightly if the weather is cold, and hold firm pressure during installation. If the strip must follow a tight curve, do not force it. Forced adhesive eventually peels, usually at the exact moment you are trying to impress someone with your clean lighting upgrade.
Finally, testing before final assembly is the habit that saves the most frustration. Test the lights before mounting, after wiring, after securing the harness, and again after reinstalling panels. This may feel repetitive, but it is far better than discovering a loose connector after everything is clipped, bolted, and hidden behind trim. A good running light installation should feel boring once finished: lights on, lights off, no flicker, no mystery, no smoke. In automotive DIY, boring is beautiful.
Conclusion
Installing running lights is a practical upgrade that can improve your vehicle’s appearance and daytime visibility when done correctly. The secret is not complicated: choose legal, automotive-grade lights; plan the mounting location; route wires safely; use fused power; make solid ground connections; waterproof everything; and test before calling the job finished.
The best DIY lighting installs look factory because they are neat, secure, and restrained. You do not need the brightest lights in the parking lot. You need reliable running lights that turn on when they should, stay off when they should, and do not annoy everyone else on the road. Follow the 13 steps above, keep your wiring clean, and your vehicle can get that crisp modern glow without becoming an electrical cautionary tale.