Programming a garage door opener to your car sounds like one of those “simple” tasks that somehow turns into a dramatic standoff between you, a blinking light, and a button labeled “Learn.” The good news? It is usually much easier than it looks. Once you understand the basic process, your car’s built-in garage door opener can replace that loose remote sliding around in the cup holder like a tiny plastic hockey puck.
Most modern vehicles use a built-in system such as HomeLink, Car2U, or a manufacturer-specific universal garage door opener. These systems let you open and close your garage door from buttons built into the visor, overhead console, rearview mirror, or dashboard. The setup process is generally the same: train the car with your current remote, then sync the car with the garage door opener motor if your opener uses rolling-code security.
This guide explains how to program a garage door opener to your car in easy, practical steps. We will cover what you need before starting, how to program fixed-code and rolling-code openers, how to find the Learn button, what to do when the door refuses to cooperate, and how to avoid common mistakes. No engineering degree required. A small ladder and a little patience will do.
What You Need Before You Start
Before pressing buttons with the confidence of someone defusing a movie bomb, gather a few basics. You will need your vehicle, your existing handheld garage door remote, access to the garage door opener motor, and your vehicle’s owner’s manual if available. The manual is helpful because button locations and indicator-light patterns vary by make, model, and year.
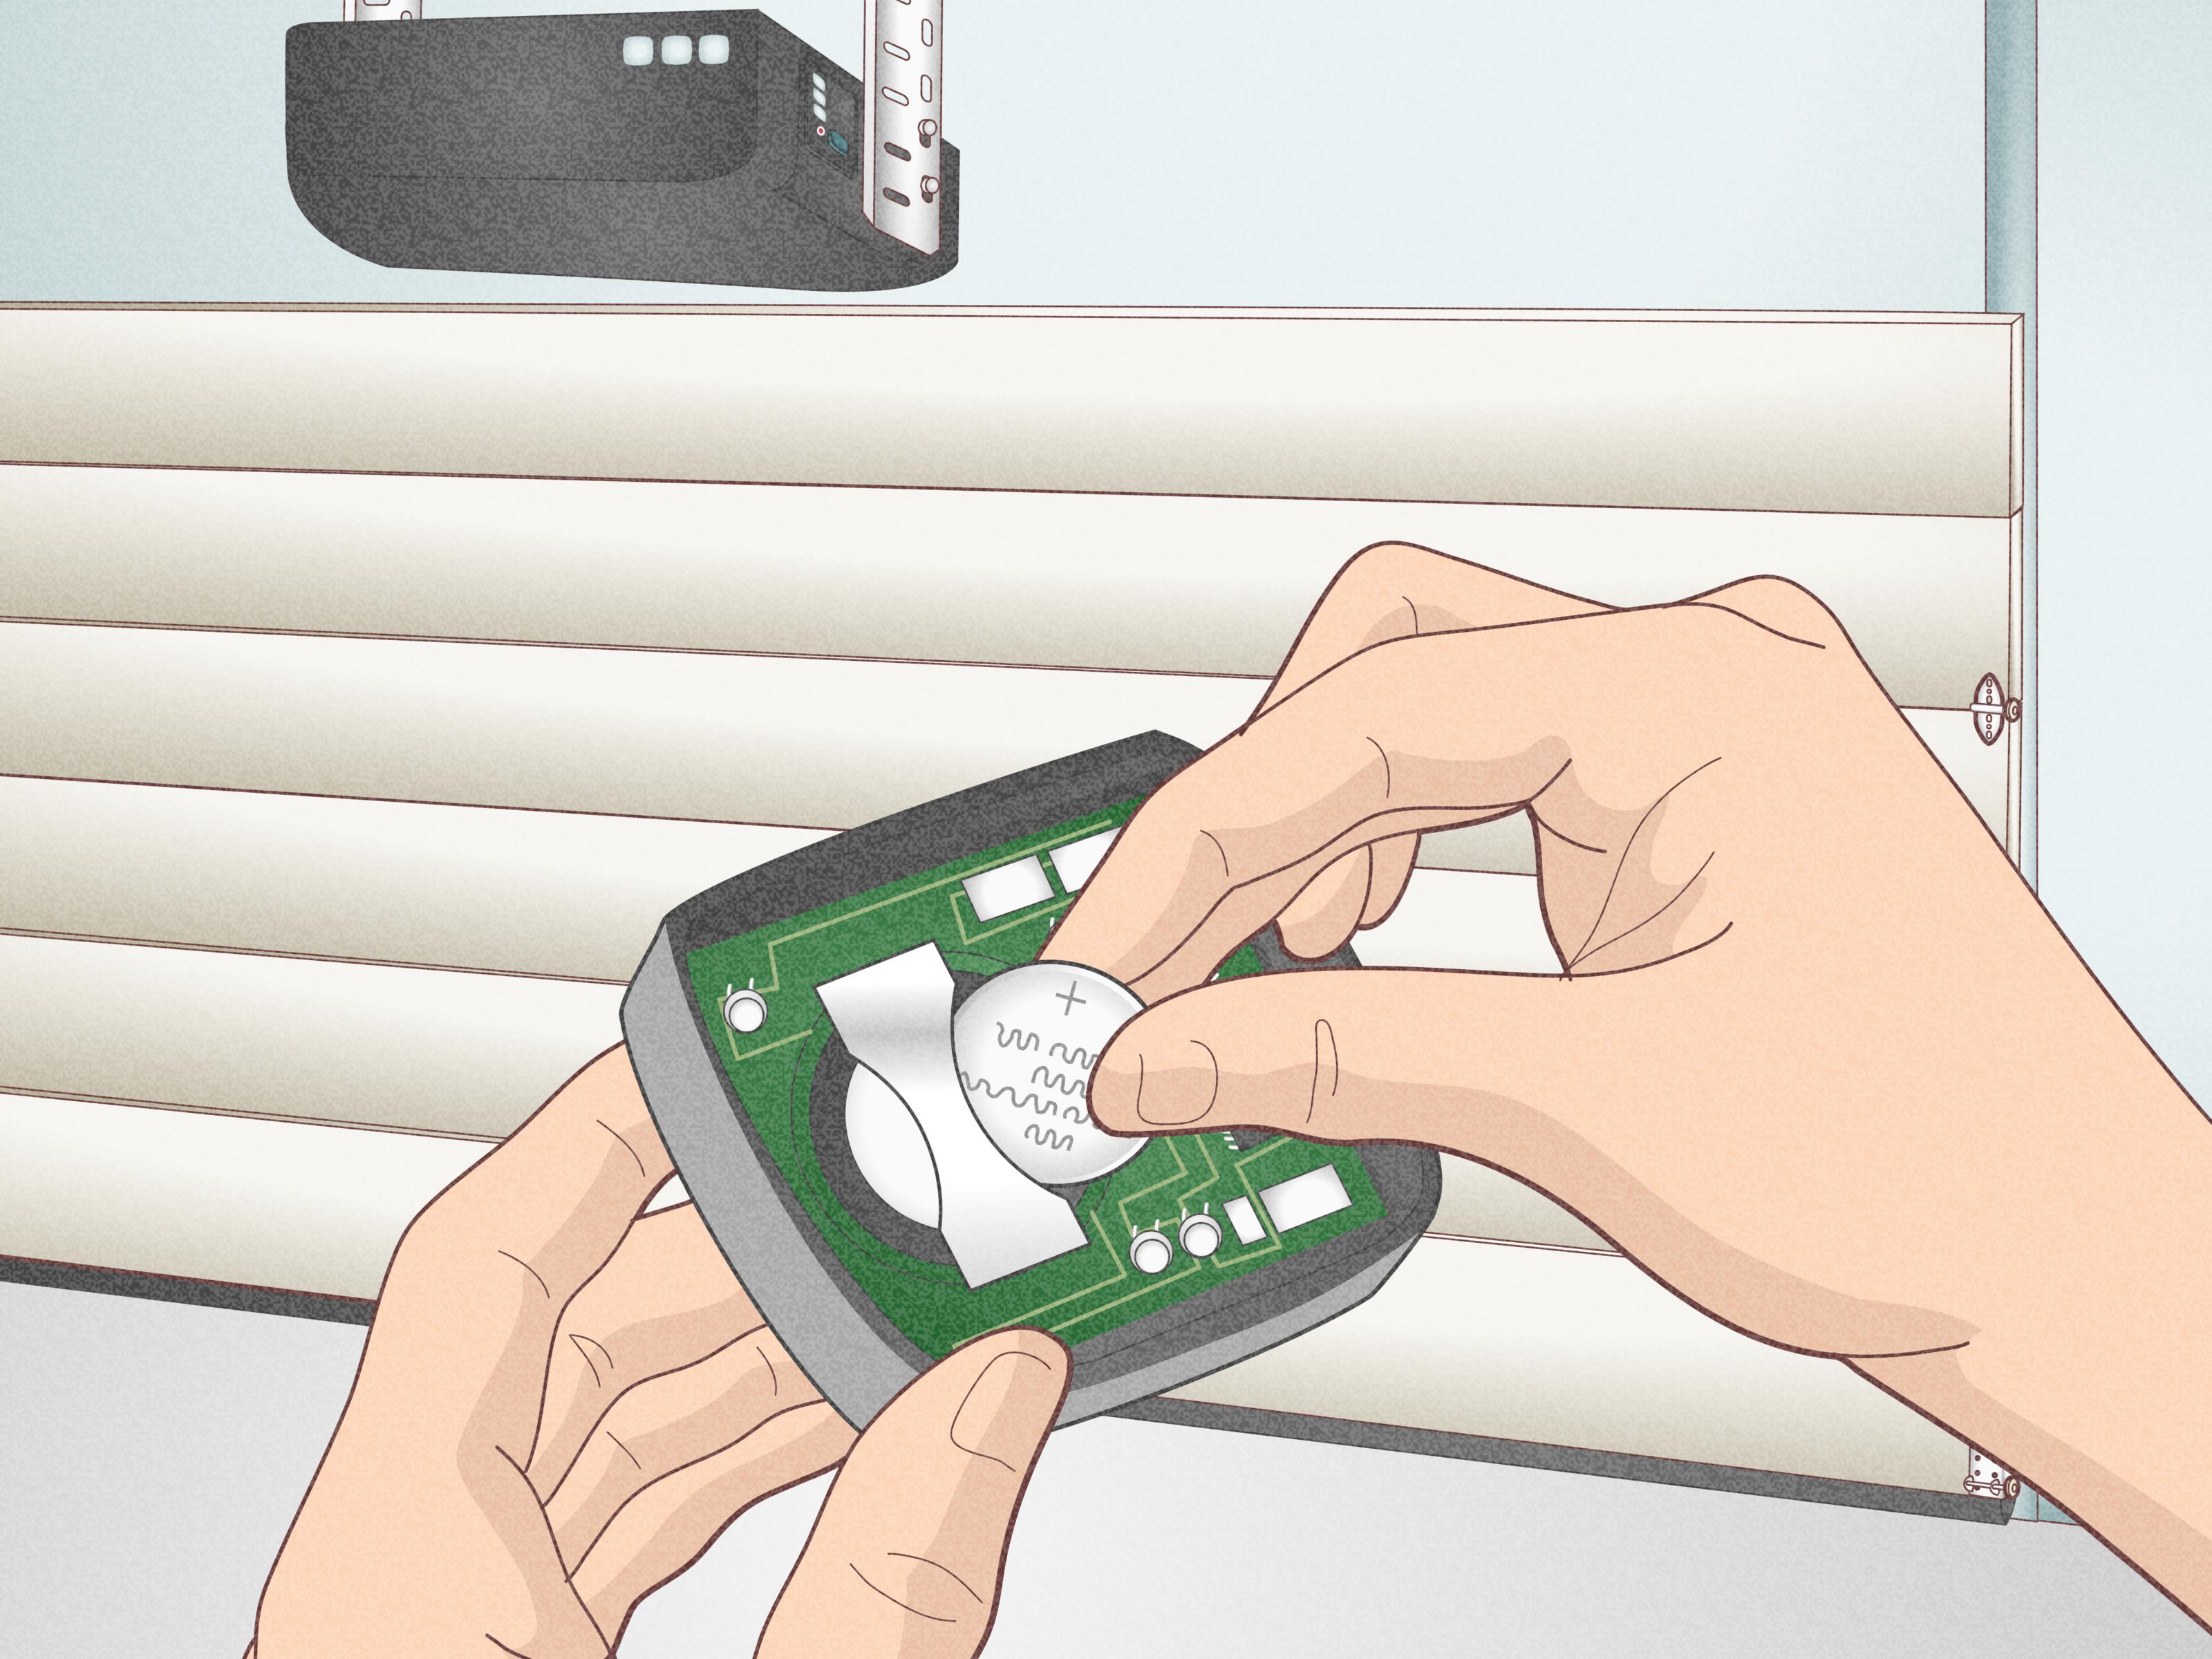
You should also make sure your garage door opener is working properly with the handheld remote. If the remote does not open the garage door, your car will not magically fix the problem. Replace the remote battery first if it is weak. A tired battery can cause programming failures that look mysterious but are really just the remote equivalent of needing coffee.
Check Your Car for Built-In Garage Door Buttons
Look for three small buttons, often marked with a house icon or a HomeLink logo. They may be located on the driver-side visor, the overhead console, the rearview mirror, or near the sunroof controls. Some vehicles hide these buttons so well you might wonder if the designer was paid by the scavenger hunt. If you cannot find them, search your vehicle manual for “HomeLink,” “universal garage door opener,” or “garage door transmitter.”
Know Whether Your Opener Uses Fixed Code or Rolling Code
Older garage door openers may use fixed-code technology. In that case, your car only needs to learn the signal from the handheld remote. Newer openers usually use rolling-code security, meaning the access code changes after each use. Rolling code is safer, but it adds one extra step: after your car learns the remote signal, you must press the Learn, Smart, Program, or Learn Code button on the opener motor so the opener recognizes your car.
Safety First: Do Not Skip This Part
Garage doors are heavy, motorized moving objects. In other words, they deserve more respect than a toaster. Park your vehicle outside the garage or at least away from the door’s path before programming. Keep children, pets, bikes, boxes, and your favorite lawn chair away from the door while testing.
Make sure the garage door opener’s safety sensors are aligned and working. Modern residential garage door openers in the United States are required to include reversing and entrapment-protection features, such as photo-eye sensors near the floor. If the door does not reverse when it meets an obstruction or when the sensor beam is interrupted, stop using the opener and call a qualified garage door technician.
Also, avoid climbing on shaky chairs to reach the opener motor. Use a stable ladder. Garage door programming should not become a slapstick audition.
How to Program a Garage Door Opener to Your Car
The exact steps vary slightly depending on your vehicle and opener brand, but the following process works for many cars with HomeLink-style systems and common garage door opener brands such as Chamberlain, LiftMaster, Craftsman, Genie, and Overhead Door.
Step 1: Turn on the Vehicle
Start by turning your vehicle to accessory mode or switching the ignition on. In some vehicles, the engine does not need to be running; in others, the system may require power before the garage door buttons respond. If you are inside a closed garage, avoid running the engine. Use accessory mode when possible.
Step 2: Clear Old Programming If Needed
If the car is used, newly purchased, or previously programmed to another garage door, clear the old codes first. Most HomeLink-style systems are cleared by pressing and holding the two outside buttons until the indicator light begins to flash rapidly. This may take about 10 to 20 seconds. Do not hold the buttons too long after the light changes.
Clearing is optional if you only want to program one unused button. However, if you are unsure what is stored in the system, clearing all buttons is a clean start. Think of it as deleting the garage-door ghosts of owners past.
Step 3: Hold the Remote Close to the Car Buttons
Sit in the driver’s seat with your handheld garage door remote. Hold the remote about one to three inches from the car’s built-in buttons. The correct distance matters. Too far away and the car may not learn the signal; too close and the signal can sometimes overwhelm the receiver. If the first attempt fails, adjust the angle and distance slightly.
Step 4: Press the Remote Button and the Car Button Together
Choose the car button you want to use for the garage door. Press and hold that button while also pressing and holding the button on your handheld remote. Keep holding both buttons until the indicator light in your car changes from a slow blink to a rapid blink or becomes solid, depending on the system.
This may take a few seconds, but sometimes it can take up to a minute. Release both buttons when the indicator changes. At this point, the car has learned the remote’s signal. For a fixed-code opener, this may be all you need.
Step 5: Test the Car Button
Press the programmed car button for a second or two. If the garage door opens or closes, congratulations. You have successfully programmed your garage door opener to your car, and your handheld remote can retire to the junk drawer where it will live beside mystery keys and batteries of uncertain strength.
If the door does not move, do not panic. Your opener probably uses rolling-code security. Continue to the next step.
Step 6: Find the Learn Button on the Opener Motor
Go to the garage door opener motor mounted on the ceiling. Look for a button labeled Learn, Smart, Program, PRGM, or Learn Code. On many units, it is located near the antenna wire, on the back panel, side panel, or under the light cover. The button may be yellow, purple, red, orange, green, black, or another color depending on the brand and model.
Use a stable ladder and good lighting. Do not confuse the Learn button with travel-limit adjustment screws or force adjustment controls. If you are not sure which button is correct, check the opener manual or look up the model number printed on the motor housing.
Step 7: Press the Learn Button
Press and release the Learn button. Do not hold it down unless your manual specifically says to. Holding the Learn button too long may erase all programmed remotes from the opener, which is a great way to make yourself unpopular with everyone else in the house.
After pressing the Learn button, you usually have about 20 to 30 seconds to complete the next step. Some openers flash a small light or click to show they are in programming mode.
Step 8: Return to the Car and Press the Programmed Button
Return to the vehicle and press the programmed garage door button for about two seconds, then release. You may need to press it two or three times. On some openers, you may need to press the button up to four times before the opener accepts the signal. Watch for the garage door to move or the opener lights to flash.
Once the door responds, programming is complete. Test the button again from a safe position to confirm it opens and closes the door reliably.
Programming Examples by Common Opener Type
While the general process is similar, small differences can matter. Here are practical examples based on common garage door opener setups.
Chamberlain, LiftMaster, and Craftsman Openers
Many Chamberlain, LiftMaster, and Craftsman openers use a Learn button near the antenna wire or under the light cover. First, train your car button using the handheld remote. If the door does not operate, press and release the Learn button on the motor. Then press the programmed button in the car until the opener responds.
Newer Chamberlain and LiftMaster units may use updated security technology. If your vehicle is older, you may need a compatibility bridge or repeater for certain opener models. Check both your vehicle manual and opener documentation if programming fails repeatedly.
Genie and Overhead Door Openers
Genie and Overhead Door systems may use a Program, PRGM, or Learn Code button. The programming window often times out quickly, so it helps to have a second person: one person presses the opener’s Learn Code button while the other sits in the car and presses the programmed vehicle button. This is one of those rare home projects where shouting “Now!” across the garage is actually productive.
Toyota, Honda, Ford, and Other Vehicles
Many Toyota, Honda, Ford, Lexus, Acura, Lincoln, Chevrolet, GMC, Subaru, Hyundai, Kia, Mercedes-Benz, BMW, and other vehicles use HomeLink or similar built-in systems. In most cases, you begin by holding the handheld remote near the in-car buttons, press both buttons until the indicator changes, then complete the Learn button step if the opener uses rolling code.
The biggest differences are usually the location of the buttons, the indicator-light pattern, and whether the vehicle must be in accessory mode. When in doubt, use the vehicle-specific instructions in the owner’s manual.
Common Problems and Easy Fixes
If your garage door opener will not program to your car, the issue is usually simple. Annoying, yes. Permanent, no.
The Indicator Light Never Changes
If the car’s indicator light keeps blinking slowly and never changes, the car did not learn the remote signal. Replace the remote battery, move the remote closer or farther away, and try a different angle. Some remotes transmit from the side rather than the front, so rotate the remote while holding the buttons.
The Car Learned the Remote, But the Door Still Does Not Move
This usually means you have a rolling-code opener and need to complete the Learn button step. Press the Learn button on the motor, return to the car quickly, and press the programmed button for two seconds. Repeat the press-and-release cycle a few times if needed.
The Door Opens Once, Then Stops Working
Try repeating the rolling-code sync step. Make sure you are pressing and releasing the car button rather than holding it forever. Some systems respond better to a two-second press, release, and repeat pattern.
The Opener Light Flashes, But the Door Does Not Move
Check the safety sensors near the bottom of the garage door tracks. If the sensors are blocked, dirty, or misaligned, the opener may refuse to close the door. Clean the sensor lenses, remove obstructions, and make sure both sensor lights are steady.
The Car Is Too Old for the Opener
Some older vehicle transmitters are not compatible with newer garage door opener security systems. In that case, you may need a HomeLink compatibility bridge, repeater kit, or an updated receiver. Before buying anything, confirm your opener model and vehicle system version.
How to Erase a Garage Door Opener From Your Car
If you sell your car, move to a new home, or stop using a garage door, erase the stored codes. In many vehicles, you can clear all programmed buttons by pressing and holding the two outside garage door buttons until the indicator light flashes rapidly. This removes the stored signals from the vehicle.
Some systems also allow you to reprogram a single button by training a new remote signal over the old one. For security, it is smart to clear the car before selling it. A car that still opens your garage is not a charming bonus feature for the next owner.
Should You Keep the Handheld Remote?
Yes, at least for a while. After programming your car, keep the handheld remote in a safe place. You may need it if your car battery dies, if you replace the vehicle, or if you need to program another button. Do not leave the remote clipped in a car parked outside, especially if the vehicle registration or address information is inside. That combination can turn a simple remote into an invitation.
Security Tips After Programming
Programming convenience should not come at the cost of security. If you recently moved into a home, erase all old remotes from the opener motor and reprogram only the remotes and vehicles you actually use. Most openers let you erase stored devices by holding the Learn button for a specific number of seconds, but check your manual first because the method varies.
Use rolling-code technology when available. If your opener is very old and lacks modern safety and security features, consider replacing it. A newer opener may offer better safety sensors, quieter operation, battery backup options, smart monitoring, and improved remote security.
When to Call a Professional
You can handle most garage door opener programming yourself. However, call a professional if the opener motor behaves strangely, the door reverses unexpectedly, the springs or cables look damaged, the door is off track, or the safety sensors do not work. Programming is a button-pushing job; spring repair is absolutely not. Garage door springs are under extreme tension and can cause serious injury.
Also call an expert if your opener is older, incompatible, or missing required safety features. Sometimes the best fix is not another programming attempt but a safer and more reliable opener.
Real-World Experience: What Programming a Garage Door Opener Actually Feels Like
In real life, programming a garage door opener to your car is rarely as smooth as the tiny diagram in the manual suggests. The manual usually makes it look like three elegant steps: press button, smile, enjoy modern convenience. Reality may involve standing on a ladder, squinting at a motor unit, and asking yourself whether the purple button is the Learn button or the gateway to a parallel universe.
One of the most common experiences is the “almost there” moment. The car’s indicator light changes exactly as expected, so you proudly press the button and wait for the garage door to glide open. Nothing happens. This is when many people assume they did something wrong. In most cases, they did not. The vehicle learned the remote signal, but the opener still needs the rolling-code sync. Once you press the Learn button on the opener motor and return to the car, the system usually connects.
Another real-world tip: timing matters. If the opener gives you 30 seconds after pressing the Learn button, that does not mean 30 relaxed, luxurious seconds. It means move with purpose. If your garage is cluttered, your ladder is wobbly, or your car is parked halfway down the driveway, the programming window can expire before you get back to the driver’s seat. Having a helper makes the process much easier. One person presses the Learn button, and the other presses the vehicle button. No sprinting required.
Remote positioning also matters more than people expect. Holding the remote directly against the HomeLink buttons does not always work. Try one inch away, then three inches away, then change the angle. Some remotes transmit better when aimed from the side. If you feel silly rotating a garage remote like you are tuning an old TV antenna, congratulationsyou are doing home technology correctly.
Weak remote batteries create another sneaky problem. The remote may still open the garage door when you stand nearby, but it may not send a strong enough signal for the car to learn. Replacing the battery is cheap and often solves the issue. It is the garage-door version of turning it off and on again.
People with newer vehicles and newer openers often have the easiest time. Older vehicles paired with newer security systems can be more stubborn. If your car is from an earlier model year and your opener uses newer rolling-code technology, compatibility may be the obstacle. In that situation, a repeater kit or bridge may be necessary. It is not your fault, and it does not mean your car is “bad at garages.” It simply means two generations of technology are refusing to shake hands.
Finally, the best experience comes from slowing down and following the sequence carefully. Clear old codes if needed. Train the car with the remote. Test the button. If it fails, press the Learn button and complete the rolling-code step. Test again. Once it works, save the handheld remote somewhere safe and enjoy the small luxury of pressing one built-in button as your garage door obeys. It may not make you feel like a superhero, but it is close enough on a rainy day.
Conclusion
Learning how to program a garage door opener to your car is one of those small upgrades that makes everyday life feel smoother. Instead of hunting for a remote, replacing clips, or digging between seats, you can open the garage with a built-in button. The basic process is simple: prepare the remote, train the car button, sync with the opener’s Learn button if needed, and test the system safely.
If the first attempt does not work, do not assume failure. Most problems come from weak remote batteries, missed rolling-code steps, expired programming windows, remote positioning, or compatibility issues. Take your time, follow the sequence, and remember that the blinking light is not judging you. Probably.
Once programmed, your car’s garage door opener becomes one of those quiet conveniences you will use every day without thinking. And really, that is the goal of good technology: less fumbling, fewer loose remotes, and one less thing rattling around in the cup holder.