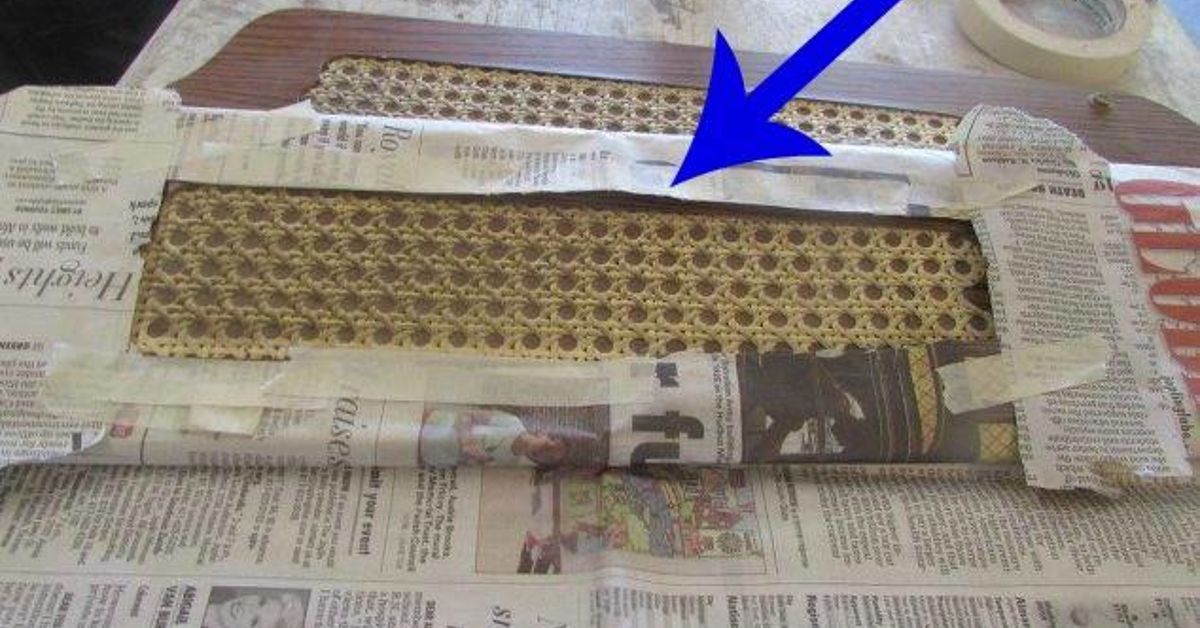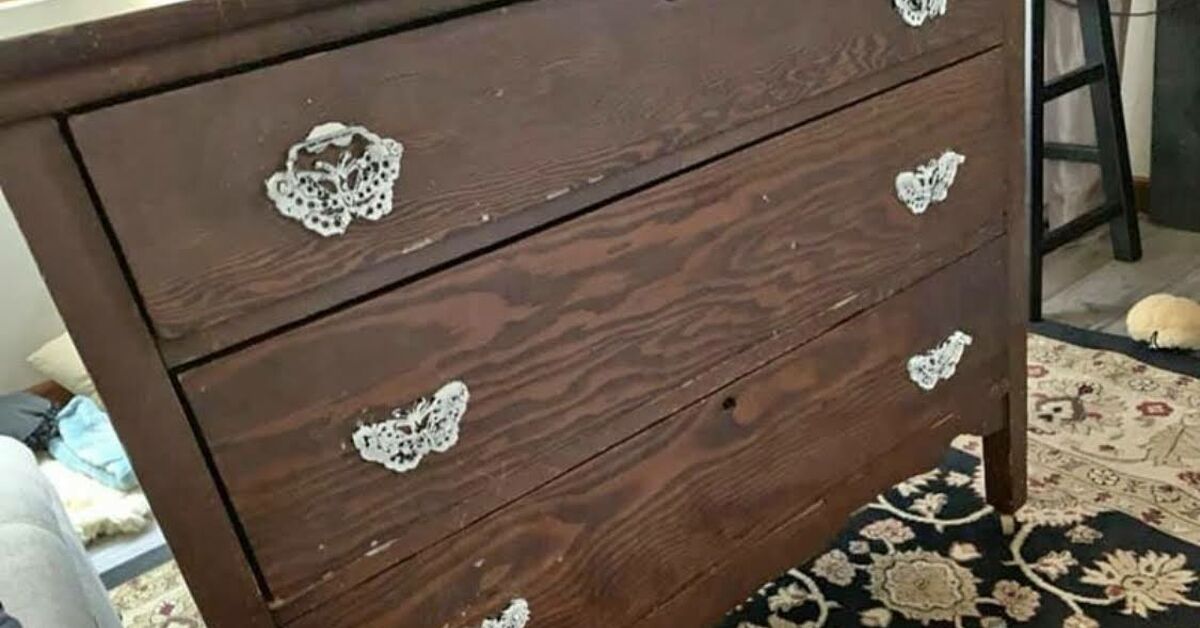
A stenciled wood dresser can turn an ordinary piece of bedroom furniture into something that looks custom-made, hand-inlaid, and suspiciously expensive. The good news is that you do not need a fine-art degree, a professional spray booth, or the steady hands of a watchmaker. You mainly need careful preparation, a reusable stencil, and the self-control to avoid loading your brush with enough paint to redecorate the entire neighborhood.
This DIY dresser makeover works on many solid-wood and wood-veneer pieces, including thrift-store finds, inherited furniture, and that dependable dresser you have owned since flip phones were considered exciting. The process involves cleaning, repairing, sanding, priming, painting, stenciling, and protecting the finished design.
The instructions below explain how to make a stenciled wood dresser with crisp patterns, smooth paint, durable protection, and fewer of the mysterious smudges that sometimes appear when enthusiasm moves faster than drying time.
Why Stencil a Wood Dresser?
Stenciling is one of the easiest ways to add a detailed painted design without drawing every line by hand. A single stencil can create geometric borders, floral panels, Art Deco fans, Moroccan-inspired tiles, botanical motifs, or an imitation inlay pattern.
Unlike decals, a painted stencil becomes part of the dresser’s finish. You can choose the colors, adjust the spacing, distress the pattern, or repeat it across several drawer fronts. The technique also lets you update structurally sound furniture instead of replacing it.
A stenciled dresser works especially well when:
- The furniture has a dated finish but remains sturdy.
- The drawer fronts offer large, relatively flat surfaces.
- You want a decorative focal point without buying new furniture.
- The wood has cosmetic flaws that paint can disguise.
- You enjoy projects that provide dramatic results without requiring dramatic carpentry.
Inspect the Dresser Before Painting
Before choosing colors, make sure the dresser is worth refinishing. Open every drawer, check the joints, and inspect the frame for cracks, loose panels, water damage, insects, or unstable legs. A stencil can hide a scratch, but it cannot persuade a collapsing drawer runner to reconsider its life choices.
Identify the Surface Material
Determine whether the dresser is solid wood, wood veneer, laminate, medium-density fiberboard, or a combination. Solid wood usually tolerates sanding well. Veneer requires a lighter touch because the decorative wood layer may be thin. Laminate and glossy factory finishes generally need scuff-sanding and a high-adhesion bonding primer.
You usually do not need to strip a stable finish completely. The goal is to remove dirt, repair defects, smooth rough areas, and dull glossy surfaces enough for the primer to bond.
Use Caution With Older Painted Furniture
If the dresser has an unknown painted finish and may date from before 1978, avoid casually dry-sanding it until you have considered the possibility of lead-based paint. Sanding old lead paint can create hazardous dust. Use an appropriate testing or professional evaluation method and follow current lead-safe practices when necessary.
Tools and Materials
Gathering supplies before starting prevents the classic DIY ritual of driving to the hardware store while wearing paint-covered sweatpants.
- Drop cloth or protective plastic
- Screwdriver or drill
- Small containers or labeled bags for hardware
- Gentle degreasing cleaner
- Clean cloths and fresh water
- Wood filler and putty knife
- 120-, 180-, and 220-grit sandpaper
- Fine sanding sponge for corners and profiles
- Vacuum and tack-free dust cloth
- Wood primer or bonding primer
- Stain-blocking primer for dark or tannin-rich wood
- Furniture, cabinet, enamel, or quality acrylic paint
- Small foam or microfiber roller
- Quality synthetic paintbrush
- Reusable furniture stencil
- Painter’s tape or repositionable stencil adhesive
- Stencil brush or dense foam roller
- Paper towels or a piece of cardboard
- Water-based clear topcoat, when needed
- New knobs or pulls, if desired
- Furniture anchoring hardware
How to Make a Stenciled Wood Dresser Step by Step
1. Remove the Drawers and Hardware
Take out all drawers and remove the knobs, pulls, and decorative plates. Place the hardware in labeled bags so one tiny screw does not disappear into the same dimension that apparently contains missing socks.
Number the drawers with painter’s tape on their backs or undersides. Older dressers are not always perfectly symmetrical, and a drawer that fits beautifully in one opening may behave like a stubborn filing cabinet in another.
If you plan to reuse the hardware, clean it separately. Do not paint over pulls while they are attached unless you intentionally want the hardware and drawer front to become emotionally and physically inseparable.
2. Clean the Entire Dresser
Cleaning is essential, even when the furniture looks reasonably tidy. Polish, wax, skin oils, dust, cooking residue, and mystery grime can interfere with paint adhesion.
Use a gentle degreasing cleaner appropriate for furniture. Pay extra attention to drawer pulls, top edges, corners, and the area around handles. Follow with a clean-water wipe to remove cleaner residue, then allow the wood to dry completely.
Avoid soaking veneer, particleboard, or MDF. Excess water can cause swelling, lifting, or bubbling.
3. Repair Damage and Sand the Finish
Tighten loose joints and fill dents, deep scratches, unused hardware holes, or chipped edges with paintable wood filler. Let the filler dry, then sand it level.
For rough or damaged surfaces, begin with 120- or 150-grit sandpaper. Move to 180 or 220 grit to smooth the wood. If the existing finish is stable and glossy, a light scuff-sanding may be enough. Sand in the direction of the grain whenever the grain remains visible.
Be especially gentle with veneer. An aggressive power sander can move from “lightly refreshed” to “surprise particleboard reveal” in seconds.
After sanding, vacuum the dresser thoroughly. Wipe away remaining dust with a clean, slightly damp cloth or another product recommended by the paint manufacturer. Dust left on the surface can create bumps in the finish and interfere with the stencil edges.
4. Apply the Correct Primer
Primer helps paint adhere, evens out porosity, and reduces the number of finish coats required. Choose the primer based on the surface rather than grabbing whichever can is closest to the garage door.
- Use a quality wood primer on bare or normally finished wood.
- Use a bonding primer on laminate or highly glossy surfaces.
- Use a stain-blocking primer if dark stain, knots, or wood tannins may bleed through.
- Spot-prime filled repairs if the surrounding surface does not require a complete primer coat.
Apply a thin, even coat with a brush and fine-finish roller. Watch for drips around drawer openings and decorative trim. Let the primer dry according to its label, then lightly sand it with 220- or 320-grit paper if the surface feels rough. Remove all dust before painting.
5. Paint the Base Color
Select a durable paint intended for furniture, cabinets, trim, or other high-contact surfaces. Satin and semi-gloss finishes are easy to clean, while matte paint creates a softer vintage appearance but may benefit more from a protective topcoat.
Apply the base color in thin coats. Use a roller on broad, flat areas and a brush on corners, edges, and profiles. Finish each section in the same direction to reduce visible marks.
Two thin coats usually look smoother and cure more reliably than one heroic coat thick enough to preserve a footprint. Let each coat dry for the manufacturer’s recommended recoat time.
Before stenciling, allow the final base coat to dry thoroughly. A surface can feel dry while still being soft underneath. Rushing may cause tape or stencil adhesive to lift the fresh paint.
6. Plan the Stencil Layout
Decide whether the pattern will cover the entire dresser, appear only on the drawer fronts, form a border, or create one large centered design.
Lay the drawers side by side in their proper order if the stencil will continue across several fronts. Measure the total width and mark the visual center with low-tack painter’s tape. Use the stencil’s registration marks to keep repeated patterns aligned.
Test the arrangement on paper or cardboard first. This rehearsal helps you check the paint color, pressure, spacing, and pattern scale before committing to the dresser.
7. Secure the Stencil
Position the stencil and hold it with low-tack painter’s tape. A light application of repositionable stencil adhesive can help on curved or uneven surfaces, but use only a product compatible with the paint finish.
Make sure the stencil lies flat. Press gently around narrow bridges and delicate details. Avoid stretching the stencil, as distorted shapes tend to become increasingly obvious with every repeat.
8. Remove Excess Paint Before Stenciling
This is the most important technique in the project: use less paint than seems reasonable.
Load only the tips of a stencil brush, then swirl or dab the brush on paper towels until it appears almost dry. When using a small foam roller, roll away most of the paint on cardboard or folded paper towels before touching the stencil.
Excess paint is the main cause of stencil bleed. A lightly loaded tool lets you build color gradually while keeping the pattern crisp.
9. Apply the Stencil Paint
Use gentle vertical tapping, stippling, or light circular motions with a stencil brush. Do not force paint toward the openings. With a foam roller, apply light pressure and make several thin passes rather than one heavy pass.
For a clean modern pattern, build an opaque but thin layer. For a faded vintage effect, allow small variations in coverage. Metallic acrylic paint can create an inlaid appearance over navy, charcoal, forest green, black, or deep burgundy base colors.
Lift the stencil carefully while the accent paint is still fresh. Pull it straight away from the surface rather than dragging it sideways. Check the underside before repositioning it, and clean accumulated paint when necessary.
10. Repeat the Pattern
Align the stencil using registration marks or measured reference points. Tape it in place and repeat the dry-brush process. Step back regularly to check the overall layout.
If you reach a corner, edge, or drawer opening, bend the stencil gently where possible or finish the awkward area with a small stencil brush. Do not overload the brush in an attempt to reach a difficult detail. Paint has no respect for desperation.
11. Correct Small Mistakes
A little paint bleed does not mean the project is ruined. Let the area dry, then use a small artist’s brush and the base color to sharpen the edge. Keep both paint colors available until the design is complete.
For larger errors, lightly sand the problem area after it dries, repaint the base color, and stencil it again. Furniture refinishing rewards patience far more consistently than panic.
12. Protect the Finish
Some furniture paints are durable enough without a separate topcoat. Others, especially matte decorative paints, benefit from additional protection. Follow the paint manufacturer’s compatibility recommendations rather than assuming every clear finish works over every paint.
A water-based clear topcoat is often a practical option because it dries clear and is less likely than many oil-based products to add an amber tone. Apply thin coats with a high-quality brush, applicator pad, or fine roller. Avoid repeatedly brushing areas that have already begun to set.
Allow the painted design to dry completely before adding the first protective coat. Two or three thin coats provide more even protection than one thick coat.
Remember that drying and curing are not the same. The dresser may feel dry within hours but remain vulnerable to scratches for days or weeks. Treat it gently during the full curing period listed on the product label.
13. Reinstall the Hardware and Anchor the Dresser
Once the finish has cured enough for handling, reinstall the original hardware or add new knobs and pulls. Use a template when drilling new holes so the hardware remains aligned.
Return each numbered drawer to its original opening. Install an appropriate anti-tip restraint and secure the dresser to a wall stud or another suitable structural support. Anchoring is especially important in homes with children because a dresser can become unstable when drawers are opened or climbed.
Stenciled Dresser Design Ideas
Faux Bone Inlay
Paint the dresser navy, black, emerald, or charcoal and add a repeating white botanical or geometric stencil. Continue the pattern across the drawer fronts and around the frame for an ornate inlay-inspired effect.
Modern Tone-on-Tone Pattern
Pair two shades from the same color family, such as sage with deep olive or pale gray with charcoal. The subtle contrast adds dimension without making the dresser dominate the room.
Metallic Art Deco Details
Use a fan, scallop, sunburst, or arch stencil with gold, bronze, or pearl paint. Metallic designs look especially polished on dark jewel-toned backgrounds.
Children’s Room Dresser
Try stars, clouds, woodland animals, numbers, or simple flowers. Keep the palette coordinated with the room and use washable, durable products suitable for furniture.
Single Oversized Motif
Instead of repeating a small pattern, place one large mandala, botanical branch, or medallion across several drawers. Arrange the drawers together before stenciling so the image remains continuous.
Common Stenciling Mistakes to Avoid
Skipping the Cleaning Step
Sanding alone does not reliably remove wax, oil, or furniture polish. Contaminants can cause peeling, fisheyes, or uneven paint adhesion.
Using Too Much Stencil Paint
A heavily loaded brush pushes paint under the stencil. Offload the tool until it feels almost dry, then build the color slowly.
Stenciling Over Soft Base Paint
Tape and repositionable adhesive can damage paint that has not dried sufficiently. Give the base coat more time than your impatience believes is necessary.
Ignoring Registration Marks
A pattern that begins one-eighth inch out of alignment may finish looking like it survived a small earthquake. Use registration points and check the design after every repeat.
Applying a Clear Coat Too Soon
Topcoating uncured paint may cause smearing, cloudiness, bubbling, or adhesion trouble. Follow the drying and compatibility instructions for every product in the finishing system.
Using an Aggressive Sander on Veneer
Thin veneer can be damaged quickly. Sand gently by hand, especially near corners and edges where the veneer is easiest to cut through.
How to Care for a Stenciled Wood Dresser
For the first several weeks, avoid placing heavy accessories, lamps with rough bases, or decorative objects directly on the top. Use felt pads under anything that may scratch the finish.
Dust with a soft, dry cloth. After the finish has fully cured, clean it with a slightly damp cloth and a mild product approved for the topcoat. Avoid abrasive scrubbers and strong cleaners containing harsh solvents, ammonia, or alcohol unless the finish manufacturer specifically allows them.
Use coasters or protective trays under cosmetics, drinks, plants, and perfume bottles. Water, nail-polish remover, and fragrance oils are talented finish destroyers.
Real-World Experience: Lessons From Stenciled Dresser Makeovers
Practical furniture-makeover experience teaches a lesson that is both boring and completely unavoidable: the final result depends more on preparation than decoration. The exciting part is choosing a dramatic stencil and imagining the finished dresser under perfect bedroom lighting. The successful part is spending an unglamorous afternoon removing wax from corners and sanding around drawer openings.
One common experience involves painting an older mahogany, cherry, or reddish-brown dresser with a light color. The first coat looks beautiful, but yellow or pink stains gradually appear through the primer and paint. Adding more finish paint rarely solves the underlying problem. The reliable response is to stop, let the surface dry, and use a compatible stain-blocking primer before repainting. This extra step feels unfair after the dresser has already received several coats, but it is much faster than watching the stains return indefinitely.
Another lesson comes from stencil paint. Beginners often assume a crisp design requires a generous amount of paint. In practice, the opposite is true. The first drawer may receive an overloaded roller and develop fuzzy edges. After the roller is thoroughly offloaded, the second drawer suddenly produces a clean pattern. That contrast makes the correct technique obvious: a nearly dry tool provides more control, and several light passes create a sharper design than one wet pass.
Pattern placement also improves with experience. Centering each drawer separately sounds logical, but it can make a continuous design look disconnected. For a pattern that flows across the front of the dresser, arranging the drawers together and treating them as one large canvas produces a more cohesive result. Small gaps between drawers should be considered during layout so important portions of the motif do not disappear into the spaces.
Paint colors frequently behave differently on furniture than they do on a small sample card. A metallic gold that looks elegant in a container may appear bright yellow over a warm cream base. The same gold can look richer and more convincing over navy or charcoal. Testing the complete paint combination on a scrap board is therefore more useful than evaluating each color separately.
Furniture projects also reveal why thin coats matter. Thick paint may cover quickly, but it collects around drawer edges, softens details, and increases the risk that drawers will stick. Thin coats take longer to build, yet they produce a smoother finish and preserve the shape of moldings and recessed panels. When painting the drawer sides, it is wise to check the clearance before coating every surface. Some antique drawers already fit tightly and do not have room for several new paint layers.
Stencil cleanup becomes another practical consideration. Allowing acrylic paint to dry repeatedly on a reusable stencil can narrow the openings and distort fine details. Cleaning the stencil periodically makes later repeats more accurate. However, replacing a wet stencil directly onto a painted dresser can introduce water spots, so it should be dried carefully before use.
Perhaps the hardest lesson is learning to stop touching the dresser. A freshly topcoated piece looks finished, but the coating may still be soft. Reinstalling hardware too quickly can leave impressions around the screws. Setting a lamp on the top can create a permanent ring. Closing drawers forcefully may cause painted edges to stick together. Giving the finish adequate curing time is not an optional ceremonial pause; it is part of the finishing process.
Finally, minor imperfections usually become less noticeable once the dresser is assembled and placed in the room. A tiny uneven stencil edge viewed from three inches away can feel catastrophic during the project. From across a bedroom, surrounded by hardware, lighting, and decor, it is rarely visible. Correct obvious problems, but do not sand away an entire weekend while chasing laboratory-level perfection. Handmade furniture should look polished, not manufactured by robots in a climate-controlled bunker.
Conclusion
Learning how to make a stenciled wood dresser is less about advanced artistic skill and more about following a dependable sequence. Inspect and clean the furniture, repair damage, sand carefully, choose the correct primer, apply thin base coats, and let them dry. When it is time to stencil, secure the pattern, remove most of the paint from the brush or roller, and build the design gradually.
Finish the project with compatible protection, sufficient curing time, updated hardware, and a secure wall anchor. The result can transform a plain or dated dresser into a practical statement piece with the character of custom furniture and the satisfying knowledge that you created it yourself.