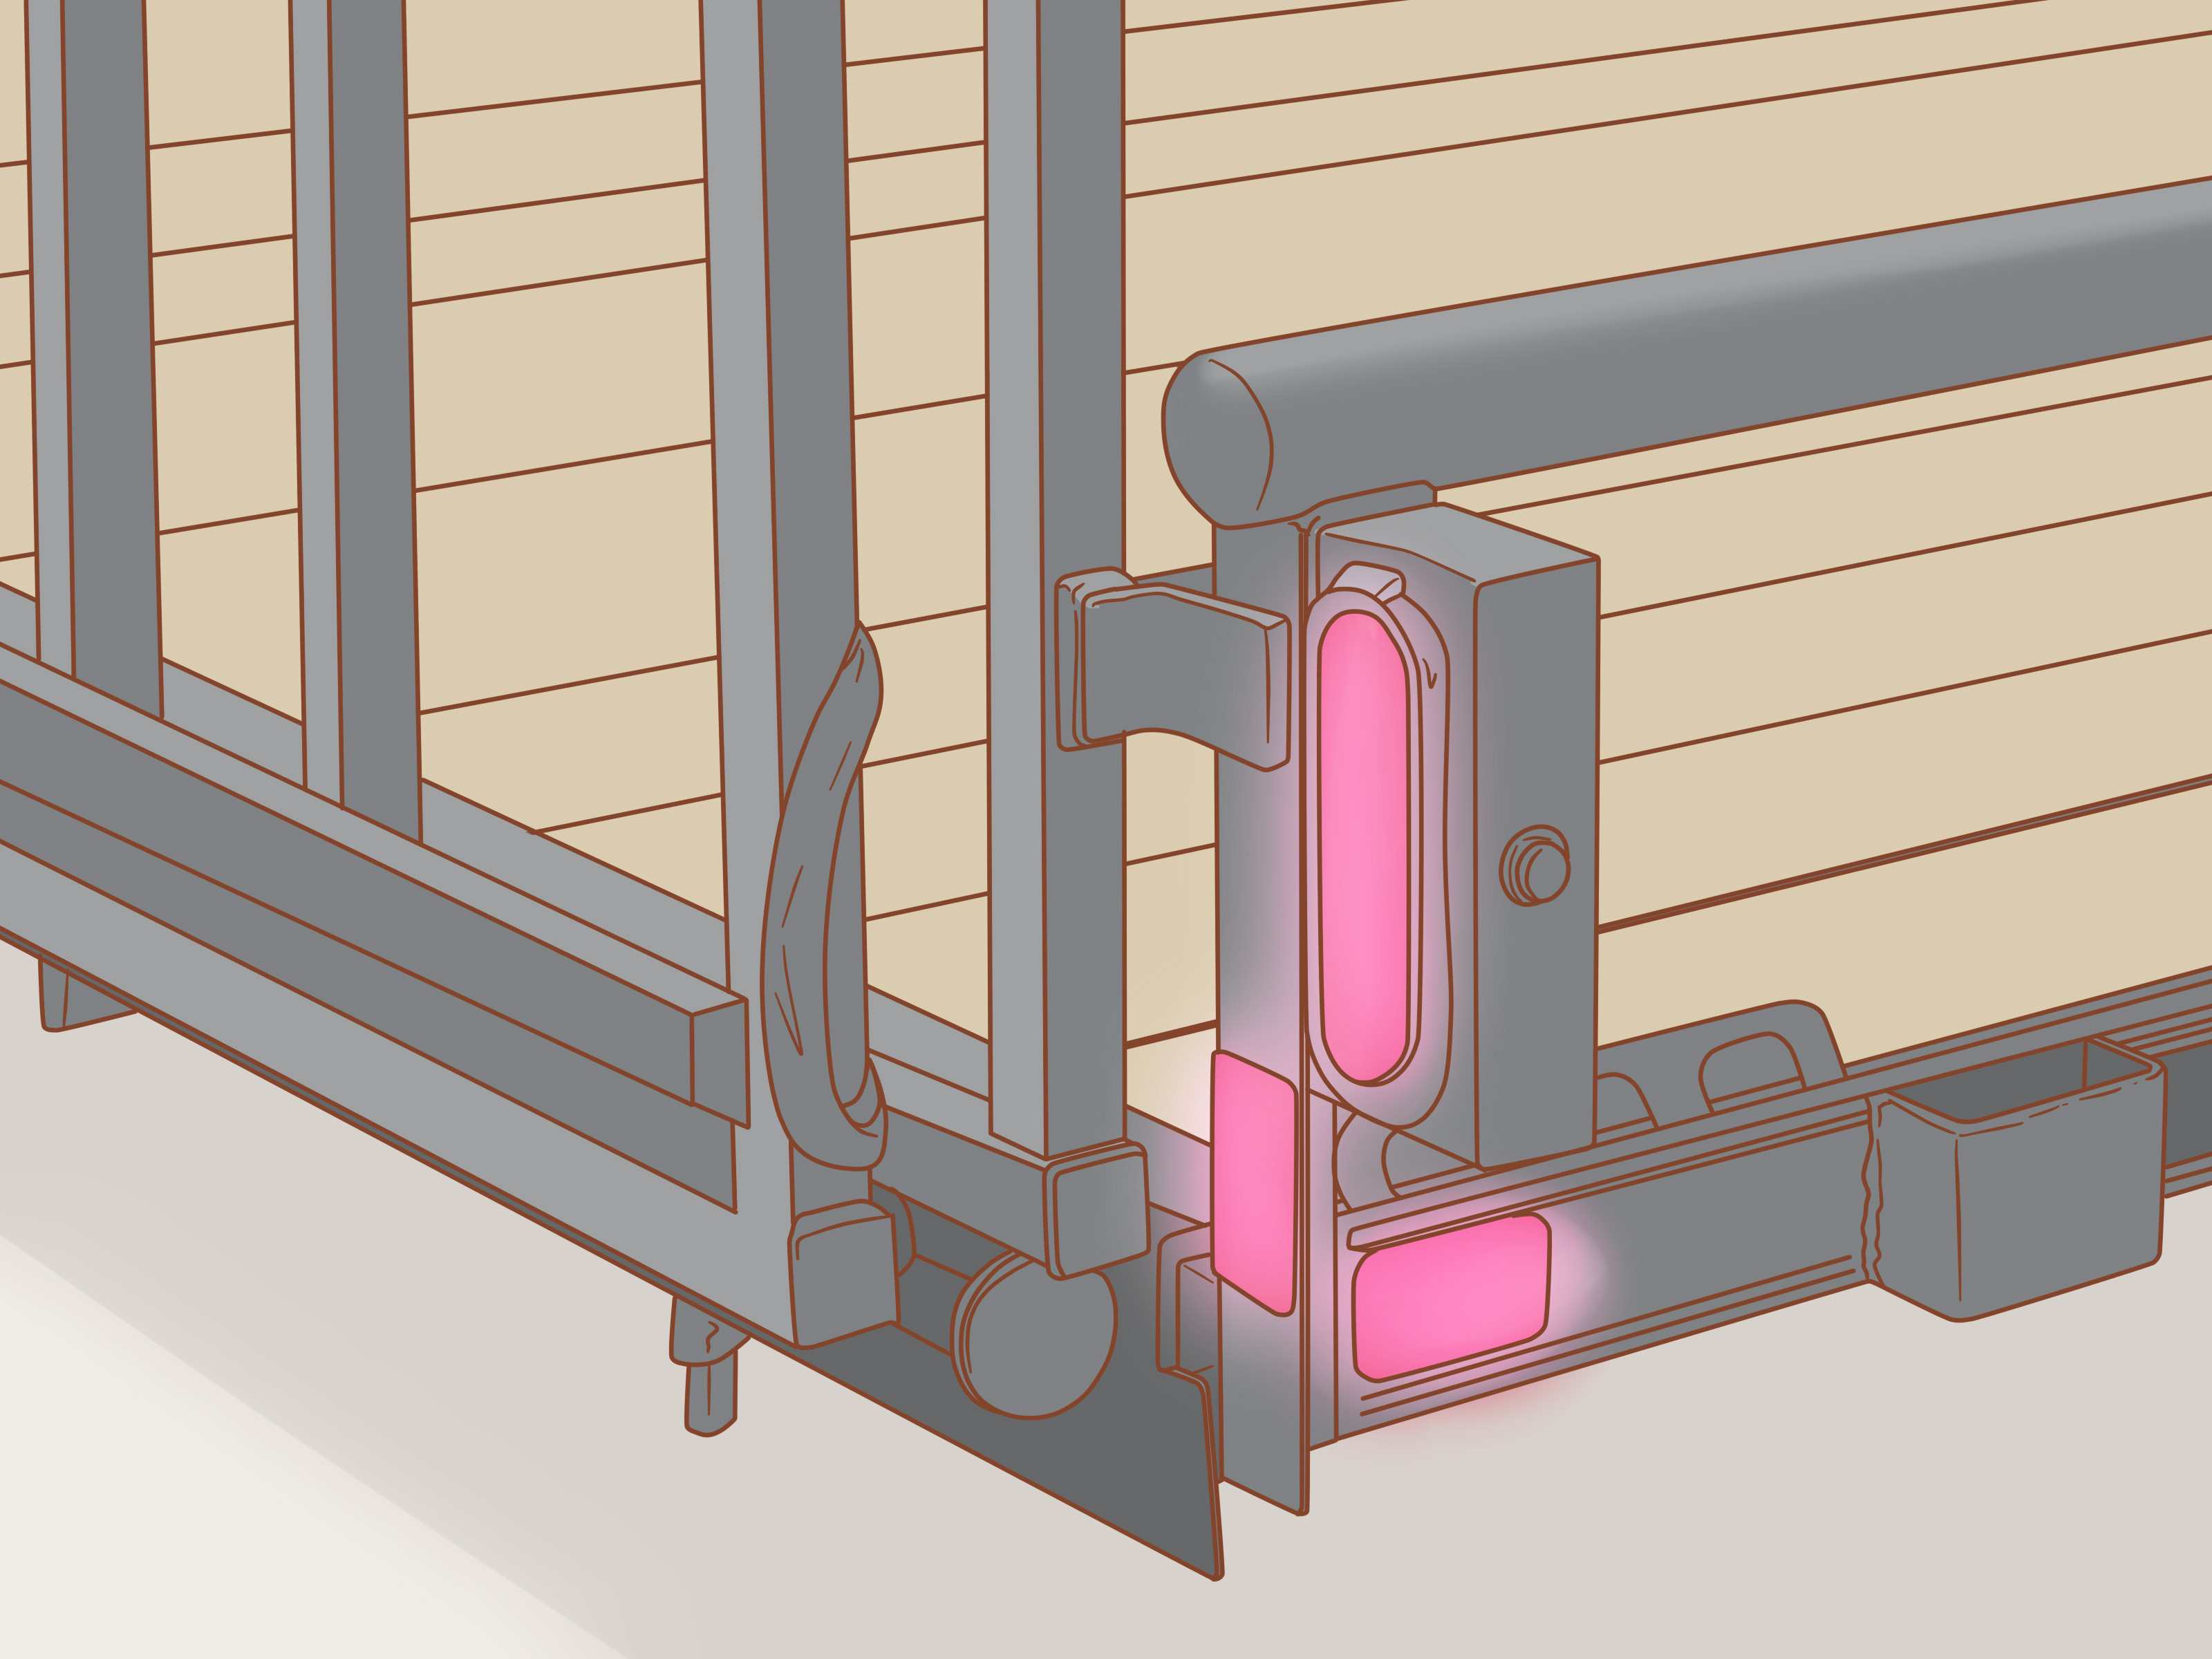
Hooking up a trailer is one of those jobs that looks simple until you are standing between a tow vehicle and a trailer tongue, trying not to pinch a finger, dent a bumper, or invent new vocabulary. The good news is that learning how to hook up a trailer is mostly about slowing down, following a repeatable checklist, and resisting the urge to say, “Eh, that looks close enough.” When towing is involved, “close enough” is not invited to the party.
Whether you are hauling a utility trailer, boat trailer, small camper, landscaping trailer, or a load of weekend-project optimism from the hardware store, the basics are the same. You need the right hitch equipment, a secure trailer coupler, crossed safety chains, connected wiring, working lights, proper load balance, and one final inspection before you roll away like a responsible adult with excellent mirrors.
This guide walks through 12 practical steps for hitching a trailer safely, plus common mistakes, helpful examples, and real-world experience tips. It is written for beginners, but even experienced drivers can benefit from a checklist. After all, the trailer does not care how confident you feel; it only cares whether everything is properly connected.
Before You Start: Know Your Towing Setup
Before backing up to the trailer, confirm that your tow vehicle, hitch receiver, ball mount, hitch ball, and trailer are compatible. The hitch ball size must match the trailer coupler size. Common hitch ball sizes include 1-7/8 inches, 2 inches, and 2-5/16 inches, and they are not interchangeable. If the ball is too small, the coupler can appear seated but may lift off under road shock. That is not a feature; that is a roadside disaster audition.
Also check your vehicle’s towing capacity, gross vehicle weight rating, hitch rating, trailer gross vehicle weight rating, and tongue weight limits. Tongue weight is the downward force the trailer applies to the hitch. For many conventional trailers, a common target is about 10% to 15% of the loaded trailer weight, but you should always follow the trailer and vehicle manufacturer’s recommendations. Too little tongue weight can contribute to sway; too much can overload the rear of the tow vehicle and make steering and braking less predictable.
How to Hook Up a Trailer in 12 Steps
Step 1: Park on Level Ground and Chock the Trailer Wheels
Start on a flat, firm surface whenever possible. Put the tow vehicle in park, set the parking brake, and make sure the trailer wheels are chocked before you begin. Wheel chocks prevent the trailer from rolling while you raise, lower, or adjust the coupler. This step seems boring until a trailer starts creeping toward your shin like a metal shopping cart with commitment issues.
Inspect the area around the trailer. Remove loose tools, blocks, extension cords, or cargo straps that could become trip hazards. Keep children, pets, and enthusiastic spectators away from the hitching zone.
Step 2: Inspect the Hitch Ball, Ball Mount, and Receiver
Look at the tow vehicle’s hitch system before backing up. The ball mount should be inserted fully into the receiver and secured with a hitch pin and clip or locking hitch pin. The hitch ball should be tight, the correct size, and rated for the trailer’s loaded weight. Check for obvious cracks, heavy rust, missing hardware, or damage.
If the hitch ball is dry and squeaky, a small amount of hitch ball grease can reduce wear and noise. Do not use grease to hide damage. Grease is for smooth movement, not for pretending a worn hitch ball is still living its best life.
Step 3: Raise the Trailer Coupler Above the Hitch Ball
Use the trailer jack to raise the coupler slightly higher than the hitch ball. The coupler should clear the ball as the vehicle backs underneath it. If the coupler is too low, you may bump or push the trailer. If it is too high, you will have to crank it down longer than necessary.
Before lowering the coupler later, make sure the coupler latch is open. Some couplers use a latch lever, some use a handwheel, and some use a different locking design. Know which style you have before you are halfway through the hookup process and blaming the trailer for your lack of introduction.
Step 4: Back the Tow Vehicle Into Position
Back up slowly until the hitch ball is directly under the trailer coupler. A helper can make this much easier. Ask the helper to stand where you can see them in the driver-side mirror, never directly between the vehicle and trailer. Agree on clear hand signals before moving. If you are alone, a backup camera, hitch alignment mirror, or magnetic guide rod can help.
Make tiny steering adjustments and move at a crawl. If the alignment is off, pull forward and try again. The goal is not to win a rodeo; the goal is to avoid bending metal and saying things your neighbors will remember.
Step 5: Lower the Coupler Onto the Hitch Ball
Once aligned, put the vehicle in park and set the parking brake. Use the trailer jack to lower the coupler onto the hitch ball. The coupler should sit fully over the ball, not half-perched on the edge like it is considering a dramatic escape.
If the coupler does not drop cleanly, raise it again and adjust the vehicle position. Do not force the coupler with a hammer, foot, or emotional bargaining. Forcing parts together can damage the coupler or create a false connection.
Step 6: Latch and Secure the Coupler
Close the coupler latch according to the trailer’s design. Then insert the safety pin, coupler pin, or coupler lock through the latch mechanism. This keeps the latch from opening while you drive. A latched coupler without a pin is like a front door without a deadbolt: better than nothing, but not what you want when things get bumpy.
After latching, perform a quick lift test. Raise the trailer jack slightly to put upward pressure on the connection. If the coupler lifts off the ball, it was not seated correctly. Lower it, unlatch it, realign, and try again. The coupler should stay locked onto the ball.
Step 7: Retract and Secure the Trailer Jack
Once the coupler is properly attached, fully retract the trailer jack. If the jack has a swivel feature, rotate it into the travel position and lock it. A low jack can hit the road, scrape a driveway, or turn a speed bump into an expensive percussion instrument.
Look around the tongue area for blocks, stands, or wheel chocks that need to be removed later. Do not remove the wheel chocks until all connections are complete and you are ready for the final walk-around.
Step 8: Cross and Attach the Safety Chains
Attach the safety chains in a crisscross pattern under the trailer tongue. The chain from the left side of the trailer should connect to the right side of the tow vehicle’s hitch attachment point, and the chain from the right side should connect to the left side. This creates a cradle that can help support the tongue if the coupler disconnects from the hitch ball.
Connect chains only to approved safety-chain loops, hitch structure, or frame attachment points designed for towing. Do not attach chains to the hitch ball or to removable parts not intended for safety-chain connection. Leave enough slack for turning, but not so much that the chains drag on the road. Dragging chains can wear down, spark, and make you look like you are towing a tiny fireworks show.
Step 9: Connect the Breakaway Cable if Equipped
If your trailer has electric brakes and a breakaway system, connect the breakaway cable to the tow vehicle according to the manufacturer’s instructions. This cable is designed to activate the trailer brakes if the trailer separates from the tow vehicle. It should not be wrapped around the safety chains or connected in a way that prevents it from pulling free during an actual separation.
The breakaway cable should have enough slack for normal turning, but it should not drag or become tangled. Check that the breakaway battery is charged if your system uses one. A breakaway system is not a decoration; it is emergency equipment.
Step 10: Plug In the Trailer Wiring Harness
Connect the trailer wiring plug to the tow vehicle socket. Common connectors include 4-way flat plugs for basic lighting and 7-way round connectors for trailers with brakes, auxiliary power, or additional functions. Push the plug in firmly and make sure the connection is seated.
Route the wire so it has enough slack for turns but does not hang low, rub the ground, touch hot exhaust parts, or get pinched by the coupler. A wiring harness that drags on pavement will eventually become a sadness harness.
Step 11: Test the Trailer Lights and Brakes
Test the running lights, brake lights, left turn signal, right turn signal, and hazard lights. A helper makes this quick: one person operates the controls while the other confirms the lights at the rear of the trailer. If you are alone, use a reflective surface, garage door, storefront window, or phone video to verify operation.
If the trailer has electric brakes, test the brake controller according to the controller and trailer instructions. Make sure the brake controller is adjusted for the load and that the trailer brakes respond smoothly. Do not discover brake problems for the first time while heading downhill with a trailer full of landscaping stones and regret.
Step 12: Do a Final Walk-Around Before Driving
Before removing the wheel chocks and pulling away, walk around the entire setup. Confirm the coupler is latched and pinned, the chains are crossed and secure, the breakaway cable is attached correctly, the wiring is plugged in, the jack is fully raised, and the lights work. Check tire pressure and tire condition on both the tow vehicle and trailer. Look for cracked sidewalls, low tires, missing lug nuts, loose cargo, open doors, dangling straps, and anything that looks like it may become “somebody else’s road debris” in five minutes.
Secure the load with rated tie-down straps, not hope. Keep heavier cargo low and centered, with enough weight forward to maintain stable tongue weight. After you start moving, stop after a short distance and recheck the connection. On longer trips, inspect the hitch, chains, straps, tires, and lights at fuel stops.
Common Trailer Hookup Mistakes to Avoid
Using the Wrong Hitch Ball Size
A mismatched ball and coupler can create a dangerous false connection. Always read the stamped size on the coupler and hitch ball. If they do not match, stop. No load is worth towing with the wrong equipment.
Forgetting the Coupler Pin or Lock
The coupler latch should be secured with a pin or lock. Road vibration can move unsecured parts. The pin is small, cheap, and easy to overlook, which is exactly why it deserves your attention.
Letting Chains or Wiring Drag
Safety chains and wiring need slack for turns, but not so much that they scrape the road. If chains are too long, twist them enough to shorten them while preserving safe movement. If wiring hangs too low, route it more cleanly.
Skipping the Light Test
Trailer lights tell other drivers what you are doing. If brake lights or turn signals fail, the driver behind you has to guess. People are not as good at guessing as they think, especially at 55 miles per hour.
Ignoring Load Balance
A trailer that is loaded too heavily in the rear can sway. A trailer loaded too heavily on one side can pull unevenly. Place cargo carefully, secure it tightly, and check the setup again after driving a short distance.
Quick Pre-Tow Checklist
- Hitch ball matches the coupler size.
- Ball mount is pinned and secured in the receiver.
- Coupler is fully seated, latched, and pinned or locked.
- Safety chains are crossed under the tongue and attached to approved points.
- Breakaway cable is connected correctly, if equipped.
- Trailer wiring is plugged in and routed safely.
- Running lights, brake lights, turn signals, and hazards work.
- Trailer jack is fully raised and locked in travel position.
- Tires are inflated and in good condition.
- Cargo is balanced and secured with rated straps.
- Mirrors provide clear side and rear visibility.
- Wheel chocks are removed only when ready to depart.
Driving Tips After You Hook Up the Trailer
Once the trailer is connected, driving habits matter. Accelerate gradually, brake earlier, and leave extra following distance. Your combined vehicle and trailer are longer and heavier than the tow vehicle alone. That means wider turns, slower lane changes, and more patience. The trailer will cut inside corners, so swing wider to avoid curbs, signs, rocks, and the decorative mailbox that never did anything to you.
Avoid sudden steering. Trailer sway can become worse with speed and sharp inputs. If sway begins, stay calm, reduce speed gradually, and avoid slamming on the brakes unless necessary. Use the towing gear or tow/haul mode recommended by your vehicle manufacturer, especially on hills. On long downhill grades, let lower gears help control speed instead of riding the brakes until they smell like burnt toast.
Practice backing up in an empty parking lot before you try it at a crowded boat ramp, campsite, storage yard, or home improvement store on a Saturday morning. Small steering corrections work better than wild wheel-spinning. Put your hand at the bottom of the steering wheel and move your hand in the direction you want the trailer to go. It feels odd at first, then suddenly makes sense, like folding a fitted sheet never does.
Experience Notes: What Actually Helps When Hooking Up a Trailer
The best trailer hookup habit is consistency. People get into trouble when they change the order, rush because someone is watching, or assume the last person left everything ready. A simple routine prevents most mistakes. Start at the hitch, move to the coupler, then chains, breakaway cable, wiring, jack, lights, tires, load, and final walk-around. Do it the same way every time. The trailer does not reward creativity; it rewards repetition.
One helpful experience tip is to keep a dedicated towing kit in the vehicle. Include gloves, a flashlight, wheel chocks, spare hitch pins, a coupler lock, dielectric grease for electrical connections, a tire pressure gauge, basic tools, reflective triangles, and a few extra straps. Gloves are especially useful because trailer tongues, chains, and couplers have a magical ability to collect grease, rust, dust, and mystery grime exactly where your hands need to go.
Another real-world lesson: check the trailer before it is loaded. It is much easier to fix a low tire, stuck latch, weak battery, or broken light when the trailer is empty and parked than when it is loaded, late, raining, and blocking your neighbor’s driveway. If a trailer has been sitting for weeks or months, look closely at the tires. Trailer tires can lose air and age even when the tread looks acceptable. Sidewall cracks, bulges, or uneven wear deserve attention before the trip.
When hooking up alone, use visual markers. A piece of tape on the center of the rear window, a hitch alignment mirror, or a backup camera guideline can save several rounds of climbing in and out of the vehicle. Move slowly and stop often. There is no prize for backing under the coupler in one dramatic motion. There is, however, a very real penalty for hitting the trailer tongue hard enough to move it.
For boat trailers, the hookup process deserves extra care because water, corrosion, and ramp pressure add complications. Inspect wiring connectors for corrosion, confirm the winch strap and bow safety chain are secure, and use stern tie-downs before road travel. After retrieving a boat, pull clear of the ramp before doing your road checklist so you are not starring in someone else’s “people at the boat ramp” story.
For utility trailers, load security is usually the big challenge. A couch, mower, stack of lumber, or pile of branches may seem stable in the driveway, then shift when wind, braking, and road vibration join forces. Use rated straps, check anchor points, and stop after the first few miles to retighten. If a strap is flapping, it is not “probably fine.” It is asking for a performance review.
Finally, develop the habit of touching each critical connection during your walk-around. Put a hand on the coupler latch, pin, chains, wiring plug, jack handle, strap hooks, and trailer doors. Physical contact slows your brain down and makes missed items more obvious. It may look slightly theatrical, but it works. And compared with watching your trailer bounce away in the mirror, a careful walk-around is a pretty elegant look.
Conclusion
Learning how to hook up a trailer is not difficult, but it does demand attention. The safest approach is to treat every hookup like it matters, because it does. Match the hitch ball and coupler, latch and pin the coupler, cross the safety chains, connect the breakaway cable if equipped, plug in the wiring, test every light, check tires and load balance, and complete a final walk-around before driving.
A trailer is useful, practical, and sometimes the only thing standing between you and a successful move, boat day, camping trip, or backyard project. Hook it up carefully and it will behave like a helpful tool. Rush the process and it may become a rolling reminder that physics has no customer service department.
Note: This article is for general educational purposes. Always follow your tow vehicle owner’s manual, trailer manufacturer instructions, hitch manufacturer ratings, and applicable state towing laws before towing.