Hanging a valance sounds like one of those “I’ll do it in five minutes” projects that somehow ends with you standing on a chair, holding a crooked rod, and wondering why windows have opinions. The good news? It is actually an easy DIY job once you know where the hardware goes, how high to mount it, and which kind of valance you’re working with.
A valance is the finishing touch that sits across the top of the window. It can soften a room, hide curtain hardware, add color, and make a plain window look like it got dressed for dinner. Whether you’re styling a cozy kitchen, brightening a bathroom, or adding polish to a bedroom, learning how to hang a valance the right way helps the whole window treatment look intentional instead of accidental.
This guide breaks the process into 11 clear steps, from measuring and choosing the right rod to mounting brackets and fluffing the fabric so it looks tailored instead of tired. Along the way, you’ll also get practical tips for rod-pocket valances, tab-top styles, layered window treatments, and those tiny mistakes that can make a window look weirdly lopsided forever.
What You’ll Need Before You Start
- Valance
- Curtain rod or valance rod
- Brackets and screws
- Wall anchors if needed
- Tape measure
- Pencil
- Level
- Drill or screwdriver
- Step stool or ladder
Before diving in, check the valance header style. A rod-pocket valance slides directly onto the rod. A tab-top valance slips over the rod with sewn loops. Some valances use clips or rings. That one small detail determines whether you should assemble the rod first or thread the fabric before mounting.
How to Hang a Valance: 11 Steps
Step 1: Decide What the Valance Is Supposed to Do
Start with function, not fabric daydreams. Is your valance purely decorative? Is it hiding blinds or a shade? Will it sit alone over the window, or will it layer over curtains? Once you know the goal, the hardware choice becomes much easier.
For example, a lightweight kitchen valance may work beautifully on a slim decorative rod. A valance that sits over drapes or blackout panels may need a sturdier rod, wider projection, and stronger brackets. If your valance is there to disguise hardware, make sure it hangs low enough to cover the top of the blind or shade without blocking too much glass.
Step 2: Choose Inside Mount or Outside Mount
This is where many people accidentally make their window treatment look awkward. An inside mount places the valance inside the window frame for a neat, tailored appearance. An outside mount places it above the frame on the wall and is the more common option for decorative valances.
Choose an inside mount if your window frame is deep enough, square enough, and you want a clean, built-in look. Choose an outside mount if you want the window to appear larger, need to hide existing blinds, or simply want more visual drama. Outside mounting is usually more forgiving, which is a polite way of saying it is excellent for real houses with less-than-perfect walls.
Step 3: Measure the Window Carefully
Grab a steel tape measure and measure the width of the window in at least three places if you’re considering an inside mount. Write everything down. Yes, really. “I’ll remember it” is how DIY projects become expensive.
For an outside mount, measure the width of the window frame and decide how much extra space you want the rod to extend beyond each side. Extending the hardware a few inches past the trim usually makes the window look wider and gives the valance better balance. In many rooms, that small extension is the difference between “custom” and “college apartment with ambition.”
Step 4: Pick the Right Hanging Height
Height changes everything. If you hang a valance too low, the window can look short and boxed in. If you hang it higher, the room often feels taller and the whole treatment looks more polished.
A common approach is to place the rod several inches above the top of the window trim. In rooms with higher ceilings, you can go even higher for a more designer-like look. If the valance is layered over blinds or shades, make sure the bottom edge of the valance clears the top of the underlying treatment. The goal is simple: hide what you want hidden, frame what you want seen, and do not let the whole thing hover in a weird no-man’s-land.
Step 5: Check the Rod Width and Projection
Your curtain rod should be wider than the valance’s finished width if the valance needs gathers, folds, or room to drape naturally. It should also project far enough from the wall so the fabric does not smash flat against blinds, shades, or the window trim.
If you are layering a valance over thicker window treatments, choose hardware with enough clearance. A rod that sits too close to the wall can make the valance buckle, wrinkle, or lean forward like it is trying to escape. Wider windows may also need a center support bracket so the rod doesn’t sag in the middle.
Step 6: Mark the Bracket Placement
Use your tape measure and pencil to mark where each bracket will go. Measure from the top of the window and from the side edges so both sides match. Then use a level to make sure the marks are even. This is the step that separates “nicely installed” from “why does that side look seasick?”
If your valance rod comes with manufacturer spacing instructions, follow them. Decorative rods, tension rods, and slim valance rods do not all behave the same way. For longer rods, mark the location of a center support if needed.
Step 7: Check for Studs or Prepare Wall Anchors
If the screw location lands on a wall stud, wonderful. The universe has smiled upon you. If not, use wall anchors that match your wall type and the weight of the valance and rod.
This step matters more than people think. Even a lightweight valance can shift or pull loose over time if the brackets are installed poorly. And once a bracket starts wiggling, the whole window treatment slowly takes on the vibe of a tired mustache. Secure hardware prevents sagging, tilting, and eventual repair drama.
Step 8: Install the Brackets
Drill pilot holes if needed, insert anchors when required, and screw the brackets into place. Pause before fully tightening everything and check them with a level one more time. It is much easier to fix a bracket now than after the rod and fabric are on.
Make sure both brackets are equally spaced and facing the correct direction. If your rod uses a center support, install that as well before moving on. Once all hardware is secure, gently test each bracket with your hand. It should feel firm, not wobbly.
Step 9: Thread or Attach the Valance to the Rod
Now the fun part: fabric. If you have a rod-pocket valance, slide the rod through the pocket slowly so you do not bunch the fabric unevenly. For tab-top valances, slip the rod through the tabs one by one. If you are using clips or rings, attach them evenly across the top so the valance hangs balanced.
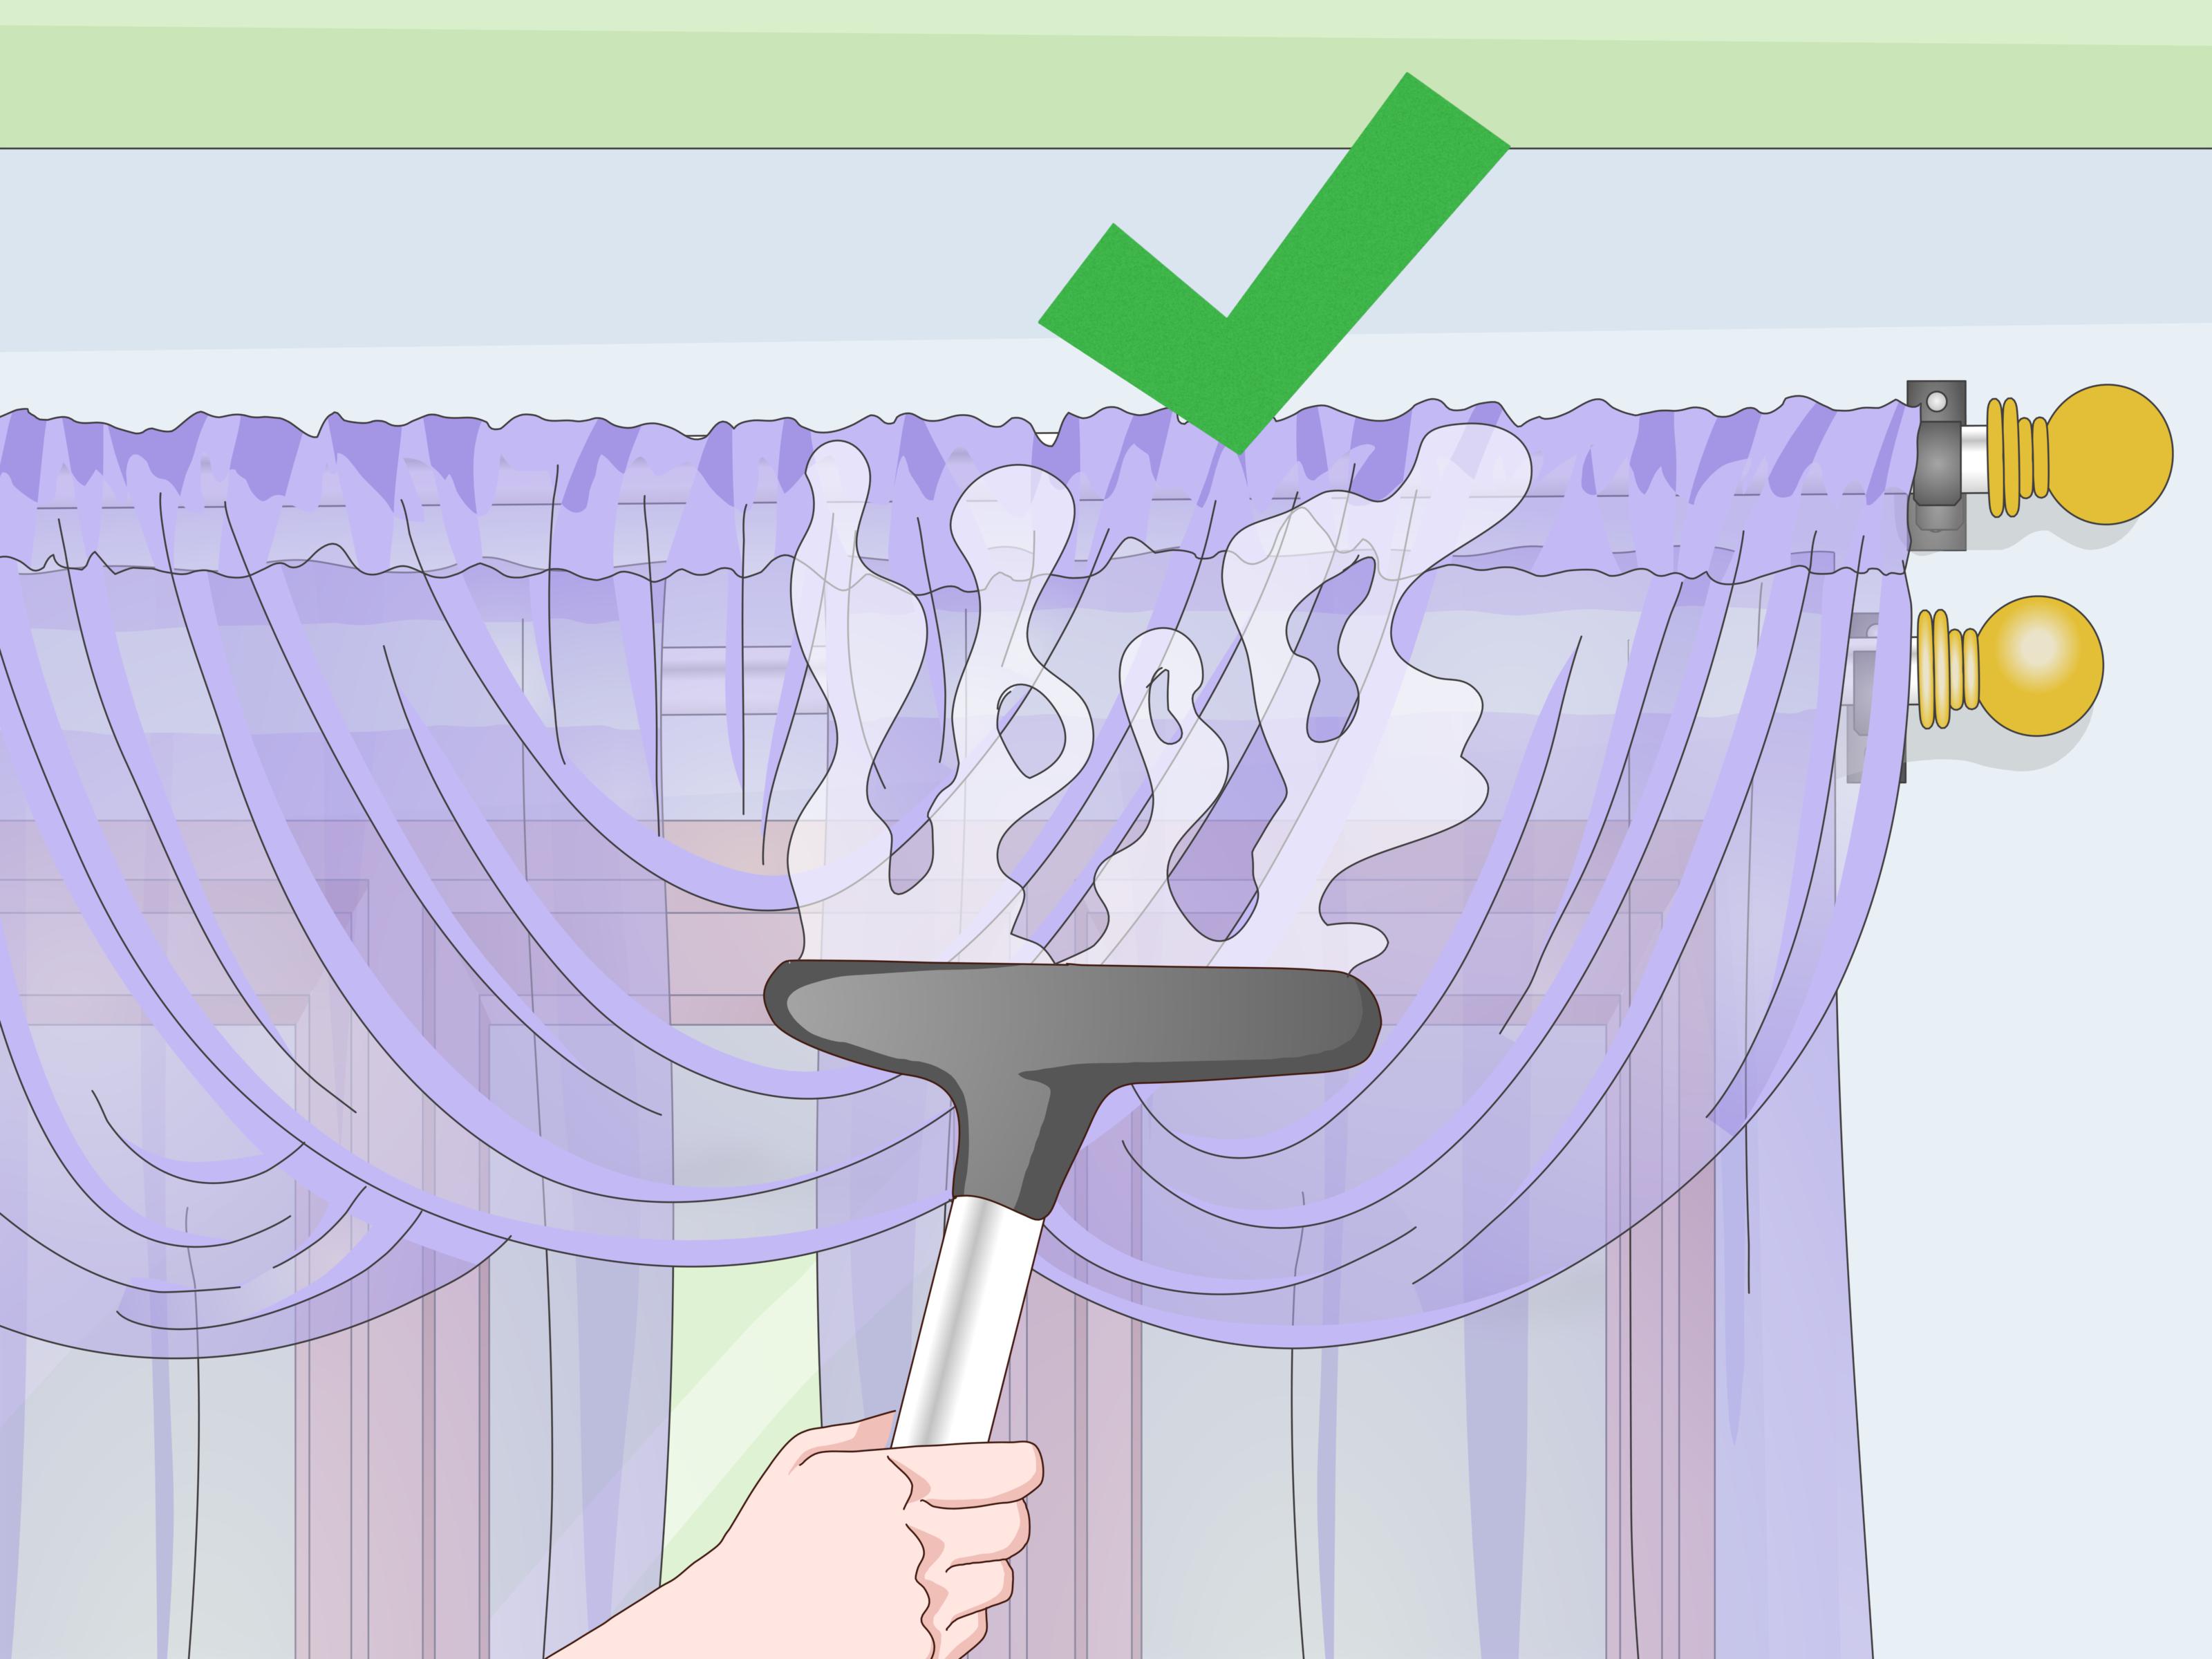
This is also a great moment to steam or lightly iron the valance if it came out of the package looking like it fought a suitcase and lost. Crisp fabric instantly makes the whole treatment look more expensive.
Step 10: Place the Rod on the Brackets
Set the rod onto the mounted brackets and secure it according to the hardware design. Some rods rest in open cradles, while others tighten with set screws. If your rod has finials, attach them after the fabric is in place if that makes threading easier.
Once the rod is mounted, step back and look at the full window before celebrating. Check that the rod is level, the fabric is centered, and both sides visually match. Tiny adjustments here make a huge difference.
Step 11: Arrange, Fluff, and Fine-Tune the Valance
This last step is where the magic happens. Gently spread gathers, shape folds, and adjust the valance so it hangs evenly across the width. If one side looks fuller than the other, shift the fabric little by little until the shape looks balanced.
For scarf-style or soft valances, create symmetrical swags. For straight valances, make sure the bottom edge hangs evenly. For layered looks, confirm that the valance covers the hardware cleanly without interfering with curtains or shades beneath it. In other words, style it until it stops looking “fresh out of packaging” and starts looking “yes, I absolutely meant for my window to look this put together.”
Helpful Tips for a Better-Looking Valance
Use the Right Valance for the Room
Light cotton or linen valances work well in kitchens, breakfast nooks, and casual spaces. Structured fabrics, tailored pleats, or boxier silhouettes feel more formal in dining rooms and bedrooms. A relaxed valance in the wrong room can look sloppy, while an overly fussy one can make a simple room feel overdressed.
Mind the Window Scale
A tiny valance over a wide window can look stingy. A bulky valance over a small bathroom window can feel like a theater curtain audition. Match the width, drop, and fullness to the size of the window and the room’s proportions.
Layer With Purpose
If you are hanging a valance over blinds, shades, or drapes, make sure each layer has a job. Maybe the blind handles privacy while the valance softens the top edge. Maybe the drapes provide insulation while the valance adds pattern. When every layer earns its keep, the window looks intentional instead of crowded.
Common Mistakes to Avoid
- Hanging the valance too low and visually shrinking the window
- Skipping the level and ending up with crooked hardware
- Using a rod that is too narrow for proper fullness
- Ignoring rod projection when layering over shades or blinds
- Mounting into weak drywall without anchors
- Forgetting to steam or iron the fabric before styling
- Not using a center support on wider rods
Most valance problems are not really valance problems. They are measurement problems wearing a decorative disguise. Measure carefully, mount deliberately, and adjust patiently. Your future self will be grateful.
Real-World Experiences and Lessons From Hanging Valances
One of the most common real-life experiences with hanging a valance is realizing that the window is not nearly as symmetrical as it looked from across the room. Plenty of homeowners discover that the trim is uneven, the drywall bows slightly, or the frame is just a little out of square. That is why the level matters so much. If you trust the trim instead of your measurements, you can end up with a valance that technically follows the window but still looks crooked to the eye.
Another frequent lesson is that lightweight fabric does not always mean lightweight hardware requirements. People often assume a short valance can go on any skinny rod with whatever screws came in the package. Then they layer it over blinds, add decorative finials, and wonder why the center droops after a week. In real homes, sturdier brackets and a center support on wider spans can save a lot of frustration.
Many first-time decorators are also surprised by how much height affects the final result. A valance hung right on top of the trim can make a room feel shorter and the window look compressed. The same fabric mounted several inches higher suddenly looks cleaner, taller, and more custom. This is one of those small decorating choices that has an oddly dramatic payoff. The window did not get bigger, but it definitely starts acting like it did.
There is also the matter of packaging wrinkles, the silent enemy of every nice-looking window treatment. You can install the rod perfectly, center the fabric beautifully, and still have the whole thing look underwhelming because the valance arrived folded into a rectangle with the personality of cardboard. A quick steam or light ironing often makes more difference than people expect.
In family homes, kitchens, and bathrooms, practical use matters just as much as appearance. Homeowners often find that a slightly simpler valance style is easier to clean and easier to keep looking neat. A heavily gathered or elaborate treatment may look great on day one but become annoying in a space with cooking moisture, daily sunlight, or frequent window opening. In those rooms, easy-care fabrics and straightforward rod-pocket designs tend to win.
Another real-world experience is learning that “eyeballing it” is a charming concept for soup, not for hardware. Even experienced DIYers sometimes rush through marking bracket spots and end up re-drilling holes. Taking an extra five minutes to measure from both sides, mark carefully, and step back before drilling usually saves half an hour of patching later. That is not glamorous advice, but it is extremely effective advice.
Finally, people often discover that styling the valance after installation is what makes it look finished. Simply hanging the fabric is not the end of the job. You need to spread the gathers, straighten the hem, adjust the fullness, and sometimes tweak the rod position just a bit. Those final touches are what make the treatment look polished. Without them, even a well-installed valance can look like it just arrived and has not decided whether it plans to stay.
The best takeaway from all these experiences is simple: hanging a valance is not hard, but it rewards patience. Measure carefully, choose hardware that fits the job, hang it a little higher than your first instinct, and give the fabric a chance to look its best. Do that, and your window will go from “fine” to “finished” without requiring a contractor, a design degree, or a dramatic monologue in the hardware aisle.
Conclusion
If you want your windows to look more polished without committing to a full curtain overhaul, a valance is one of the easiest upgrades you can make. The secret is not fancy fabric or expensive hardware. It is good measuring, thoughtful placement, secure brackets, and a few minutes of final styling.
Once you know how to hang a valance in 11 simple steps, the project becomes much less intimidating. Measure well, mount straight, fluff boldly, and enjoy the satisfying moment when your window suddenly looks like it has its life together.