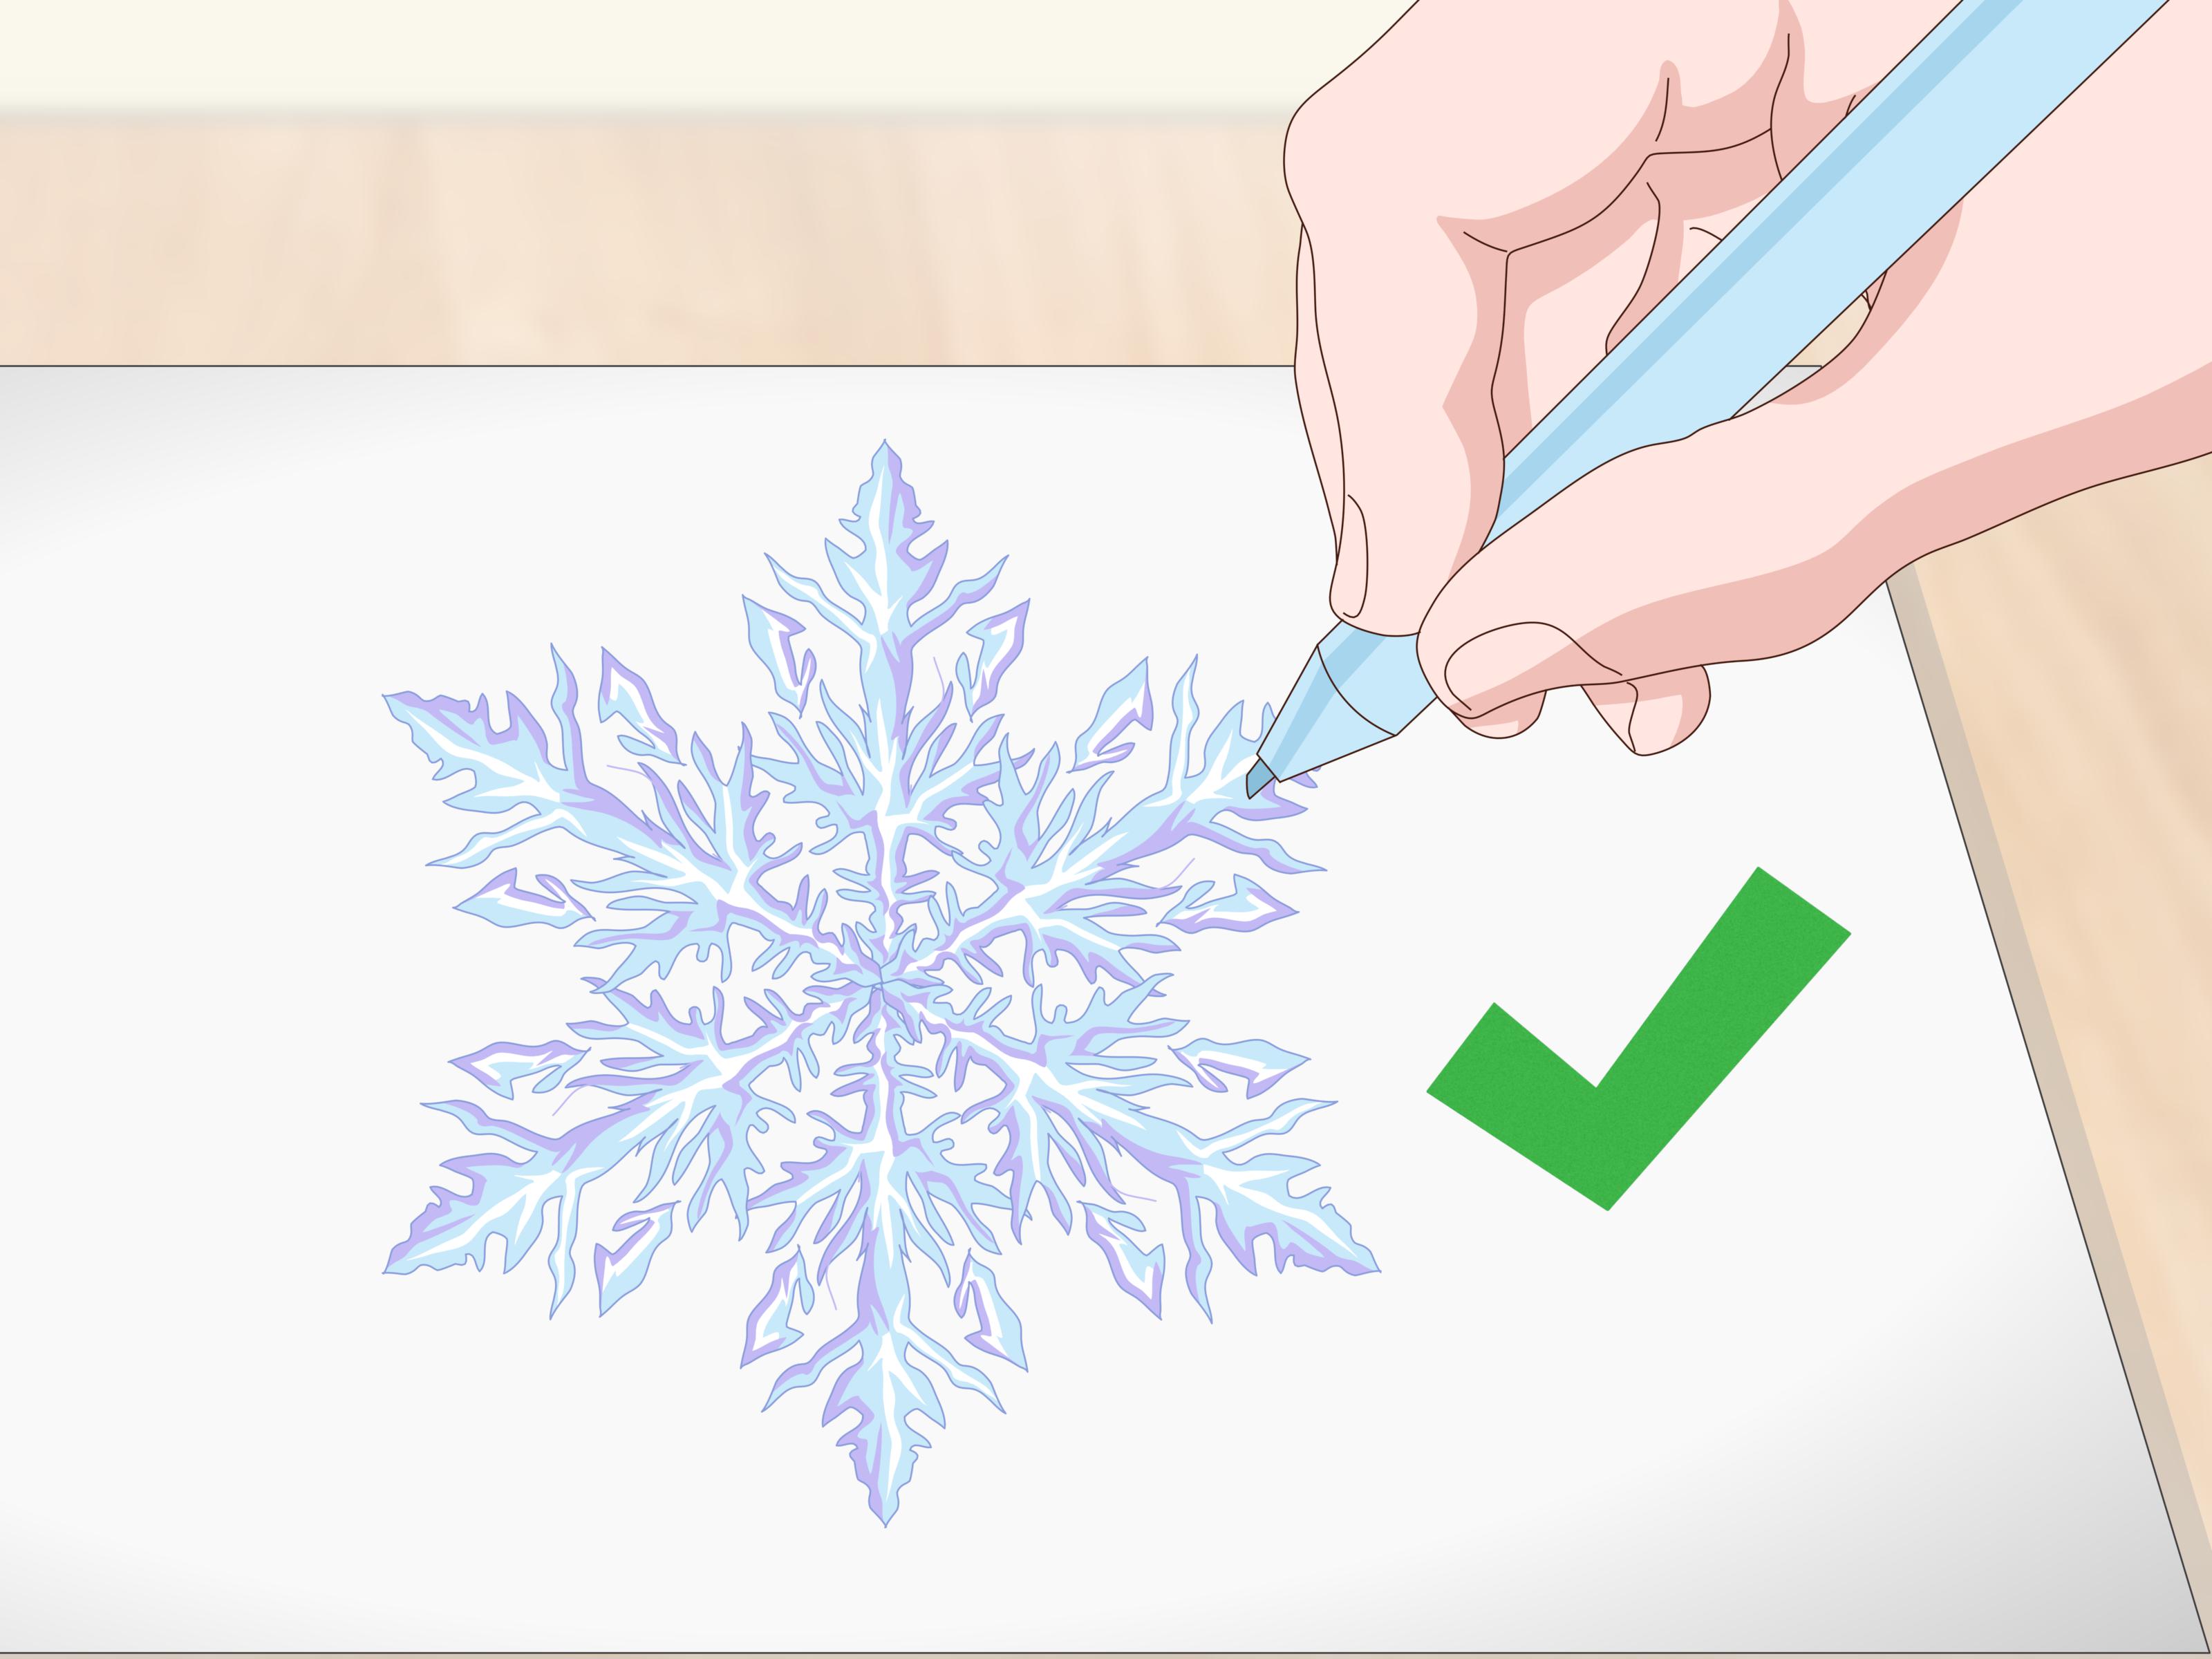
Learning how to draw a snowflake is one of those wonderfully low-risk art projects. You need only a pencil, a sheet of paper, and a willingness to draw the same little branch several times. No frozen fingers, snow boots, or emergency mug of cocoa required.
A convincing snowflake drawing begins with a simple idea: six evenly spaced arms extending from one center point. Once that framework is in place, you can add matching branches, diamonds, dots, arrows, or geometric decorations. The result may look impressively complicated, but it is really a small pattern repeated around a circle.
This six-step snowflake drawing tutorial is suitable for children, beginners, classroom activities, holiday cards, winter decorations, and adults who would like to doodle something more elegant than another mysterious cube. Start lightly, repeat each detail carefully, and remember that handmade symmetry does not need to be mechanically perfect.
Why Snowflakes Have Six-Part Designs
Real snow crystals begin forming when water vapor freezes around a tiny airborne particle. As additional water molecules attach themselves to the growing crystal, the molecular structure of ice encourages hexagonal growth. That is why the classic snow crystal has six-fold radial symmetry.
In practical drawing terms, radial symmetry means that a design spreads outward from a central point and repeats around it. Whatever you add to one arm of your snowflake should usually appear in approximately the same location on the other five arms.
Not every natural snowflake looks like a perfectly balanced holiday ornament. Some are simple plates, columns, needles, irregular crystals, or clusters of multiple crystals. For an easy snowflake drawing, however, the familiar six-arm structure gives you a recognizable and attractive result.
Materials for an Easy Snowflake Drawing
- A sheet of white, blue, or toned drawing paper
- A sharpened HB or No. 2 pencil
- A good eraser
- A ruler for straighter guidelines, if desired
- A black fine-line pen or marker for the finished outline
- Colored pencils, crayons, gel pens, or watercolor
- A compass or small circular object, optionally
A ruler can help beginners space the main arms, but it is not mandatory. Slightly uneven lines often make a hand-drawn snowflake feel lively rather than defective. Nature is an excellent designer, but it does not work with the “snap to grid” setting turned on.
How to Draw a Snowflake in 6 Steps
Step 1: Mark the Center and Draw a Vertical Guideline
Place a small dot near the center of your paper. This dot will act as the hub from which every arm extends. Give yourself plenty of open space around it so your snowflake does not end up pressed against the edge like a nervous passenger in a crowded elevator.
Using very light pencil pressure, draw a straight vertical line through the dot. Keep the sections above and below the center approximately equal in length. This line creates the first two opposing arms of the snowflake.
Do not press hard. These early marks are construction lines, and some may need to be erased later. A faint line is easy to adjust; a deeply carved pencil trench may remain visible through three layers of paint and several major life changes.
Step 2: Add Two Diagonal Lines to Create Six Arms
Draw one diagonal line through the center, slanting from the upper left to the lower right. Add a second diagonal line from the upper right to the lower left. The three intersecting lines should produce six arms of roughly equal length.
Try to distribute the arms evenly around the center. The spaces between neighboring arms should each be close to 60 degrees, although beginners do not need to measure every angle with a protractor.
A helpful trick is to imagine a clock face. The vertical arms point toward 12 and 6. The diagonal arms aim approximately toward 2, 4, 8, and 10. Check the overall balance before adding details. Correcting an arm now takes seconds; correcting 24 decorations attached to the wrong arm is how pencils learn new vocabulary.
Step 3: Add Matching Checkpoints Along Every Arm
Choose two or three positions along each arm where the decorative branches will begin. You might place one mark near the center, one around the middle, and another close to the outer tip.
Keep these checkpoints at similar distances from the center on all six arms. They do not have to be mathematically identical, but consistent spacing makes the repeated design much easier to recognize.
Beginners can use a ruler to measure the first arm and transfer those distances to the remaining arms. Another method is to draw a faint circle around the center. Wherever the circle crosses an arm becomes a matching checkpoint. You can erase the circle when the branches are complete.
This planning stage prevents a common snowflake drawing problem: one arm receives three beautiful decorations while another gets a lonely twig added at the last moment.
Step 4: Draw Symmetrical V-Shaped Branches
At the first checkpoint, draw a small diagonal line extending from each side of the arm. Together, the two lines should form a wide V whose point faces the center. Repeat the same V-shaped branch at the corresponding checkpoint on every arm.
Continue with the middle and outer checkpoints. You can make the branches progressively longer as they move away from the center, creating a natural, tree-like shape. For a sharper geometric snowflake, keep every branch the same length.
Work around the design one checkpoint at a time. In other words, complete the innermost branch on all six arms before moving to the middle branch. This approach makes comparison easier and reduces accidental variations.
Each pair of branches should mirror itself across the main arm. If one side points upward while the other wanders sideways in search of snacks, erase it and try again with a lighter stroke.
Step 5: Decorate the Center and Outer Tips
Now give the snowflake its personality. Add a small hexagon, circle, star, or diamond around the center point. Keep this shape modest so it connects the arms without hiding their structure.
Decorate each outer tip with a repeated shape. Simple options include:
- A small diamond
- An arrowhead
- A circle or teardrop
- A three-pronged fork
- A narrow triangle
- A tiny six-sided crystal
Repeat your chosen tip design six times. You can also add smaller diamonds, dots, bars, or nested V shapes between the center and the tips. The secret is not adding the fanciest possible decoration. It is repeating one clear decorative rule consistently.
For a realistic snow crystal effect, favor fine branches and open spaces. For a cartoon snowflake, use thicker arms, rounded tips, and perhaps a cheerful face in the center. Scientific accuracy may object to the face, but holiday stationery will probably survive.
Step 6: Refine, Ink, Erase, and Color
Inspect the whole snowflake before outlining it. Check whether the six main arms are similar in length and whether matching decorations appear at matching distances. Make small pencil corrections while they are still easy.
Trace the final lines with a fine-tip pen, gel pen, or dark colored pencil. Rotate the paper as you work so your hand can pull lines in a comfortable direction. This is often easier than twisting your wrist into a shape resembling an unhappy pretzel.
Allow wet ink to dry completely, then erase the light construction marks. Brush away eraser crumbs with your hand or a soft brush rather than blowing them across the room like extremely disappointing confetti.
Color the snowflake with cool shades such as icy blue, turquoise, lavender, silver, or pale gray. Add darker color near the center and lighter color toward the tips for depth. A white gel pen can create highlights on dark paper, while a touch of glitter adds sparkle to cards and decorations.
Common Snowflake Drawing Mistakes
Using Eight Arms Instead of Six
Many decorative symbols use eight points because they are easy to construct with vertical, horizontal, and diagonal lines. A classic snow crystal design, however, uses six arms. Begin with three intersecting lines rather than four.
Finishing One Arm Before Planning the Others
It is tempting to decorate one arm completely and then copy it. Unfortunately, details tend to shift in size and position as you travel around the drawing. Building the pattern in ringsfirst all inner branches, then all middle branches, and finally all tipsusually produces better symmetry.
Drawing With Heavy Pencil Pressure
Dark construction marks are difficult to erase and can make the finished drawing look muddy. Sketch lightly until you are satisfied with the design. Save the confident pressure for the final outline.
Adding Too Many Details
A snowflake can become visually cluttered when every empty space receives another diamond, loop, stripe, star, bell, bow, and miniature reindeer. Leave breathing room between decorations. Clear repetition is more effective than decorative panic.
Creative Snowflake Drawing Variations
Once you understand the six-arm framework, you can create dozens of unique snowflake designs. Replace the V-shaped branches with curved hooks for an ornamental style. Use straight horizontal bars for a modern geometric look. Fill broad arms with tiny Zentangle-style patterns, or create several small flakes around a winter landscape.
For a classroom project, ask each student to follow the same basic structure but invent an individual branch pattern. Displaying the drawings together demonstrates how one geometric rule can generate many results.
You can also turn the finished drawing into a greeting card, gift tag, window decoration, coloring page, embroidery pattern, cookie-decorating guide, or digital icon. On a tablet, draw one arm on a separate layer, duplicate it five times, and rotate the copies evenly around the center.
Practice Experience: What Drawing a Snowflake Usually Teaches You
A first attempt often begins with confidence. Three lines do not look particularly threatening, and the basic six-arm framework may take less than a minute. The challenge appears when the branches are added. A small V on the first arm seems easy, but repeating it at the same angle and distance five more times quickly reveals how closely the eye notices patterns.
Many beginners initially focus on making each individual line perfect. That usually slows the drawing and creates stiff marks. A better experience comes from looking at the whole design. Instead of asking, “Is this one branch flawless?” ask, “Does this branch belong with the other five?” Consistency matters more than microscopic precision.
Light pencil pressure also changes the experience dramatically. When the first marks are pale, experimenting feels safe. An arm can be shortened, an angle can be adjusted, and an awkward diamond can quietly disappear without requiring a formal investigation. Heavy marks make every correction feel more serious than it is.
Another useful lesson appears when the paper is rotated. Beginners sometimes keep the page fixed and attempt increasingly uncomfortable hand positions. Turning the paper allows the same natural pulling motion to create each branch. The lines become smoother, and the drawing process becomes less like wrist gymnastics.
Spacing tends to improve after two or three practice flakes. The first may have a crowded center and enormous outer branches. The second may swing too far in the opposite direction and look suspiciously underfed. By the third, most artists begin to understand how much open space the pattern needs.
Working with children produces another common experience: adults frequently worry about accuracy while younger artists immediately add faces, crowns, rainbow colors, and names such as “Princess Frosty.” Both approaches are useful. Careful repetition teaches observation and geometry, while playful changes develop imagination. A strong lesson leaves room for both.
Trying different tools also changes the result. A sharp pencil produces delicate crystal branches. A broad marker creates a bold symbol that is easy to cut out. White gel pen on navy paper gives an instant nighttime effect. Watercolor softens the design, although the ink should be waterproof if you prefer your snowflake not to dissolve into an abstract weather event.
The most satisfying practice method is to make a small collection rather than labor over one supposedly perfect drawing. Draw six or nine snowflakes on the same page, changing one rule each time. Use diamonds on one, circles on another, curved branches on a third, and minimal straight bars on a fourth. Comparing the results helps you see which combinations are balanced, readable, and enjoyable to draw.
Perhaps the best experience is the moment when the pattern begins to look complicated even though you know how simple its construction really was. That is the quiet magic of radial design: a few lines, repeated thoughtfully, can create something that looks as though it required advanced mathematics and a tiny team of winter architects.
Conclusion
To draw a snowflake, begin with three light lines crossing at one center point, creating six evenly spaced arms. Mark matching positions, add mirrored branches, repeat decorative shapes, and refine the design with ink and color. The method is simple enough for beginners but flexible enough for highly detailed winter artwork.
Your first snowflake does not need perfect laboratory symmetry. Focus on repeating the same visual rule around the center. With a little practice, you will be able to create an entire snowstorm of original designswithout shoveling the driveway afterward.
Note: This tutorial teaches a stylized six-arm snow crystal. Natural falling snow may include irregular crystals, columns, plates, needles, and clusters that do not resemble the classic decorative symbol.