Cutting stone sounds like the kind of job reserved for people with forearms like bridge cables and a truck full of mysterious tools. In reality, many stone-cutting projects are completely manageable for careful DIYers: trimming a patio paver, fitting a piece of stone veneer around an outlet, shaping flagstone for a walkway, or making a clean line on a garden border. The trick is choosing the right method before the stone starts laughing at your optimism.
Stone is hard, brittle, dusty, and sometimes surprisingly dramatic. Push it too fast and it chips. Hit it in the wrong place and it breaks like a cracker with expensive taste. Use the wrong blade and you will create more smoke, noise, and regret than progress. This guide explains how to cut stone safely and cleanly using hand tools, angle grinders, circular saws, wet saws, and masonry saws. It also covers dust control, blade choice, layout, finishing, and real-world lessons that can save your project from becoming modern art.
Before You Cut: Know What Kind of Stone You Have
Not all stone behaves the same way. A soft limestone paver, a dense granite tile, a concrete paver, and a manufactured stone veneer panel all need slightly different handling. The more you understand the material, the easier it is to pick the right stone cutting tool.
Common Stones and How They Cut
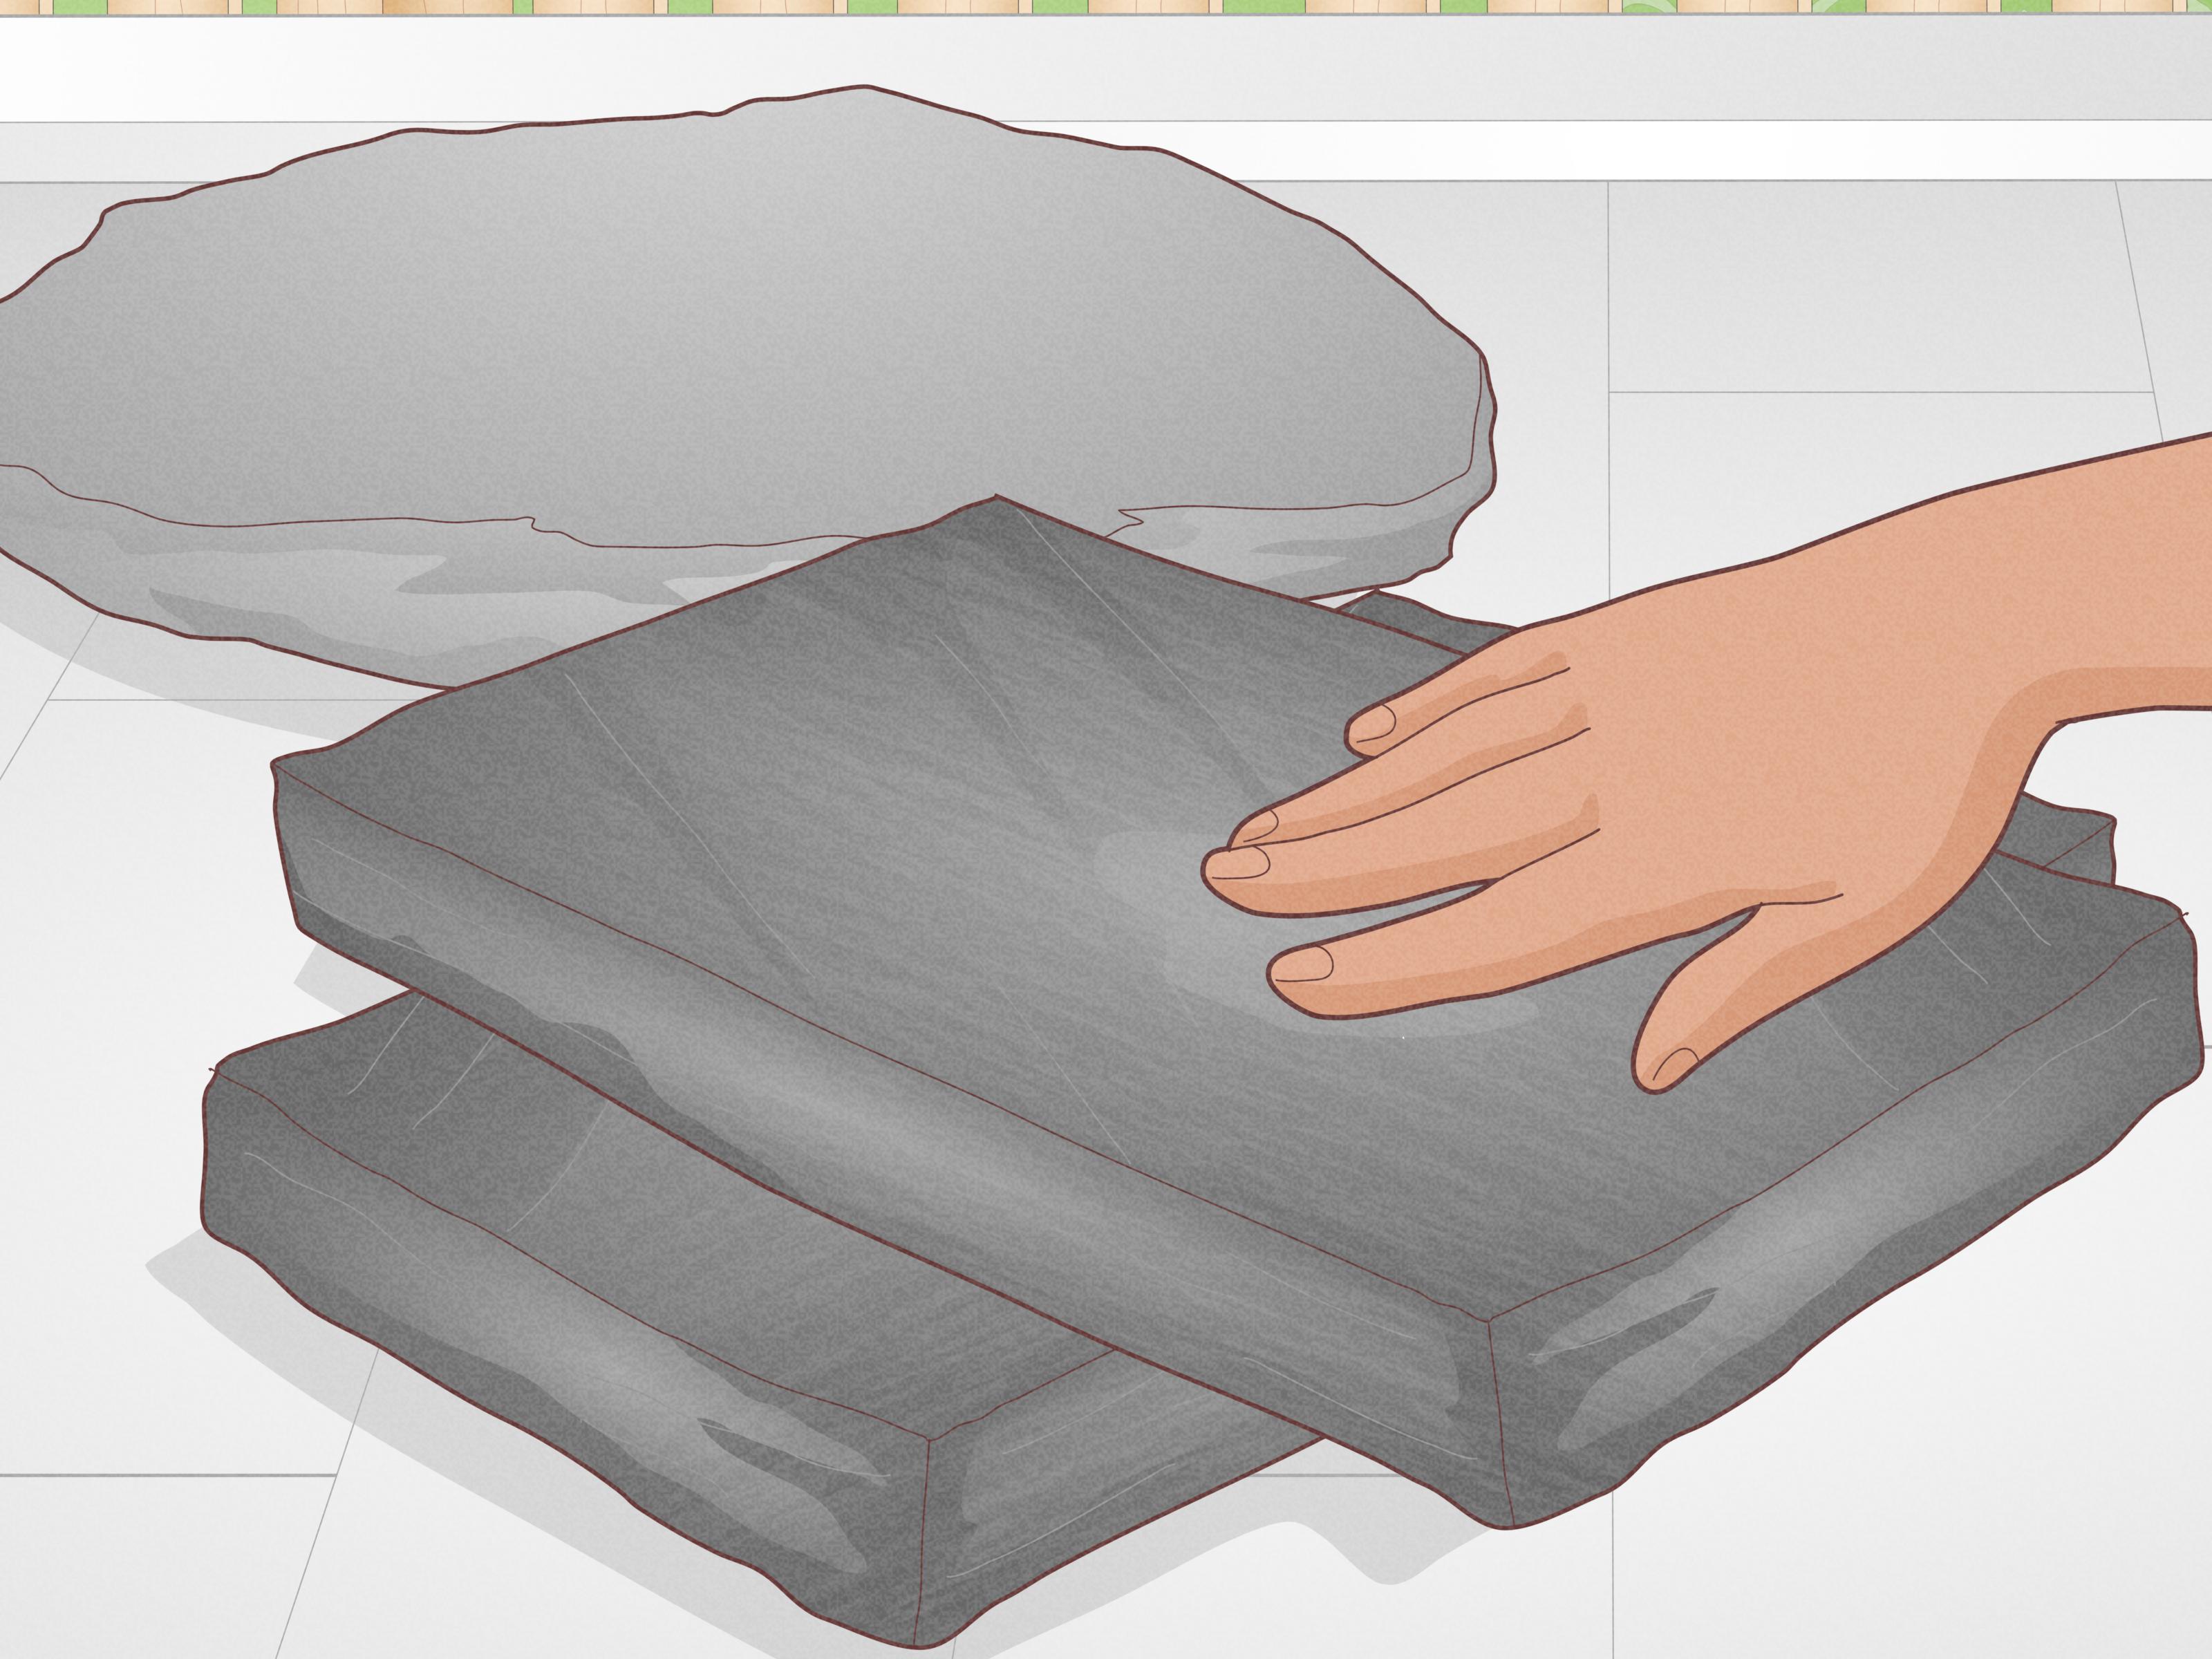
Flagstone is often irregular and layered, making it popular for patios and garden paths. It can sometimes be shaped with a hammer and chisel, but cleaner cuts usually require a diamond blade.
Bluestone is dense and attractive, often used for patios and steps. It can be cut with a circular saw fitted with a diamond-grit masonry blade, especially for straight cuts and fitting work.
Granite is extremely hard. For granite tile, countertop remnants, or thick slabs, a wet saw or professional fabrication equipment is usually best. Trying to bully granite with a cheap blade is like trying to cut steak with a spoon.
Limestone and sandstone are generally easier to cut than granite, but they can still chip along edges. A steady hand and multiple shallow passes help.
Manufactured stone veneer is usually easier to shape than natural stone. Installation guides commonly recommend a wet saw, stone nippers, or a grinder with a diamond blade. Cut edges are often hidden in corners, joints, or grout lines.
Concrete pavers are not natural stone, but the cutting approach is similar. Diamond masonry blades, wet saws, and hammer-and-chisel scoring all work depending on the project size and desired finish.
Tools and Materials You May Need
You do not need every tool on this list. In fact, buying all of them for one small garden stone would be financial comedy. Choose based on the thickness of the stone, the number of cuts, and how clean the finished edge needs to be.
Basic Measuring and Marking Tools
- Tape measure
- Pencil, lumber crayon, chalk, or marker
- Straightedge, square, or chalk line
- Template material such as cardboard for curved or awkward cuts
Hand Tools for Simple Stone Cuts
- Cold chisel
- Brick set or stone set chisel
- Masonry hammer or small sledgehammer
- Stone nippers for small veneer adjustments
- File, rubbing stone, or masonry block for smoothing rough edges
Power Tools for Cleaner or Repeated Cuts
- Angle grinder with a diamond masonry blade
- Circular saw with a stone-rated diamond blade
- Wet tile saw for thinner stone, tile, and veneer
- Masonry saw or concrete saw for thick pavers and heavy work
- Diamond hole saw or core bit for round openings
Safety Gear
- Safety glasses or face shield
- Hearing protection
- Work gloves
- NIOSH-approved respirator suitable for silica dust
- Long sleeves and sturdy footwear
- Water source or dust-control attachment when appropriate
Safety First: Stone Dust Is Not “Just Dust”
Cutting stone can release respirable crystalline silica, especially from materials such as sandstone, granite, engineered stone, concrete, and some masonry products. That dust is not the same as ordinary household dust. It can be harmful when inhaled, particularly during repeated or heavy cutting. This is why wet cutting, local dust control, proper ventilation, and respiratory protection matter.
Whenever possible, cut outdoors or in a well-controlled work area. Use water to suppress dust when the tool and blade are designed for wet cutting. Keep bystanders, kids, and pets away from the cutting area. Do not dry sweep stone dust; use wet cleanup methods or a HEPA-rated vacuum appropriate for fine dust. Also, never remove blade guards. A blade guard is not decoration. It is there because spinning diamond blades have no sense of humor.
Method 1: How to Cut Stone With a Hammer and Chisel
The hammer-and-chisel method is slow, affordable, and useful for small jobs where a rustic edge is acceptable. It works best on softer stone, concrete pavers, bricks, and some flagstone. It is not the best choice for polished stone, granite, or pieces that need a perfectly straight finished edge.
Step 1: Mark the Cut Line
Measure carefully and mark the cut line on the top face of the stone. For thicker pieces, continue the line down the sides and across the bottom. This gives the break a path to follow. Think of it as giving the stone directions before asking it to split politely.
Step 2: Place the Stone on a Stable Surface
Set the stone on packed soil, plywood, a rubber mat, or another firm surface that will not bounce. If the stone wobbles, your cut will wander. Support both sides of the cut line so the piece does not crack in the wrong spot.
Step 3: Score the Line
Hold a cold chisel on the marked line and tap it with a hammer. Do not swing like you are trying to ring a carnival bell. Use controlled taps. Move along the line gradually, creating a shallow groove. Score the top, then the sides, and if possible, the bottom.
Step 4: Deepen the Groove
Go over the line again with slightly firmer taps. The goal is to weaken the stone evenly, not smash one section into gravel. For pavers and softer stone, a groove around 1/16 inch deep may be enough to guide the break, though thicker stones often need deeper scoring.
Step 5: Split the Stone
Place a wider brick set or stone chisel in the groove. Strike firmly along the scored line until the stone separates. If it refuses, score again rather than attacking wildly. Stone is stubborn, but it usually respects patience more than drama.
Best Uses for This Method
- Small paver cuts
- Rustic garden edging
- Flagstone shaping
- Veneer pieces where the cut edge will be hidden
Method 2: How to Cut Stone With an Angle Grinder
An angle grinder is one of the most useful tools for cutting stone because it is portable, relatively affordable, and good for trimming, scoring, notching, and shaping. Use a diamond blade rated for stone or masonry. A metal-cutting wheel is not the right blade, no matter how persuasive it looks in the toolbox.
Step 1: Choose the Right Blade
Use a diamond masonry blade designed for the material. Segmented blades cut aggressively and are common for concrete and pavers. Continuous-rim blades generally leave smoother edges on tile and some thinner stone. Always check the blade rating, tool speed, and manufacturer instructions.
Step 2: Secure the Stone
Clamp the stone if possible, especially when cutting veneer or small pieces. For larger pavers, set them on a stable surface with the waste side supported until the final break. Never hold a small stone in your hand while cutting it. That is not craftsmanship; that is auditioning for a bandage commercial.
Step 3: Make Shallow Passes
Follow your line with a shallow first pass. Let the blade do the work. Forcing the grinder can overheat the blade, chip the stone, or pull the tool off line. Make multiple passes, each one a little deeper, until the cut is complete or deep enough to snap.
Step 4: Control Dust
Many angle grinder cuts are dry, which creates dust quickly. Work outdoors, wear proper respiratory protection, and consider using a grinder shroud with a compatible dust extractor. Some tools and blades allow wet cutting, but water and electricity require extra caution. Use only equipment designed for wet use.
Best Uses for This Method
- Short straight cuts
- Curved trimming
- Notches around posts, drains, or corners
- Installed paver adjustments
- Stone veneer shaping
Method 3: How to Cut Stone With a Circular Saw
A circular saw with a diamond masonry blade can make straight cuts in pavers, flagstone, bluestone, and similar flat stones. This method is faster than hand cutting and often easier to guide than an angle grinder for long straight cuts.
Step 1: Use a Stone-Rated Diamond Blade
Install a diamond blade rated for masonry or natural stone. Confirm the blade diameter and arbor match your saw. A standard wood blade is absolutely not acceptable. It will not cut stone properly and can be dangerous.
Step 2: Mark Both Sides
Mark the top face clearly. For thick pavers, mark the bottom as well. Many DIYers cut a groove on one side, flip the stone, cut the other side, and then tap off the waste. This helps reduce chipping and makes the break more controlled.
Step 3: Set a Shallow Cutting Depth
Start with a shallow pass rather than plunging to full depth. Shallow passes keep the blade cooler and make the saw easier to control. Increase the depth gradually if needed.
Step 4: Cut Slowly and Straight
Guide the saw steadily along the line. Do not twist the blade in the cut. If the saw slows, back off slightly and let the blade regain speed. For outdoor stone work, a light mist of water can help reduce dust only if your setup is safe for it and the tool manufacturer allows it.
Best Uses for This Method
- Bluestone patio pieces
- Concrete or stone pavers
- Long straight cuts
- Landscape stones with flat profiles
Method 4: How to Cut Stone With a Wet Saw
A wet saw is often the best choice for cleaner cuts, especially on tile, veneer, thin stone, and repeated cuts. Water cools the blade, reduces dust, and helps create a smoother edge. It is slower than some dry-cutting methods, but it is also more civilized. Your ears, lungs, and neighbors may appreciate that.
Step 1: Fill and Check the Water System
Make sure the saw has clean water and the pump or water feed is working. The blade should stay wet during the cut. If the water stops flowing, stop cutting and fix the problem before continuing.
Step 2: Set the Fence or Guide
For straight cuts, use the saw fence. For angled cuts, adjust the guide or use a marked line. Keep the stone flat against the tray and feed it slowly.
Step 3: Feed the Stone Gently
Do not shove the stone into the blade. A wet saw cuts by grinding, not by chewing like a wood saw. Slow, even pressure produces a cleaner cut and reduces chipping.
Step 4: Rinse and Dry the Piece
After cutting, rinse slurry from the stone, especially veneer or porous pieces. Stone dust left on the surface can stain, dull the finish, or interfere with mortar bonding.
Best Uses for This Method
- Stone tile
- Manufactured stone veneer
- Thin natural stone
- Repeated cuts
- Cleaner visible edges
Method 5: How to Cut Thick Stone or Large Pavers
For thick stone, large pavers, steps, or heavy hardscape pieces, rent a masonry saw, paver saw, or concrete saw. These tools are built for heavier cutting and may include water-feed systems. They are louder, heavier, and more serious than a small grinder, so read the manual, wear full protection, and do not rush.
If the project involves structural stone, large slabs, countertop material, stair treads, or anything expensive enough to make you whisper when you carry it, consider hiring a professional fabricator. The cost of a pro cut may be lower than replacing a cracked slab and pretending you meant to create two smaller ones.
How to Make Curved Cuts in Stone
Curved cuts are common around garden beds, posts, drains, and landscape features. For broad curves, make a cardboard template first. Transfer the curve to the stone, then use an angle grinder with a diamond blade to make a series of shallow passes. For tight curves, make several relief cuts from the waste side toward the line, then nibble away small sections.
Stone nippers can help refine manufactured veneer and softer pieces. For harder stone, use the grinder carefully and finish the edge with a rubbing stone or chisel. Curves take time. If a straight cut is a handshake, a curved cut is a negotiation.
How to Cut Holes in Stone
Round holes for pipes, conduit, drains, or fixtures usually require a diamond hole saw or core bit. Mark the center point, secure the stone, and use water if the bit and drill setup allow it. Start slowly so the bit does not wander. Some users begin at a slight angle to create a small groove, then bring the drill upright once the bit has started tracking.
For large holes or expensive stone, practice on scrap first. Round openings concentrate stress, and stone can crack if unsupported or overheated. When in doubt, hire a shop with the right core-drilling equipment.
How to Reduce Chipping
Chipping is the tiny villain in stone cutting. You can reduce it by using the right blade, cutting slowly, supporting the stone fully, and making shallow passes. If the finished edge will be visible, cut with the finished face up or down according to your saw type and blade rotation. Test on scrap whenever possible.
Painter’s tape along the cut line can help reduce surface scratching on some materials, although it will not magically stop a bad blade from causing chips. For polished stone, tile, or visible veneer, a wet saw with a fine diamond blade usually gives the neatest result.
How to Finish the Cut Edge
After cutting, the edge may be sharp, rough, or slightly uneven. For hidden edges, this may not matter. For visible edges, smooth them with a rubbing stone, diamond hand pad, file, or grinder fitted with an appropriate polishing pad. Match the finish to the project: rustic flagstone should not look like a shiny kitchen countertop, and polished granite should not look like it lost a fight with a driveway.
For veneer, place cut edges toward inside corners, under trim, or into mortar joints when possible. Many installation guides recommend hiding or grouting cut edges so the finished wall looks natural.
Common Mistakes to Avoid
Using the Wrong Blade
A diamond blade rated for stone or masonry is the standard choice for most power-tool cuts. Wood blades, metal cutoff wheels, and mystery garage-sale discs are not substitutes.
Trying to Cut Full Depth in One Pass
Deep single-pass cuts increase heat, dust, chipping, and tool strain. Multiple shallow passes are cleaner and safer.
Ignoring Dust Control
Stone dust can be hazardous. Wet cutting, dust extraction, outdoor work, and proper respiratory protection are not optional details; they are part of doing the job correctly.
Skipping the Test Cut
If you have extra material, test first. A scrap piece can tell you how the stone chips, how fast the blade cuts, and whether your mark is accurate.
Forgetting the Kerf
The blade removes material as it cuts. This removed width is called the kerf. If precision matters, cut on the waste side of your line, not directly through the final measurement.
Real-World Experiences and Practical Lessons From Cutting Stone
One of the first lessons most people learn about cutting stone is that layout matters more than bravery. A beginner may spend twenty minutes measuring, then cut confidently on the wrong side of the line. The stone does not care how confident you were. Always mark the waste side with an X. It seems almost too simple, but that little mark prevents the classic “perfect cut, wrong piece” disaster.
Another useful habit is dry-fitting before cutting. For patios and walkways, place several stones in position first and look at the pattern. Sometimes moving one full stone slightly eliminates the need for a skinny sliver at the edge. Thin pieces are fragile, awkward to install, and visually distracting. A small layout adjustment can save several cuts and make the finished work look more professional.
When cutting stone veneer, mix pieces from different boxes before trimming. Color and texture can vary, especially with manufactured or natural veneer. If you cut and install box by box, you may end up with one wall section that looks like autumn and another that looks like a thunderstorm. Lay out a selection first, then choose cuts where they will look natural. Hide cut edges in corners or mortar whenever possible.
For flagstone, accept that natural edges are part of the charm. Many people try to make every piece fit like bathroom tile, then wonder why the patio looks stiff. A slightly irregular joint often looks better outdoors. Use cutting to solve fit problems, not to erase the stone’s personality. Stone has been around for millions of years; it deserves a little character.
With power tools, sound and feel tell you a lot. A steady grinding sound usually means the blade is working. A screaming blade, burning smell, or tool bogging down means you are pushing too hard, using the wrong blade, or cutting too deep. Stop and check. Let the blade cool. Stone cutting rewards patience and punishes impatience with chips, cracks, and dramatic sighing.
Water is helpful, but it creates slurry. That gray paste gets everywhere and dries into a stubborn film. Rinse pieces soon after wet cutting, especially if they are porous or textured. Do not let slurry dry on the face of decorative stone. Keep a bucket, sponge, and brush nearby. Cleanup is not glamorous, but neither is explaining why your beautiful stone wall has ghostly gray fingerprints forever.
For outdoor paver work, cut at the end of the layout process rather than the beginning. Install as many full pieces as possible, then measure the remaining gaps. Real spaces are rarely perfectly square. A cut based on the drawing may not match the actual gap after the stones settle into their pattern. Field measurements beat wishful geometry every time.
Finally, know when not to cut. If a stone is too heavy to control, too expensive to replace, or part of a structural feature, bring in a pro. There is no shame in hiring someone with the right saw, water system, dust control, and experience. DIY wisdom is not doing everything yourself; it is knowing which jobs are worth doing yourself and which jobs are quietly waiting to become expensive lessons.
Conclusion
Learning how to cut stone is mostly about preparation: identify the stone, mark carefully, choose the correct blade, control dust, and work slowly. A hammer and chisel can handle rustic cuts and small jobs. An angle grinder is excellent for trimming and shaping. A circular saw with a diamond blade works well for straight cuts in flat stone. A wet saw is best for cleaner cuts, veneer, and tile-like materials. For thick pavers or large slabs, a masonry saw or professional fabricator may be the smartest path.
The secret is not brute force. It is patience, support, shallow passes, and respect for the material. Stone may be tough, but with the right method, you can cut it cleanly without turning your project into a dusty archaeology site.
Note: This article is written for general educational and home-improvement publishing purposes. Readers should follow tool manuals, local safety rules, and professional guidance for heavy stone, engineered stone, structural work, or any project involving significant silica dust exposure.