Turning your garage into a temporary paint booth sounds like one of those weekend projects that starts with confidence, coffee, and a suspiciously cheap roll of plastic sheeting. Done correctly, a garage paint booth can help you control overspray, reduce dust, improve finish quality, and keep your lawn mower from receiving an accidental racing stripe. Done poorly, it can create a foggy, flammable, sticky mess that makes your garage smell like a body shop married a chemistry lab.
This guide explains how to create a paint booth in your garage for small to medium DIY projects such as cabinet doors, furniture, motorcycle parts, trim, bicycles, shelves, or panels. It is not a substitute for a professional automotive spray booth, and it is not a license to spray dangerous coatings without proper protection. A safe DIY garage paint booth depends on three big ideas: controlled airflow, filtered overspray, and smart fire prevention.
Before you build anything, check local rules, product labels, and your homeowner or rental restrictions. Solvent-based coatings, two-part automotive paints, and products containing isocyanates require special care and may need professional-grade ventilation and supplied-air respiratory protection. When in doubt, use lower-risk water-based finishes, spray outdoors only when legal and appropriate, or hire a professional. Your lungs are not replaceable parts.
What Is a Garage Paint Booth?
A garage paint booth is a temporary enclosed workspace designed to separate your painting area from the rest of the garage. The booth helps keep dust out of wet paint, captures overspray before it coats everything nearby, and moves contaminated air away from the painter. In professional shops, spray booths are engineered systems with approved electrical equipment, fire protection, measured airflow, exhaust filtration, and code compliance. A DIY garage booth is simpler, but the principles are similar.
The best home setup is usually a temporary crossdraft booth. Clean, filtered air enters from one side, moves across the project, and exits through filtered exhaust on the opposite side. This airflow pattern reduces airborne paint mist and helps the finish lay down smoother. It also keeps your garage from looking like someone detonated a can of primer.
Safety First: Read This Before You Spray
Spray painting atomizes coating into tiny droplets. That is great for a smooth finish, but it also means paint mist can be inhaled, ignite, or drift into places you never intended. Solvent vapors may be flammable, and some coatings contain hazardous chemicals. A garage paint booth must never include open flames, pilot lights, heaters, spark-producing switches, or unprotected electrical gear near the spray area.
Turn off gas water heaters, furnaces, and any appliance with a pilot light if they are in or near the garage. Do not smoke. Do not run extension cords through wet areas. Do not use a standard household fan inside a solvent-rich spray zone and assume everything is fine because “it worked last time.” That is not safety; that is just luck wearing safety glasses.
Wear proper personal protective equipment. At minimum, use chemical-resistant gloves, eye protection, a paint suit or coveralls, and a respirator selected for the coating you are spraying. For many common spray paints and solvent-based products, that often means an organic vapor cartridge combined with particulate filtration. However, some two-part paints and isocyanate-containing coatings may require a supplied-air respirator. Always read the safety data sheet and product label.
Tools and Materials You Will Need
A basic temporary garage paint booth does not need to look fancy, but it does need to be planned. Here is a practical shopping list for most DIY projects:
- Heavy-duty plastic sheeting, usually 4 to 6 mil thick
- PVC pipe, wood strips, or a pop-up canopy frame
- Painter’s tape, duct tape, clamps, or spring clips
- Drop cloths, rosin paper, or disposable floor covering
- Intake filters and exhaust filters rated for paint overspray
- A safe exhaust fan suitable for your coating type and location
- Flexible ducting if exhausting outdoors through a window or door gap
- LED work lights placed outside the spray area or sealed behind plastic
- Respirator, gloves, goggles, and disposable coveralls
- Box cutter, scissors, measuring tape, and marker
- Spray stand, hooks, sawhorses, or a rotating turntable
For small parts, you can build a compact booth around a workbench. For cabinet doors or furniture, create a walk-in booth large enough to move around the project without brushing the plastic walls. For full vehicles, a DIY garage booth is usually not the safest or most effective option unless you have professional equipment, code-compliant ventilation, and serious experience.
Step 1: Choose the Best Garage Location
Pick the cleanest, most open section of your garage. Ideally, choose a spot near a door or window so you can exhaust air outside without running ducting across the entire room. Avoid areas near ignition sources, stored fuel, lawn equipment, dusty shelves, cardboard piles, and anything that could shed debris into your finish.
Give yourself more room than you think you need. A booth that barely fits the project will force you to twist, bump plastic walls, and spray from awkward angles. Leave walking space on at least three sides of the item if possible. If you are painting cabinet doors, build a layout that allows wet pieces to hang or rest without touching each other.
Step 2: Clean the Garage Like You Mean It
Paint loves dust. More specifically, wet paint loves grabbing dust out of the air and displaying it proudly forever. Before building the booth, sweep slowly, vacuum thoroughly, and wipe nearby surfaces. Do not use a leaf blower unless you enjoy redistributing dirt with enthusiasm. Remove sawdust, pet hair, cobwebs, and loose clutter.
After cleaning, lightly mist the garage floor with water before spraying, but do not create puddles. A slightly damp floor can help keep dust down. If your garage floor is oily, clean it first so you do not track grime into the booth. The cleaner the room, the better your finish will look.
Step 3: Build the Frame
Your booth frame can be made from PVC pipe, inexpensive lumber, a portable canopy, or even suspended lines attached to ceiling hooks. PVC is popular because it is lightweight, easy to cut, and reusable. A simple booth for furniture might measure about 8 feet wide, 8 feet deep, and 7 feet tall. A bench booth for small parts can be much smaller.
Make the frame sturdy enough that plastic sheeting will not collapse into your work. Add cross braces if the structure wiggles. If using a canopy frame, remove the fabric top and replace or line it with plastic sheeting. The goal is not to build a tiny palace; it is to create a controlled envelope for air and overspray.
Step 4: Hang Plastic Sheeting
Wrap the frame with plastic sheeting from ceiling to floor. Overlap seams by several inches and tape them securely. Keep the inside surface as smooth as possible so it does not flap in the airflow or brush against wet paint. For the entrance, create a vertical slit with overlapping plastic flaps, or use adhesive zipper doors made for dust barriers.
Do not seal the booth completely airtight. A paint booth needs controlled intake and exhaust. If the exhaust fan pulls air out but there is no planned intake, the plastic may suck inward like a sad parachute. Plan where fresh air enters and where contaminated air exits.
Step 5: Create Filtered Intake Air
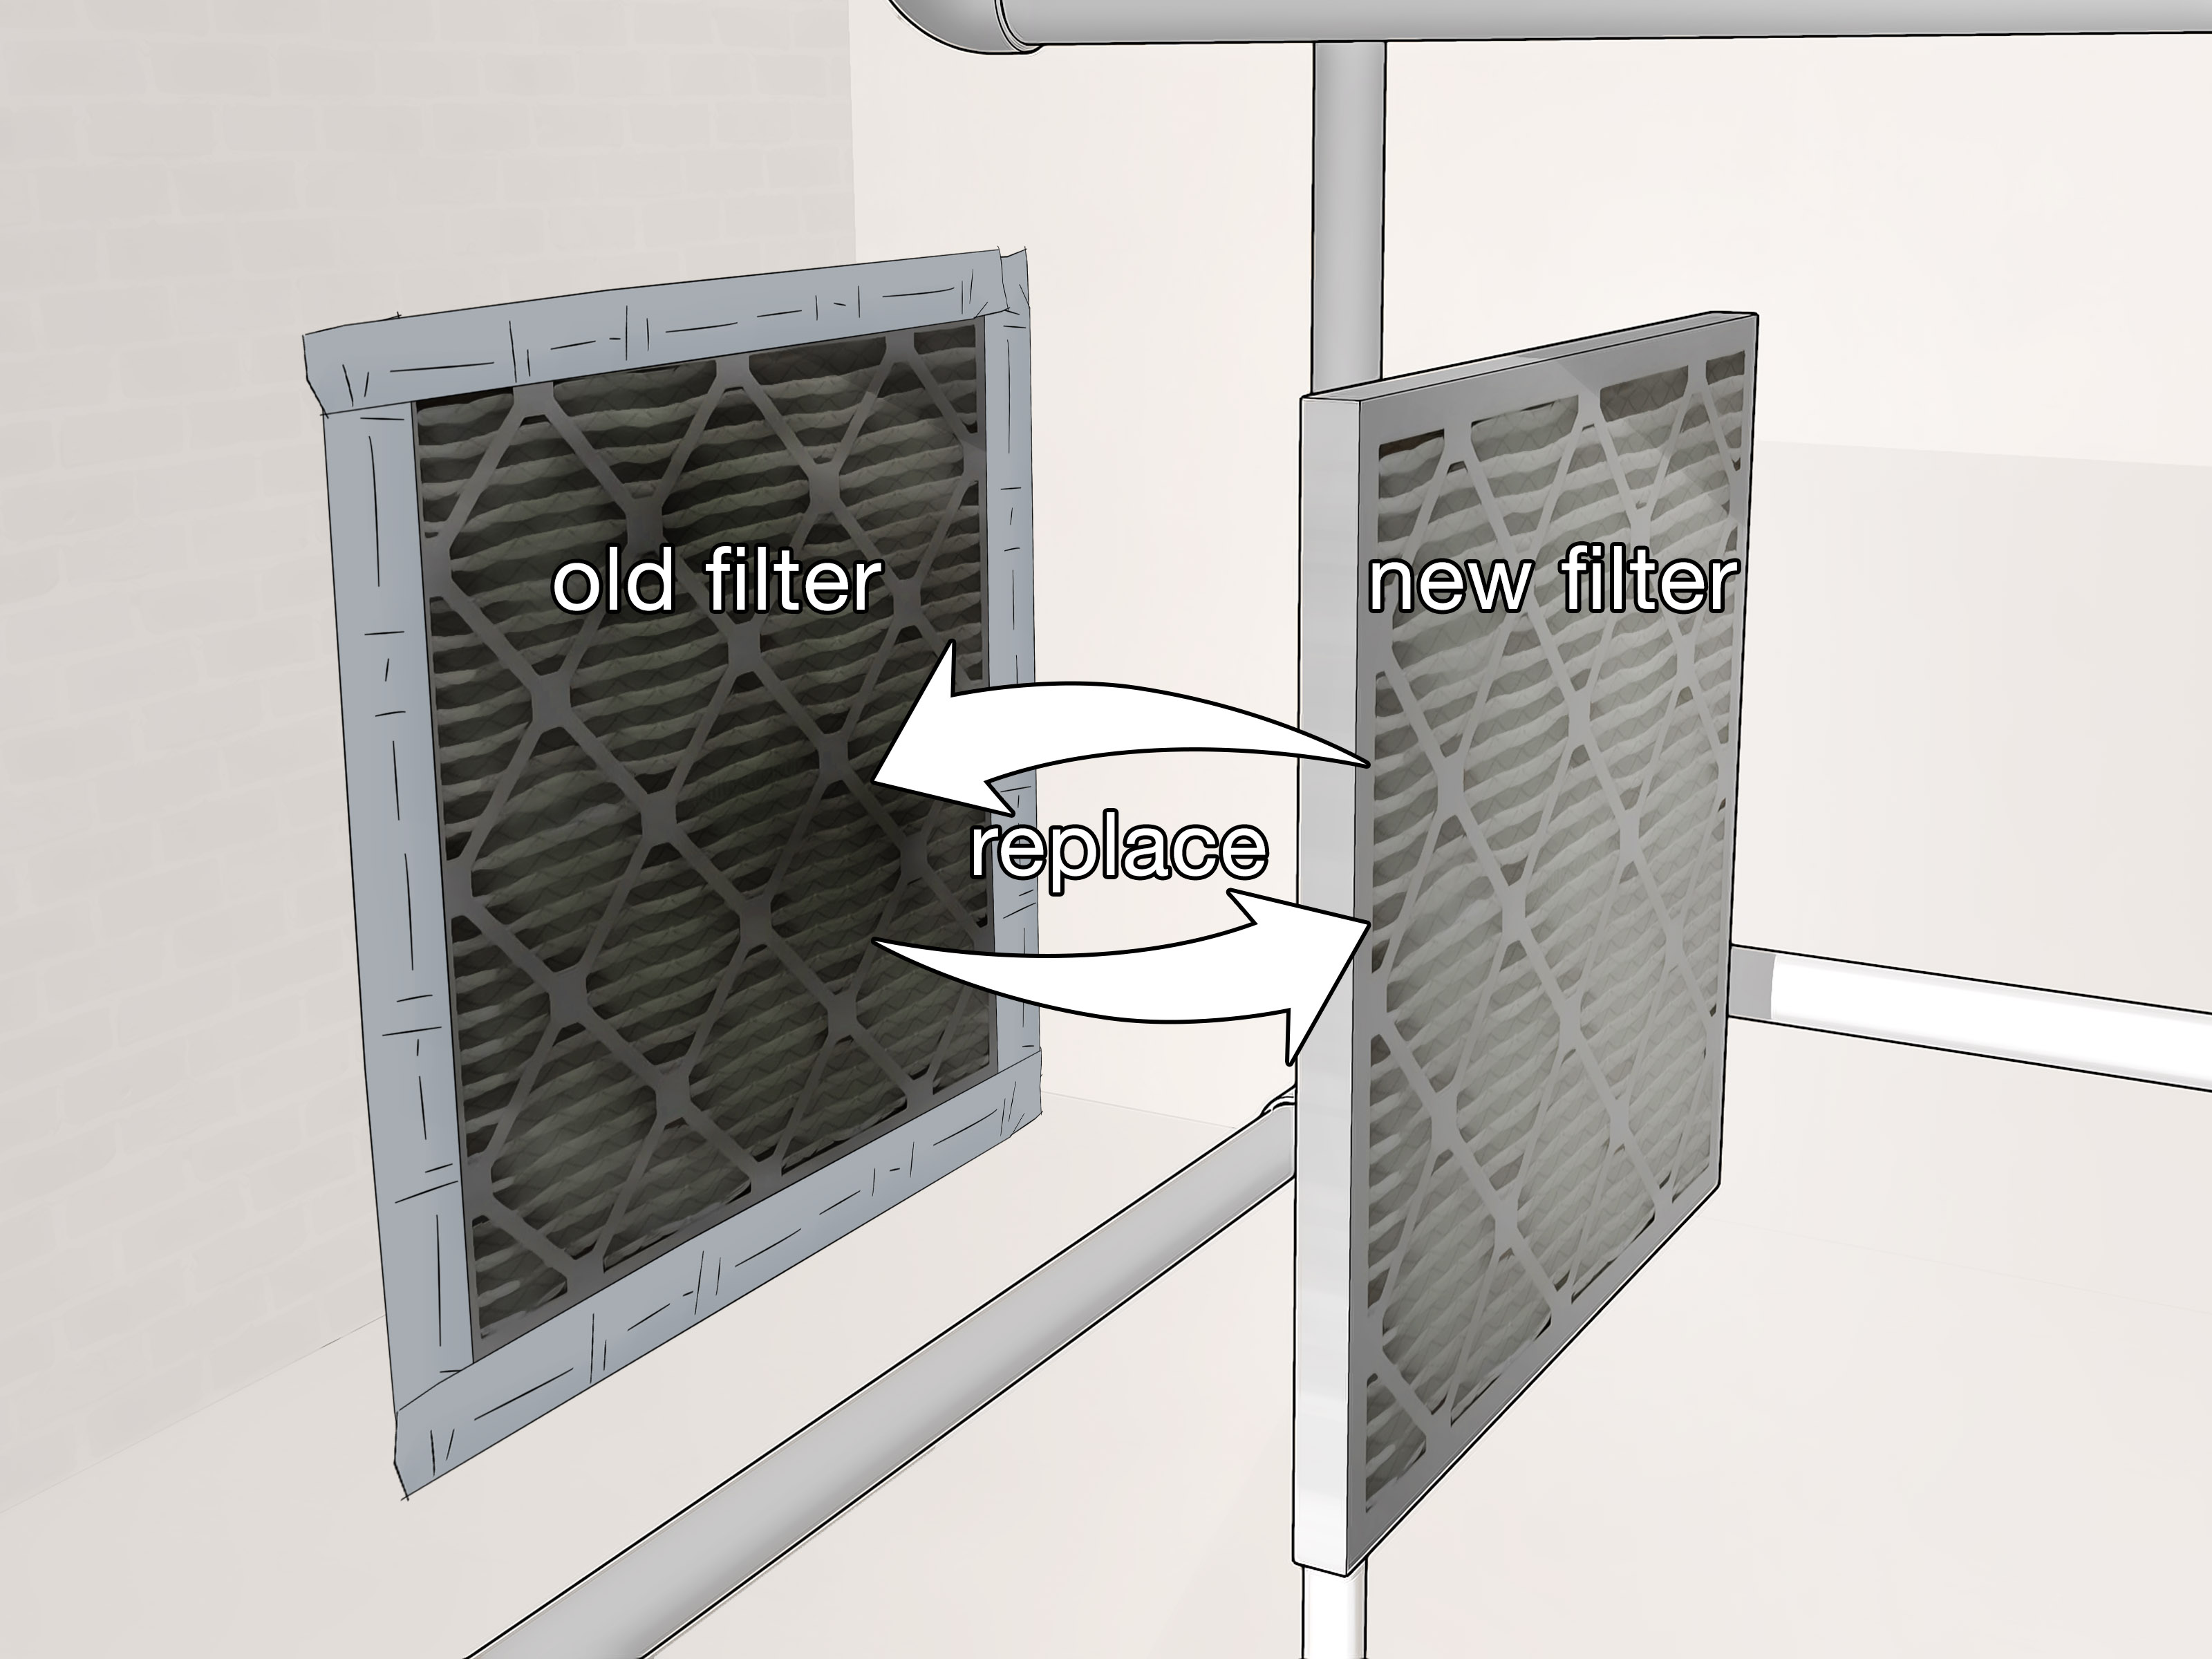
Filtered intake air helps keep dust and bugs out of the booth. Cut one or more openings on the clean-air side of the booth and tape HVAC-style filters or dedicated paint booth intake filters over those openings. Place intake filters higher on the wall when practical, allowing clean air to move across the project toward lower exhaust filters on the opposite side.
Use enough filter area so the fan does not struggle. If the intake is too small, airflow becomes weak and the booth may pull unfiltered air through gaps. For a smoother finish, the booth should receive a steady supply of clean replacement air. Think of it like breathing: if the booth can exhale but not inhale, the whole system gets cranky.
Step 6: Set Up Safe Exhaust and Overspray Filtration
The exhaust side is where many DIY booths go wrong. Exhaust must move paint mist away from you, capture overspray through filters, and discharge air to a safe outdoor location. Never exhaust into an attic, basement, living space, or attached room. Do not aim fumes toward neighbors, pets, open windows, or outdoor ignition sources.
For water-based finishes and low-risk craft spraying, some DIYers use filtered fan setups, but solvent-based coatings demand far more caution. A standard box fan is not designed for flammable vapor environments. If you are spraying solvent-heavy products, use equipment appropriate for the hazard, and consider whether the project belongs in a professional booth instead.
Install exhaust filters before the fan when possible so overspray does not coat the blades, motor, or ducting. Use filters designed to capture paint overspray, not just random dusty furnace filters pulled from the closet. Replace filters when airflow drops, when they look loaded, or according to the manufacturer’s recommendation. A clogged filter turns your booth into a fog machine with commitment issues.
Step 7: Manage Air Pressure
A temporary garage paint booth should generally run at slight negative pressure, meaning the exhaust pulls a bit more air out than the intake supplies. This helps keep overspray from escaping through seams. You can test this by watching the plastic walls. They should pull inward gently, not violently. If the walls are snapping inward, add more intake filter area.
If the plastic balloons outward, you may have too much intake or not enough exhaust. Adjust fan speed, filter size, and openings until airflow moves consistently from clean side to exhaust side. The goal is smooth, predictable movementnot a wind tunnel strong enough to relocate your masking paper.
Step 8: Add Lighting Without Adding Fire Risk
Good lighting is essential. Bad lighting causes missed spots, dry spray, runs, and the classic “I swear it looked perfect in the garage” disappointment. Use bright LED lights positioned outside the plastic walls, shining through the sheeting, whenever possible. This keeps electrical equipment out of the spray area while still lighting the project.
Avoid portable work lights inside the booth, especially hot lights or lights that could be knocked over. Keep cords outside the spray zone and away from wet floors. If you need professional-quality lighting inside a booth, use fixtures rated for the environment and install them correctly. For most DIY work, outside-the-booth LED lighting is simpler and safer.
Step 9: Prepare a Smart Work Surface
Place your project on sawhorses, a spray stand, hooks, or a turntable. The more you can rotate the item instead of walking around it with a hose and wet sleeves, the better. For cabinet doors, screw small hooks into hidden edges and hang them from a sturdy rod. For furniture, lift the piece off the floor so you can reach lower edges without kneeling in overspray dust.
Keep your spray gun, paint, strainers, tack cloths, and mixing supplies organized outside the booth entrance. Bring in only what you need. Clutter inside the booth becomes a tripping hazard and a dust collector. Also, label your clean rags and dirty rags. They may look similar until one lovingly drags sanding dust across your final coat.
Step 10: Prep the Surface Before It Enters the Booth
Most paint failures are prep failures wearing a shiny topcoat. Sand, repair, degrease, and tack the project before bringing it into the booth. If you sand inside the booth, vacuum and wipe everything again before spraying. Dust from sanding primer can linger in corners and drift into the finish at the worst possible moment.
Use the right primer for the material. Bare metal, plastic, wood, laminate, and previously painted surfaces all have different needs. Follow recoat windows and drying times. If the label says wait, wait. Paint labels are boring, but they are cheaper than sanding off a gummy mistake.
Step 11: Spray With Technique, Not Panic
Start the exhaust before spraying and let airflow stabilize. Put on your respirator and perform a seal check. Mix and strain paint according to the product instructions. Test the spray pattern on cardboard before aiming at the actual project. Adjust fluid flow, air pressure, and fan pattern until you get an even spray.
Hold the gun or aerosol can a consistent distance from the surface. Move before pulling the trigger, release after passing the edge, and overlap each pass by about 50 percent. Apply light to medium coats rather than one heroic wet coat. Heavy coats are how runs are born, and runs are basically paint’s way of laughing at your confidence.
Keep the hose or cord behind you, not dragging across wet surfaces. Watch the reflection of the light on the paint. A wet edge should look even, not dry and dusty or sagging. If something goes wrong, stop and let the coating flash or dry according to instructions before correcting it. Chasing a run with more paint usually turns one problem into a family reunion.
Step 12: Let the Booth Vent After Spraying
Keep ventilation running after spraying to clear lingering mist and vapors. Do not immediately unzip the booth and invite dust inside. Let the finish flash, then follow the product’s drying schedule. If possible, maintain airflow without blasting air directly at the project. Strong direct airflow can skin over paint unevenly or blow dust onto the surface.
Once the project is dry enough to handle, move it carefully to a clean curing area. Keep pets, kids, and curious adults away. Every freshly painted object seems to attract fingerprints from people who “just wanted to see if it was dry.” It was not.
Common Mistakes to Avoid
Using the Wrong Fan
The fan is not just a convenience; it is part of the safety system. Do not place a household fan where it may pull flammable vapor across a non-rated motor. Match the ventilation equipment to the coating hazard.
Skipping Exhaust Filters
Overspray filters protect your fan, ducting, driveway, and the air outside. They also help keep paint particles from drifting onto nearby property. Replace loaded filters instead of trying to squeeze one more project out of them.
Painting in a Dusty Booth
Plastic walls do not magically remove dust. Clean first, filter intake air, and avoid sanding in the booth right before spraying.
Ignoring Temperature and Humidity
Paint behaves differently in cold, hot, or humid conditions. Follow the coating label for temperature and humidity ranges. If the garage feels like a swamp or a freezer, your finish may share that opinion.
Spraying Too Much at Once
Thin, even coats usually beat thick coats. Heavy application leads to runs, trapped solvents, slow curing, and orange peel.
Estimated Cost of a DIY Garage Paint Booth
A small temporary booth can cost under $150 if you already own lights, stands, and protective gear. A larger booth with a reusable frame, quality filters, ducting, and better ventilation may cost several hundred dollars or more. Proper respiratory protection, replacement cartridges, gloves, and coveralls should be treated as required supplies, not optional accessories.
If you plan to spray often, consider investing in reusable wall panels, better lighting, dedicated spray stands, and a safer ventilation system. If you only need to paint one large vehicle or use hazardous coatings, compare the cost of DIY equipment with renting time in a professional booth or hiring a shop. Sometimes the cheapest safe option is not building the booth yourself.
Best Projects for a Garage Paint Booth
A DIY garage paint booth works best for manageable projects that can be sprayed in sections. Cabinet doors, drawer fronts, chairs, small tables, shelves, bike frames, metal brackets, and decorative pieces are good candidates. These projects fit inside a controlled space and can be positioned for efficient spraying.
Large automotive projects are more complicated. Cars require more airflow, more space, better lighting, stricter fire control, and greater skill. Full vehicle refinishing also creates more overspray and chemical exposure. If your dream is a flawless show-car finish, a plastic booth in the garage may not be the hero of that story.
Cleanup and Disposal
Let overspray settle before disassembling the booth. Wear gloves and a respirator during cleanup if fumes or dust remain. Carefully fold plastic inward so trapped overspray stays contained. Remove filters without shaking them. Store leftover paint and solvents in sealed, labeled containers according to the product instructions.
Do not pour paint, thinner, or gun-cleaning waste down drains, onto soil, or into storm gutters. Used filters, solvent-soaked rags, and paint waste may need special disposal depending on the product and local rules. Some materials can be fire hazards if piled together, so place used rags in an approved metal container when required. Good cleanup is not glamorous, but neither is explaining why your trash can started smoking.
Real-World Experience: What Actually Helps When Building a Garage Paint Booth
The first lesson many DIY painters learn is that the booth is only as good as the preparation around it. You can build a beautiful plastic enclosure, but if you drag a dusty chair through the entrance, wear a linty sweatshirt, or stir paint beside a pile of sawdust, the finish will tell on you. A garage paint booth rewards boring habits: vacuuming twice, wiping surfaces slowly, labeling filters, and waiting for dust to settle before spraying.
One practical trick is to build the booth a day before painting. That gives you time to test airflow, adjust plastic walls, reposition lights, and discover problems before mixed paint is sitting in the cup. Turn the fan on and watch how the plastic behaves. Hold a strip of tissue near seams, intake filters, and the entrance. It should show air moving into the booth and toward the exhaust. If air swirls randomly, add baffles, adjust intake size, or move the project farther from the exhaust wall.
Another useful habit is creating a “clean path.” Set up a staging table outside the booth with only clean supplies: tack cloths, strainers, stir sticks, gloves, and a timer. Keep sanding tools and dirty rags somewhere else. Change gloves before touching the final-cleaned surface. This sounds fussy until you see one greasy fingerprint under a glossy topcoat. Then it sounds like wisdom delivered by the paint gods.
Lighting is often underestimated. A garage ceiling bulb behind your head will not reveal dry spray or uneven coverage. Place bright lights along the sides, shining through the plastic, so the wet edge reflects clearly. When you can see the reflection, you can control the coat. When you cannot see it, you are basically painting by optimism.
For furniture and cabinet doors, hanging pieces can save time, but make sure hooks are strong and stable. A swinging cabinet door is not charming while you are trying to spray an even coat. For flat doors, many painters prefer horizontal racks for primer and vertical hanging for final coats, depending on the product. Test your setup with scrap wood first.
The biggest experience-based warning is this: do not rush recoat times. Many DIY finishes fail because the painter gets excited and stacks coats too quickly. Follow the label, use a timer, and give the coating the conditions it needs. A garage paint booth improves the environment, but it cannot rescue impatience. Build carefully, spray lightly, ventilate properly, and your garage booth can produce results that look impressively professionalwithout permanently painting your bicycle, freezer, and holiday decorations the same shade of satin white.
Conclusion
Creating a paint booth in your garage is absolutely possible for the right projects when you focus on airflow, filtration, cleanliness, and safety. Start with a sturdy temporary frame, seal it with plastic sheeting, provide filtered intake air, exhaust overspray through proper filters, and keep ignition sources far away from the spray area. Use the right respirator, read every coating label, and treat ventilation as a safety requirement rather than a nice bonus.
A DIY garage paint booth will not turn you into a professional refinishing shop overnight, but it can dramatically improve your results on cabinets, furniture, parts, and smaller projects. The secret is not complicated: clean more than you want to, spray less paint per coat than your ego suggests, and let the booth do its job. Your finish will look better, your garage will survive, and your future self will thank you for not painting the washing machine by accident.