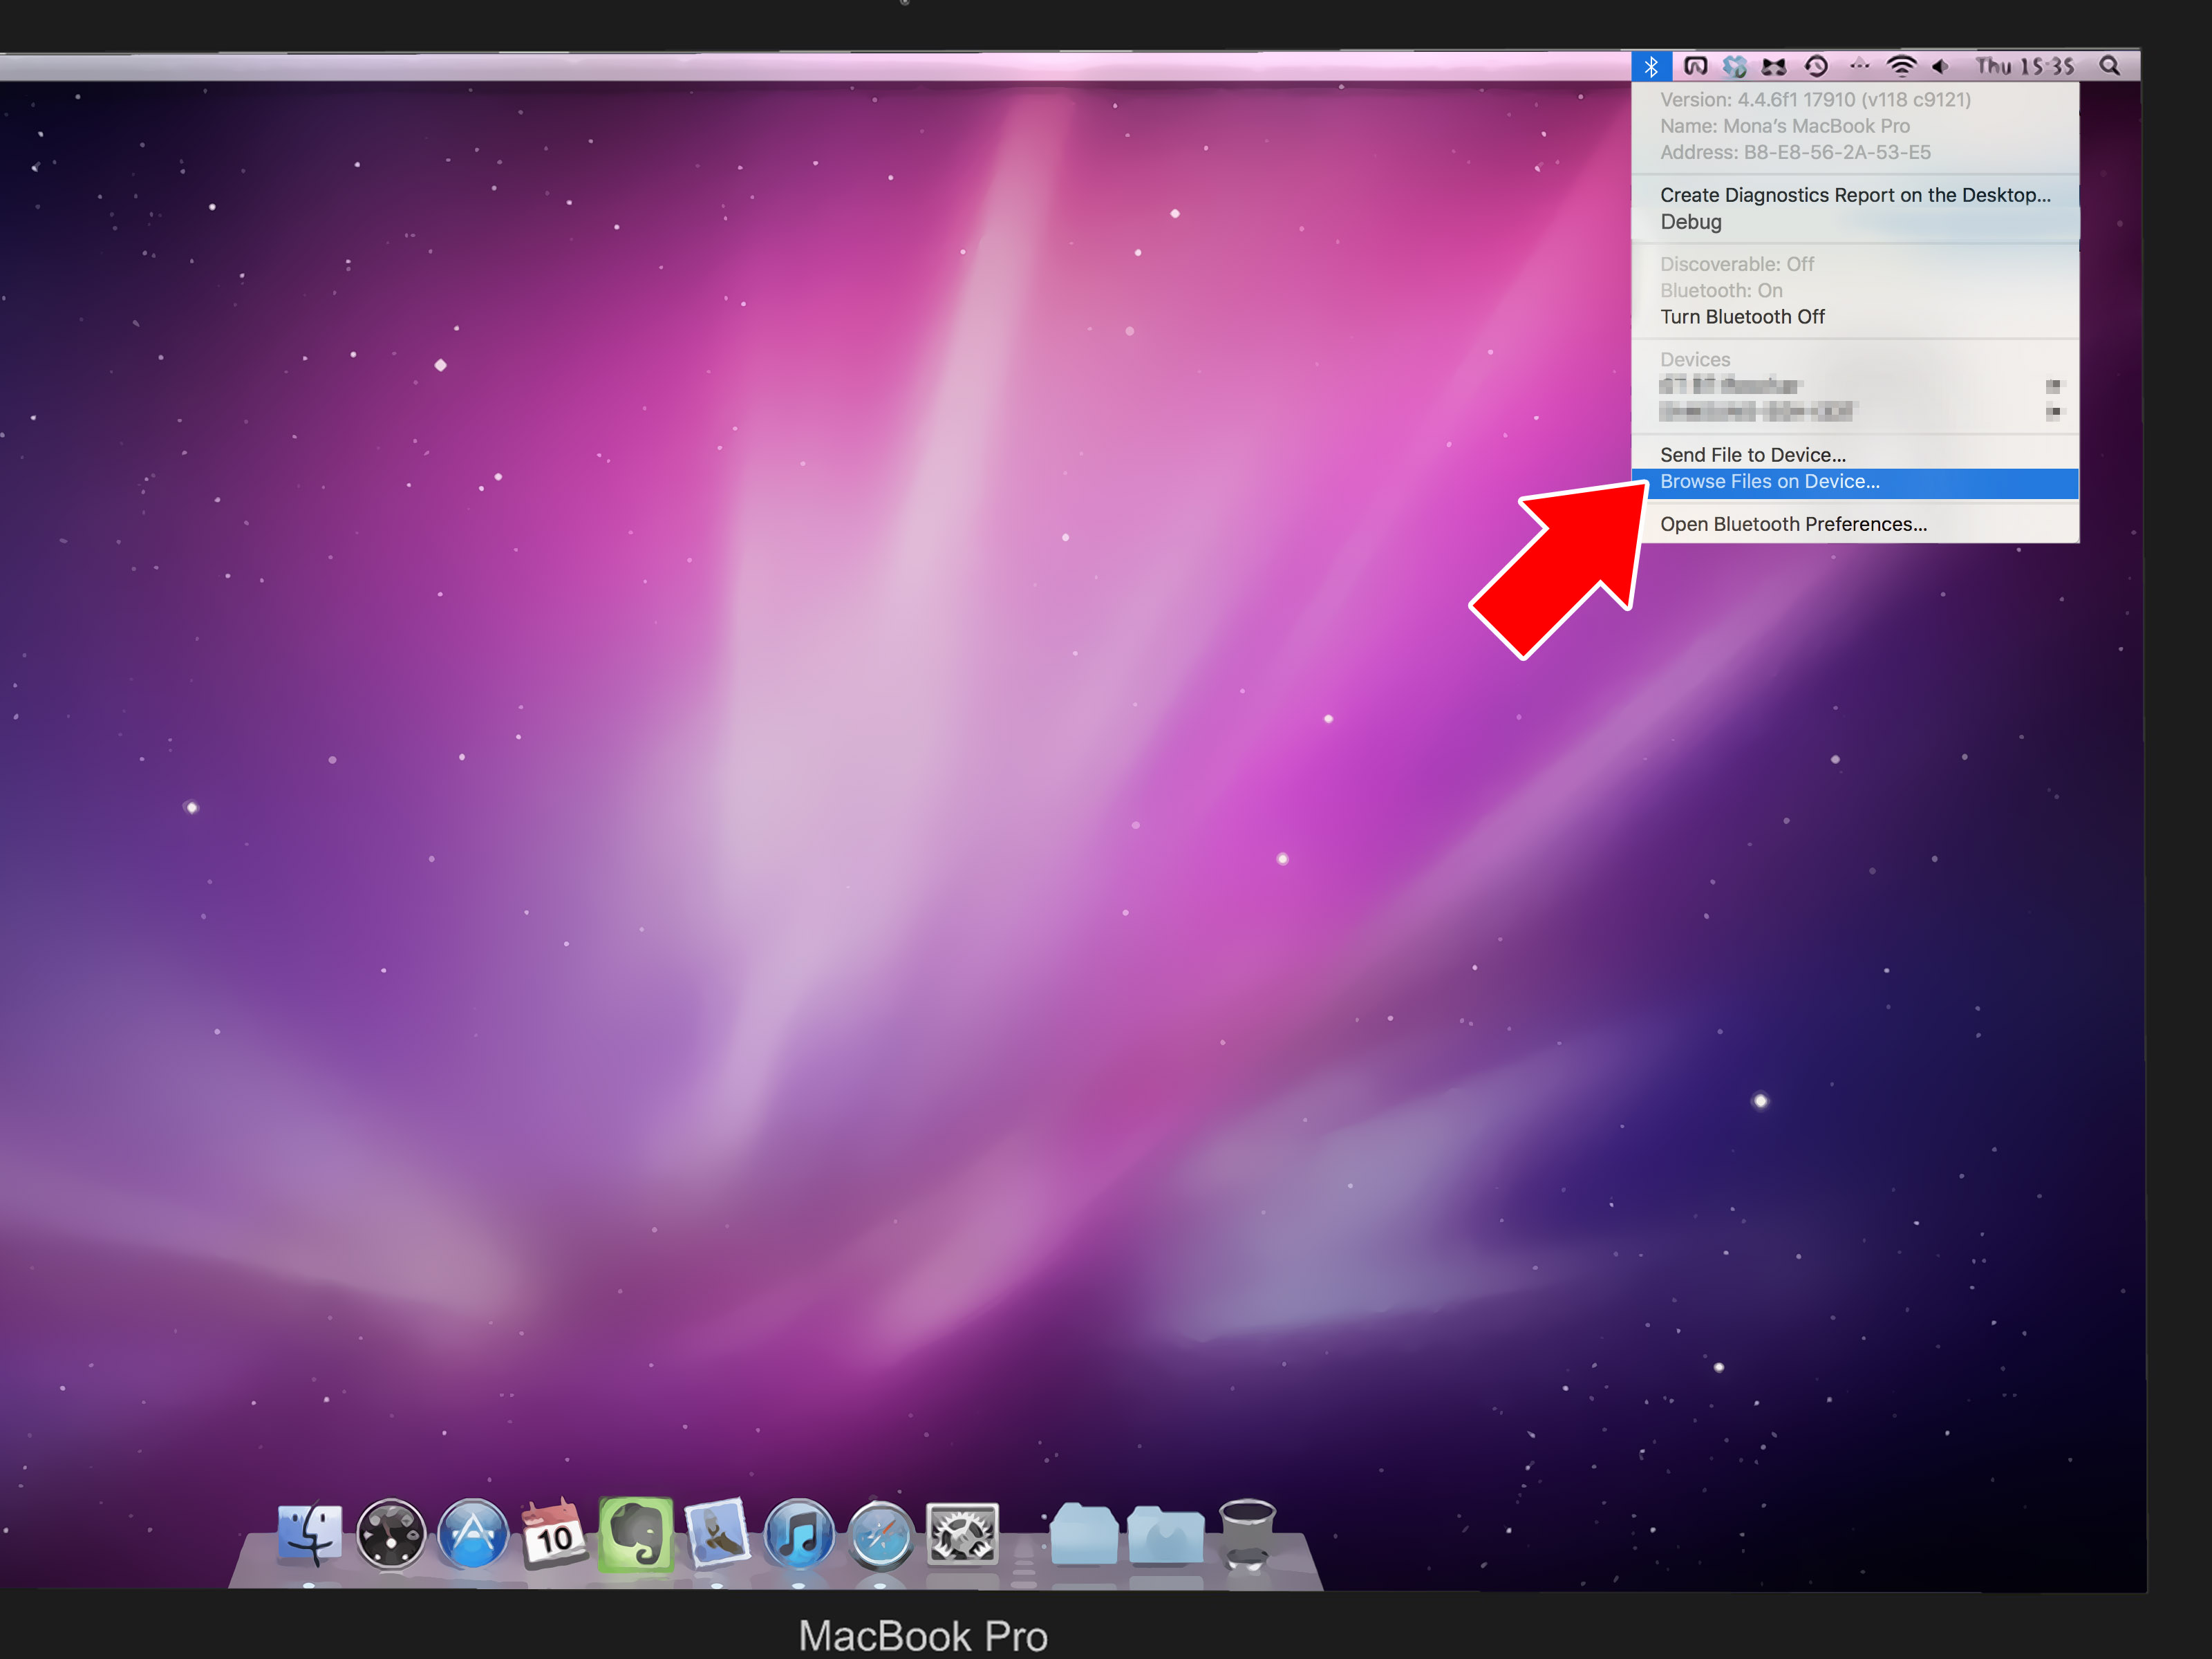
Connecting an iPad to a computer should feel simple: plug in a cable, tap a button, move your files, and get on with life. In reality, it can feel like your iPad and computer are having a private argument in a language made entirely of tiny pop-up alerts. One device says “Trust This Computer?” The other says nothing. The cable looks fine. Your photos are somewhere. Your patience is officially buffering.
The good news is that learning how to connect iPad to computer is not complicated once you know which method fits your goal. Are you trying to transfer photos from iPad to PC? Sync music from a Mac? Use your iPad as a second screen? Back up your iPad? Move a PDF into a drawing app? Each task has a slightly different best route, and choosing the right route saves you from poking around menus like you are defusing a digital bomb.
This in-depth guide explains the easiest ways to connect an iPad to a Mac or Windows computer using USB, USB-C, Wi-Fi syncing, iCloud Drive, AirDrop, Apple Devices, Finder, iTunes, and more. We will keep it practical, clear, and only mildly dramaticbecause your iPad already provides enough drama when it refuses to show up in File Explorer.
Before You Start: Know What You Want to Do
The phrase “connect iPad to computer” can mean several things. Before grabbing a cable, decide what result you want. This helps you choose the fastest method instead of taking the scenic route through every settings menu known to humankind.
Common reasons to connect an iPad to a computer
- Transfer photos and videos from iPad to computer
- Move documents, PDFs, audio files, or project files between devices
- Sync music, movies, TV shows, books, contacts, or calendars
- Back up, update, or restore an iPad
- Use an iPad as a second display for a Mac
- Charge the iPad from a computer USB port
- Set up Wi-Fi syncing after the first wired connection
For quick file movement, cloud storage or AirDrop may be faster. For backups, software updates, and full syncing, a cable plus Finder or Apple Devices is usually better. For photos on Windows, the Photos app is often the cleanest path. For Mac users, Finder has mostly replaced iTunes for device management on modern macOS versions.
What You Need to Connect an iPad to a Computer
At minimum, you need three things: your iPad, your computer, and the right cable or wireless setup. That sounds obvious, but the cable is where many problems begin. Some cables charge only and do not transfer data. These cables are like spoons at a steakhouse: technically useful, but not for this job.
Choose the right cable
Modern iPad models often use USB-C. Older models use Lightning. Your computer may have USB-A, USB-C, or Thunderbolt ports. Match the ports with one of these common cable setups:
- USB-C iPad to USB-C computer: Use a USB-C to USB-C cable that supports data transfer.
- USB-C iPad to USB-A computer: Use a USB-C to USB-A cable or a reliable adapter.
- Lightning iPad to USB-A computer: Use a Lightning to USB cable.
- Lightning iPad to USB-C computer: Use a Lightning to USB-C cable.
If your iPad charges but does not appear on your computer, try another cable. A data-capable cable is essential for file transfer, syncing, backups, and device recognition.
Update your software
For the smoothest connection, update your iPad, Mac, Windows system, and Apple software. On Windows, install the Apple Devices app from the Microsoft Store for modern iPad management. If you use older software or older workflows, iTunes may still appear in the process, especially for file sharing or legacy syncing.
How to Connect iPad to Mac With a Cable
If you use a Mac, the simplest wired connection usually happens through Finder. This applies to macOS Catalina and later. If you are using a much older version of macOS, iTunes may handle the connection instead.
Step-by-step: Connect iPad to Mac
- Unlock your iPad.
- Connect the iPad to your Mac using a compatible USB or USB-C cable.
- If the iPad asks whether to trust the computer, tap Trust and enter your passcode.
- On your Mac, open Finder.
- Look for your iPad in the Finder sidebar under Locations.
- Select your iPad to view syncing, backup, and file options.
Once connected, you can manage backups, sync selected content, transfer supported app files, and check device information. Finder turns your iPad into a manageable device rather than a mysterious rectangle that occasionally judges your storage habits.
What can you do in Finder?
Finder lets you sync music, movies, TV shows, podcasts, books, photos, contacts, calendars, and files depending on your settings and apps. You can also back up your iPad to the Mac, encrypt local backups, restore a backup, or update iPadOS. If you are preparing for a major iPad update, creating a backup first is a very adult decisionand, unfortunately, adult decisions are often the ones that save your weekend.
How to Connect iPad to Windows PC
Windows users have several options: Apple Devices, Windows Photos, File Explorer for photos, iCloud for Windows, and iTunes for some older or specific file-sharing tasks. The best choice depends on whether you want photos, app files, media syncing, or device management.
Option 1: Use Apple Devices for Windows
The Apple Devices app is Apple’s modern tool for managing an iPad on Windows. Use it when you want to sync content, back up the iPad, update software, restore the device, or transfer files supported by specific apps.
- Install Apple Devices from the Microsoft Store.
- Open the Apple Devices app.
- Connect your iPad to the PC with a USB or USB-C cable.
- Unlock the iPad.
- Tap Trust or Allow if prompted.
- Select your iPad in the Apple Devices sidebar.
- Choose the content or files you want to sync or manage.
Apple Devices is especially useful for people who want the Windows version of the iPad management experience that Mac users get through Finder.
Option 2: Transfer photos using Windows Photos
If your main goal is to transfer photos from iPad to PC, Windows Photos is often the easiest method.
- Connect your iPad to the PC with a data-capable USB cable.
- Unlock the iPad and keep it awake.
- Tap Trust if the iPad asks.
- Open the Photos app on Windows.
- Select Import, then choose your connected device.
- Follow the on-screen instructions to import photos and videos.
Keep the iPad unlocked during the process. Windows may not see your photos if the device is locked. Yes, your iPad can be private to the point of inconvenience. That is a feature, not a bug.
Option 3: Use File Explorer for photo folders
In some cases, your iPad may appear in Windows File Explorer as a portable device. You can open it and look for photo and video folders, often inside a DCIM directory. This can be handy for copying camera-roll media, but it is not the best method for moving every kind of iPad file. App documents, cloud-only files, and some edited media may not appear there.
How to Transfer Files Between iPad and Computer
File transfer works differently depending on the type of file and the app that owns it. iPadOS is app-centered, meaning certain documents live inside specific apps. Apple’s file sharing tools can transfer files only from iPad apps that support file sharing.
Transfer app files with Finder or Apple Devices
For supported apps, connect your iPad to your Mac or Windows PC, select the iPad in Finder or Apple Devices, and look for file-sharing or files options. You may see apps such as document editors, audio tools, video players, drawing apps, or PDF readers. Select the app, then add files from the computer or save files from the iPad to the computer.
This is useful for large PDFs, music projects, video files, design drafts, ebooks, and other files that belong to a particular app. If an app does not appear in the file-sharing list, it probably does not support this method.
Use the Files app on iPad
The Files app is your iPad’s central file manager. It can show local files, iCloud Drive, third-party cloud services, external drives, and network locations. To move files from your computer to iPad, you can place them in iCloud Drive, transfer them through a supported app, or use an external storage device if your iPad supports the required connection.
For USB-C iPads, external storage support can be especially helpful. You can connect compatible USB drives, SD card readers, cameras, and other accessories. This is not the same as connecting directly to a computer, but it can be a smart middle step when moving big files.
How to Connect iPad to Computer Wirelessly
A cable is reliable, but wireless connections are wonderfully convenient when they behave. If you want to avoid cable clutter, use one of these methods.
Use Wi-Fi syncing
Wi-Fi syncing lets your iPad sync with your Mac or Windows computer when both devices are on the same Wi-Fi network. However, the first setup usually requires a cable. Connect the iPad to the computer, enable Wi-Fi syncing in Finder, iTunes, or Apple Devices, and then future syncs can happen wirelessly when conditions are right.
This is ideal for people who sync regularly but do not want to plug in every time. It is less ideal if your Wi-Fi network has the personality of a sleepy turtle.
Use iCloud Drive
iCloud Drive is one of the easiest ways to move documents between iPad, Mac, and Windows PC. On iPad, turn on iCloud Drive in iCloud settings. On Windows, install iCloud for Windows and enable iCloud Drive. On Mac, iCloud Drive appears in Finder when enabled.
After setup, you can save a document to iCloud Drive on your iPad and open it on your computer, or drop a file into iCloud Drive on your computer and access it from the iPad Files app. This method is excellent for documents, PDFs, spreadsheets, images, and small creative projects. For huge video folders, your internet speed and iCloud storage plan will have opinions.
Use AirDrop between iPad and Mac
If you use a Mac, AirDrop is one of the fastest wireless options for sending photos, videos, documents, and other files to or from an iPad. AirDrop works between nearby Apple devices using Wi-Fi and Bluetooth. It does not require both devices to use the same Apple Account, although sending between your own Apple devices is usually smoother.
To send from iPad, open the file or photo, tap the Share button, choose AirDrop, and select your Mac. To send from Mac, right-click a file, choose Share, select AirDrop, and choose your iPad. AirDrop is wonderful when it works instantly and mildly humbling when one device refuses to appear until you toggle Wi-Fi for the third time.
How to Use iPad as a Second Display for Mac
Connecting an iPad to a computer is not always about file transfer. Sometimes you want more screen space. If you have a compatible Mac and iPad, Sidecar lets your iPad work as a second display. You can extend your Mac desktop or mirror the screen.
Set up Sidecar
- Make sure your Mac and iPad support Sidecar.
- Sign in to both devices with the same Apple Account.
- Turn on Wi-Fi, Bluetooth, and Handoff if using Sidecar wirelessly.
- On the Mac, open System Settings.
- Go to Displays.
- Choose your iPad from the Add Display menu.
You can also connect the iPad to the Mac with a USB cable. Wired Sidecar can help keep the iPad charged and may feel more stable during long work sessions. This is great for editing, writing, referencing notes, managing chat windows, or keeping a calendar visible while pretending your desk is under control.
How to Back Up iPad to Computer
Backing up your iPad to a computer is a smart move before major updates, repairs, device trade-ins, or experiments involving “I’ll just delete a few things.” A local backup can store much of your iPad data on your Mac or PC.
Back up iPad to Mac
- Connect the iPad to your Mac with a cable.
- Open Finder and select your iPad.
- Under the General section, choose to back up your iPad to the Mac.
- Enable encrypted backup if you want to include sensitive data such as saved passwords and health-related data.
- Click Back Up Now.
Back up iPad to Windows
- Open Apple Devices or iTunes, depending on your setup.
- Connect and unlock your iPad.
- Select the iPad in the app.
- Choose the backup option.
- Start the backup and wait for it to finish before disconnecting.
Do not yank the cable mid-backup unless you enjoy creating problems with the confidence of a raccoon opening a pantry.
Troubleshooting: iPad Won’t Connect to Computer
If your iPad does not appear on your Mac or PC, do not panic. Most connection problems are caused by cables, trust settings, locked screens, outdated software, or sleepy USB ports.
Try these fixes first
- Unlock your iPad and keep it on the Home Screen.
- Tap Trust when the alert appears.
- Use a different USB port on the computer.
- Try a different cable that supports data transfer.
- Restart both the iPad and computer.
- Update iPadOS, macOS, Windows, Apple Devices, or iTunes.
- Disconnect hubs and plug directly into the computer.
- Check whether the cable is damaged or charge-only.
Reset trust settings
If you accidentally tapped “Don’t Trust,” or the trust prompt behaves strangely, reset the iPad’s location and privacy settings. On iPad, go to Settings, then General, then Transfer or Reset iPad, then choose Reset Location & Privacy. The next time you connect to the computer, the Trust This Computer alert should appear again.
Remember what Trust means
Only trust computers you own or truly trust. A trusted computer can access photos, videos, contacts, and other device content. Public charging stations, borrowed laptops, school computers, and random office machines should not automatically get your digital handshake.
Best Method by Situation
Still not sure which method to use? Here is the simple version.
| Goal | Best Method |
|---|---|
| Transfer photos from iPad to Windows PC | Windows Photos app or File Explorer |
| Transfer files between iPad and Mac | Finder, AirDrop, or iCloud Drive |
| Manage iPad on Windows | Apple Devices app |
| Sync music, movies, or TV shows | Finder on Mac or Apple Devices on Windows |
| Move supported app documents | Finder, Apple Devices, or iTunes file sharing |
| Use iPad as second Mac screen | Sidecar |
| Move documents without a cable | iCloud Drive, AirDrop, or cloud storage |
Security Tips When Connecting iPad to Computer
Connecting your iPad to a computer gives that computer a level of access. That is useful when the computer is yours and annoying when the computer is not. Treat trust prompts seriously.
- Use your own computer whenever possible.
- Avoid trusting public or shared computers.
- Use passcodes and keep your iPad locked when not transferring files.
- Reset trust settings if you no longer use a computer.
- Back up important files before updates or restores.
- Use encrypted backups for more complete local backup protection.
Real-World Experiences: What Actually Works Best
In real life, the best way to connect an iPad to a computer is the method that creates the least friction for the task. For example, if you only need to move five vacation photos from your iPad to a Mac, AirDrop is usually faster than looking for a cable. Open Photos, select the images, tap Share, choose AirDrop, and send them to the Mac. Done. No cable archaeology required.
But if you are moving a large batch of videos to a Windows PC, a cable is usually more reliable. Wireless tools are convenient, but big files can turn “almost done” into a lifestyle. A USB connection with Windows Photos or Apple Devices is better for heavy transfers. The important trick is to keep the iPad unlocked and use a real data cable. Many people waste time troubleshooting software when the actual villain is a cheap cable that only charges.
For students, iCloud Drive is often the most comfortable everyday option. You can start a document on the iPad, save it in iCloud Drive, and finish it later on a laptop. It works especially well for essays, PDFs, notes, worksheets, and presentation files. The downside is that cloud syncing depends on internet speed and available storage. If your iCloud storage is full, your files may stop syncing at the exact moment you need them most, because technology enjoys suspense.
For creative workers, the best setup may be mixed. A designer might use Sidecar to turn the iPad into a second Mac display, AirDrop to send quick mockups, and a cable connection for larger project files. A musician might use app file sharing to move audio sessions into a supported iPad app. A photographer might use USB-C accessories, external drives, and the Files app to manage large image folders. The iPad is flexible, but the workflow depends heavily on the apps you use.
For families, the biggest lesson is to keep things simple. If a parent wants to copy photos from a child’s iPad to a household Windows PC, Windows Photos is easier than explaining file systems, app containers, and cloud directories. If someone wants to back up an iPad before giving it to another family member, Apple Devices or Finder is the safer choice. If everyone uses Apple devices, AirDrop feels almost magicaluntil someone’s receiving setting is turned off, at which point it becomes a group investigation.
My practical advice is to keep three connection habits ready. First, own one good data-capable cable and label it if necessary. Second, set up iCloud Drive for everyday documents so you are not dependent on cables for small files. Third, learn the main device-management tool for your computer: Finder on Mac or Apple Devices on Windows. Once those three pieces are in place, connecting an iPad to a computer becomes routine instead of a small emotional journey.
Also, do not ignore the Trust This Computer alert. It is not decorative. If you trust your personal laptop, tap Trust and continue. If the computer belongs to a hotel lobby, airport kiosk, random coworker, or someone whose desktop has 900 unnamed folders, do not trust it. Charge from a wall adapter instead.
Conclusion
Learning how to connect iPad to computer is mostly about matching the method to the mission. Use Finder on a Mac for syncing, backups, and file management. Use Apple Devices on Windows for modern iPad management. Use Windows Photos when you mainly want to import pictures and videos. Use iCloud Drive, AirDrop, or Wi-Fi syncing when you want fewer cables in your life. And when things go wrong, check the basics first: unlock the iPad, trust the computer, update the software, and use a cable that transfers data.
Once everything is set up, your iPad and computer can work together smoothly. They can share files, sync media, back up data, move photos, extend your screen, and generally behave like teammates instead of two devices separated by a wall of tiny technical misunderstandings.
SEO Tags
Note: This article is written for general educational use and is based on current iPad, Mac, and Windows connection methods. Menus and app names may vary slightly depending on your iPadOS, macOS, or Windows version.