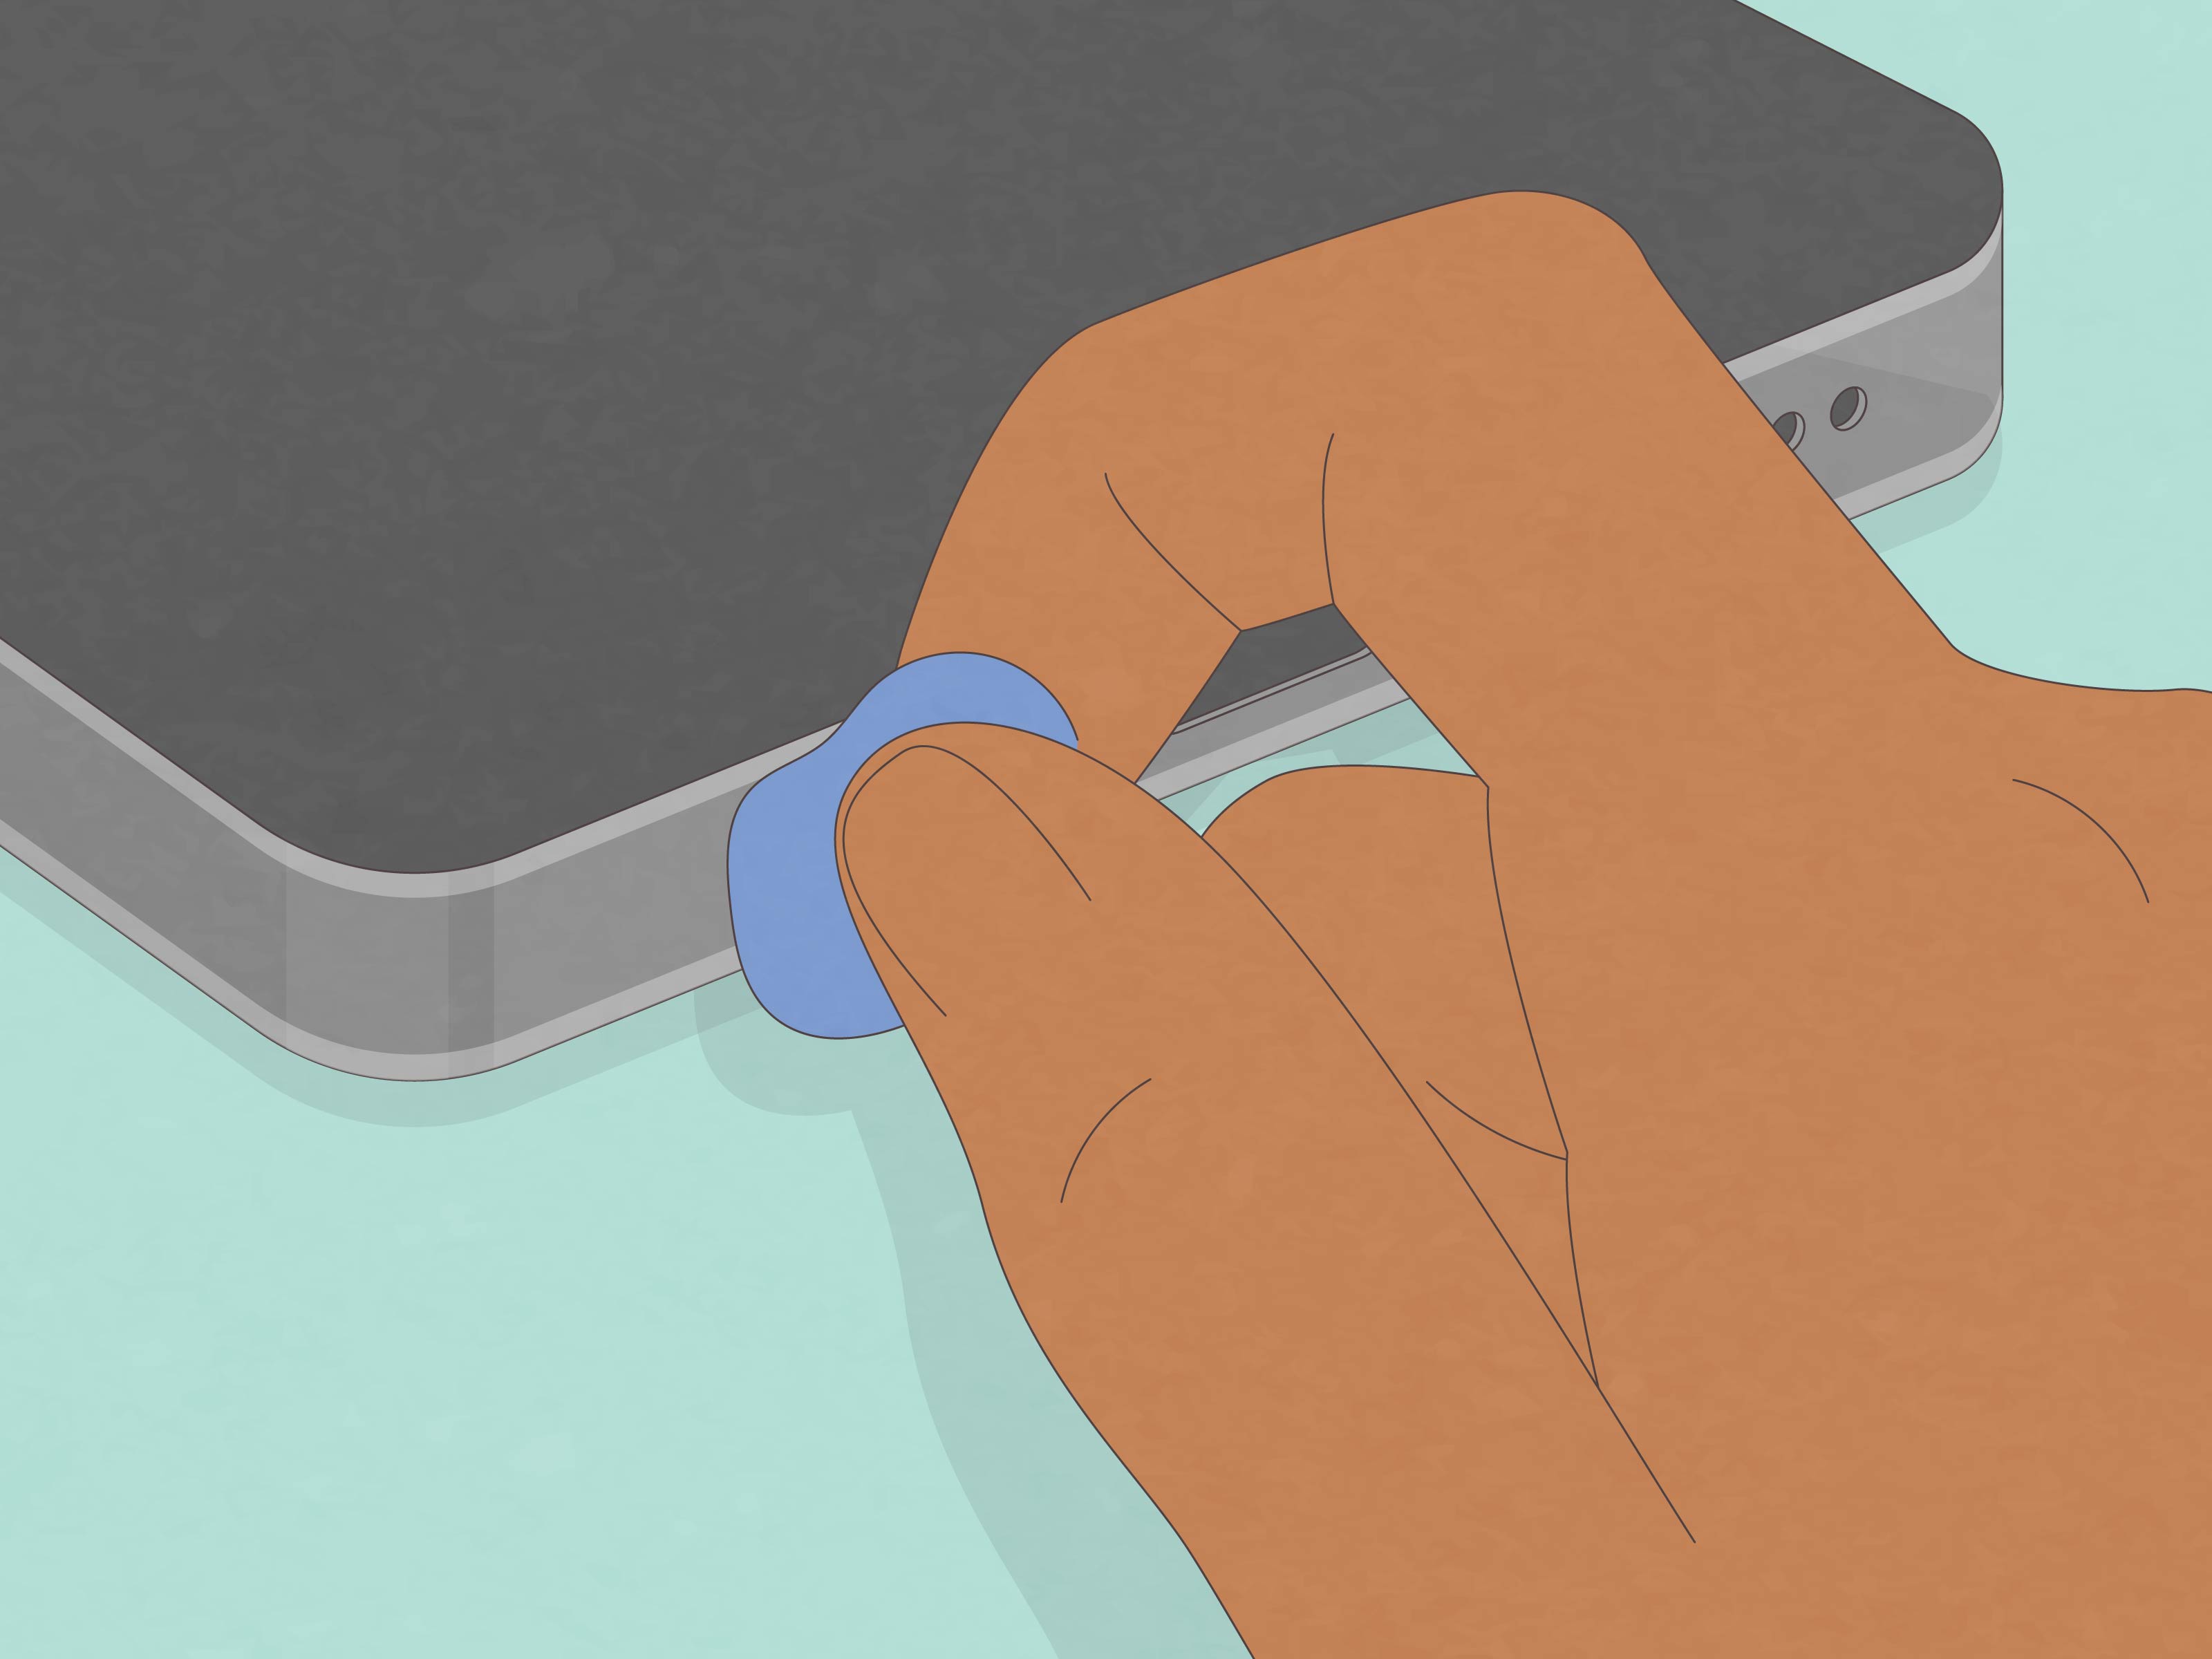
A muffled iPhone microphone can make you sound like you are calling from inside a shoebox, underwater, during a thunderstorm, while wrapped in a blanket. Not ideal. Whether callers keep saying, “Can you repeat that?” or your videos sound distant and scratchy, the problem is often less dramatic than a broken phone. Dust, pocket lint, makeup, oil, a poorly fitted case, a screen protector, or a tiny crumb from that “quick snack” can block one of your iPhone’s microphone openings.
The good news: you can usually clean an iPhone microphone safely at home with simple tools and a gentle hand. The bad news: if you attack those tiny openings with a needle, compressed air, liquid cleaner, or the confidence of a TV repair genius, you can turn a small audio issue into an expensive repair. This guide explains how to clean an iPhone microphone, how to test which microphone is acting up, and what to try when cleaning does not solve the problem.
Why Your iPhone Microphone Sounds Muffled
Before cleaning anything, it helps to understand what may be happening. Your iPhone is not relying on one lonely microphone to handle calls, videos, speakerphone, Siri, FaceTime, Voice Memos, and app recordings. Most modern iPhones use multiple microphones placed around the device, typically near the bottom edge, the front receiver area, and the rear camera area. Exact placement can vary by model, but the idea is the same: different microphones help capture voice, reduce background noise, and improve audio quality in different situations.
That is why your microphone issue may feel oddly specific. Maybe regular calls sound terrible, but selfie videos are fine. Maybe Voice Memos records clearly, but speakerphone makes you sound like a robot with seasonal allergies. This does not always mean the whole phone is broken. It may mean one microphone opening is blocked, one app lacks permission, Bluetooth is hijacking audio, or a case is covering a tiny grille.
Common causes of iPhone microphone problems
- Pocket lint and dust: The classic villain. It sneaks into small openings over time.
- Oil and grime: Skin oils, sunscreen, makeup, and hand lotion can collect around microphone holes.
- Cases and screen protectors: Some accessories partially cover microphone openings.
- Moisture: Even water-resistant iPhones can temporarily sound muffled if moisture sits near a microphone.
- Bluetooth routing: Your iPhone may be using AirPods, a car system, or another connected device instead of its built-in microphone.
- App permissions: Apps need microphone access before they can record audio.
- Software glitches: A restart or iOS update can fix some microphone issues.
- Hardware damage: Drops, repairs, water exposure, or aggressive cleaning can damage the microphone system.
What Not to Use When Cleaning an iPhone Microphone
Let’s start with the danger zone. The microphone openings on an iPhone are small, delicate, and not designed for deep excavation. You are cleaning around the opening, not mining for treasure.
Avoid these cleaning mistakes
- Do not use compressed air. Strong air pressure can push debris deeper or damage delicate components.
- Do not spray liquid cleaner directly on the iPhone. Moisture in openings can make the issue worse.
- Do not use window cleaner, bleach, ammonia, hydrogen peroxide, or abrasive cleaners. These can damage coatings and surfaces.
- Do not insert needles, pins, SIM tools, paper clips, or toothpicks into microphone holes. A tiny poke can become a big repair bill.
- Do not scrub hard with a toothbrush. Gentle brushing is fine; angry brushing is not.
- Do not use cotton swabs inside the openings. They can leave fibers behind or push debris inward.
A safe iPhone microphone cleaning routine is boring in the best possible way: power down, remove accessories, inspect, brush gently, wipe lightly, test, repeat if needed. Boring is good. Boring keeps your microphone alive.
Tools You Need to Clean an iPhone Microphone
You do not need a professional repair bench or a gadget kit that looks like it came from a spy movie. For most cleaning jobs, simple and dry tools are safest.
- A clean microfiber cloth or lens cloth
- A dry, soft-bristled brush or anti-static electronics brush
- A flashlight
- A small piece of low-tack tape, such as painter’s tape, if needed
- A clean, dry workspace
- Patience, which is technically free but often in short supply
If your iPhone has sticky residue near the microphone area, you may slightly dampen a microfiber cloth with water and wipe the exterior surface carefully. The key word is slightly. The cloth should not drip, shine, or look like it just survived a rainstorm. Keep moisture away from openings.
How to Clean an iPhone Microphone Safely
Follow these steps in order. Do not rush. Tiny microphone openings reward slow hands and punish improvisation.
Step 1: Turn off your iPhone and unplug everything
Disconnect the charging cable, wired headphones, external microphones, adapters, and anything else attached to your iPhone. Then turn the phone off. Cleaning while the device is powered down reduces the chance of accidental taps and gives you a calmer workspace.
Step 2: Remove the case, screen protector, and accessories
Take off the case first. Many microphone complaints are actually case complaints wearing a fake mustache. Some rugged cases, wallet cases, adhesive lens covers, and cheap screen protectors can partially block a microphone or change how sound travels into it.
After removing the case, inspect it too. Dirt often collects inside the case around the bottom edge and camera cutout. If you clean the phone but put it back into a dusty case, congratulations: you have invented a lint delivery system.
Step 3: Find the microphone openings
Use a flashlight and look closely around the bottom edge near the charging port, near the front receiver area, and around the rear camera area. Depending on your iPhone model, the openings may appear as tiny holes, grille areas, or narrow slots. You are looking for visible lint, dust, waxy buildup, makeup, or anything that looks like it belongs in a vacuum cleaner instead of a phone.
Step 4: Wipe the exterior with a microfiber cloth
Use a clean, soft, lint-free cloth to wipe the phone’s exterior. Work around the microphone openings, not into them. If there is oily grime around the area, use a cloth that is only slightly damp with water, then dry the area with another clean section of cloth. Avoid getting moisture into any opening.
Step 5: Brush gently around the microphone area
Use a dry, soft-bristled brush. Hold the iPhone so the microphone opening faces downward when possible. This lets gravity help debris fall away instead of pushing it farther inside. Brush lightly across the opening at an angle. Think “dusting a butterfly,” not “scrubbing a grill pan after barbecue night.”
A few gentle passes are better than one aggressive attack. If you see debris loosen, wipe it away with the microfiber cloth. Do not force the bristles deep into the openings.
Step 6: Use low-tack tape for surface lint
If lint is sitting on the surface, touch a small piece of low-tack tape to the area and lift it away. Do not press hard. Do not mash tape into the microphone holes. The goal is to pick up loose particles from the outside surface, not create a sticky microphone sandwich.
Step 7: Clean the case before reinstalling it
Wipe the inside of the case, especially around the bottom edge, button cutouts, speaker openings, and camera area. If the case is washable, clean it separately and let it dry completely before putting it back on the iPhone. A damp case can trap moisture where you least want it.
Step 8: Turn the iPhone back on and test the microphone
Once everything is dry and clean, restart the phone and test the audio. Do not assume the job is done just because the phone looks cleaner. The microphone test will tell you whether the problem improved, stayed the same, or moved into the “time to troubleshoot software” category.
How to Test Your iPhone Microphones
Testing matters because different iPhone functions may use different microphones. A quick test can help you figure out whether the issue affects calls, speakerphone, videos, or a specific app.
Test 1: Voice Memos
Open the Voice Memos app. Record a short clip while speaking clearly toward the bottom of your iPhone. Play it back. If your voice sounds clear, the primary microphone used for that recording is probably working. If it sounds muffled, scratchy, or missing, clean the bottom microphone area again gently and continue troubleshooting.
Test 2: Front camera video
Open the Camera app and record a selfie video. Speak normally while holding the phone at a comfortable distance. Play the video. If the sound is clear here but not in regular calls, the problem may not be a universal microphone failure.
Test 3: Rear camera video
Now switch to the rear camera and record another short video while speaking toward the iPhone. Play it back and compare the sound. If rear-camera video sounds muffled, inspect the area near the rear camera and case cutout for dust, film, or blockage.
Test 4: Phone call and speakerphone
Make a test call. Try normal handset mode, then speakerphone. If one mode sounds fine and the other sounds terrible, that clue can help narrow down whether the issue is related to a particular microphone, a blocked opening, or audio routing.
iPhone Microphone Troubleshooting After Cleaning
If cleaning helped only a littleor not at alldo not panic. The microphone may be physically clean but blocked by settings, software, or accessories. Try these fixes before assuming your iPhone needs repair.
Check microphone permissions
If the microphone fails in one app but works elsewhere, the app may not have permission. Go to Settings > Privacy & Security > Microphone, then make sure the app is allowed to use the microphone. Close and reopen the app after changing the setting.
Disconnect Bluetooth devices
Your iPhone may be routing audio through AirPods, a car stereo, a Bluetooth speaker, or another device. Open Control Center or Settings and disconnect Bluetooth accessories temporarily. Then test the built-in microphone again. Bluetooth audio routing can be sneakylike a raccoon in a magician’s cape.
Restart your iPhone
A restart can clear temporary software glitches. Turn the iPhone off, wait about 30 seconds, then turn it back on. Test Voice Memos and Camera again.
Update iOS
Go to Settings > General > Software Update. If an update is available, install it after backing up your phone. Software updates can fix bugs that affect calls, apps, Bluetooth, privacy permissions, and audio behavior.
Check app-specific settings
Some apps have their own audio settings. Video meeting apps, voice recorder apps, social media apps, and messaging apps may allow you to choose an audio input or enable noise suppression. Make sure the app is using the iPhone microphone and not a disconnected headset.
Remove screen protectors or films
A misaligned screen protector can cover the receiver or front microphone area. Even a tiny overlap can make your voice sound distant in certain recordings. Remove suspicious films or protectors and test again.
Reset settings as a last software step
If nothing else works, you can consider resetting settings by going to Settings > General > Transfer or Reset iPhone > Reset > Reset All Settings. This does not erase your photos or apps, but it does reset system settings such as Wi-Fi networks, preferences, and privacy settings. Back up first, and do not choose “Erase All Content and Settings” unless you truly intend to wipe the phone.
When Cleaning Is Not Enough
Sometimes an iPhone microphone problem is not dirt. If your phone was dropped, repaired, exposed to liquid, or cleaned aggressively in the past, the microphone hardware may be damaged. You may also have a problem with internal connections or audio components.
Get professional service if your iPhone still sounds unclear during calls, Voice Memos, videos, and multiple apps after careful cleaning and troubleshooting. It is especially important to seek help if the issue appeared after water exposure, a hard drop, or a DIY repair attempt. A technician can inspect the microphone system without turning the phone into a science experiment.
How Often Should You Clean an iPhone Microphone?
Most people do not need to clean the microphone openings every week. A light exterior wipe once or twice a week is enough for general hygiene. For the microphone openings, inspect them monthly or whenever audio sounds muffled. If you work in a dusty environment, keep your phone in a pocket full of lint, use heavy makeup, or film outdoors often, you may need to check more frequently.
Prevention is easier than cleaning. Keep your iPhone away from loose crumbs, dusty pockets, sandy bags, and damp surfaces. Clean your case regularly. Avoid placing the phone face down or bottom edge down on dirty tables. Also, try not to hold the bottom edge while recording audio. Your finger can block the microphone just as effectively as lint, but with more confidence.
Quick Troubleshooting Checklist
- Turn off and unplug the iPhone before cleaning.
- Remove the case, screen protector, and accessories.
- Inspect microphone openings with a flashlight.
- Use a clean microfiber cloth for the exterior.
- Use a dry, soft-bristled brush gently around openings.
- Avoid compressed air, sharp tools, and liquid in openings.
- Test with Voice Memos, front camera video, and rear camera video.
- Check microphone permissions for app-specific problems.
- Disconnect Bluetooth devices and test again.
- Restart the iPhone and update iOS.
- Seek service if audio remains unclear across calls, recordings, and apps.
Real-World Experience: What Usually Works Best
In everyday use, the most common iPhone microphone problem is not catastrophic failure. It is the slow buildup of tiny debris that nobody notices until a phone call becomes a guessing game. The bottom edge of the iPhone is especially vulnerable because it lives in pockets, bags, cup holders, gym lockers, and mystery compartments where lint seems to reproduce like tiny gray rabbits.
The safest cleaning experience usually starts with removing the case. This sounds obvious, but many people skip it because the case feels like part of the phone. Once the case comes off, the problem is often visible: dust packed around the bottom speaker and microphone areas, grime near the camera cutout, or a screen protector sitting slightly too low. In many cases, simply removing the case and testing the microphone immediately improves the sound. That is both satisfying and mildly embarrassing, which is a powerful combination.
A microfiber cloth handles more than people expect. Wiping the phone slowly around the edges can remove oil that traps dust near microphone openings. For stubborn lint, the soft brush method is the most reliable. The trick is angle and pressure. Hold the phone so debris can fall away, then brush across the opening, not into it. If you see particles move, wipe them away and test again. Repeating two or three gentle passes is safer than trying to solve everything in one heroic scrub.
Low-tack tape can help with loose surface lint, but it should be used carefully. Pressing tape hard into a grille is a mistake. A light touch is enough. If the lint does not lift easily, do not fight it. Go back to brushing. The phone is not a lint piñata.
Testing after each cleaning step is important because it prevents overcleaning. Many people keep cleaning after the audio has already improved, and that is when accidents happen. Record a Voice Memo, make a short video, or call a friend who will give honest feedback. Choose the friend who says, “You sound better,” not the one who says, “You always sound weird.” Different problem.
Another useful lesson: microphone trouble is often an accessory issue. Thick cases, waterproof pouches, magnetic mounts, lens protectors, and cheap screen protectors can interfere with audio. If your iPhone sounds better naked than dressed, the case is the suspect. Clean it, replace it, or retire it with dignity.
Software checks matter too. If Instagram, WhatsApp, Zoom, TikTok, or another app cannot hear you, but Voice Memos works perfectly, cleaning is probably not the answer. Check microphone permission, close and reopen the app, update it, and test again. The physical microphone does not usually choose one app to dislike. Apps, however, are perfectly capable of being dramatic.
Finally, the best long-term habit is light maintenance. Wipe the phone regularly, clean the case, keep the bottom edge out of dusty pockets when possible, and avoid “deep cleaning” unless there is an actual problem. iPhone microphones are tiny, sensitive parts. Treat them like camera lenses, not like bathroom tile. Gentle cleaning, smart testing, and patient troubleshooting will solve many muffled audio problems without risking damage.
Conclusion
Learning how to clean an iPhone microphone is mostly about restraint. Use a soft cloth, a gentle brush, good lighting, and common sense. Remove cases and screen protectors, clear visible debris carefully, avoid moisture in openings, and never jab sharp objects into the microphone holes. After cleaning, test your iPhone with Voice Memos, front and rear camera videos, phone calls, and the apps that were giving you trouble.
If your iPhone microphone still sounds muffled after safe cleaning, the issue may be software-related, accessory-related, or hardware-related. Check permissions, disconnect Bluetooth, restart, update iOS, and consider professional service if the problem remains across multiple apps and recording modes. Your callers deserve to hear your voice clearlynot a mysterious cave broadcast with occasional static.
Note: This article is based on current device-care and troubleshooting guidance from reputable technology and consumer-support sources, with safety-first recommendations for everyday iPhone users.