Blanket stitching an applique is one of those sewing skills that looks fancy, feels satisfying, and quietly saves your fabric edges from looking like they had a disagreement with a squirrel. Whether you are decorating a quilt block, personalizing a tote bag, adding a felt flower to a pillow, or rescuing a plain baby blanket from a life of boredom, the blanket stitch gives your applique a clean, decorative, handmade finish.
The beauty of this stitch is that it is both practical and pretty. It anchors the applique to the background fabric while creating a neat border around the shape. The little vertical “bites” hold the edge down, and the horizontal thread line frames the applique like tiny embroidery trim. Once you understand the rhythm, blanket stitch becomes almost meditative: poke, loop, pull, repeat. It is the sewing version of sipping tea while accomplishing something useful.
In this guide, you will learn how to blanket stitch an applique in 12 beginner-friendly steps. We will cover supplies, fabric preparation, thread choice, stitch spacing, corners, curves, finishing, troubleshooting, and practical experience tips that make the difference between “adorably handmade” and “my thread has declared war.”
What Is Blanket Stitch Applique?
Blanket stitch applique is a method of attaching a fabric shape to a background fabric using blanket stitch around the edges. The applique shape may be raw edge, turned edge, wool, felt, cotton, fleece, or fused with adhesive web. The stitch can be done by hand or by sewing machine, but this article focuses mainly on hand blanket stitch because it is accessible, portable, and wonderfully forgiving.
The stitch has two visual parts: a straight line that runs along the edge of the applique and small stitches that extend into the applique fabric. Together, they create a decorative border that helps control fraying and adds definition. It is especially popular in quilting, embroidery, wool applique, felt crafts, children’s clothing, holiday ornaments, handmade patches, and decorative home sewing projects.
Supplies You Will Need
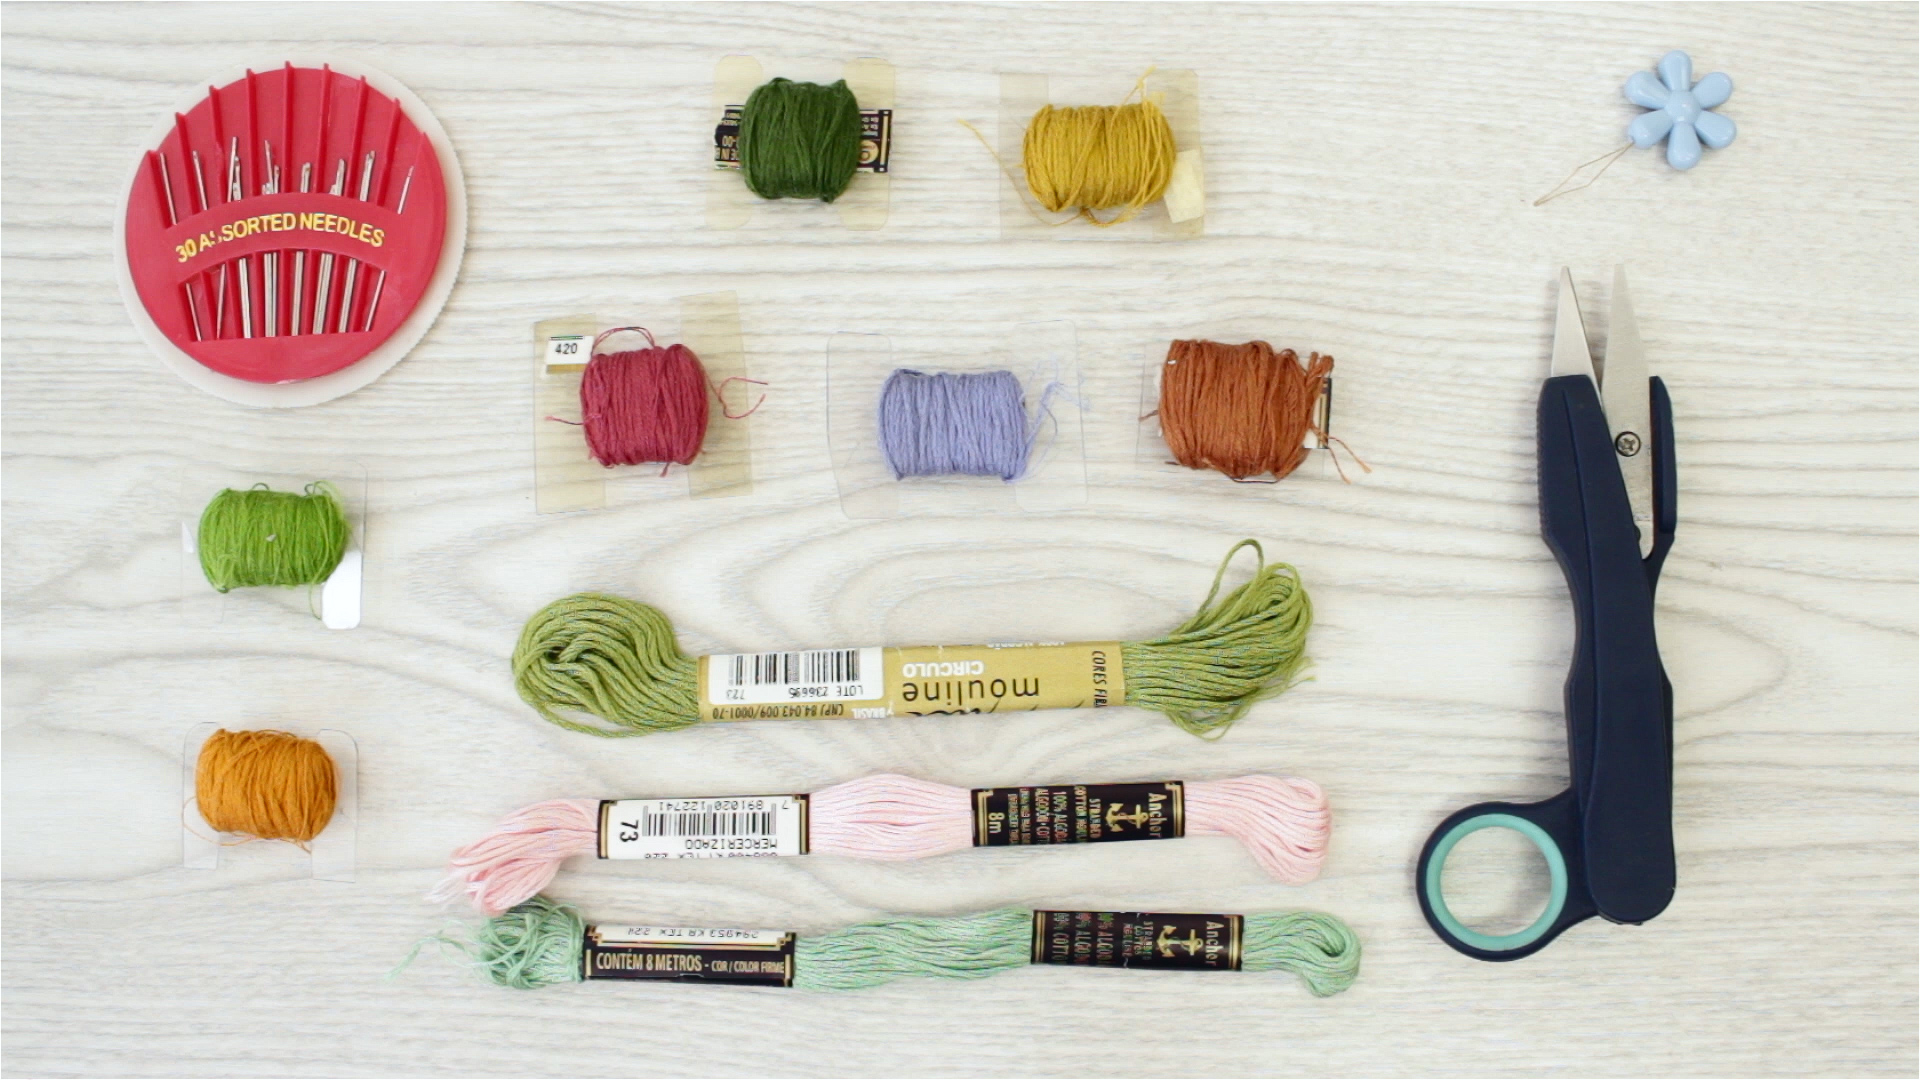
Before starting, gather your tools. You do not need a sewing room that looks like a professional studio. A small basket of basics is enough.
- Background fabric, such as quilting cotton, linen, felt, or wool
- Applique fabric cut into your chosen shape
- Embroidery floss, perle cotton, wool thread, or sewing thread
- Hand sewing needle or embroidery needle
- Small sharp scissors
- Pins, fabric glue, basting thread, or fusible web
- Iron and pressing cloth, if using fusible applique
- Fabric marker or pencil, optional
- Embroidery hoop, optional but helpful for light fabrics
For beginners, felt and wool are friendly choices because they do not fray much. Quilting cotton is also excellent, especially when stabilized with fusible web. Slippery, stretchy, or loosely woven fabrics are more challenging, so save those for later unless you enjoy learning through tiny dramatic disasters.
How to Blanket Stitch an Applique: 12 Steps
Step 1: Choose a Simple Applique Shape
Start with a shape that has gentle curves or straight edges. A heart, circle, leaf, star, flower petal, or simple animal silhouette works well. Avoid complicated shapes with many tiny points for your first project. Your future self will thank you.
If you are tracing from a pattern, place the template on the wrong side of the applique fabric and mark lightly. If you are using fusible web, trace the design onto the paper side of the web first. Remember that some designs reverse when transferred, so check direction if your shape includes letters, numbers, or anything that must face a certain way.
Step 2: Prepare the Applique Fabric
Cut the applique shape carefully using sharp scissors. Smooth cutting matters because the blanket stitch follows the edge. Wobbly edges can still look charming, but if your circle resembles a potato, the stitch will not magically turn it into geometry.
For raw edge applique, cut directly on the marked line. For turned edge applique, leave a seam allowance and turn the edge under before stitching. For felt or wool applique, no turning is needed because the edge stays stable. For cotton applique, fusible web helps hold the shape in place and reduces fraying while you stitch.
Step 3: Position the Applique on the Background
Place the applique on the background fabric exactly where you want it. Step back and look at the design before securing it. A flower that looked centered from six inches away may look like it is trying to escape when viewed from across the table.
Use pins, a few dots of washable fabric glue, basting stitches, or fusible web to hold the applique in place. If using fusible web, follow the manufacturer’s instructions for heat, pressing time, and whether steam is recommended. Press rather than slide the iron, because sliding can shift the shape and create wrinkles.
Step 4: Select the Right Thread
Your thread choice changes the personality of the finished applique. Matching thread blends into the design and gives a subtle finish. Contrasting thread makes the stitch decorative and bold. Embroidery floss offers a classic handmade look, while perle cotton creates a slightly raised, polished edge. Regular sewing thread produces a fine, delicate border.
For most hand blanket stitch applique projects, two or three strands of embroidery floss are a good starting point. Use fewer strands for small shapes and more strands for larger or rustic designs. The thread should be strong enough to hold the applique but not so thick that it overwhelms the fabric.
Step 5: Thread the Needle and Knot the End
Cut a manageable length of thread, usually 18 to 24 inches. Longer thread may seem efficient, but it tangles more easily. Sewing with a giant thread tail is like walking a dog that keeps wrapping itself around trees.
Thread your needle and tie a small knot at the end. If you prefer a cleaner back, you can start with a waste knot or bury the knot between layers, but a simple knot works well for most beginner projects. The goal is secure stitching, not winning an invisible-back-of-fabric competition.
Step 6: Bring the Needle Up at the Edge
Start on a straight section or a less noticeable area, not directly on a sharp corner. Bring the needle up from the back of the background fabric, right next to the applique edge. The thread should emerge close to the applique but not so far away that the stitch looks disconnected.
If you are stitching felt on felt, bring the needle up just outside the applique. If you are stitching cotton applique, come up near the raw edge so the stitch can secure it. Pull the thread gently until the knot rests against the back of the fabric.
Step 7: Make the First Blanket Stitch
Insert the needle down into the applique shape a short distance from the edge, then bring it back up through the background fabric just outside the applique edge. Before pulling the stitch tight, make sure the working thread is under the needle tip. This is the key move that forms the blanket stitch loop.
Pull the thread slowly until the loop sits neatly along the edge of the applique. Do not yank. A tight stitch can pucker the fabric, while a loose stitch can snag. Aim for firm, smooth, and relaxed. Think “well-trained stitch,” not “thread in a panic.”
Step 8: Continue With Even Spacing
Repeat the same motion around the applique: needle into the applique, needle out near the edge, working thread under the needle, pull gently. Try to keep the stitches evenly spaced and the stitch depth consistent.
A common beginner measurement is about 1/8 inch apart and 1/8 inch deep, but this can change depending on the size of the applique and the look you want. Tiny applique pieces need smaller stitches. Large folk-art designs can handle bigger, bolder stitches. The best stitch size is the one that looks balanced with your fabric and shape.
Step 9: Handle Curves Slowly
Curves are where blanket stitch starts asking for your attention. On an outside curve, slightly angle each stitch so it follows the edge naturally. Keep the stitches a bit closer together than you would on a straight edge. This prevents gaps and helps the border look smooth.
On inside curves, make the stitches smaller and rotate the fabric often. Do not force the stitch line to behave like a straight road when the applique is clearly taking the scenic route. Small adjustments are the secret. If the curve is tight, shorten the stitch length and take your time.
Step 10: Turn Corners Neatly
Corners can make or break the look of blanket stitch applique. When you reach an outside corner, place one stitch directly into the corner point. Then rotate the fabric and continue along the next side. For a very sharp point, you may need two stitches that meet neatly at the tip.
For inside corners, take a small anchoring stitch into the corner and restart the stitch direction on the next edge. Keep the thread snug but not tight. The goal is a clean pivot, not a thread knot that looks like it has unresolved emotional issues.
Step 11: Finish the Stitching Securely
When you return to the starting point, make the final stitch blend with the first one. Turn the fabric to the back and secure the thread with a small knot or a few tiny stitches through the background fabric. Try not to stitch through to the front if you want a clean finish.
Trim the thread tail close to the knot. If using embroidery floss, avoid leaving long tails that may show through lighter fabrics. If the applique will be washed often, make sure your ending knot is secure.
Step 12: Press and Inspect the Finished Applique
After stitching, gently press the applique from the back or use a pressing cloth on the front. Pressing helps settle the stitches and smooth the fabric. Avoid crushing raised embroidery thread with too much pressure.
Inspect the edges. If you see a loose area, add a small stitch. If a thread loop is too large, you can carefully adjust it or restitch that section. Handmade applique does not need to be machine-perfect. In fact, the slight variations are part of the charm. The goal is neat, secure, and beautifulnot identical enough to make a robot jealous.
Hand Blanket Stitch vs. Machine Blanket Stitch
Both hand and machine blanket stitch can produce excellent applique results. Hand stitching gives a soft, traditional, artistic look. It is ideal for wool applique, felt ornaments, folk art quilts, slow stitching, embroidery projects, and small decorative details. It also allows you to control every stitch around curves and corners.
Machine blanket stitch is faster and useful for quilts, children’s clothing, bags, table runners, and projects that need durability. Many sewing machines include a blanket stitch setting. The machine version usually places the straight part of the stitch along the applique edge while the perpendicular stitch bites into the applique. Testing on scraps is important because stitch width and length can dramatically change the look.
Best Fabrics for Blanket Stitch Applique
Felt and wool are excellent for beginners because their edges do not unravel easily. Quilting cotton is the most common choice for quilt applique and works beautifully with fusible web. Linen can look elegant but may fray, so stabilize it first. Fleece is soft and forgiving but may stretch, so avoid pulling the thread too tightly.
For washable projects, prewash cotton fabrics to prevent shrinking later. If the applique fabric shrinks but the background does not, your beautiful project may come out of the laundry looking like a topographical map.
Common Blanket Stitch Applique Mistakes
Pulling the Thread Too Tight
Tight stitches cause puckering. Pull just enough to form a clean loop along the edge.
Using Stitches That Are Too Large
Oversized stitches can look clumsy on small shapes and may not secure the applique well. Match the stitch size to the applique.
Skipping Fabric Stabilization
Thin fabric may wrinkle or distort. Use fusible web, interfacing, or an embroidery hoop when needed.
Ignoring the Direction of the Loop
The working thread must stay under the needle before you pull through. If you forget this, the stitch will not form correctly.
Starting at a Highly Visible Point
Begin on a side or hidden area when possible. This makes the join less noticeable.
Tips for a Cleaner, More Professional Finish
Practice on scraps before stitching the real project. Use a thread color that either matches confidently or contrasts intentionally. Keep your hands relaxed. Rotate the fabric instead of twisting your wrist into strange positions. If your thread begins to fray, shorten the length or switch needles. A needle with an eye that is too small can shred embroidery floss.
For curves, smaller stitches are your best friend. For corners, plan your stitch placement before you reach the point. For layered applique, stitch the bottom layers first, then work upward. This keeps the design tidy and prevents upper pieces from getting trapped under lower stitches.
Creative Ways to Use Blanket Stitch Applique
Blanket stitch applique works on more than quilts. Use it to decorate denim jackets, repair worn knees on children’s pants, add initials to fabric gift bags, embellish Christmas stockings, create felt bookmarks, personalize baby bibs, decorate pillow covers, or make handmade patches. It is also a clever way to use fabric scraps that are too pretty to throw away but too small to become anything dramatic.
You can also experiment with thread color. Try black thread around bright cotton for a modern graphic look, variegated floss for a playful handmade edge, or tone-on-tone thread for subtle texture. Once you understand the stitch, it becomes a design tool rather than just a sewing technique.
Experience Notes: What Actually Helps When Blanket Stitching an Applique
After working through several applique projects, one of the biggest lessons is that preparation matters more than speed. The stitching itself is simple, but the final result depends heavily on how well the applique is cut, placed, and secured before the first stitch begins. A cleanly cut shape almost always leads to cleaner stitching. If the applique edge has bumps, jagged points, or fuzzy sections, the blanket stitch has to follow those bumps. Sometimes that handmade texture is charming, especially in folk art or felt projects. But if you want a crisp finish, slow down during cutting.
Another helpful experience is to test thread weight before committing. A thread that looks perfect on the spool can look too heavy once stitched around a tiny applique heart. On the other hand, thread that is too thin can disappear, especially on busy prints. A small test line on scrap fabric gives you a preview of the final style. It also lets you check whether the needle leaves visible holes, whether the thread tangles, and whether the fabric puckers.
Securing the applique well is also a game changer. Pins work, but they can distort small shapes. Fabric glue is useful, but too much glue can make the fabric stiff and harder to sew through. Fusible web is convenient for cotton applique, though it should be applied carefully so the shape does not shift during pressing. For wool or felt, a tiny amount of glue or a few basting stitches can hold everything steady without making the project feel rigid.
When stitching, it helps to think of blanket stitch as a rhythm instead of a race. The best-looking stitches usually come from a steady pace. If you rush, the spacing changes. If you pull too hard, the fabric puckers. If you let the thread twist, knots appear at exactly the moment your patience leaves the room. Let the needle hang occasionally so the thread can untwist. This tiny habit prevents many tangles.
Corners deserve special patience. Before reaching a point, look ahead and decide where the corner stitch should land. If you arrive at the corner with awkward spacing, adjust the previous few stitches slightly. Nobody will notice a tiny spacing change, but everyone can see a messy corner. Curves are similar. Smaller, closer stitches create smoother curves and prevent the edge from looking choppy.
Finally, do not judge the project too early. Blanket stitch can look uneven while you are working, especially when only one side of the applique is finished. Once the full shape is outlined and pressed, the stitches usually look more balanced. Handmade applique has warmth because it shows the maker’s hand. A few tiny differences in stitch size are not flaws; they are proof that the piece was made by a human, not a factory machine with no snack breaks.
Conclusion
Learning how to blanket stitch an applique is a small skill with big creative rewards. With a needle, thread, fabric shape, and a little patience, you can turn plain fabric into something personal, decorative, and durable. The 12 steps are simple: choose your shape, prepare the applique, secure it, select thread, start neatly, form consistent loops, work around curves and corners, finish securely, and press the final piece.
The best part is that blanket stitch applique does not demand perfection. It welcomes practice. Your first stitches may wobble. Your corners may look a little shy. Your thread may tangle once or twice just to keep you humble. But with each project, your spacing improves, your loops become smoother, and your confidence grows. Soon, you will be adding applique to everything that sits still long enough.