Virtual reality is not gentle on a gaming laptop. It asks your GPU to render two high-resolution views, keep latency low enough that your brain does not file a formal complaint, and maintain a steady frame rate while your headset tracks every dramatic sword swing, racing turn, or panicked zombie dodge. In other words, VR is less like running a game and more like asking your laptop to juggle flaming bowling balls while riding a unicycle.
The good news? A modern gaming laptop can deliver excellent PC VR performance when it is configured correctly. The bad news? Default settings often treat VR like ordinary flat-screen gaming, and that is where stutter, blurry visuals, random disconnects, overheating, and motion sickness sneak in wearing tiny villain capes.
This guide explains how to optimize a gaming laptop for VR step by step. We will cover hardware checks, Windows settings, GPU drivers, headset connection choices, SteamVR tuning, Meta Quest Link and Air Link tips, thermal management, storage, background apps, and real-world habits that make VR smoother. Whether you are using a Meta Quest headset, Valve Index, HTC Vive, Vive Pro 2, Pimax headset, or another PC VR device, these principles will help you get cleaner visuals, lower latency, and fewer “why is everything suddenly choppy?” moments.
Why VR Is Harder on a Laptop Than Regular Gaming
A normal game on a laptop usually renders one image to one screen. VR renders separate images for each eye and must deliver them at a consistent refresh rate. If your headset is running at 90Hz, your system is trying to produce 90 smooth frames per second for a stereoscopic display. If it cannot keep up, the result may feel worse than a simple FPS dip on a monitor because your eyes and inner ear are involved.
VR performance depends on more than raw frames per second. Frame timing matters. Latency matters. USB stability matters. Wi-Fi quality matters if you are streaming wirelessly. Thermal consistency matters because gaming laptops can lose performance when heat builds up. In VR, “almost smooth” often still feels rough.
That is why VR gaming laptop optimization is about balance. You are not just chasing the highest graphics preset. You are building a stable pipeline from the game engine to the GPU, from the GPU to the headset, and from the headset back to tracking software without turning your laptop into a space heater with RGB.
Step 1: Confirm Your Gaming Laptop Is Actually VR-Ready
Before changing settings, check whether your laptop meets the requirements for your headset and VR platform. A laptop may be great for 1080p esports games and still struggle with PC VR, especially if it has an entry-level GPU, limited VRAM, weak cooling, or no suitable display/USB connection.
Recommended baseline for smooth VR
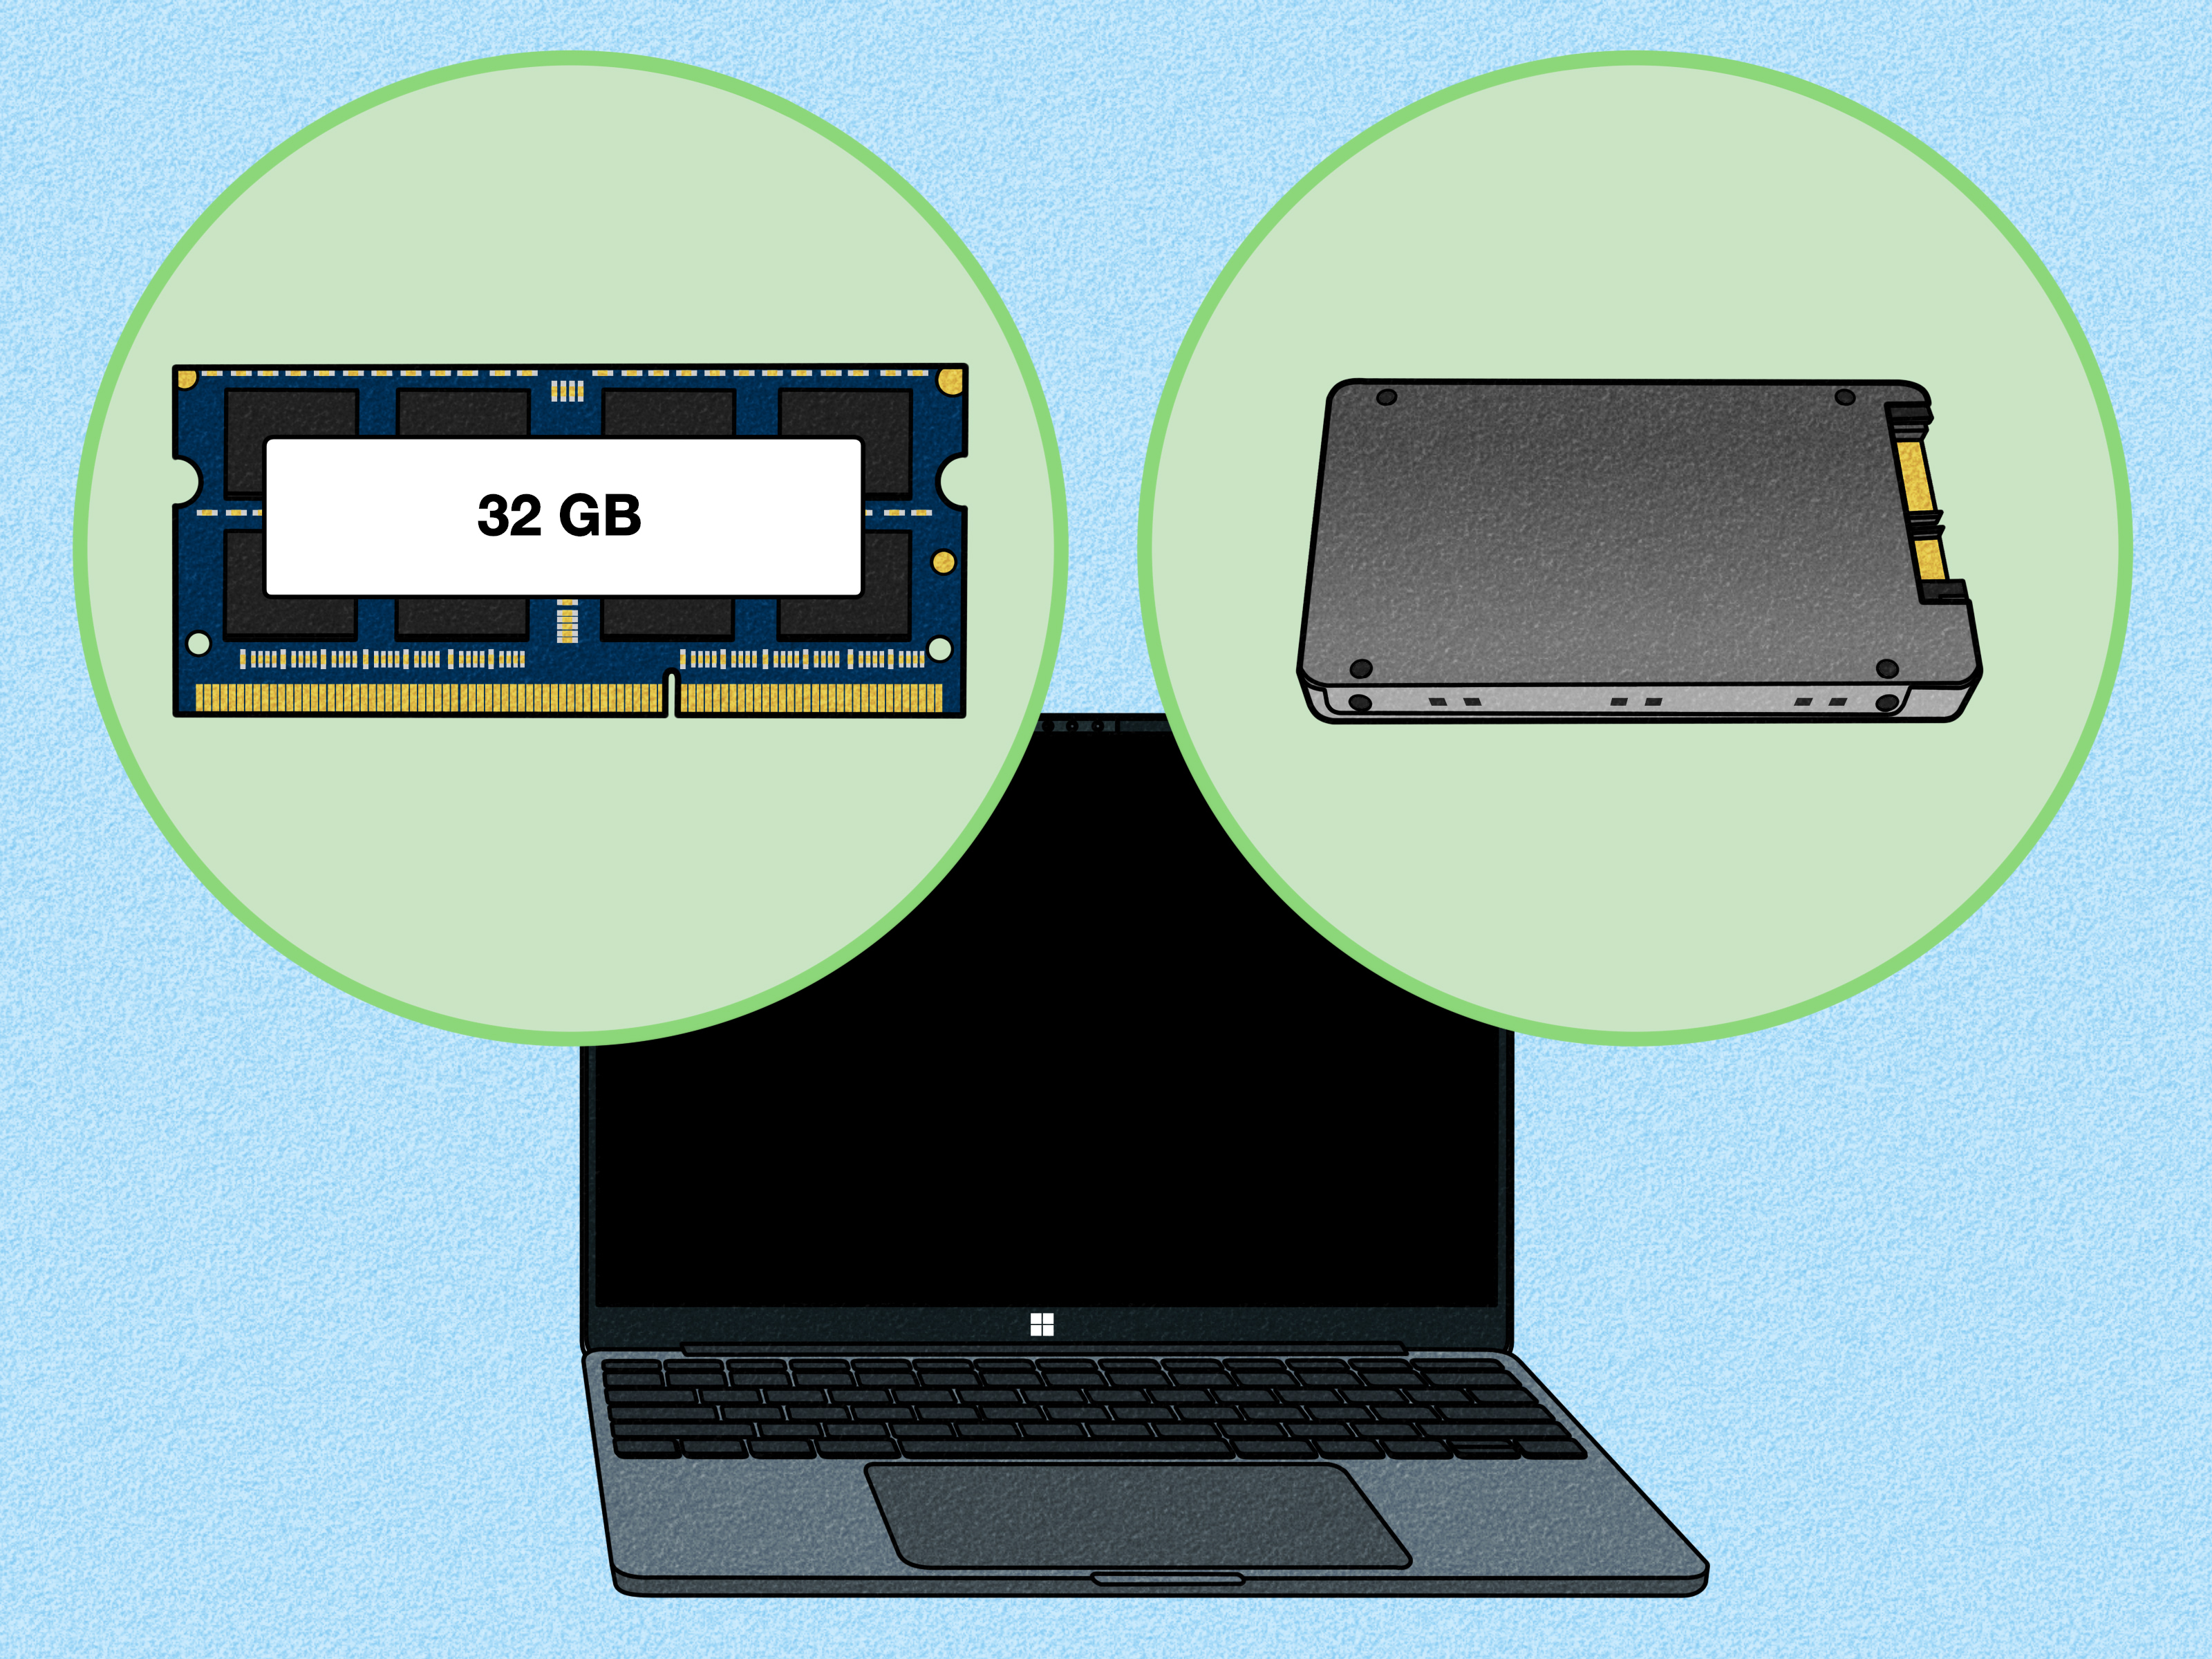
For modern PC VR, aim for at least a recent Intel Core i7 or AMD Ryzen 7 processor, 16GB of RAM, and a dedicated GPU such as an NVIDIA RTX 3060 or better, RTX 4060 or better, or a comparable AMD Radeon RX 6000/7000-series laptop GPU. Some lighter VR games can run on lower specs, but simulation games, high-resolution headsets, and heavily modded titles demand much more.
Entry-level laptop GPUs can be tricky. A desktop GPU and a laptop GPU with the same model number do not always perform the same because laptop versions are limited by power and cooling. For example, two RTX 4060 laptops can perform differently if one has a much higher GPU power limit and better thermal design. VR notices these differences quickly.
Check ports before you celebrate
For wired PC VR headsets, verify the required USB and video outputs. Some headsets use DisplayPort, some use HDMI, and many standalone headsets use USB-C or wireless streaming for PC VR. A laptop with a powerful GPU is less helpful if the USB-C port is connected only to integrated graphics or if the headset requires DisplayPort and your laptop does not provide the right output.
For Meta Quest Link, a proper USB 3 connection is important. For Valve Index or Vive Pro 2, DisplayPort compatibility matters. If you use a USB-C-to-DisplayPort adapter, choose one that supports the required standard and connects to the dedicated GPU path. This is not the place to trust a random adapter that came free with a desk lamp.
Step 2: Update the Right Software, Not Every Shiny Thing
VR depends on several software layers: Windows, GPU drivers, headset software, game launchers, SteamVR, OpenXR components, and sometimes manufacturer utilities. One outdated layer can cause stutter, tracking issues, crashes, or strange performance limits.
Update your GPU drivers
If you have an NVIDIA GPU, install current GeForce Game Ready drivers. If you have AMD Radeon graphics, use AMD Software: Adrenalin Edition. If your laptop uses Intel Arc graphics, update through Intel Graphics Software or your laptop manufacturer’s support page. GPU driver updates often include performance improvements, bug fixes, and support for new games.
However, do not blindly update five minutes before a long VR session. If your current driver is stable and a new driver just launched, it can be smart to check user reports first, especially for mission-critical setups or VR arcades. New drivers are usually helpful, but occasionally they arrive with tiny gremlins. Give those gremlins a day or two to reveal themselves.
Update headset and platform software
Keep the Meta Horizon Link app, SteamVR, Vive software, Pimax Play, or other headset utilities current. Headset firmware can affect tracking, Link quality, controller behavior, and compatibility. If a headset suddenly refuses to connect, update the headset software, restart both the headset and laptop, and test again before assuming your laptop has personally betrayed you.
Step 3: Plug In and Use Performance Power Settings
A gaming laptop should be plugged in for VR. Battery mode often reduces CPU and GPU power, even if Windows looks cheerful about it. VR on battery is like trying to run a marathon while sipping through a coffee stirrer.
In Windows, go to Settings > System > Power & battery and choose a performance-focused power mode while plugged in. On many laptops, the manufacturer’s control app also matters. ASUS Armoury Crate, Lenovo Vantage, MSI Center, Alienware Command Center, HP Omen Gaming Hub, Razer Synapse, and similar tools may include modes such as Performance, Turbo, Balanced, Silent, Manual, or Ultimate.
For VR, avoid Silent or Eco modes. Choose Performance, Turbo, or a manual profile that allows strong fan speed and high GPU power. Yes, the fans may sound like a tiny jet preparing for takeoff. That sound is often the price of stable frame timing.
Step 4: Force VR Apps to Use the Dedicated GPU
Many gaming laptops include both integrated graphics and a dedicated GPU. Windows and laptop control software sometimes choose the wrong processor for an app. If SteamVR, Meta Link, or a VR game launches on integrated graphics, performance can collapse faster than a cardboard chair in a rainstorm.
Open Windows Settings > System > Display > Graphics. Add key VR applications and set them to High performance. Include the VR game executable, SteamVR, the Meta Horizon Link app, Virtual Desktop streamer if you use it, and any simulator launcher. On laptops with a MUX switch or advanced GPU mode, consider using the discrete GPU-only mode for VR sessions.
Some laptops require a restart after changing GPU mode. Annoying? Yes. Worth it? Also yes. The dedicated GPU path can reduce overhead and improve consistency, especially with high-refresh VR headsets.
Step 5: Tune SteamVR Without Going Resolution-Crazy
SteamVR is powerful, but its settings can quietly crush performance. The most important setting is render resolution. SteamVR may automatically choose a resolution above your headset’s native panel resolution to compensate for lens distortion. That can improve clarity, but pushing it too high is a fast ticket to Stutter Town.
Start with automatic, then adjust manually
Begin with SteamVR’s automatic resolution. Launch a demanding VR game, check frame stability, and then adjust per-application resolution. If the game runs smoothly, you can increase resolution slightly. If it stutters, reduce resolution before lowering every visual option blindly.
A practical tuning method is simple: change one setting at a time. Test in the same scene for two or three minutes. If performance improves, keep the change. If it does not, revert it. Randomly flipping settings is not optimization; it is digital soup-making.
Understand motion smoothing and reprojection
Motion smoothing, asynchronous spacewarp, reprojection, and similar technologies help when your laptop cannot maintain the headset’s full refresh rate. They can make VR more playable, but they may also create visual artifacts around moving objects. For slower games, they can be acceptable. For racing, rhythm, or competitive shooters, native frame rate usually feels better.
Do not treat reprojection as failure. Treat it as a tool. But if your headset is constantly relying on it, lower render resolution, reduce shadows, turn down anti-aliasing, and check thermals.
Step 6: Optimize Meta Quest Link and Air Link
Meta Quest headsets are popular because they work standalone and can also connect to a gaming laptop for PC VR. You have two main routes: wired Link or wireless Air Link. Each has advantages.
Wired Link: stable and simple
For wired Link, use a high-quality USB-C cable that supports USB 3 data transfer. Plug it directly into the laptop instead of using a hub. If the connection is unstable, try another USB port, test the cable, restart the headset and PC, and make sure Air Link is turned off when using wired Link.
Wired Link is often the better choice for seated VR, racing wheels, flight sticks, and long sessions where battery life matters. It also avoids Wi-Fi congestion, which is great if your router is currently serving phones, smart TVs, security cameras, tablets, and one mysterious device named “Kitchen-Robot-9000.”
Air Link: freedom with network discipline
For Air Link, connect the laptop to the router with Ethernet whenever possible. Use a 5GHz or 6GHz Wi-Fi network for the headset, stay near the router, and avoid walls between the headset and access point. A dedicated router or dedicated band for VR can dramatically improve consistency.
If Air Link stutters, do not immediately blame the GPU. Network latency, weak signal, mesh routing, crowded channels, and background downloads can all damage wireless VR. The best wireless VR setup usually looks boring: laptop on Ethernet, headset in the same room as the router, minimal competing devices, and no giant file download happening in the background.
Step 7: Control Heat Before Heat Controls You
Gaming laptops are compact, powerful, and thermally dramatic. VR can keep both the CPU and GPU busy for long periods, which means heat builds up. When temperatures get too high, the laptop may throttle performance to protect itself. The result is sudden stutter after 20 minutes, even if the game ran beautifully at first.
Improve airflow
Place the laptop on a hard, flat surface. Avoid beds, blankets, couches, and anything that blocks intake vents. Elevating the rear of the laptop can help airflow. A quality cooling pad may help some models, though results vary. The main rule is simple: let the laptop breathe. It is not a sandwich press.
Clean vents and monitor temperatures
Dust buildup can reduce cooling performance. Clean vents carefully with compressed air according to your manufacturer’s instructions. Use monitoring software to watch CPU and GPU temperatures, clock speeds, and usage. If performance drops as temperatures rise, your issue is probably thermal throttling, not a cursed SteamVR setting.
Advanced users may undervolt, adjust fan curves, or repaste older laptops, but these steps require caution and may affect warranty coverage. Start with safe basics: airflow, clean vents, performance mode, and reasonable graphics settings.
Step 8: Reduce Background Apps and Overlays
VR dislikes interruptions. Close unnecessary browser tabs, launchers, updaters, RGB utilities, cloud sync apps, screen recorders, and overlays before playing. A single background process can trigger disk activity, CPU spikes, or network usage at exactly the wrong moment.
Pay attention to overlays from Discord, GeForce Experience, Steam, Xbox Game Bar, MSI Afterburner, and capture tools. Some overlays are useful, but stacking several can create conflicts. Keep only what you need. Your laptop does not need six programs all trying to display FPS at the same time like tiny competitive accountants.
Step 9: Optimize In-Game VR Settings
Every VR game has its own performance personality. Beat Saber is light. Microsoft Flight Simulator, DCS World, Assetto Corsa Competizione, No Man’s Sky VR, Skyrim VR with mods, and heavily detailed racing sims can be brutally demanding.
Settings that usually hurt performance most
Start by lowering shadows, reflections, volumetric effects, ambient occlusion, crowd density, mirror quality, and supersampling. These settings often cost more than texture quality. If your laptop has enough VRAM, medium or high textures may be fine, while ultra shadows may destroy frame timing.
Anti-aliasing is another important setting. VR benefits from clean edges, but heavy anti-aliasing can be expensive. Try moderate anti-aliasing plus sensible render resolution instead of maxing both. For games that support DLSS, FSR, XeSS, or dynamic resolution, test them carefully. Upscaling can improve performance, but some modes may soften the image or create artifacts in VR.
Use per-game profiles
Do not expect one universal setting to work for every VR title. Create profiles. A rhythm game may run at high resolution and 120Hz. A flight simulator may need 72Hz or 80Hz, lower render scale, and reduced terrain shadows. The best VR settings are not the fanciest settings; they are the settings that stay smooth.
Step 10: Use Fast Storage and Keep Free Space Available
Install VR games on an SSD, preferably an NVMe drive. Large VR games and simulators can stream assets constantly. A slow drive or nearly full SSD can cause hitching. Keep at least 15% to 20% of your SSD free when possible, especially if Windows, SteamVR, and your games all live on the same drive.
If a game supports shader precompilation, let it finish before jumping into VR. First-launch stutter is common when games compile shaders during gameplay. Give your laptop time to prepare the digital ingredients before asking it to cook dinner in a headset.
Step 11: Improve Tracking and Room Setup
Performance is not only about the laptop. Poor tracking can feel like performance trouble. Make sure your play space is well lit but not flooded with direct sunlight. Clean headset cameras if your device uses inside-out tracking. Keep reflective surfaces, mirrors, and bright windows away from the tracking area when possible.
For base-station systems such as Valve Index or some Vive setups, mount base stations securely and keep them visible to the headset and controllers. Vibrating shelves, blocked sensors, or reflective objects can cause tracking glitches that no GPU driver can fix.
Step 12: Build a Simple VR Troubleshooting Checklist
When VR goes wrong, troubleshoot in order instead of changing everything at once. Start with the basics: restart the headset and laptop, confirm the laptop is plugged in, check that the dedicated GPU is active, close background apps, verify the cable or network, and test a lighter VR game.
If the light game runs well but the heavy game struggles, tune the game. If all VR games stutter, check drivers, thermals, GPU selection, and headset connection. If wired VR works but wireless VR does not, focus on router setup and network latency. If performance is excellent for 15 minutes and then drops, suspect heat.
This method saves time because it separates hardware limits from software bugs, network problems, and thermal issues. It also prevents the classic mistake of reinstalling everything when the real problem was a laptop quietly running in Balanced mode.
Real-World Experiences: What Actually Makes VR Feel Better
After optimizing many gaming laptop VR setups, one lesson becomes obvious: the smoothest VR experience usually comes from consistency, not maximum settings. The laptop that holds 90 frames per second at medium-high settings often feels far better than the laptop that swings between 120 and 58 frames per second at ultra settings. VR rewards discipline. It does not care that your shadows are cinematic if your stomach is writing a resignation letter.
One common experience is the “first ten minutes are perfect” problem. A user launches Half-Life: Alyx, everything feels crisp, and then the game slowly becomes uneven. The cause is often heat. The laptop starts strong, temperatures rise, fans ramp up, and eventually the GPU drops clocks. The fix is not magical: use Turbo mode, elevate the laptop, clean vents, reduce render resolution slightly, and avoid ultra shadows. A five percent reduction in visual ambition can create a much larger improvement in comfort.
Another real-world pattern happens with wireless Quest setups. A player buys a powerful laptop and still gets Air Link stutter. The GPU is fine. The network is not. The laptop is connected over Wi-Fi, the headset is two rooms away, and the router is also feeding Netflix to the household. Moving the laptop to Ethernet and playing near the router can transform the experience. Wireless PC VR is wonderful, but it is not wizardry. It needs a clean network path.
Wired users often run into cable quality issues. A cheap USB cable may charge the headset but fail to deliver stable data speeds. The result can be compression artifacts, disconnects, or random Link failures. Using a proven USB 3 cable, plugging directly into the laptop, and avoiding loose adapters usually solves the issue. Cable strain relief also matters. If the connector wiggles every time you duck, the session will eventually become a troubleshooting documentary.
SteamVR tuning teaches another useful habit: lower resolution before lowering everything else. Many users immediately drop texture quality, but if VRAM is not maxed out, textures may not be the main problem. Render resolution, shadows, reflections, and effects usually have a bigger impact. A balanced image at 85% to 100% resolution can feel much better than a blurry mess with random ultra settings left on.
For simulation players, expectations matter. Flight and racing sims are among the hardest VR workloads because they render large environments, complex physics, cockpit details, mirrors, weather, traffic, and long draw distances. A gaming laptop that crushes normal games may still need careful VR settings in these titles. Lowering clouds, mirrors, shadows, and terrain detail can make the difference between “this is incredible” and “why did I buy a headset to watch a slideshow?”
The most reliable routine is simple. Before each VR session, plug in the laptop, switch to Performance or Turbo mode, close unnecessary apps, check the headset connection, launch the VR platform, and test a known stable game for a minute. This tiny ritual prevents most problems. VR is immersive, but it is also picky. Treat the setup like a small pre-flight checklist, and your laptop will reward you with smoother worlds, sharper motion, and fewer rage-filled visits to settings menus.
Conclusion: Smooth VR Comes From Smart Optimization
Optimizing a gaming laptop for VR is not about one secret setting. It is about creating a stable system from top to bottom. Your laptop needs enough GPU power, updated drivers, the right power mode, strong cooling, clean USB or Wi-Fi connectivity, sensible SteamVR or headset settings, and game-specific tuning.
Start with the fundamentals: confirm VR-ready hardware, plug in the laptop, use the dedicated GPU, update drivers, improve airflow, and reduce background processes. Then tune render resolution, refresh rate, and in-game settings until performance feels smooth rather than merely impressive on paper.
VR is at its best when the technology disappears and the world feels present. A well-optimized gaming laptop can deliver that magic. And when it does, you will spend less time fighting stutter and more time flying, racing, exploring, slicing blocks, or accidentally punching a pillow during a boss fight. Progress is beautiful.