If your Picsart design looks good but still feels like it borrowed its outfit from a default settings closet, custom fonts are probably the missing piece. A fresh typeface can turn a plain quote graphic into a branded post, make a flyer feel polished, or save your meme from looking like it was typed in a hurry during lunch. In other words, fonts matter. A lot.
The good news is that adding custom fonts on Picsart is absolutely doable. The slightly less dramatic news is that the steps are different on iPhone, Android, and desktop. That is where people usually get stuck. One person is hunting through Downloads, another is poking around the Files app, and a third is wondering why Picsart is acting like their shiny new font does not exist. This guide breaks it all down clearly, with practical tips, troubleshooting advice, and real-world examples so you can stop wrestling with file formats and get back to designing.
Whether you are creating Instagram stories, Etsy listings, YouTube thumbnails, quote cards, small business promos, or classroom materials, this guide will show you exactly how to add custom fonts on Picsart on iPhone, Android, and PC.
Why custom fonts matter in Picsart
Using a custom font is not just a cosmetic upgrade. It helps create consistency, especially if you are building a recognizable style. A handmade candle brand, for example, may want a soft serif for elegance. A gaming page might lean into a sharper display font. A wedding content creator may prefer script fonts, while a local bakery might mix a friendly headline font with a clean sans serif for prices and details.
Custom fonts also give you more control over hierarchy. That sounds like a design professor word, but it simply means helping people know what to read first, second, and third. When your headline has personality and your supporting text stays readable, your design stops shouting and starts communicating. That is a big difference.
And yes, this is also useful for SEO-adjacent visual content. If you publish graphics on blogs, Pinterest, product pages, or social media, better typography can improve readability, engagement, and brand recall. No, the font itself will not charm a search engine into giving you a trophy, but clearer, stronger visuals can absolutely support better user experience.
Before you add a font: what to prepare first
1. Make sure your font file is in the right format
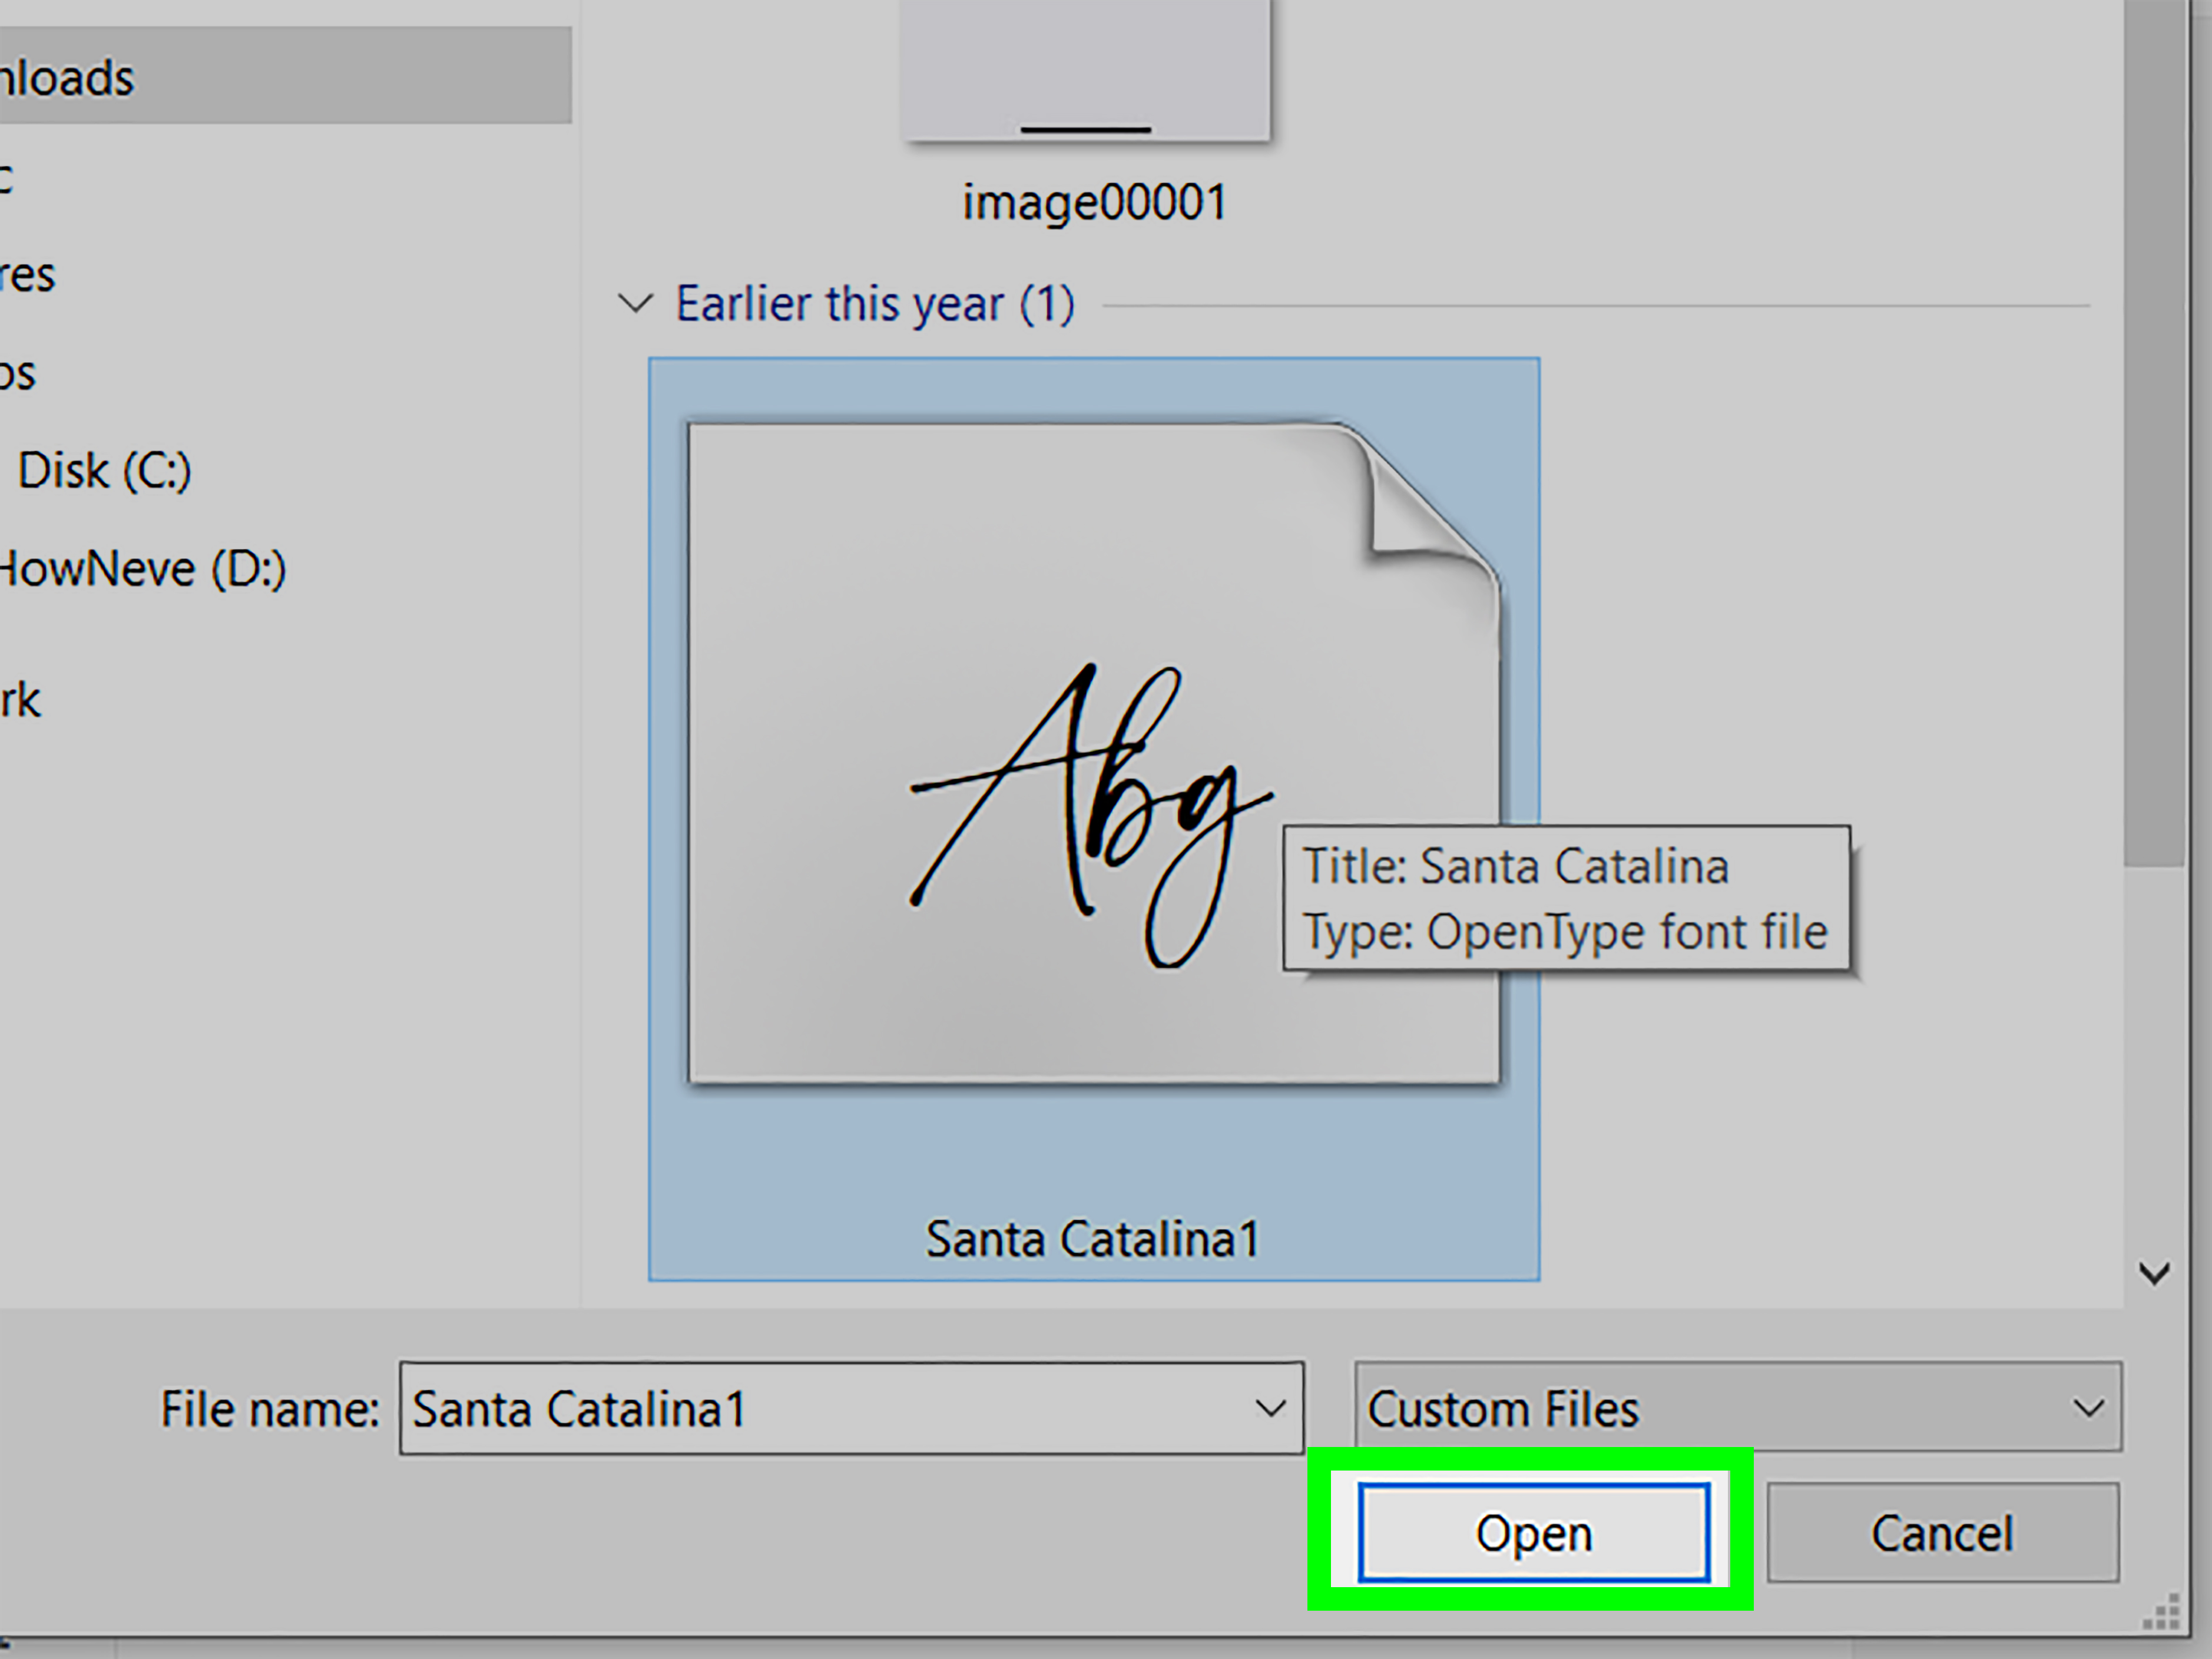
Picsart supports custom fonts in .ttf and .otf formats. If you downloaded something else, do not be surprised when Picsart gives you the digital equivalent of a blank stare. If the file is zipped, extract it first before trying to import it.
2. Check the font license
Just because a font is free to download does not mean it is free for business use. Some fonts are personal-use only, while others allow commercial use. If you create client work, products, logos, ads, or branded posts, double-check the license before using the font. This is one of those boring grown-up steps that becomes very exciting only after someone sends a legal email.
3. Keep the font file easy to find
Save the font in a folder you can access quickly, such as Downloads, Files, or a dedicated Fonts folder. If the font came in a ZIP archive, unzip it first. On iPhone and iPad, the Files app can open ZIP archives. On Android, Files by Google can extract ZIP files. On Windows, you can right-click the ZIP and choose Extract All. Keeping the file ready in advance makes the import process much smoother.
4. Choose fonts with a job in mind
Do not add a custom font just because it looks dramatic in the preview. Think about the purpose. Is it for a headline, a short quote, a product price, or body text? A decorative display font can look amazing for two words and completely collapse into chaos for a paragraph. A good rule is to limit yourself to two or three fonts in one design so everything feels intentional instead of like a group project that lost adult supervision.
How to add custom fonts on Picsart for Android
Android gives you the most straightforward in-app route. If you have the font file ready on your device, the process is pretty simple.
- Open a project in the Picsart app.
- Tap the Text tool and add your text.
- Open the font options and tap See All.
- Go to My Fonts.
- Tap Add Font.
- Select your .ttf or .otf font file from your device storage.
Once the file is added, your font should appear in the My Fonts section. From there, you can apply it just like any built-in font. Adjust size, alignment, spacing, color, curve, and other text effects as needed.
Android tip that saves time
If your font is buried in a ZIP file, extract it first using Files by Google. Trying to import the compressed file itself is a classic mistake. Picsart wants the actual font file, not the package it arrived in.
How to remove a custom font on Android
If you want to get rid of it later, delete the font file from your device and restart Picsart. That removes it from the My Fonts section. So if you accidentally imported five nearly identical script fonts at midnight, there is still hope.
How to add custom fonts on Picsart for iPhone
On iPhone, the process works differently. Instead of importing the font from inside the editor the same way Android does, you first locate the font file on your device and then open it with Picsart.
- Download the font file to your iPhone and make sure it is in .ttf or .otf format.
- Open the Files app and find the font file.
- Long-press the font file.
- Select Open with Picsart.
- The font is added automatically to your Picsart account on that device.
- Open any project in Picsart.
- Add text, tap See All in the font section, and go to My Fonts to use it.
What if the font file is zipped on iPhone?
Use the Files app to extract the ZIP first. Tap the ZIP file and iPhone creates a folder with the extracted contents. Then open that folder and use the actual font file. If you skip extraction, you are basically handing Picsart a locked suitcase and asking it to wear the shoes inside.
Important iPhone note
The custom font is stored locally on the device where you added it. That means it does not magically appear on your other phone, tablet, or desktop version just because your account exists. Helpful? Not exactly. Good to know? Absolutely.
How to add custom fonts on Picsart for PC
On desktop, Picsart’s web editor makes custom font use more flexible for design work. If you are using a PC or laptop, the workflow is usually easiest when your font file is already downloaded and extracted on the computer.
- Open the Picsart web editor in your browser.
- Start a new project or open an existing design.
- Click the Text tool on the left toolbar.
- Add your headline, subheading, or body text.
- Browse the font library, or choose the option to upload your own font.
- Select your custom font file from your computer.
- Apply the font and refine size, spacing, alignment, color, and layout.
This route is especially useful if you are designing blog graphics, thumbnails, banners, printable materials, or branded social posts. On desktop, it is also easier to organize your font files, compare multiple typefaces, and keep your assets in one place.
Should you install the font on your PC too?
Not always, but it can help. If you want the font available more broadly across your system, Windows lets you unzip files and manage fonts through system settings, while Mac users can install and validate fonts through Font Book. That is useful if you are working across multiple creative tools, not just Picsart.
Do you need Picsart Pro to use custom fonts?
For mobile, the current official guidance says adding custom fonts is a Picsart Pro feature. That is one of the most important details in this entire topic, because many users assume the file is broken when the real issue is plan access. If you are on the free version and the option is missing, the app may not be malfunctioning. It may just be protecting the premium gate like an overly serious nightclub bouncer.
On web, Picsart publicly promotes the ability to upload your own fonts inside its text tools. Depending on the specific tool or workflow, some advanced font-related features may still be tied to premium access. So if something looks different from one page to another, check your plan and the exact editor you are using.
Common problems when adding custom fonts on Picsart
The font will not import
The most common reason is the file format. If it is not .ttf or .otf, Picsart will not accept it. The next common issue is trying to import the ZIP archive instead of the extracted font file. Extract first, then import.
The font does not appear in My Fonts
On mobile, restart Picsart and check again. Also confirm that the font was added on that same device. Custom fonts do not sync across devices, so a font imported on your iPhone will not automatically show up on Android or desktop.
The text looks wrong after applying the font
Sometimes the issue is the font itself. A damaged or incomplete file can render poorly. On Mac, Font Book lets you validate a font file if you suspect it is corrupted. On mobile, download the font again from a trusted source and retry.
Text colors look odd or borders appear
If you see weird black or white borders around text or the color picker behaves badly, high contrast settings on the device may be interfering. Turn off high contrast text or related display enhancement settings, then restart Picsart.
The design feels messy even though the font loaded correctly
That is not a file issue. That is a typography issue. Limit the design to two or three fonts, use one font for the headline and another for supporting text, and make sure the fancy one is doing a short dramatic cameo rather than delivering the entire speech.
Best practices for using custom fonts in Picsart
Use a readable font for body text
Script fonts, distressed fonts, and dramatic display faces can be gorgeous, but they are often better for titles than long text. Save the theatrical energy for short phrases. Let your supporting text stay calm and readable.
Pair fonts with contrast
A bold serif headline paired with a simple sans serif body font often works well. The goal is contrast without conflict. If both fonts are loud, the design gets exhausting.
Check spacing
Even a beautiful font can look awkward with poor letter spacing, line spacing, or cramped alignment. Spend a few extra seconds adjusting the text box. That tiny bit of attention can make the design feel polished instead of rushed.
Match the font to the platform
A thumbnail, product listing image, Pinterest pin, and Instagram story all have different reading conditions. What looks elegant on a desktop screen may become microscopic chaos on a phone. Preview your design where it will actually be seen.
Keep your brand kit simple
If you create content regularly, choose one headline font, one body font, and maybe one accent font. That gives your work a recognizable visual identity without turning every post into a font talent show.
Real examples of when custom fonts make a difference
Imagine a coffee shop posting a seasonal latte promo. If the design uses a generic default font, it works, technically. But if the headline uses a warm handwritten font and the details use a clean sans serif, the graphic suddenly feels more intentional and on-brand.
Or think about a creator making quote graphics for Pinterest. A distinctive serif can make the title feel editorial, while a clean secondary font helps the message stay readable on small screens. The result is more shareable, more recognizable, and less likely to look like it came out of a random template factory.
Even personal projects benefit. Birthday invites, digital scrapbook pages, study notes, YouTube channel art, gaming banners, printable planners, and meme pages all look more original when the typography feels chosen instead of accidental.
Final thoughts
Learning how to add custom fonts on Picsart is one of those small skills that pays off immediately. Once you know the steps, your designs become more flexible, more branded, and far more interesting. Android users can add fonts through My Fonts inside the app. iPhone users can open the font file with Picsart from the Files app. PC users can upload their fonts through the web editor and build cleaner layouts with more breathing room.
The secret is not just importing the font. It is using it wisely. Pick the right format, extract the file if needed, confirm the license, keep typography readable, and resist the temptation to use a swirly script for everything. Your future self, your audience, and your eyeballs will thank you.
Experience: what it is really like adding custom fonts on Picsart
In real use, adding custom fonts on Picsart usually feels less like a major design challenge and more like a tiny treasure hunt. The first time, people expect a big obvious button that says something like “Hello, welcome, please bring your favorite font here.” Instead, the process depends on the device. On Android, it feels pleasantly direct because you can go into the text options, open My Fonts, and add the file from storage. On iPhone, it feels a little more like a side quest because you have to find the file in the Files app and open it with Picsart first. Once you know that trick, though, it suddenly becomes easy and you wonder why it felt mysterious five minutes earlier.
Desktop is where many users breathe a sigh of relief. Working on a PC or laptop gives you more room to compare fonts, test layouts, and keep your brand assets organized. If you have ever tried to juggle five fonts, three screenshots, and a caffeine-fueled creative vision on a phone screen, you already know the desktop experience can feel like moving from a broom closet into a studio apartment.
The most common frustration is not actually Picsart. It is the font file itself. Sometimes people download a font bundle, forget to unzip it, and then wonder why nothing works. Other times they choose a beautiful font that is absolutely terrible for readability. It looks amazing for one dramatic word and then completely falls apart when asked to display a product description, quote, or event schedule. That moment teaches an important lesson very quickly: not every pretty font is useful.
There is also a practical difference between experimenting and building a repeatable workflow. Casual users often add one font, make one graphic, and move on. But creators, bloggers, sellers, teachers, and small business owners tend to develop a system. They keep a folder of approved fonts, make sure licenses are clear, and stick to a small set of typefaces that match their brand. Once that happens, Picsart becomes much faster to use because typography choices stop being random every single time.
Another real-world experience is discovering how much typography affects confidence. The minute a design uses the right font, it feels more finished. A simple sale graphic can look more premium. A quote post can feel more editorial. A birthday invite can go from “made in a hurry” to “wait, this is actually cute.” That is why custom fonts are such a powerful little upgrade. They do not require advanced design skills, but they make a visible difference right away. After that, you are probably going to start judging default fonts a little harder than before, and honestly, that is just part of the journey.