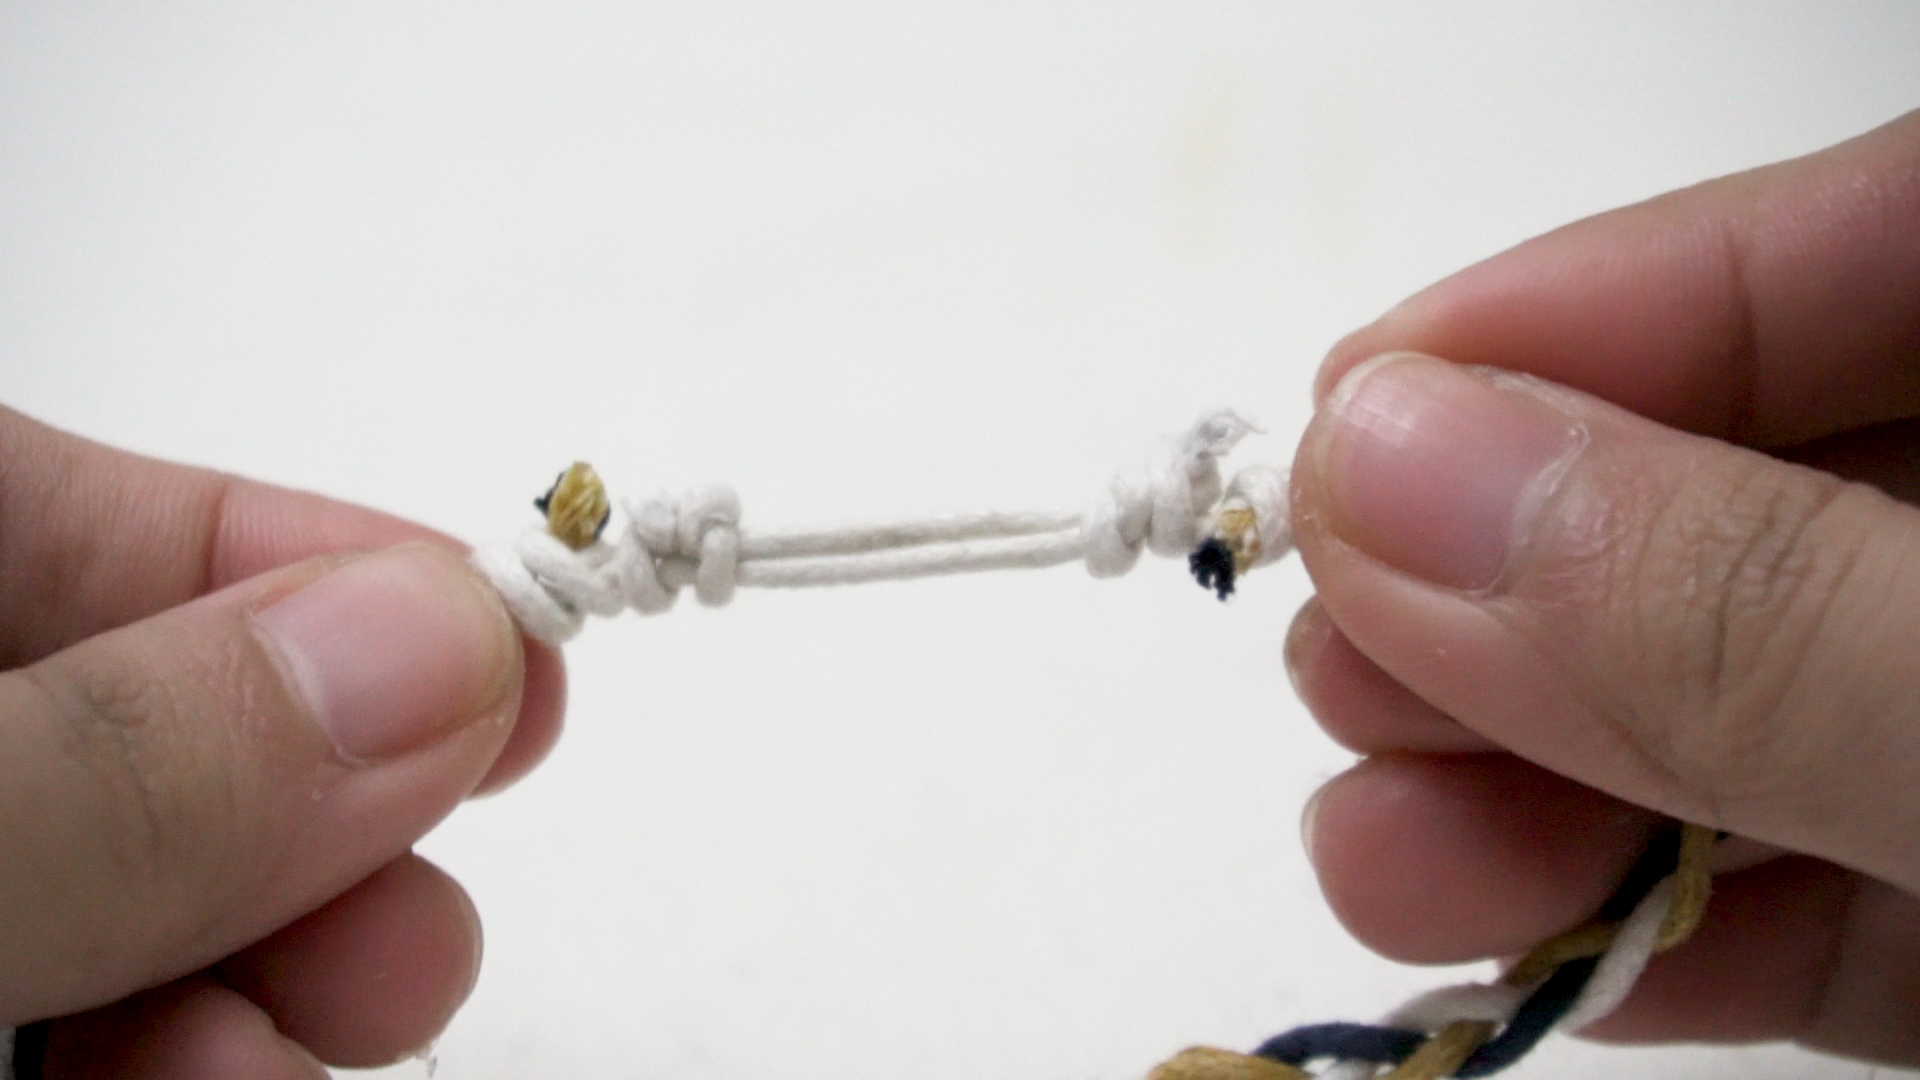
Braided bracelets are one of those rare crafts that check every box. They are inexpensive, customizable, beginner-friendly, portable, and dangerously good at turning “I’ll make one” into “Why do I suddenly own seventeen?” Whether you are using embroidery floss, hemp cord, satin cord, or a kumihimo disk that looks suspiciously like a foam donut with ambition, braided bracelets are an easy way to make wearable art without needing a studio, a soldering torch, or the patience of a saint.
If you want to learn how to make braided bracelets, the good news is that you do not need a huge supply stash or years of jewelry-making experience. A few strands of cord, a pair of scissors, and a secure place to anchor your work can take you a long way. Even better, braided bracelet patterns range from simple three-strand styles to more polished techniques like four-strand braids and kumihimo, so you can start easy and work your way up without ever getting bored.
In this guide, you will learn four practical ways to make braided bracelets, along with tips for choosing materials, keeping even tension, finishing your bracelet neatly, and avoiding the classic beginner mistake of creating a bracelet that could fit either a toddler or a mailbox. Let’s save your wrist from a life of boredom.
Why braided bracelets never go out of style
There is a reason friendship bracelets, cord bracelets, and handmade braided jewelry keep showing up decade after decade. Braids are visually interesting without being fussy. They can look beachy, boho, minimal, colorful, rustic, or polished depending on the materials you choose. Swap embroidery floss for leather cord and suddenly the same basic structure looks far more grown-up. Add beads and the braid takes on texture and sparkle. Change the closure and it goes from camp-craft cute to gift-shop chic.
They are also a fantastic project for beginners because the learning curve is friendly. Once you understand the movement pattern, your hands settle into a rhythm. That makes braided bracelets relaxing to make, easy to personalize, and ideal for gifts, party favors, craft nights, and little side quests when you want something creative that does not require clearing off the whole dining table.
What you need before you start
Before diving into the four methods, gather a few basics. You will not need every item for every bracelet, but this list covers the essentials:
- Embroidery floss, hemp cord, satin cord, nylon cord, or thin leather cord
- Sharp scissors
- Tape, a clipboard, safety pin, or a bracelet board to hold your work in place
- Beads, if you want extra texture or color
- A ruler or measuring tape
- Glue or clear-drying jewelry cement for optional finishing
- Clasps, jump rings, or cord ends if you want a more polished look
- A kumihimo disk and bobbins for the fourth method
As a general rule, cut more cord than you think you need. Braiding shortens the finished length, and finishing knots or closures take up additional space. It is always better to trim extra than to stare at a nearly finished bracelet that stopped one dramatic inch too soon.
1. The classic three-strand braided bracelet
Best for
Absolute beginners, kids, quick gifts, and anyone who wants a simple bracelet with almost no learning curve.
What you need
Three equal lengths of embroidery floss, cord, or thin leather. You can use one color for a clean look or three different colors for a brighter, more playful style.
How to make it
Start by cutting three long strands. Tie them together in a knot at one end, leaving enough extra cord to tie the finished bracelet around your wrist later. Secure the knot to a table with tape, clip it to a clipboard, or pin it to a cushion. You want the top anchored so your braid stays neat and your frustration level stays socially acceptable.
Separate the three strands so you have a left, center, and right section. Cross the right strand over the center so it becomes the new center. Then cross the left strand over the center. Repeat this motion: right over center, left over center. That is it. That is the whole engine under the hood. Keep going until the braid is long enough to wrap around your wrist, leaving a little extra room for tying or finishing.
When you are done, tie another knot at the bottom. You can wear it by tying the two ends together, or you can add simple jewelry findings if you want a clasp.
Why it works
The classic three-strand braid is clean, sturdy, and versatile. It works beautifully with embroidery floss for friendship bracelets, but it also looks great with waxed cord or leather if you want something more refined. If you are teaching a child or hosting a craft activity, this is the best starting point because the movement is easy to memorize.
Pro tip
Try using different thicknesses of cord for different moods. Floss looks soft and colorful. Hemp gives a natural, earthy vibe. Satin cord looks brighter and smoother. Leather says, “Yes, I do own at least one candle that costs too much.”
2. The fishtail braided bracelet
Best for
People who want a bracelet that looks more intricate than it really is.
What you need
Several strands of floss or cord grouped into two sections. You can use multiple colors in each section for a striped or blended effect.
How to make it
Tie all your strands together at the top and secure them. Divide the strands into two equal groups: one group on the left, one on the right. From the outside edge of the left group, take a small strand and bring it over to the inside of the right group. Then take a small strand from the outside edge of the right group and bring it over to the inside of the left group.
Keep repeating that motion, alternating sides each time. The braid will begin to form a narrow, chevron-like pattern that looks detailed and stylish, even though the method is wonderfully repetitive. Continue until the bracelet reaches your desired length, then knot the end.
Why it works
A fishtail braid creates more texture than a standard three-strand braid and looks especially good when you use contrasting or ombré colors. It is also a smart choice if you want a fuller bracelet without learning complicated knotting techniques. The final look is tidy, balanced, and a little more elevated than the basic braid.
Style idea
Make three thin fishtail bracelets in related colors and stack them together. This creates that casually layered look that suggests you are creative and interesting, even if you are currently wearing pajama pants.
3. The four-strand braided bracelet
Best for
Anyone ready for the next level and looking for a braid with more visual depth.
What you need
Four strands of cord or floss in matching or contrasting colors. Slightly firmer materials work especially well here because they help the braid hold its structure.
How to make it
Tie the four strands together at the top and secure them. Arrange them from left to right. Think of the strands as positions one, two, three, and four. Bring strand one over strand two. Then bring strand four over strand three. Next, bring the new center-left strand over the new center-right strand. Repeat that sequence, working from the outside toward the center.
There are a few variations of four-strand braids, including flat and round versions, but the basic principle is the same: outside strands move inward in a consistent pattern. Go slowly at first. After a few rounds, your hands will understand the order and the braid will start to look beautifully uniform.
Why it works
A four-strand bracelet has more dimension than a three-strand bracelet and often looks more polished. It is a great middle step between beginner braiding and more advanced jewelry techniques. If you want a bracelet that looks slightly more complex without requiring special tools, this is the sweet spot.
Common mistake to avoid
Do not yank too hard on individual strands. Uneven tension can twist the braid oddly or make one side look tighter than the other. Aim for firm, steady pressure rather than dramatic tugging. Your bracelet is not a lawn mower cord.
4. The kumihimo braided bracelet
Best for
Crafters who want a professional-looking bracelet with beautiful symmetry and the option to add beads.
What you need
A kumihimo disk, eight strands of cord or floss, scissors, and optional bobbins and beads. A small weight can also help maintain tension while you braid.
How to make it
Kumihimo is a Japanese braiding technique that creates smooth, rope-like braids. It may look intimidating at first, but once you learn the movement, it becomes almost meditative. Start by cutting eight equal strands and tying them together in one knot. Feed the knot through the center hole of the kumihimo disk and arrange the strands in the appropriate slots so the setup is balanced.
The most common beginner method uses an eight-strand round braid. You move one strand from the upper right down to the lower right, then one strand from the lower left up to the upper left, rotating the disk as you repeat the pattern. The sequence stays consistent, and that is the secret sauce. Repeat the moves carefully and your round braid will form underneath the disk.
If you want a beaded braided bracelet, string the beads onto your cords before you begin. As you braid, slide one bead up into position before moving the strand. This lets the beads sit neatly within the braid and creates a more decorative, jewelry-style finish.
Why it works
Kumihimo bracelets look impressively professional. The braids are smooth, even, and ideal for incorporating beads, metallic cord, or polished closures. If you enjoy repetitive handwork and want a bracelet that feels a bit more boutique than camp-cabin, kumihimo is the method to learn.
Finishing options
You can tie the ends and wear the bracelet as a simple tie-on piece, or finish it with cord ends, glue-in findings, and a clasp for a more formal look. If you are giving the bracelet as a gift, the clasped version feels especially polished.
How to choose the right material for your braided bracelet
The material you use can completely change the personality of your bracelet. Embroidery floss is soft, colorful, cheap, and perfect for friendship bracelets. Hemp cord creates a natural, laid-back style that pairs well with beads and wood accents. Satin or nylon cord looks brighter and slightly dressier. Leather or faux leather creates a sleek, more mature finish, especially for minimalist bracelets or neutral palettes.
If you are a beginner, embroidery floss is the easiest place to start because it is forgiving and widely available. If you want your bracelet to feel more jewelry-like and less sleepaway-camp nostalgic, move toward waxed cord, satin cord, or leather.
Tips for making braided bracelets look better
- Keep your tension even. Consistency matters more than speed.
- Anchor your work securely. A taped knot on a wobbly table is how chaos begins.
- Use longer strands than you think you need. Braiding eats length faster than expected.
- Check fit before finishing. Wrist sizes vary, and your bracelet should not require negotiation to put on.
- Trim neatly. Clean ends instantly make the bracelet look more professional.
- Experiment with color placement. The same braid can look bold, delicate, sporty, or sophisticated depending on your palette.
Creative ways to personalize braided bracelets
Once you know the basic braid structures, you can customize them endlessly. Add alphabet beads for names or short words. Mix metallic thread into embroidery floss for a subtle shimmer. Combine matte and shiny cords for contrast. Add a charm near the closure. Use school colors, holiday colors, or soft neutrals for a more fashion-forward look. You can even braid around a thin chain for extra texture and shine.
Braided bracelets also make excellent gifts because they are small, personal, and easy to tailor to someone’s style. They are ideal for birthdays, bridal parties, summer camp keepsakes, classroom crafts, and handmade stocking stuffers. Basically, if someone has a wrist, you have a gift idea.
The real experience of making braided bracelets
Making braided bracelets is about more than producing a finished accessory. The experience itself is part of the appeal, and anyone who has spent time braiding cord at a kitchen table, on a porch, during a road trip break, or while half-watching a movie knows exactly why this craft sticks. At first, it feels simple. You line up your strands, tie a knot, and tell yourself this will be a quick project. Then ten minutes later, you are oddly invested in whether the coral thread should sit next to the mustard yellow or whether adding one tiny gold bead will make it look chic or chaotic.
There is also something deeply satisfying about the rhythm of braiding. Your hands settle into a pattern, your eyes stop darting around, and the project becomes calm in the best possible way. It is the kind of craft that keeps your hands busy while your brain unwinds. You are focused, but not stressed. Productive, but not pressured. It is basically the crafty version of taking a deep breath.
For beginners, the experience often starts with a few lopsided attempts. The first bracelet may be too short, too loose, or somehow shaped like it has strong opinions. That is normal. In fact, it is part of the charm. Braided bracelets teach you quickly that good results come from repetition, not perfection. By the second or third try, you begin to understand tension, spacing, and how different materials behave. Embroidery floss glides differently than hemp. Satin cord slips more. Leather has its own stubborn little personality. You start noticing these differences, and that is when the craft becomes more interesting.
There is also a social side to bracelet-making that people love. Braided bracelets are easy to make with friends, siblings, kids, or coworkers during a casual craft session. People can sit together, compare colors, trade beads, and talk while their hands work. Even if everyone starts with the same pattern, the finished bracelets usually come out completely different. One person makes something bright and playful. Another chooses earthy tones and wooden beads. Someone else adds a charm because subtlety apparently took the day off. That range is what makes the project fun.
And then there is the gifting part. Handmade braided bracelets have a personal quality that store-bought accessories often do not. They carry time, attention, and a tiny bit of your mood inside the braid. When you make one for a friend, child, partner, or family member, it feels specific. It says, “I made this with you in mind,” which is a lovely message from something so small.
Even people who do not consider themselves “crafty” often enjoy this project because it offers a fast reward. You do not need advanced tools. You do not need a huge budget. You do not need to be naturally artistic. You just need a little patience and a willingness to let your hands learn the motion. Once they do, braided bracelets become the kind of project you return to again and again because they are useful, relaxing, and pleasantly addictive. One bracelet becomes a stack, the stack becomes a color experiment, and before long you have a small handmade collection and absolutely no regrets.
Final thoughts
If you want an easy jewelry project with lots of personality, braided bracelets are hard to beat. The classic three-strand braid is perfect for beginners, the fishtail adds texture without much extra effort, the four-strand braid levels up the look, and kumihimo opens the door to polished, bead-ready designs. Start with the method that fits your skill level, choose colors you actually want to wear, and focus on even tension more than speed.
The beauty of braided bracelets is that they grow with you. You can begin with the simplest version today and still find new variations months from now. Not bad for a craft that starts with string and a knot.