Custom candles are one of those crafts that look suspiciously expensive for something you can make at a kitchen table with scissors, patience, and a healthy respect for melted wax. If you have ever seen a candle with a family photo, a vintage botanical print, a wedding monogram, or a cute holiday illustration and thought, “Well, that looks fancy and therefore probably impossible,” good news: it is absolutely possible. Better news: there is more than one way to do it.
In this guide, you will learn three practical ways to transfer pictures to candles, along with the strengths, weaknesses, and safety notes that most quick tutorials skip. That matters, because a candle is not just decor. It is also, very literally, a tiny fire with ambition. So the goal is not only to make a beautiful photo candle, but to make one that is clean, polished, and sensible to use.
The three most useful techniques are: a tissue paper and wax paper heat transfer for real wax candles, waterslide decals for crisp printed designs, and a decoupage-style picture application that works best on flameless candles. Each one creates a different look. Each one asks for a slightly different level of patience. And each one can turn a plain pillar candle into something that looks far more custom than its humble origins suggest.
So grab your candle, your chosen image, and your willingness to redo one crooked first attempt like the rest of us. Here is how to transfer pictures to candles without turning the project into an arts-and-crafts soap opera.
Why Picture Candles Are So Popular
There is a reason DIY photo candles keep showing up in holiday gift guides, wedding decor ideas, and home craft tutorials. They are personal, affordable, and surprisingly versatile. You can use them for memorial candles, baby shower centerpieces, personalized gifts, seasonal decor, branded event styling, or simple shelf styling that says, “Yes, I have taste, and no, I did not spend a ridiculous amount of money.”
They also work beautifully with many visual styles. A black-and-white family portrait feels elegant. Vintage flowers look romantic. Typography gives a modern boutique vibe. Even children’s art can look charming once it is trimmed, centered, and wrapped around a smooth pillar candle.
How to Choose the Right Method
Before you start, match the method to the kind of result you want:
| Method | Best For | Look | Difficulty |
|---|---|---|---|
| Tissue paper + wax paper + heat | Real wax pillar candles and photo-style images | Soft, embedded, almost printed-on-wax look | Easy to moderate |
| Waterslide decals | Crisp graphics, logos, quotes, layered art | Sharper, cleaner, more professional finish | Moderate |
| Decoupage-style picture application | Flameless candles and decorative display pieces | Crafty, textured, decorative finish | Easy |
One important note before we dive in: if you are decorating a candle that will actually be burned, keep everything neat, flat, and away from the wick area. Avoid bulky embellishments, loose paper edges, or dried botanicals near the flame path. Beautiful is nice. Flammable is less charming.
Method 1: Transfer Pictures to Candles with Tissue Paper, Wax Paper, and Heat
Best for real photo candles with a soft, blended finish
This is the classic technique people mean when they talk about how to put a picture on a candle. You print your image onto tissue paper, place it on the candle, wrap everything in wax paper, and use gentle heat to melt the design into the outer wax layer. The result can look impressively seamless, especially on white pillar candles.
What you need
A smooth pillar candle, white tissue paper, regular printer paper, tape, scissors, wax paper, a craft heat gun or hot hair dryer, and your printed image. White or very light candles usually give the clearest result, because dark candles can swallow detail and make edges more visible.
How to do it
- Measure the candle. Note the height and circumference so your picture fits neatly.
- Prepare the tissue paper for printing. Tape a sheet of tissue paper smoothly onto a sheet of standard printer paper. Keep it flat and secure so your printer does not decide to eat it out of spite.
- Print your image. Choose a high-quality image with decent contrast. Portraits, floral art, and simple graphics usually work better than busy, tiny-detail designs.
- Trim closely. Cut around the image as neatly as possible. The less extra tissue paper you leave, the less visible the edges will be after heating.
- Position the design on the candle. Place it exactly where you want it before you apply heat.
- Wrap with wax paper. Place a sheet of wax paper over the tissue image and hold it snugly against the candle.
- Apply gentle heat. Use a small craft heat gun or a hair dryer on high. Move it steadily across the wax paper until the image underneath becomes more vibrant and the tissue seems to melt into the candle surface.
- Let it cool, then peel away the wax paper. If you missed a spot, place fresh wax paper over that area and heat again.
Why this method works
The magic is not mysterious; it is just wax doing wax things. The gentle heat softens the candle’s outer layer enough to absorb the tissue paper image. When it works well, the transferred picture looks less like something glued on top and more like it belongs there.
Best tips for success
Use a craft heat gun, not a heavy-duty shop heat gun that could overheat the wax in a hurry. Keep the heat moving. Do not camp in one spot like it owes you money. Also, center your image carefully before you start, because once the transfer begins, repositioning gets annoying fast.
This method is excellent for personalized candles with photos, memorial candles, and holiday gifts. It is also the easiest way to get that soft “printed directly onto wax” look.
Pros
Affordable, beginner-friendly, beautiful on real wax, and perfect for custom photos.
Cons
It can wrinkle if the tissue shifts, and it takes a little practice to get the heat just right. Too little heat leaves obvious edges; too much heat makes the candle look like it had a rough afternoon.
Method 2: Use Waterslide Decals for Crisp, Clean Candle Designs
Best for quotes, logos, illustrations, and polished gift candles
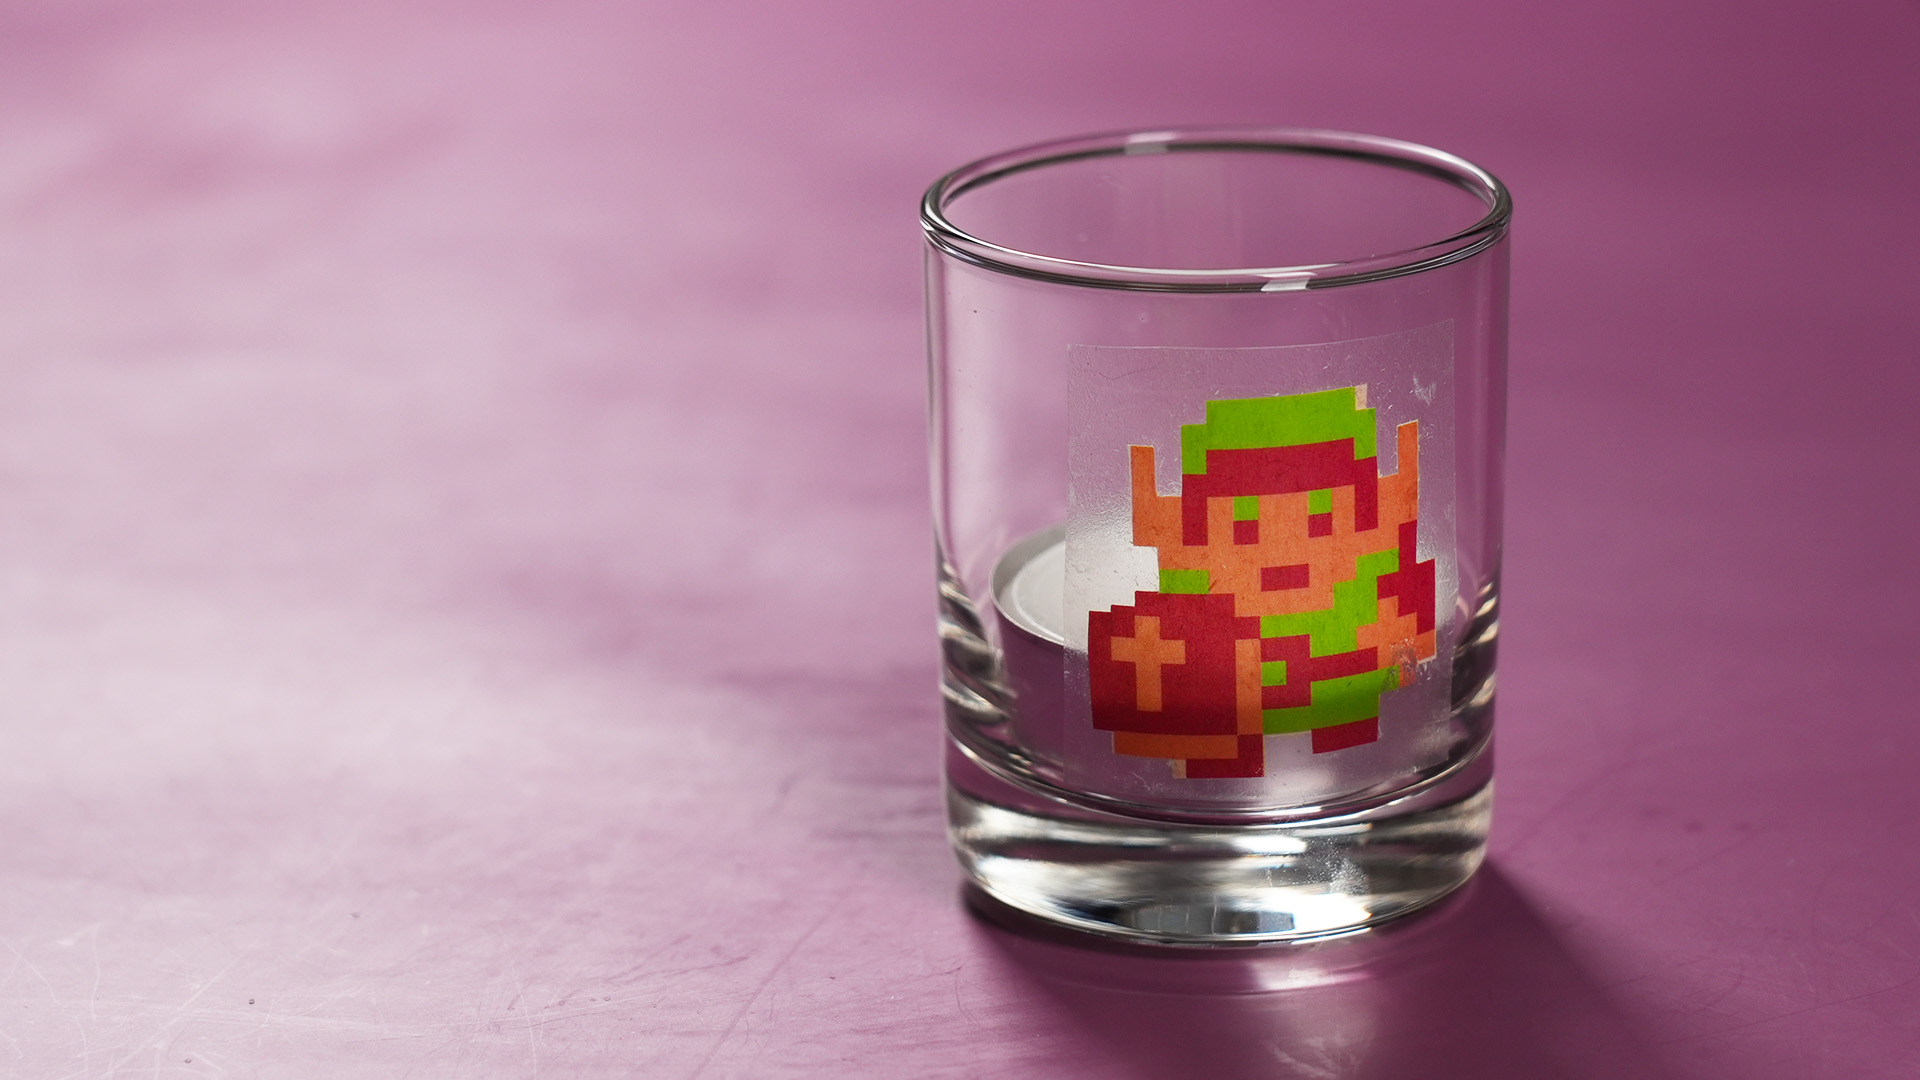
If Method 1 is the charming handmade cousin, waterslide decals for candles are the polished overachiever. This technique gives you sharper edges, cleaner typography, and a more professional finish. It is especially useful when you want text, graphic art, or layered designs that need to stay precise.
What you need
A smooth pillar candle, printable waterslide decal paper that matches your printer type, scissors or a cutting machine, a bowl of room-temperature water, paper towels, and ideally a felt-edge squeegee or similar smoothing tool. A little isopropyl alcohol on a soft cloth also helps prep the candle surface.
How to do it
- Print your design. Follow the instructions for your specific waterslide paper. Use your best print settings so colors stay crisp.
- Let the print dry. Do not rush this part unless your dream is to create abstract ink smears by accident.
- Seal the decal if required. Many inkjet waterslide papers need a protective clear spray before soaking.
- Trim the design. Cut close to the artwork for a cleaner finish.
- Clean the candle surface. Wipe away dust or oils so the decal adheres smoothly.
- Soak the decal. Submerge it in room-temperature water until the film releases from the backing.
- Slide it onto the candle. Hold one edge in place and carefully pull the paper backing away.
- Blot and smooth. Press with a paper towel to absorb excess water, then gently smooth out air bubbles and wrinkles from the center outward.
- Dry fully. Let the decal dry completely before displaying or handling much.
Why crafters love waterslide decals
They give a boutique-quality appearance. If you are making custom candle labels with artwork, wedding monograms, business logos, or quote candles for gifts, this method is often the winner. It also works well for layering color and for designs that would be annoying to print directly on tissue paper.
Best tips for success
Do not drag the paper towel across the wet decal. Press and lift instead. That tiny difference can spare you from wrinkles, tears, and the deep personal betrayal of a smeared design. Also, smooth gently but firmly, because trapped water creates bubbles and bubbles create regret.
If you want a richer look, you can layer a second matching decal on top once the first one dries. Just make sure the first layer is truly dry before adding another. This is a good trick for text or high-contrast art that needs extra punch.
Pros
Sharp detail, polished finish, great for text and graphics, excellent for gift-quality candles.
Cons
More materials, more prep, and less forgiving if you rush. Waterslide decals are not hard, but they do reward patience and punish drama.
Method 3: Decoupage-Style Picture Transfer for Flameless Candles
Best for decorative LED candles and low-stress crafting
If you love the look of transferred pictures but do not want to involve heat, water baths, or printer gymnastics, a decoupage candle craft is the easiest route. This method is best for flameless candles, because you are applying paper and medium to the surface rather than melting it into the wax.
What you need
A flameless candle, thin napkin or tissue-paper image, decoupage medium, foam brush, scissors, and optional plastic wrap for smoothing. This is a fantastic method for seasonal decor, event styling, and shelves that need a little personality but not an actual flame.
How to do it
- Trim the image. If you are using a printed napkin, separate the top printed layer from the backing layers.
- Brush on a thin coat of decoupage medium. Do not flood the candle; a light, even layer works better.
- Position the image. Wrap or place it carefully on the candle surface.
- Smooth gently. Use your fingers or plastic wrap to press out bubbles and creases without tearing the paper.
- Let it dry a bit. Give it time before adding a top coat.
- Add another thin coat. Seal the image and let it dry fully.
Why this method works
Decoupage is basically the old reliable of decorative crafts. It is simple, forgiving, and excellent for thin paper designs. On flameless candles, it can look beautiful without any worry about paper sitting too close to an open flame. It is also a great option for beginners, kids’ craft sessions with supervision, or anyone who wants a custom candle without heat tools.
Best tips for success
Use thin paper, not thick photo paper. Smooth from the center outward. Do not slap on the top coat immediately; let the first layer set so the image does not shift and wrinkle. If you are decorating multiple flameless candles for a party or holiday display, this method is wonderfully efficient.
Pros
Easy, inexpensive, beginner-friendly, excellent for seasonal decor and LED candles.
Cons
Best for flameless or display use rather than regularly burned candles. The finish is also more obviously “crafted” than the embedded look of the heat-transfer method.
Common Mistakes to Avoid
Using the wrong candle surface: Heavily textured, dark, or uneven candles are much harder to decorate cleanly.
Choosing tiny, busy images: If the picture looks chaotic on your screen, it will not suddenly become elegant on a three-inch pillar candle.
Ignoring edges: Ragged cuts and overlapping seams are often what make DIY candles look homemade in the wrong way.
Rushing drying time: This is the craft equivalent of leaving the cake in the oven for “probably enough” minutes. It rarely ends well.
Decorating too close to the wick: Keep all picture material away from the top burn area. Flat and low on the candle body is smarter than dramatic and dangerous.
Candle Safety Matters More Than Your Glue Confidence
Even the prettiest custom candle still needs boring, responsible rules. Burn candles within sight. Keep them away from curtains, books, bedding, paper, and other combustibles. Keep them out of reach of children and pets. Place them in sturdy holders on heat-resistant surfaces. And if you are crafting mainly for decor, flameless candles are a terrific option, especially when using decoupage-style applications.
Also avoid adding dried flowers, herbs, leaves, ribbon, and other decorative extras directly to candles that will be burned. They may look whimsical in photos, but whimsical flammability is not the lifestyle goal here.
Which Method Is Best?
If you want the most classic photo transfer candle, use tissue paper, wax paper, and heat. If you want crisp graphics and a clean boutique finish, use waterslide decals. If you want the easiest and least stressful option for decor, use decoupage on flameless candles.
That is the real answer. Not one method to rule them all, just the right method for the result you want. The good news is that none of them require magical talent. They just require decent prep, smooth hands, and the ability to resist touching things before they are dry.
Final Thoughts
Learning how to transfer pictures to candles is one of those crafts that opens up far more possibilities than you expect. A simple white candle can become a memorial keepsake, a wedding favor, a holiday gift, a seasonal decoration, or a personalized centerpiece. The materials are accessible, the methods are flexible, and the finished project often looks much more expensive than it is.
So whether you choose the soft, melted-in charm of tissue paper, the crisp confidence of waterslide decals, or the relaxed creativity of decoupage, you are not just decorating a candle. You are turning an ordinary object into something thoughtful, personal, and unexpectedly stylish. Which is a pretty good outcome for a project that starts with paper, wax, and a little controlled chaos.
Real-World Experiences: What It Is Actually Like to Make Picture Candles
The first time most people try making picture candles, they assume the hard part will be printing the image. It is not. The hard part is realizing that candles are curved, tissue paper is dramatic, and your hands suddenly forget how to behave the moment something delicate starts sliding around. That said, the experience is also weirdly satisfying. Few crafts let you go from “this is a plain candle from a store shelf” to “this looks like a custom boutique gift” so quickly.
With the tissue-paper-and-heat method, the emotional journey usually goes like this: confidence, confusion, panic, then delight. You tape tissue paper to printer paper and feel resourceful. You print the photo and feel brilliant. You cut it out and place it on the candle and think, “This is going suspiciously well.” Then you wrap it in wax paper, start heating, and immediately wonder whether you are making art or slowly ruining a candle. But once the image starts to deepen and the tissue edges fade into the wax, the whole thing suddenly clicks. It feels a bit like watching a cheap magic trick become real in your own hands.
Waterslide decals are a different personality type. They are for people who like precision, clean lines, and a finish that says, “I own scissors and I am not afraid to use them carefully.” The experience is calmer, but only if you respect the process. The decal curls in water. It slides when you are not ready. It sticks when you want it to move and moves when you want it to stick. Yet once you learn the rhythm, it becomes addictive. The best moment is smoothing out the last bit of water and seeing the design lie flat against the candle like it was always meant to be there.
Decoupage on flameless candles is probably the most forgiving experience of the three. It feels crafty in the best way. You brush on the medium, smooth the paper, trim the excess, and slowly watch a plain LED candle turn into decor with actual personality. This is the method people tend to enjoy most when they are making a group of candles for a party, wedding table, or holiday display, because it is efficient and less stressful. Also, there is comfort in knowing that if the project gets slightly wrinkly, you can still call it “handmade texture” and no one can stop you.
Another common experience is discovering that image choice matters more than people think. A technically perfect transfer can still look underwhelming if the picture is too dark, too tiny, or too busy. Bold florals, readable text, vintage illustrations, and high-contrast black-and-white photos usually perform beautifully. Overly detailed snapshots with cluttered backgrounds often look less impressive on a candle than they did on your phone. That is not failure. That is design learning to humble everyone equally.
What surprises many crafters most is how sentimental these projects feel once they are finished. A candle with a handwritten phrase, an old family photo, or a meaningful symbol carries more emotional weight than a generic store-bought candle ever could. It becomes a keepsake, not just a decoration. And that is probably why people keep coming back to this craft. Yes, it is fun. Yes, it is affordable. But more than that, it turns a simple object into something personal. Even when the first attempt is crooked, the second one is beautiful, and the third one makes you start looking around the house for more candles to decorate like a person who has accidentally discovered a new personality trait.