Galvanized steel is the overachiever of the metal world. It is tough, affordable, rust-resistant, and shows up everywhere from roofing panels and ductwork to garden edging, flashing, and utility shelving. The only catch? Once it is time to cut it, the job stops feeling casual and starts feeling very real, very fast. One bad tool choice can leave you with jagged edges, bent panels, a shower of metal chips, or a finish that looks like it lost a fight with a lawn mower.
The good news is that cutting galvanized steel does not have to feel like a boss battle. In most everyday projects, there are three common ways people handle it: aviation snips for thin sheet metal, power shears or nibblers for cleaner long cuts, and metal-cutting saws for thicker or more demanding material. The trick is not brute force. It is matching the method to the thickness, shape, and finish of the piece you are working with.
This guide gives you the big-picture version readers actually need: what each method is best for, where it tends to go wrong, and how to get cleaner results without turning your workshop into a dramatic lesson in sharp edges. It is written as a safety-first overview, because galvanized steel is useful, but it is not a toy, and your fingers would like to remain employed.
Why Galvanized Steel Feels Different to Cut
Galvanized steel is regular steel coated in zinc to help resist rust and corrosion. That coating is the reason the material performs so well outdoors, in damp spaces, and in places where plain steel would throw in the towel early. It is also the reason cutting requires a little more thought than simply grabbing the nearest blade and hoping for the best.
When you cut galvanized steel, you are dealing with two things at once: the strength of the steel and the protective zinc layer. If your method is too rough, you can bend the sheet, tear the edge, or scatter hot metal fragments that damage the finish. If heat becomes part of the process, fume control matters too. That is why experienced fabricators usually start with a boring but smart question: How thick is this piece, and what kind of cut do I actually need?
For a quick trim on thin flashing, one tool makes sense. For a long roofing panel rip, another wins. For thicker stock, tubing, or structural pieces, the answer changes again. In other words, the easiest way to cut galvanized steel is not one magic method. It is the right method.
Way #1: Aviation Snips for Thin Sheet Metal
If the galvanized steel is thin sheet material, aviation snips are usually the simplest and most approachable option. Think flashing, ductwork, light-gauge trim, small roofing adjustments, or narrow utility panels. Snips are popular because they are affordable, portable, quiet, and far less intimidating than a spinning blade that sounds like it is plotting something.
Why snips work so well
Aviation snips give you control. They are especially useful when the job involves short cuts, corners, notches, or small shapes rather than long production-style runs. They also work well when the material already has a finish you would rather not scorch, scratch, or pepper with sparks.
Another advantage is precision. If you are trimming a drip edge, adjusting a piece of HVAC duct, or cutting a circular opening after starting with a pilot hole, snips let you move slowly and keep the line under control. That is why they remain a favorite for detail work, repair jobs, and “I only need to change this by half an inch” moments.
Best use cases
- Thin galvanized sheet metal
- Flashing and trim pieces
- Small-radius curves and cutouts
- Gutter or duct adjustments
- One-off household repairs
Where snips struggle
Snips are not ideal for every situation. On long straight cuts, they can feel slow. On thicker material, they can be tiring. On large panels, they may leave the edge slightly wavy if the piece is not well supported. They also create sharp offcuts that curl and behave like tiny metal grudges. Respect them.
Still, for thin galvanized steel, snips are often the easiest low-drama choice. If your project is small, detailed, or finish-sensitive, they are hard to beat.
Way #2: Power Shears or Nibblers for Cleaner, Faster Cuts
When the job gets bigger, faster, or more repetitive, power shears and nibblers move into the spotlight. These tools are especially useful on sheet metal where you want smoother progress, more consistent long cuts, and less hand fatigue. If aviation snips are the careful handwriting of metal cutting, power shears are typing with both hands.
Why people like them
Power shears are great for long runs in sheet metal because they move quickly and can reduce the bending and distortion that sometimes happen with manual snips. Nibblers are popular when the cut path is more intricate or when a cleaner path through corrugated or shaped sheet is helpful. For roofing panels, larger duct sections, or repeated trim cuts, these tools can save a lot of time and frustration.
They are also a smart middle ground. You get more speed than manual tools but often more control than a large saw. That makes them attractive for remodelers, HVAC workers, and DIYers who handle sheet metal more than once every leap year.
Best use cases
- Long straight cuts in sheet galvanized steel
- Roofing panels and panel trimming
- Repeated cuts where consistency matters
- Projects where reduced edge distortion is a priority
- Curves or awkward shapes, depending on the tool style
What to watch for
Power shears and nibblers are still serious cutting tools. They produce chips, offcuts, and sharp edges, and they require stable support and a clear work area. They also make more sense for sheet goods than for thicker bar, tube, or structural stock. If your project involves heavy material, this is usually not the lane.
For readers choosing between snips and powered sheet-metal tools, the rule is simple: if the metal is thin but the cut is long, frequent, or fussy, power shears or a nibbler often make life easier.
Way #3: Metal-Cutting Saws for Thicker Stock or Bigger Jobs
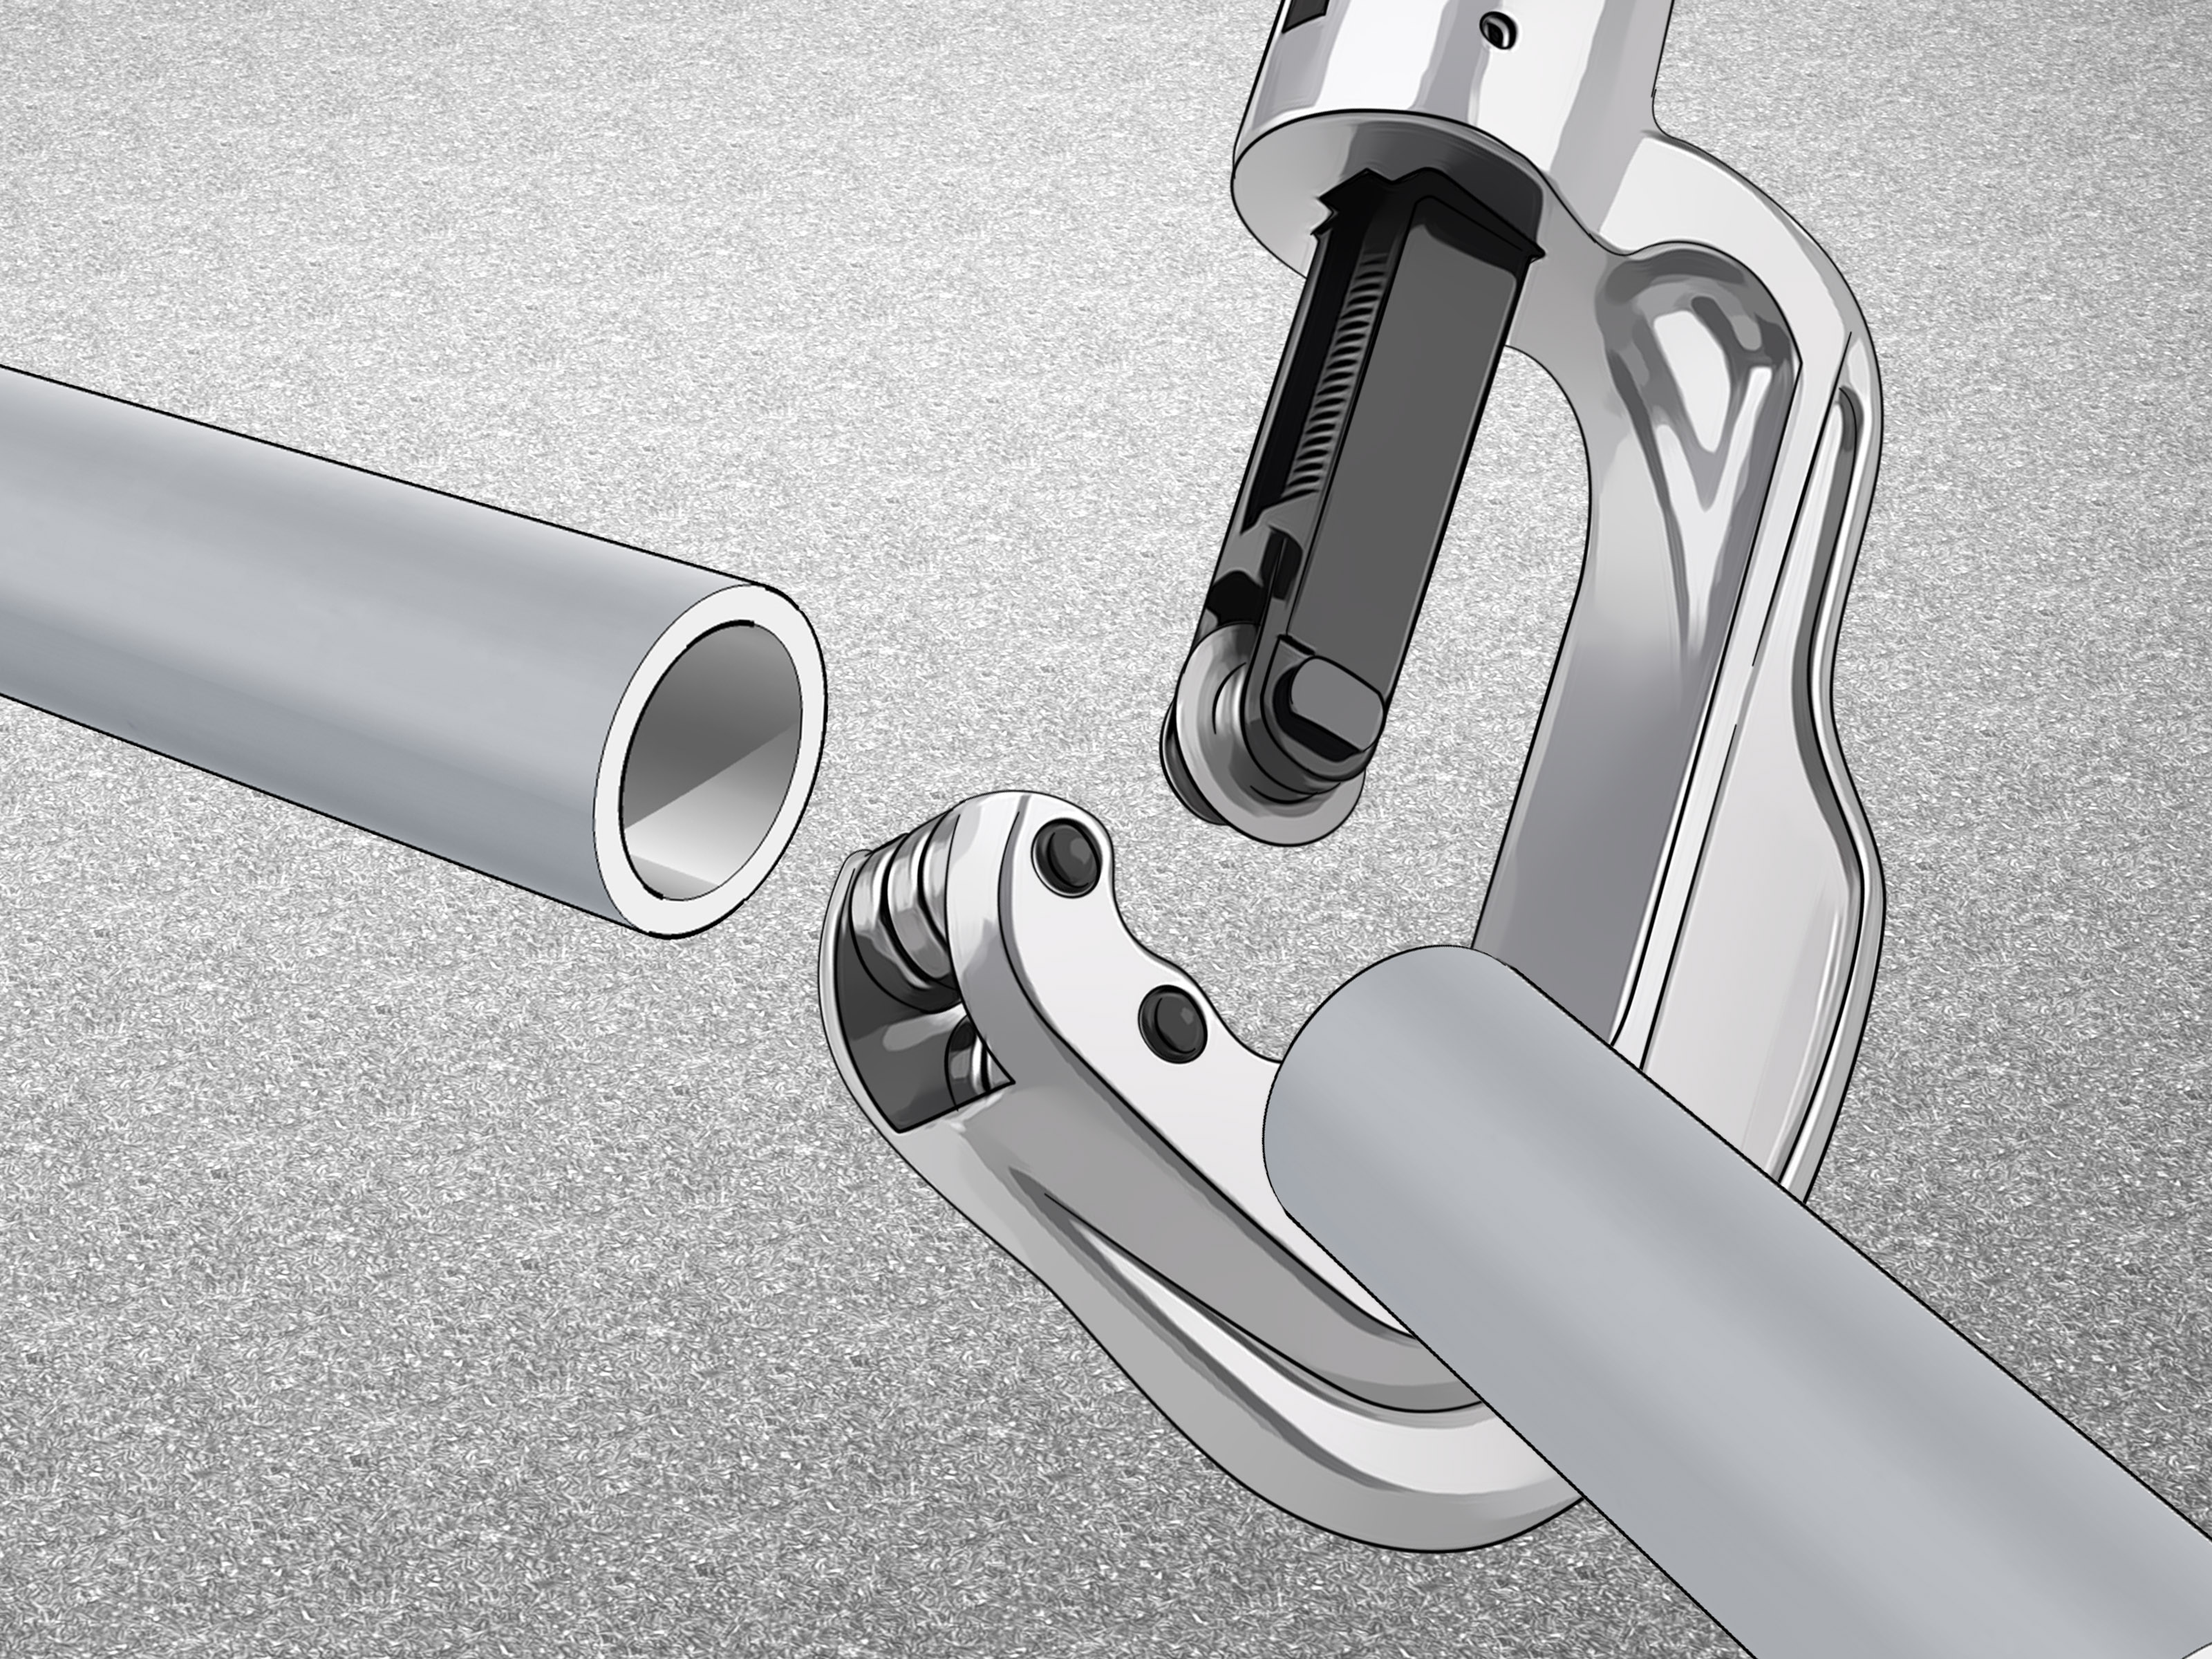
When galvanized steel moves beyond light sheet material, metal-cutting saws become the practical choice. This category can include metal-cutting circular saws, portable band saws, reciprocating saws with the correct blade, or a hacksaw for smaller manual jobs. These are the tools people use when the project is less “trim this panel” and more “cut this pipe, framing member, rod, or thicker section cleanly.”
Why saws make sense
Saws are built for jobs that snips and shears are not. They can handle thicker material, longer stock, and shapes like tubing, conduit, threaded rod, and some framing components. On roofing panels or broader sheet applications, a metal-cutting circular saw may also be preferred when a long, straight cut needs to happen with speed and consistency.
The key advantage is capability. If the material is too thick to comfortably cut by hand, or if accuracy across a larger piece matters, a saw-based approach is often the cleaner answer. But it is also the point where experience matters more. The wrong blade, poor support, or sloppy handling can ruin the finish or create an unsafe setup in a hurry.
Best use cases
- Galvanized pipe, tube, rod, or heavier stock
- Long straight cuts on larger panels
- Jobs where consistency matters across multiple pieces
- Installed materials where portable tools are needed
- Situations that go beyond basic snip-friendly sheet metal
When to leave it to a pro
If the cut involves heat, sparks, confined areas, or large installed sections overhead, that is where the “easy” part of the title officially clocks out. At that point, trained adults or professionals should take over, especially because galvanized coatings and heated cutting can raise air-quality concerns. This is also true when appearance matters, such as visible exterior work where a rough edge will haunt the finished project forever.
How to Choose the Right Method
Choosing the best way to cut galvanized steel comes down to four questions:
1. How thick is the material?
Thin sheet usually favors snips or powered sheet-metal tools. Thicker stock usually points toward a saw or professional fabrication setup.
2. Is the cut short and detailed or long and straight?
Short, detailed work often rewards patience and hand control. Long cuts favor tools that stay consistent over distance.
3. Does the finish matter?
If the visible face needs to stay neat, choose a method known for cleaner edges and less distortion. Supporting the material well and cleaning up metal debris afterward also matter more than many beginners expect.
4. Is this a one-time repair or a repeat task?
For a single home fix, a manual option may be enough. For repeated work, a powered solution may be worth the investment in both time and cleaner results.
Common Mistakes That Make the Cut Look Worse
Most ugly cuts do not happen because galvanized steel is impossible to work with. They happen because the setup is rushed. A wobbly support surface, poor material clamping, the wrong tool for the thickness, or trying to force a fast cut through stubborn steel can all turn a decent project into a jagged memory.
Another common mistake is ignoring the edge after the cut. Freshly cut galvanized steel can leave burrs, sharp corners, and loose metal shavings. Those bits may not look dramatic at first, but they can scratch finished surfaces, stain adjacent material, and encourage localized rust if they are left sitting around like tiny metallic confetti.
Then there is the classic rookie move: assuming galvanized steel behaves exactly like aluminum flashing or plain mild steel. It does not. The coating, finish, and intended application all affect which method feels easiest and which result looks professional.
What Happens After the Cut Matters Too
A clean cut is only part of the job. The edge usually needs attention, especially if the piece will stay visible, live outdoors, or fit into a precise assembly. Depending on the project, readers may need to smooth burrs, remove leftover chips, and check whether the exposed edge needs touch-up protection. Galvanized coatings do offer sacrificial protection at small exposed areas, but cleaner finishing still pays off in appearance and longevity.
For roofing, flashing, trim, or decorative applications, post-cut cleanup is the difference between “custom fit” and “why does this look like I cut it with a folding chair?” Even a good cut can look bad if metal fragments are left behind or the edge is rough enough to snag a glove.
Experience Section: What People Learn the Hard Way About Cutting Galvanized Steel
One of the most common experiences people report with galvanized steel is underestimating how much the shape of the cut matters. Someone starts with the right general idea but the wrong exact tool. For example, a person trimming a small piece of flashing may think a saw is the “stronger” option, only to realize that the finish gets chewed up and the job becomes louder, messier, and more stressful than it needed to be. In that situation, hand snips would have felt calmer, cleaner, and frankly less theatrical.
Another very real experience is discovering that supporting the metal well changes everything. People often blame the tool when the actual problem is that the sheet was wobbling on a pair of sketchy supports that looked stable until the cut began. Once the workpiece is properly secured and supported, even a basic method suddenly performs better. The line stays straighter, the edge bends less, and the person doing the work stops using words that should not appear in a family blog.
Readers who work on roofing, gutters, or duct repairs also learn quickly that long cuts are a different species. A tool that feels great for a six-inch trim may feel terrible on a six-foot panel. That is why many people graduate from snips to power shears or nibblers once they have done enough sheet-metal work to understand the difference between “possible” and “pleasant.” Yes, a manual tool may still get through the job. No, that does not mean it was the smart choice.
There is also the finish issue. Plenty of DIYers have had the experience of making the cut they wanted, then looking down and realizing the visible side now has scratches, hot chips, or rough edges that steal the victory. Galvanized steel forgives a lot in utility spaces like sheds and workshop shelving. It forgives much less on visible trim, exterior panels, or anything near a front entry where every flaw gets a standing ovation from sunlight.
Then comes the lesson almost nobody expects the first time: cleanup is part of cutting. Metal shavings left on a panel can create problems later. Burrs can catch skin, clothing, or wiring. Tiny offcuts can end up in shoes, work benches, and mysterious corners of the garage where they wait like booby traps with excellent patience. Experienced people do not treat cleanup as optional. They treat it as part of the final result.
Finally, people who stay in the trade or keep doing home projects long enough usually come to the same conclusion: the easiest way to cut galvanized steel is rarely the most aggressive method. It is the method that matches the metal, keeps the finish intact, controls the edge, and respects safety. That sounds less exciting than “just hit it harder,” but it produces better work, fewer ruined pieces, and a much lower chance of ending the day annoyed, cut, or shopping for replacement material.
Final Thoughts
If you need the simplest answer, here it is: use aviation snips for thin detailed work, power shears or nibblers for faster sheet-metal cuts, and metal-cutting saws for thicker stock or larger jobs. That is the real cheat sheet. The rest is judgment: thickness, cut shape, finish quality, and safety.
Galvanized steel rewards patience more than muscle. When the tool matches the task, the work feels easier, the edges come out cleaner, and the final piece looks intentional instead of accidental. And that is the goal, whether you are trimming a small vent cover, adjusting a roofing panel, or making a repair that you would prefer not to redo next weekend.