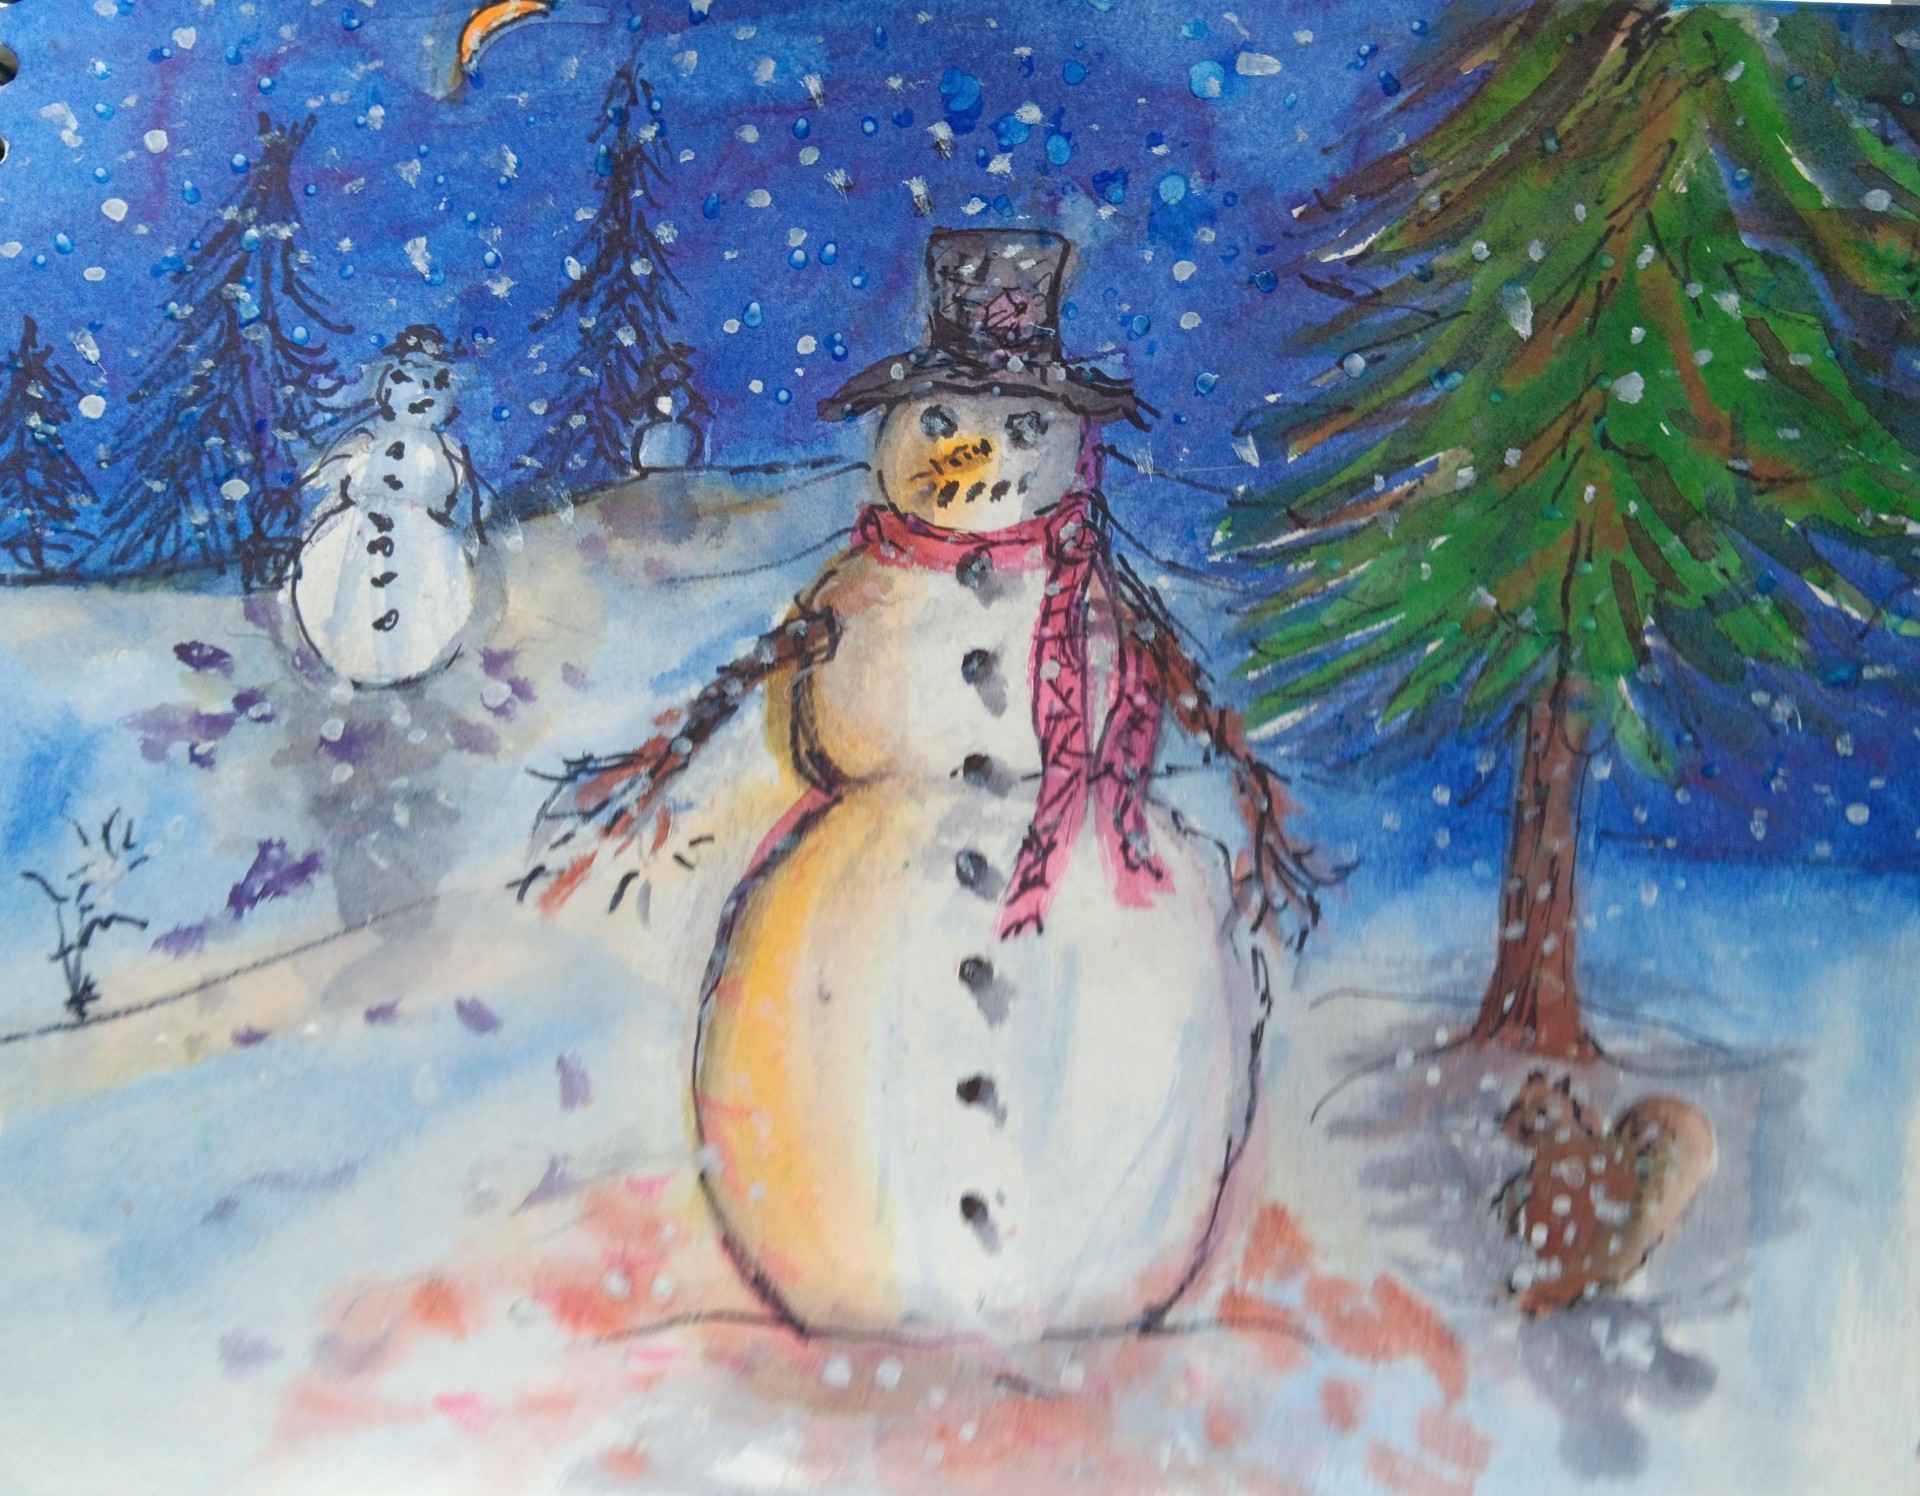
Painting a snowman in the snow sounds wonderfully simple until you realize winter scenes are sneaky little masterpieces. White snow, white snowman, pale sky, frosty backgroundsuddenly your canvas can look like a marshmallow wandered into a fog bank. The good news? It is absolutely possible to paint a charming, dimensional snowman scene without turning your artwork into a blizzard of confusion.
If you want to learn how to paint a snowman in the snow, the secret is not using more white. In fact, it is usually the opposite. Great winter paintings depend on contrast, soft blue and violet shadows, clean layers, and a clear focal point. Once you understand that snow is full of color and the snowman needs shape, texture, and personality, everything gets easier. Also, much more fun. Also also, less likely to look like a haunted snow potato.
This step-by-step guide breaks the process into 12 manageable moves, making it beginner-friendly while still giving you enough depth to create a polished winter canvas. Whether you are painting for holiday decor, a cozy weekend project, or simply because your brain needs a little seasonal sparkle, this tutorial will help you build a snowy scene that actually looks alive.
What You Need Before You Start
- Canvas or acrylic paper
- Acrylic paints: titanium white, ultramarine blue, phthalo blue, black, burnt umber, orange, red, and a touch of yellow
- Flat brush, round brush, and small detail brush
- Palette and water cup
- Paper towels or a rag
- Pencil or chalk for a light sketch
- Optional: glazing medium, splatter brush, and fan brush
If you are a beginner, keep your palette simple. You do not need 47 shades of white. That road leads to confusion, clutter, and one brush loaded with regret.
Why Snowman Paintings Work So Well
A snowman painting is such a crowd-pleaser because it combines soft winter atmosphere with a strong, friendly subject. The snowy setting creates mood, while the snowman gives the eye a clear place to land. That balance makes this one of the best beginner winter painting ideas. You get a landscape and a character in the same piece, which is basically two wins wearing one scarf.
How to Paint a Snowman in the Snow: 12 Steps
Step 1: Choose a Clear Composition
Before you touch the paint, decide where your snowman will sit. Centered compositions work well for beginners, but slightly off-center often looks more natural and interesting. Think about the background too: will you add trees, falling snow, a fence, a cabin, or just a quiet snowy field?
Keep the composition simple. A snowman, snowy ground, soft sky, and a few background details are enough. Too many extra elements can turn your cozy winter scene into a crowded holiday traffic jam.
Step 2: Sketch the Basic Shapes Lightly
Use a pencil or chalk to draw the main forms: three snowball sections for the body, a hat if you want one, arms, scarf, and the curve of the snowy ground. Do not obsess over perfect circles. A slightly uneven snowman looks more natural and more charming. Real snowmen are not built with geometry software.
At this stage, focus on placement and proportion. Make sure the head is smaller than the middle, and the base is widest. Leave room around the snowman so the background can breathe.
Step 3: Block In the Sky First
Start painting the background from top to bottom. A winter sky usually looks best in pale blue, blue-gray, or soft lavender tones. Blend the color gently so the top is slightly darker and the lower part of the sky is lighter near the horizon. That soft gradient adds atmosphere right away.
This is an important move because it sets the mood and helps the white snowman stand out later. If you paint the snowman first, you will spend half the session trying not to accidentally smear sky color into your cheerful frosty hero.
Step 4: Paint the Snowy Ground with Color, Not Just White
Now paint the snow-covered ground. Use white mixed with a little blue, violet, or gray to establish planes and gentle shadow areas. Snow is rarely pure white from edge to edge. It reflects the sky, nearby objects, and changing light, which is exactly why winter scenes can look magical when painted well.
Use horizontal brushstrokes for a calm snowy field, or curved strokes around the snowman’s base to suggest drifts and mounds. Leave some brighter white highlights for later instead of filling everything with your lightest color too soon.
Step 5: Establish the Snowman’s Main Body
Paint the snowman with a base coat of off-white rather than straight white. A mix of titanium white with a tiny touch of blue or neutral gray works beautifully. This gives you room to add brighter highlights later and prevents the snowman from disappearing into the snow like a shy marshmallow with stage fright.
Keep the edges soft but controlled. The lower sections should feel round and solid. If you want a fluffier, softer look, feather the edges slightly where the body meets the surrounding snow.
Step 6: Add Form with Cool Shadows
This step is where the painting starts to come alive. Decide where the light is coming from, then add shadows on the opposite side of each snowball section. Use blue-gray or violet-gray for the shadows. Keep them soft and curved so the body looks round instead of flat.
Add a small cast shadow on the snow beside the snowman too. This is one of the easiest ways to create dimension. Without it, the snowman can look like it is hovering above the ground, which is fine for a ghost but less ideal for a snowman tutorial.
Step 7: Paint the Hat, Scarf, and Accessories
Once the body is dry enough, add the fun stuff. A red scarf, black hat, green mittens, or a bright blue beanie can create strong contrast against the cool winter palette. These details help your focal point pop and make the scene feel festive without needing glitter explosions.
Paint the larger accessory shapes first, then go back for folds, edges, and highlights. A little shadow under the hat brim or inside the scarf folds adds believable depth with very little effort.
Step 8: Give the Face and Features Personality
Now paint the eyes, carrot nose, mouth, and buttons. Tiny details matter here, but keep them simple. Two small dark eyes, a carrot nose with a highlight, and a dotted smile are usually enough. Resist the urge to overwork the face. One extra line can transform “adorable winter friend” into “snowman who knows your secrets.”
Use a detail brush and a steady hand. If you make a mistake, let it dry and paint over it. Acrylics are wonderfully forgiving, which is one reason they are so popular for beginner canvas painting.
Step 9: Add Trees, Fence Posts, or Background Interest
With the main subject established, paint your background elements. Evergreen trees, bare winter branches, a distant fence, or soft snowy hills all work nicely. Keep background objects less detailed and slightly muted so they do not compete with the snowman.
This is where depth really matters. Smaller, lighter, and softer details should stay farther back. Bigger, darker, sharper details come forward. That one principle can save an entire winter landscape from looking flat.
Step 10: Build Texture with Dry Brush or Scumbling
Once your main layers are in place, use a dry brush with very little paint to skim texture across snowy areas, tree edges, or the snowman’s body. This technique creates a broken, frosty effect that feels perfect for winter scenes. You can also lightly scumble pale color over dried paint to soften transitions and create that hazy winter glow.
Use this step with restraint. Texture is like cinnamon on hot chocolate: delightful when balanced, chaotic when you dump in the whole jar.
Step 11: Add Falling Snow and Final Highlights
Now it is time for sparkle. Use clean titanium white for the brightest highlights on the snowman’s lit side, the tops of snowbanks, and any frosty accents on accessories. For falling snow, you can splatter thinned white paint lightly with a stiff brush, or dot individual flakes with a small round brush if you want more control.
Do not cover the whole painting in snowflakes just because you can. A few well-placed flakes feel atmospheric. A thousand flakes feel like your painting lost a fight with a powdered sugar cannon.
Step 12: Step Back, Adjust, and Finish Strong
The final step is to stop painting like you are two inches from the canvas and start looking at the whole piece. Step back. Squint. Ask yourself whether the focal point is clear, the shadows make sense, and the snowman stands out from the background.
If needed, strengthen contrast around the face, sharpen one side of the scarf, brighten a highlight, or soften a background tree. These small final edits often make the difference between “cute painting” and “wow, that actually looks finished.”
Common Mistakes to Avoid
- Using only pure white: Snow needs shadow color to feel real.
- Skipping the background: The sky and ground set up the whole painting.
- No cast shadow: Without one, the snowman can float awkwardly.
- Too many details everywhere: Keep the snowman as the star.
- Rushing wet layers: Let acrylic paint dry enough before adding clean details.
Beginner Tips for Better Snow Painting
If you are still learning how to paint snow, remember this: value matters more than complexity. A simple scene with strong lights and soft cool shadows will usually look better than a complicated scene with muddy color. Keep your brushwork intentional, your palette limited, and your focal point obvious.
It also helps to test colors on scrap paper before they hit the canvas. White mixed with a tiny bit of blue can be beautiful. White mixed with too much blue can look like your snowman belongs on another planet. Test first. Save drama for the sky, not the palette.
Experience: What It Really Feels Like to Paint a Snowman in the Snow
There is something oddly calming about painting a snowman in the snow. It is not just the winter theme. It is the rhythm of it. You start with a blank surface that feels a little intimidating, then slowly turn it into a quiet world with light, shadow, and texture. At first, the canvas can look awkward and unfinished. The sky feels too plain. The ground looks too empty. The snowman resembles a stack of suspicious pancakes. Then, little by little, the painting begins to click. One shadow under the head makes it feel round. One bright scarf turns it from a shape into a character. One cast shadow anchors it to the ground, and suddenly the whole scene breathes.
That is part of what makes this subject so satisfying. It teaches patience without being boring. You do not need a complicated portrait or a dramatic city skyline to feel like you are making real progress. A winter painting gives you immediate feedback. Add too much white, and the image goes flat. Add a cool blue-gray shadow, and everything wakes up. It is one of those rare painting subjects that quietly trains your eye while still being fun enough to keep you from checking your phone every six minutes.
It also tends to bring back memories. Even if you have not built a snowman in years, the image carries a kind of instant nostalgia. Maybe it reminds you of snowy school days, foggy windows, wet mittens, hot chocolate, or that one winter when someone insisted the lopsided snowman looked “abstract.” When you paint the scarf, the stick arms, or the crooked smile, you are not just copying a seasonal scene. You are painting a feeling people already recognize. That makes the artwork warmer, even when the subject is literally made of ice.
Another great thing about this project is that it welcomes imperfection. A snowman does not have to be flawless to be lovable. In fact, perfect circles and overly polished details can make the painting feel stiff. A slightly crooked hat, an uneven smile, or a scarf that twists a little too dramatically can give the piece personality. It reminds you that handmade art is supposed to look human. Or at least human-adjacent. Your snowman can absolutely be charming without looking like it graduated from a luxury snow architecture program.
By the time you finish, you usually end up with more than a seasonal painting. You gain a better sense of how to control contrast, how to suggest texture without overpainting, and how to use color inside “white” areas. That is valuable practice for all kinds of artwork, from winter landscapes to clouds to portraits with cool light. So yes, painting a snowman in the snow is festive and cute, but it is also quietly educational. It is one of those projects that feels cozy on the surface and sneaks in real artistic growth underneath. Not bad for a fellow made of frozen water and optimism.
Final Thoughts
If you have been wondering how to paint a snowman in the snow, the best approach is to keep the process simple, deliberate, and layered. Start with the big shapes, build your values, use cool shadows, and save your brightest whites for the end. That combination creates depth, mood, and enough contrast to make the whole scene sparkle.
Most importantly, let the painting be playful. Winter scenes are allowed to feel joyful. Your snowman can be classic, whimsical, rustic, modern, or gloriously overdressed. As long as the light, shadow, and composition work together, your painting will feel inviting. And if your snowman ends up looking slightly smug, honestly, that is just character.