Oven-safe glass bakeware is the kitchen equivalent of a clear tote bag: you can see what’s going on, it looks tidy on the table, and it’s wildly useful until you treat it like an indestructible gym duffel. Used the right way, glass bakeware is a workhorse for casseroles, desserts, and meal prep. Used the wrong way, it can have a dramatic “I’m done here” moment (usually right when guests arrive).
Below are three genuinely practical ways to use oven-safe glass bakewareplus the habits that keep your dish intact and your food delicious. You’ll get specific examples, smart tweaks for better browning, and a few “learn from other people’s mistakes” notes so you don’t have to audition for a kitchen blooper reel.
First: What “Oven-Safe Glass” Really Means (And What It Doesn’t)
“Oven-safe” is not a magical force field. It generally means your dish is designed for the steady, indirect heat of a conventional or convection oven. It does not automatically mean it can handle direct flame, a broiler’s intense top heat, or sudden temperature swings.
A quick glass-bakeware safety checklist
- Check the label or manufacturer guidance for temperature limits and use rules. Different brands and lines can vary.
- Always preheat the oven before the glass goes in. (Glass + exposed heating element during preheat is a risky combo.)
- Avoid direct heat sources like stovetops, broilers, toaster ovens, grills, and anything that blasts heat in one concentrated spot.
- Avoid thermal shock: don’t go fridge/freezer → hot oven instantly, and don’t add cold liquid to a hot dish.
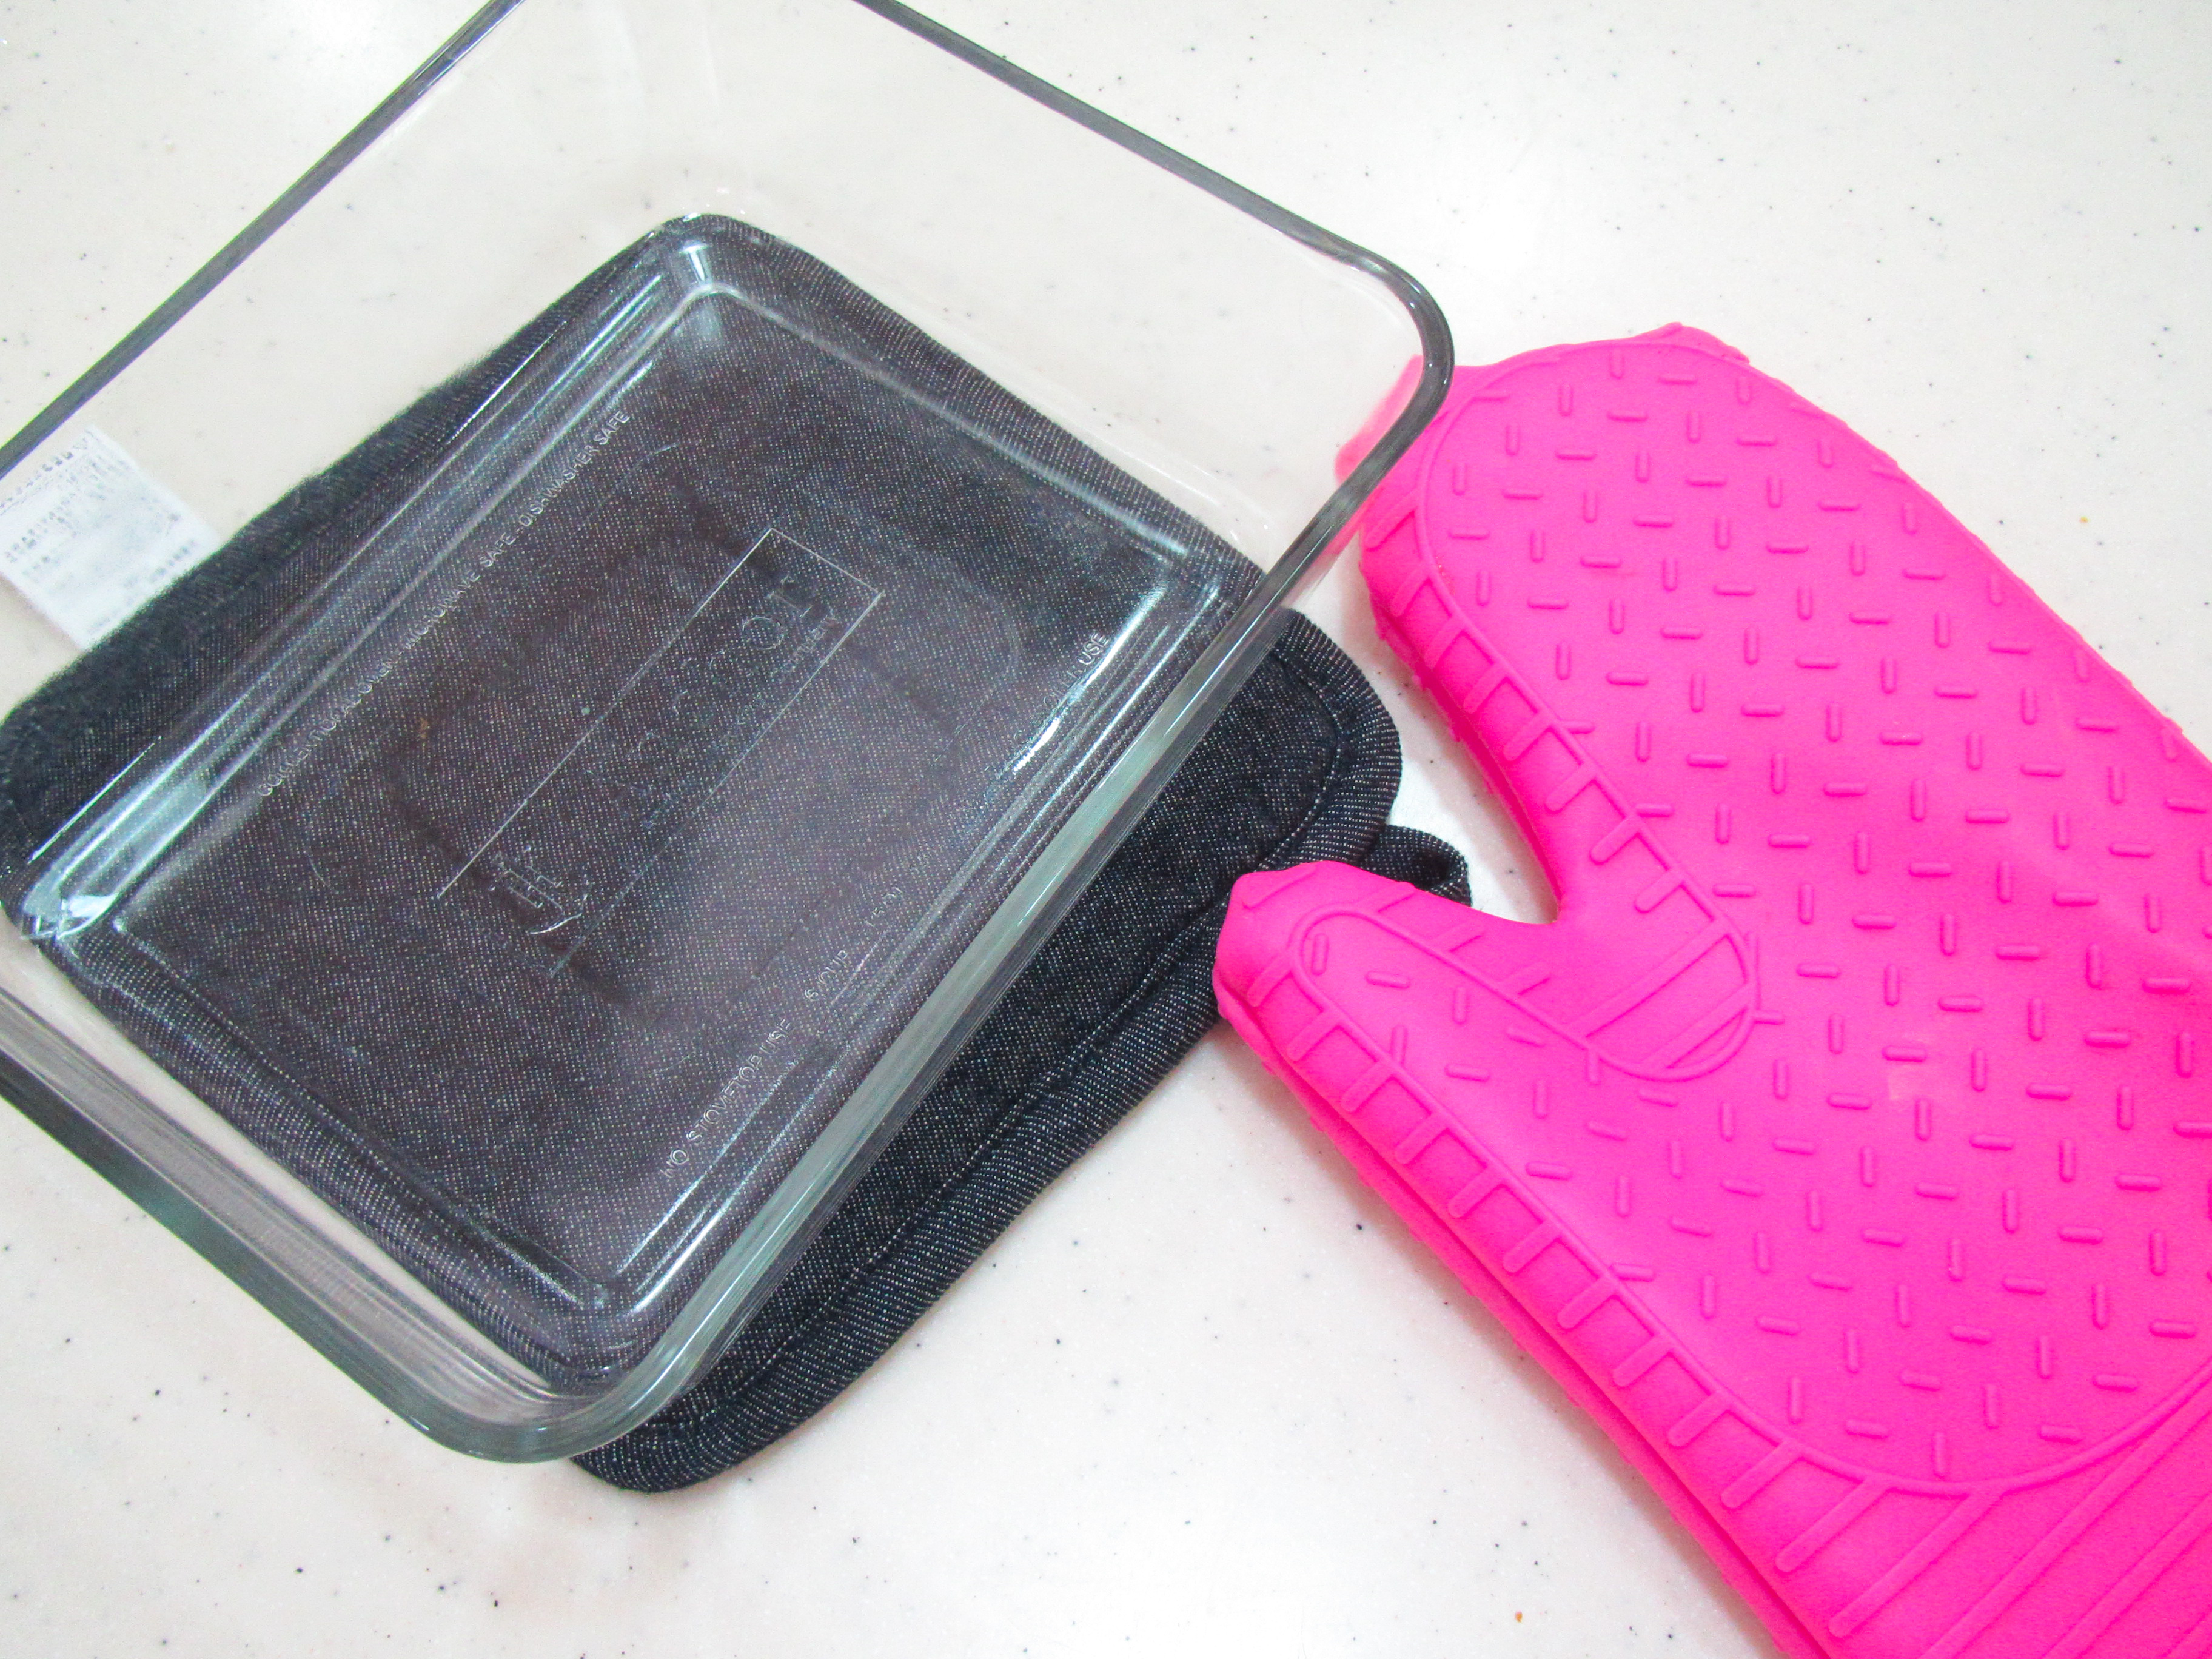
- Use a dry trivet or towel under a hot dishno wet counters, no cool metal surfaces, no “I’ll just set it here for one second.”
- Retire damaged pieces. Chips, cracks, and deep scratches can weaken glass and raise the risk of breakage.
One extra pro move: if you’re cooking something that might release juices (meats, watery vegetables, frozen items), start with a thin layer of liquid covering the bottom of the dish. It helps reduce abrupt temperature changes when liquids hit hot glass mid-cook.
Way #1: Make Oven-to-Table Casseroles That Hold Heat Like a Champ
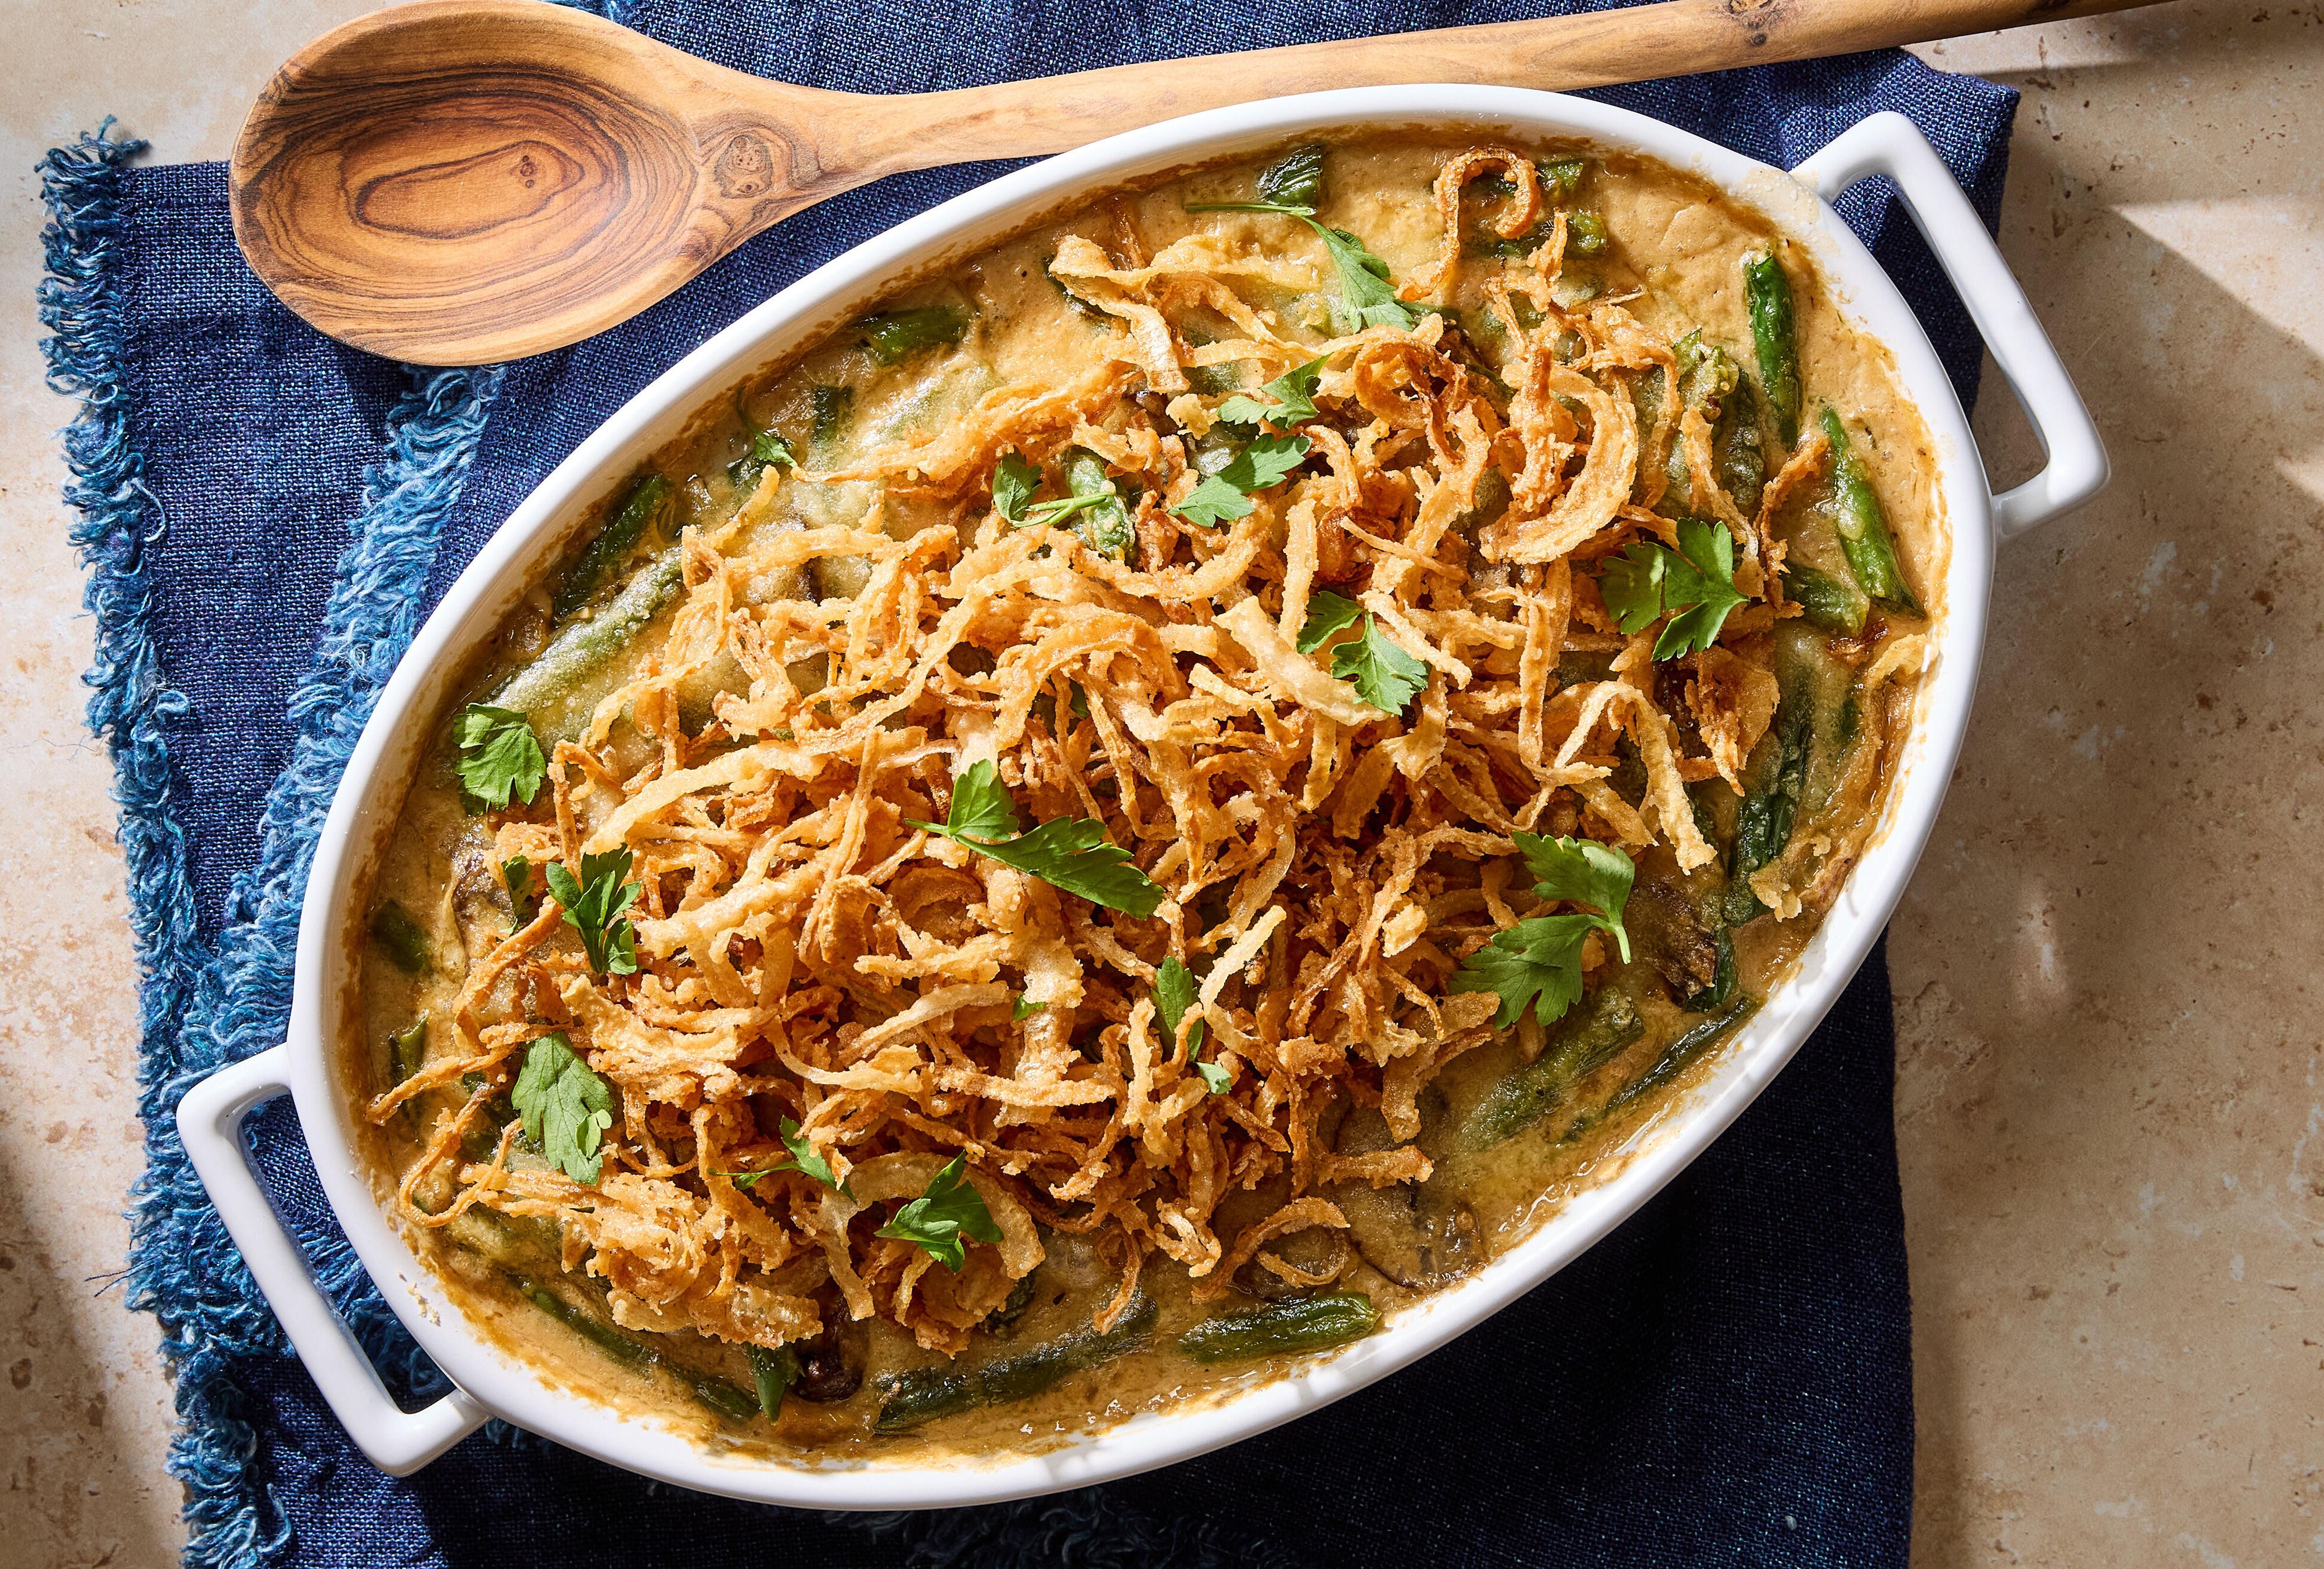
Glass bakeware shines when you want a long, steady bake and a dish that stays warm after it leaves the oven. Glass heats more slowly than metal, but it holds onto heat wellgreat for casseroles that need time for flavors to mingle, sauces to thicken, and cheese to do its glorious bubbling thing.
Best casserole-style wins for glass
- Lasagna: slow bake, saucy layers, and you can see the edges bubbling to judge doneness.
- Baked ziti: pasta + sauce + cheese = glass bakeware’s love language.
- Enchiladas: the sauce stays hot longer, and the dish looks great on the table.
- French toast casserole: custardy center, crisp top, easy slicing once it rests.
- Stuffed pepper “rafts”: stable heat helps the filling cook through without scorching the outside.
How to get better results (without drying things out)
Use these small tweaks to make casseroles in glass consistently better:
- Preheat everything that can be preheated: the oven, and (if your recipe uses it) your sauce or broth. Cold sauce poured into a cold dish is fine; cold liquid poured into a hot dish is where you can get into trouble.
- Cover, then uncover: start covered (foil or a proper lid with a little venting), then uncover near the end to brown the top. This protects moisture early and gives you that golden finish later.
- Rest before serving: 10–20 minutes helps casseroles set so you get slices instead of “delicious lava that slides everywhere.”
- Use the visibility advantage: because glass is transparent, you can check browning on the sides and bubbling at the edges without pulling the dish out five times like an anxious oven door DJ.
Example: Weeknight baked ziti in glass (the reliable crowd-pleaser)
Toss cooked pasta with marinara, a splash of reserved pasta water, and a little olive oil. Layer into a greased glass baking dish with ricotta (or cottage cheese), mozzarella, and parmesan. Cover with foil for the first part of baking, then uncover to brown the top. Let it rest so the sauce thickens and the slices hold.
Why glass helps here: it keeps the center hot longer and encourages a steady bake that warms everything throughespecially handy if your pasta went into the dish slightly cooler than ideal (because life happens).
Way #2: Bake Desserts That Prefer Gentle, Even Heat (Custards, Cobblers, Bread Pudding)
Glass bakeware is a sweet-tooth ally for desserts that benefit from steady heat rather than aggressive browning. Think custards, fruit bakes, and pudding-style dessertsanything where “silky, set center” matters more than “crispy edges in record time.”
Great dessert matches for glass
- Bread pudding: custardy interior, golden top, and it stays warm for seconds (and thirds).
- Fruit cobbler/crisp: glass is nonreactive, so it plays nicely with acidic fruits like berries and citrus.
- Hot fudge pudding cake: the dish holds heat so the sauce stays gooey longer at the table.
- Cheesecake bars: gentle heat helps prevent overbrowned edges while the middle sets.
- Brownies (with a caveat): doable in glass, but you’ll want to manage the edge-browning.
The “glass pan adjustment” you’ll actually use
If a recipe was developed for metal and you’re baking it in glass, many baking sources recommend lowering the oven temperature by about 25°F and expecting a slightly longer bake. Why? Glass can lead to darker edges before the center is done, especially in high-sugar, high-fat batters (hello, brownies and blondies).
Translation: don’t panic if the top looks ready before the timer. Start checking earlier, use visual cues (set center, clean toothpick, bubbling fruit edges), and give it the time it needs at the slightly lower temp.
Example: Fruit crisp that stays warm and scoopable
Mix sliced fruit with sugar, a little starch (cornstarch or tapioca), citrus zest, and a pinch of salt. Top with an oat-butter crumble. Bake until the fruit is bubbling and the topping is golden. Let it cool for 15 minutes so the juices thicken. Serve straight from the glass dishbecause it’s basically a serving platter that also happens to be an oven vessel. Multitalented. Unbothered.
When glass isn’t the best dessert choice
If your goal is maximum crispnesslike thin cookies, delicate biscuits, or anything that needs fast heat transfermetal usually wins. That doesn’t mean you can’t bake in glass. It just means you’ll want to adjust expectations (and temperature) so you don’t end up with “perfect center, overenthusiastic edges.”
Way #3: Meal Prep That Doesn’t Taste Like “Meal Prep” (Bake, Store, Reheat)
One of the most underrated strengths of glass bakeware is that it’s built for the full food lifecycle: bake → cool → store → reheat → serve. It doesn’t absorb odors as easily as some materials, it’s easy to clean, and it can go from fridge to oven as long as you avoid sudden temperature shock.
Make-ahead meals that work especially well in glass
- Enchiladas or baked tacos: assemble, refrigerate, bake the next day.
- Breakfast casseroles: build the night before, bake in the morning, feed everyone while still in pajamas.
- Mac and cheese: cook stovetop, transfer to glass, bake to set and brown.
- Stuffed shells: assemble, cover, refrigerate, then bake when you’re ready.
- Roasted veggie bakes: longer, gentler roasting that softens vegetables evenly.
The meal-prep rules that prevent heartbreak
- Let chilled glass temper: if your dish has been in the fridge or freezer, let it sit out a bit before it goes into a hot oven. This reduces the risk of thermal shock.
- Never add cold liquid to hot glass: if you need extra broth mid-bake, warm it first (or add it early).
- Use oven-safe covers correctly: many glass dish lids are plastic and not meant for the oven. Foil is your friend for covered baking.
- Vent when covering: trapped steam and pressure can cause trouble. If you cover tightly, leave a small vent so steam can escape.
- Place hot dishes on dry, heat-safe surfaces: wood trivet, dry towel, cooling rackanything but a wet counter or cool metal surface.
Example: Make-ahead enchiladas (assemble tonight, bake tomorrow)
Spread a thin layer of enchilada sauce in the bottom of a glass baking dish. Fill tortillas with chicken or beans, roll, and nestle them in. Pour more sauce over the top, add cheese, cover, and refrigerate. When ready to bake, let the dish sit at room temperature while the oven preheats, then bake covered until hot throughout and uncover to brown the cheese.
Why glass helps here: it’s the same dish for assembling, storing, baking, and servingfewer pans, fewer dishes, fewer opportunities to mutter “why do we own so many lids that don’t match anything?”
Quick Troubleshooting: When Glass Bakeware Gives You Attitude
Problem: The edges are too dark but the middle is still underdone
- Lower the oven temp by about 25°F next time (especially for brownies, cakes, and bar cookies).
- Move the rack slightly higher to reduce intense bottom heat.
- Use a light-colored pan liner strategy: parchment for bars, or a water bath for delicate custards when appropriate.
Problem: Sauce looks watery after baking
- Rest the dish longer. Many casseroles thicken dramatically as they cool 10–20 minutes.
- Use a touch more starch or reduce watery add-ins (like un-squeezed spinach or extra-juicy tomatoes).
- For pasta bakes, hold back some sauce and add only what the pasta can actually absorb.
Problem: Food sticks like it signed a lease
- Grease lightlyespecially corners. Glass is smoother than some materials, but it’s not a mind reader.
- Let baked-on spots soak before scrubbing; avoid harsh abrasion that can scratch the surface.
Problem: Your dish got cloudy or “filmy”
- That’s often mineral residue or detergent buildup. Soak with warm water and a little vinegar, then rinse well.
- Avoid abrasive pads that can create micro-scratches over time.
Real-Kitchen Experiences: of Wins, Lessons, and “Oops” Moments
If you hang around enough home cooks, you’ll notice oven-safe glass bakeware inspires the same kind of loyalty as a favorite hoodie: it’s dependable, comforting, and it shows up in photos whether you intended it to or not. Here are some very real, very common experiences people have when they start using glass bakeware on purpose (instead of only when every metal pan is mysteriously “in the dishwasher”).
Experience #1: The casserole glow-up. The first time someone makes lasagna in a glass dish and sees the sauce bubbling along the sides, it feels like unlocking a tiny cooking superpower. You’re not guessing if it’s hot in the middleyou can literally watch the action. It’s especially satisfying for layered foods: the edges tell you when the party has started, and the center catches up without needing a temperature spike that scorches the corners.
Experience #2: The “why are my brownie edges so intense?” phase. Many people try brownies in glass once and think, “Wow, these edges have… opinions.” Glass holds heat, and certain batters brown aggressively at the perimeter. The fix is simple: lower the oven temperature a bit, expect a slightly longer bake, and start checking earlier. The emotional fix is also simple: eat the corner pieces first while standing in the kitchen, pretending you’re “just cleaning up.” (We believe you.)
Experience #3: The meal-prep breakthrough. Glass bakeware makes it easier to cook like you’ve got your life together. You can assemble enchiladas in the same dish you’ll bake and serve them in. You can refrigerate a breakfast casserole overnight and bake it in the morning with minimal chaos. Suddenly you’re doing the “one pan, one lid, one plan” thingand it feels suspiciously adult.
Experience #4: The thermal shock lesson everyone hears about. Nearly every glass-bakeware fan knows someone who went straight from fridge to blazing oven (or set a hot dish on a wet counter) and learned a memorable lesson about temperature swings. That’s why seasoned cooks get almost comically careful: they preheat the oven, let chilled dishes sit out briefly, warm liquids before adding them, and always set hot glass on a dry trivet or towel. It’s not paranoiait’s pattern recognition.
Experience #5: The “it looks good on the table” bonus. Glass bakeware has a quiet superpower: it’s presentable. Fruit crisps look jewel-toned. Layered bakes look intentional. Even something humble like baked pasta suddenly reads as “cozy dinner party” instead of “I made this in a panic.” And because glass holds heat well, it keeps food warmer longer once it’s servedmeaning seconds don’t have to be microwaved into sadness.
The big takeaway from all these experiences is refreshingly simple: treat glass bakeware like a high-performing teammate. Give it steady heat, avoid sudden temperature surprises, and it will reward you with reliable bakes, easier serving, and fewer dishes. And if you do everything right and still manage to overbrown a corner? Congratulationsyou’ve just claimed the best piece.
Conclusion: Make Glass Bakeware Your “Three-Job” Pan
Oven-safe glass bakeware earns its spot in the kitchen because it can do three jobs well: it bakes casseroles evenly and stays hot at the table, it handles gentle-heat desserts beautifully, and it makes meal prep simpler by going from storage to oven to serving without dramaas long as you avoid sudden temperature changes and direct heat sources.
If you remember nothing else, remember this: preheat the oven, keep liquids warm when adding late, set hot glass on a dry trivet, and don’t treat “oven-safe” like it means “broiler-proof.” Do that, and glass bakeware will keep showing up for youclear, calm, and ready for its close-up.