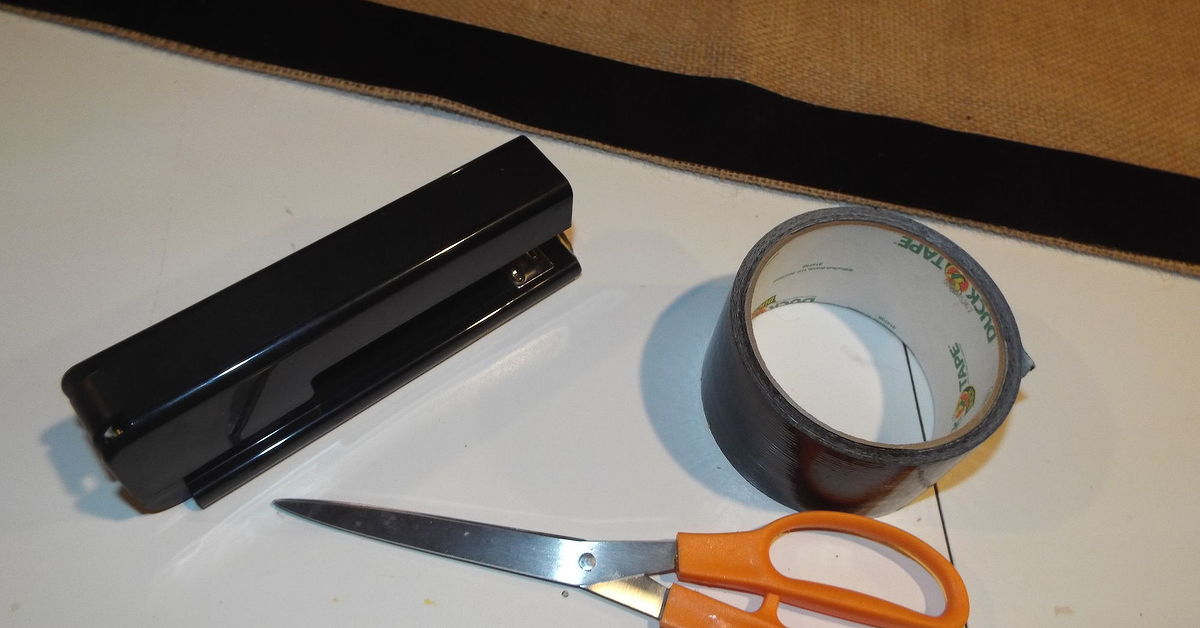
That uneven strip of burlap left after making a wreath, table runner, or holiday banner may look like a future resident of the trash can. Do not toss it yet. With a few strategic pulls, folds, and pieces of duct tape, those scratchy fabric remnants can become rustic burlap flowers worthy of a wreath, centerpiece, gift box, or farmhouse-style wall display.
Burlap is a coarse, plain-woven material traditionally made from fibers such as jute or hemp. Its open weave gives it the earthy texture people love, but it also means the edges can unravel faster than your motivation during a complicated craft tutorial. Fortunately, that loose weave is an advantage when making flowers because individual threads can be removed to create straight cutting guides, fringe, loops, and airy petals.
This project does not require sewing, a fancy cutting machine, or a degree from the University of Extremely Complicated Crafts. Duct tape provides the hidden structure, while buttons, beads, twine, or fabric scraps finish the centers. The result is inexpensive, customizable, and surprisingly polished.
Why Leftover Burlap Is Perfect for Handmade Flowers
Burlap flowers work especially well with leftover material because every bloom can be a different size. A narrow scrap may become a small rolled rose. A wider piece can produce a large loopy flower. Even loose burlap threads can be tied into a fuzzy center or wrapped around a stem.
The natural tan color fits farmhouse, country, coastal, fall, and Christmas decor, while dyed burlap can support brighter seasonal projects. Burlap flowers are frequently used on grapevine wreaths, fabric-covered wreath forms, rustic gift tags, and other home decorations because their texture contrasts nicely with greenery, ribbon, wood, paper, and dried botanicals.
Duct tape is useful here for more than emergency household repairs. Decorative versions are available in numerous colors and patterns, and the material provides a strong hold that can reinforce craft projects. In this tutorial, the tape stays mostly hidden, acting like a no-sew seam that holds the burlap together.
Supplies You Will Need
- Leftover burlap fabric or burlap ribbon
- Duct tape in brown, tan, green, or another coordinating color
- Sharp fabric or craft scissors
- A ruler or measuring tape
- Buttons, wood beads, faux berries, or small fabric circles
- Twine, floral wire, or wooden dowels, if stems are desired
- Optional hot glue or fabric glue
- Optional felt for backing circles
- Optional paint, lace, ribbon, or fabric scraps
A craft mat or piece of scrap cardboard is also helpful. Duct tape can leave adhesive on a table, and burlap sheds tiny fibers as it is cut and pulled. In other words, protect the furniture unless you enjoy explaining why the dining table suddenly has a fuzzy tan mustache.
Prepare the Burlap Before Making Flowers
Choose a Suitable Scrap
For a medium flower, begin with a strip approximately 4 to 6 inches wide and 10 to 14 inches long. These measurements are flexible. Shorter strips create compact blooms, while longer strips produce fuller flowers with more loops or layers.
Burlap ribbon with finished long edges is the easiest material for loopy flowers. Raw yardage also works, but leave a narrow woven border along the sides so the entire strip does not disintegrate during assembly.
Make a Straight Cut by Pulling a Thread
Because burlap has a visible grid, cutting by eye can create a crooked edge. Instead, measure the desired width, locate one thread, and gently pull it from the weave. The empty channel becomes a straight line for your scissors. This thread-pulling method is commonly used when preparing burlap flowers, runners, and fringed fabric projects.
Pull slowly. If the thread breaks, find the broken end and continue from that point. A little patience here produces a neater flower later.
Control Unwanted Fraying
A small amount of fraying adds rustic character. Excessive fraying makes the flower resemble a nervous tumbleweed. To keep the weave under control, apply a narrow strip of duct tape to the hidden side of an edge, brush on a small amount of fabric glue, or preserve the factory-finished border of burlap ribbon.
How to Make a Loopy Burlap Flower With Duct Tape
This method creates a dimensional bloom with soft loops radiating from the center. It is especially useful for scraps of wide burlap ribbon.
Step 1: Cut the Burlap Strip
Cut a strip about 10 to 12 inches long. A longer strip creates a fuller flower, but it also becomes harder to shape. Beginners should start modestly rather than attempting a bloom large enough to have its own ZIP code.
Step 2: Remove Selected Center Threads
At one short end, find the threads running through the center of the strip. Pull these fibers out one at a time while leaving approximately half an inch of woven material intact along both long edges.
Continue removing the center threads across the strip. The remaining fibers will stretch between the two sturdy side borders. These loose strands become the loops of the flower. Tutorials for loopy burlap flowers commonly begin with a 10- to 12-inch strip and preserve the long edges while center fibers are pulled away.
Step 3: Bring the Long Edges Together
Fold the strip lengthwise so the two intact woven borders meet. The loose fibers should bow outward, creating a row of loops.
Adjust the fibers with your fingers so the loops are reasonably even. They do not need to match perfectly. Slight differences make the finished bloom look natural rather than factory-stamped.
Step 4: Tape the Folded Edges
Turn the strip over so the future underside faces upward. Run a narrow piece of duct tape along the two meeting edges. Press firmly, making sure the tape grips both borders without covering too much of the visible burlap.
If your duct tape is wide, tear or cut it into a narrower strip. A half-inch band is usually enough. The goal is support, not mummification.
Step 5: Form a Circle
Bring the two short ends together to create a ring. Secure the joint with another small piece of duct tape on the underside.
Place the ring flat on your work surface. Push the outer edge outward and the taped inner edge toward the center. The loops should spread into a circular flower shape.
Step 6: Shape the Petals
Separate, twist, and fluff the loops. Rotate the flower as you work so one side does not become much fuller than the other. Press the center flat once the bloom looks balanced.
Step 7: Add a Decorative Center
Cover the middle with a large button, wood bead, fabric rosette, faux berry cluster, or circle of contrasting burlap. Attach the center with a small piece of rolled duct tape, fabric glue, or hot glue.
A felt circle on the back provides a cleaner finish and creates a convenient surface for attaching the flower to another object.
How to Make a Rolled Burlap Rose
Small or narrow scraps are ideal for rolled roses. Cut a strip approximately 1 to 2 inches wide and 12 to 20 inches long.
- Place a small folded tab of duct tape at one end to create a firm starting point.
- Roll the first inch tightly to form the center bud.
- Twist the burlap strip away from you and wrap it around the center.
- Continue twisting and wrapping, allowing the layers to loosen gradually.
- Add tiny pieces of duct tape underneath every few turns.
- Fold the remaining end under the flower and secure it to the back.
Layering petals around a tight center is also the basic principle used in duct-tape rose tutorials, where repeated folded pieces are wrapped around a central bud until the desired size is reached.
The burlap version looks less glossy and more organic. Pull a few threads from the outer layers for a softer, weathered appearance.
Creative Variations to Try
Two-Tone Flowers
Layer a narrow strip of colored fabric over natural burlap before forming the loops. Navy cotton, red gingham, cream lace, and muted floral prints all work well. Secure the layers together with hidden duct tape.
Sunflower-Inspired Blooms
Paint the burlap loops mustard yellow or use yellow burlap ribbon. Add a large dark-brown button, a circle of braided twine, or a cluster of small wood beads in the center. Burlap sunflowers are particularly effective in fall wreaths and harvest arrangements.
Holiday Poinsettias
Cut several pointed burlap petals, back each one with duct tape, and arrange them in overlapping layers. Red burlap creates a traditional poinsettia, while natural burlap with white paint along the edges produces a snowy farmhouse version.
Flowers With Stems
Wrap green duct tape around floral wire or a thin wooden dowel. Attach the stem to the back of the flower and cover the joint with a felt circle. Duct-tape flower projects often use dowels, wire, pens, or similar objects as stems and supports.
Distressed Painted Burlap
Lightly dry-brush the loops with white, gold, rust, or sage-green craft paint. Use very little paint so the natural texture remains visible. The goal is a soft highlight, not a flower that appears to have fallen into a bucket of wall primer.
Ways to Use Your Finished Burlap Flowers
Decorate a Wreath
Group three flowers on one side of a grapevine or fabric-wrapped wreath. Use an odd number of blooms and vary their sizes for a balanced arrangement. Add eucalyptus, faux leaves, pinecones, cotton stems, or seasonal ribbon.
Upgrade a Gift
Replace a disposable bow with one burlap flower. Wrap the package in kraft paper, tie it with twine, and attach the flower near the knot. The recipient can reuse the bloom as an ornament or decoration.
Create Rustic Napkin Rings
Attach a small flower to a loop of twine, elastic, or burlap ribbon. These rings are attractive for Thanksgiving, farmhouse weddings, bridal showers, and casual outdoor dinners.
Refresh a Mason Jar
Wrap a clean jar with a band of burlap and secure it at the back with duct tape. Add one flower to the front. Use the jar as a pencil holder, flameless candle holder, or vase for dried stems.
Make a Floral Garland
Attach several flowers to a long piece of jute cord. Alternate the blooms with wood beads, leaves, or fabric strips. Hang the garland across a mantel, shelf, window, or party table.
Embellish Bags and Baskets
Add a felt-backed bloom to a fabric tote, storage basket, or decorative gift bag. Use a safety pin or removable clip when you want the flower to be detachable.
Common Problems and Easy Fixes
The Burlap Keeps Unraveling
You may have removed too many structural threads. Preserve a wider woven border or reinforce the underside with narrow duct tape before pulling additional fibers.
The Flower Will Not Lie Flat
The inner taped edge may be too long. Overlap the short ends slightly to reduce the circumference, retape the joint, and press the center down again.
The Duct Tape Is Visible
Trim the tape narrower, move it farther toward the underside, or cover the center with a larger button. Matching brown or tan duct tape is more forgiving than bright silver.
The Loops Look Uneven
Gently tug individual fibers and rotate the flower while reshaping it. For a more rustic bloom, embrace the unevenness. Handmade flowers are allowed to have personality.
The Scissors Become Sticky
Cut the burlap before adding most of the tape. When tape must be trimmed, use a craft knife on a protected cutting surface or reserve one pair of scissors for adhesive materials.
Workshop Experience: What Crafters Learn After Making the First Few Flowers
The first burlap flower often feels less like a charming farmhouse bloom and more like a small piece of rope that has experienced an emotional crisis. That is normal. The material becomes much easier to control after you understand which threads provide structure and which can be removed safely.
One of the most useful lessons from repeated craft demonstrations is to begin with a smaller strip. A long piece of burlap promises a dramatic, fluffy flower, but beginners frequently end up wrestling with loops that twist, tangle, and migrate to one side. A 10- or 12-inch strip is easier to tape, close into a ring, and flatten evenly. Once that size behaves, larger flowers become far less intimidating.
Another practical discovery is that duct tape works best as hidden engineering. Covering the entire back creates a stiff disk that fights against shaping. Small strips placed along the joined edges and short-end seam provide enough support while allowing the bloom to flex. Narrow tape also adds less bulk beneath the decorative center.
Thread removal requires a light touch. Pulling several fibers at once may seem faster, but it increases the chance of damaging the side borders. Removing one thread at a time is slower yet more reliable. When a fiber sticks, gently rocking it from side to side usually works better than yanking it. Burlap is cooperative until it senses impatience.
Flower centers make a larger visual difference than many people expect. A plain tan bloom with no center can look unfinished, while the same flower suddenly appears intentional after the addition of a dark wood button or braided twine circle. Oversized centers are especially helpful because they cover tape, uneven joins, and other tiny secrets of handmade construction.
Color experiments can also change the character of the project. Natural burlap with a wood center feels rustic and understated. Whitewashed loops suit cottage decor. Red burlap with a gold button looks festive, while navy fabric layered over burlap creates a more tailored coastal style. Testing paint or glue on a small scrap first prevents unpleasant surprises, including discoloration or stiff, crunchy petals.
It is also worth making flowers in batches. After the first bloom establishes the measurements, cutting three or four matching strips saves time. Complete each production stage for the entire batch: cut everything, pull the threads, apply tape, form the circles, and add the centers. This assembly-line approach produces more consistent results and reduces the repeated search for the scissors that are almost certainly underneath the burlap.
Finally, experienced crafters rarely throw away the pulled threads. Those wispy fibers can be tied into bows, wrapped around buttons, bundled into flower centers, or mixed with twine for gift wrapping. Even the tiny pieces can add texture to a collage or handmade card. A project that begins as a way to use leftover burlap can therefore consume nearly every part of the scrap, which is satisfying, economical, and considerably more entertaining than placing it back in the craft drawer for another five years.
Conclusion
Leftover burlap is not useless clutter. Its open weave, natural color, and flexible fibers make it an excellent material for rustic fabric flowers. By preserving the strong edges, removing selected threads, forming loops, and securing the hidden seams with duct tape, you can create attractive blooms without sewing.
Start with one simple loopy flower, add a button or wood-bead center, and use it to decorate a wreath, jar, package, basket, or seasonal centerpiece. Once the basic method makes sense, experiment with rolled roses, painted petals, layered fabrics, stems, and holiday colors. The scraps become decor, the duct tape stays out of sight, and your craft-supply stash becomes slightly less capable of taking over the house.