Collard greens are the sturdy, dependable friend of the vegetable world. They do not wilt at the first sign of trouble, they bring big Southern comfort to the table, and they somehow make soups, stews, casseroles, and weeknight skillets taste like someone had a plan. But fresh collards have one tiny flaw: they do not wait around forever. If you buy a big bunch at the farmers market or harvest more than your crisper drawer can emotionally handle, freezing collard greens is one of the smartest ways to save their flavor, color, and texture.
The good news? Freezing collard greens is simple. The even better news? You do not need fancy equipment, a culinary degree, or a freezer large enough to store a small snowman. You only need fresh greens, boiling water, ice water, freezer-safe packaging, and a little patience. The key step is blanching, which means briefly boiling the greens and then cooling them quickly. This slows enzyme activity that can cause frozen vegetables to lose flavor, color, and texture over time.
This guide walks you through simple ways to freeze collard greens in 8 steps, plus practical storage tips, common mistakes, cooking ideas, and real kitchen experience to help you avoid sad, icy, freezer-burned leaves. Let’s turn that leafy mountain into convenient future meals.
Why Freeze Collard Greens?
Freezing collard greens is ideal when you have more greens than you can cook within a few days. Fresh collards are hearty, but they still lose moisture, crispness, and quality in the refrigerator. Freezing helps preserve them at their best, especially when they are young, tender, freshly washed, properly blanched, and packed with as little air as possible.
Frozen collard greens are especially useful because they go straight into cooked dishes. You can add them to soups, beans, rice bowls, pasta, omelets, quiche, casseroles, potlikker-style broths, and slow-cooked meals. They are not meant to come back from the freezer as crisp salad greens, because freezing changes the cell structure of leafy vegetables. But for cooking? They are a weeknight gift from Past You to Future Hungry You.
Simple Ways to Freeze Collard Greens: 8 Steps
Step 1: Choose Fresh, Tender Collard Greens
Start with the best greens you can find. Freezing does not magically improve quality; it preserves what is already there. If the leaves are yellow, slimy, badly bruised, or smell funky, the freezer will not rescue them. It will simply create frozen disappointment.
Look for collard greens with deep green leaves, firm texture, and fresh-looking stems. Smaller and medium leaves are usually more tender than very large, tough leaves. If you grow collards at home, harvest them before they become overly mature and fibrous. If you buy them, choose bunches that are not wilted and use them as soon as possible.
A good rule: if you would happily cook the greens today, they are good candidates for freezing. If you are already negotiating with yourself about whether they are still edible, skip freezing and compost them if needed.
Step 2: Wash the Greens Thoroughly
Collards can hold grit, soil, and tiny garden surprises between their leaves. Washing is not optional unless you enjoy the texture of beach sand in your dinner. Fill a clean sink or large bowl with cool water, separate the leaves, and swish them around gently. Let dirt settle to the bottom, lift the leaves out, drain the water, and repeat until the water is clear.
Do not wash collard greens with soap, detergent, bleach, or commercial cleaners. Plain running water is the safest choice for home produce washing. Leafy greens are porous and delicate, so soap residue can cling to the leaves and should not be eaten. If the greens are very sandy, repeat the water bath two or three times. This is not being dramatic; it is being kind to your teeth.
After washing, shake off excess water or use a salad spinner if you have one. The greens do not need to be perfectly dry before blanching, but removing excess water makes trimming and chopping easier.
Step 3: Remove Tough Stems and Ribs
Collard stems can be delicious when cooked long enough, but they freeze differently from the leaves and may stay tougher in quick recipes. For the most versatile frozen collard greens, remove the thick woody stems and large center ribs before blanching.
To do this, lay a leaf flat on a cutting board. Fold it lengthwise along the rib, then slice the leafy part away from the stem. You can also hold the base of the stem with one hand and strip the leaf away with the other. This method is quick, oddly satisfying, and makes you feel like you have been invited into a very practical cooking show.
Do not automatically throw the stems away. If they are tender, chop them finely and freeze them separately after blanching, or save them for vegetable stock. If they are thick and woody, composting is probably their highest calling.
Step 4: Cut or Chop the Leaves
Once the stems are removed, decide how you want to use the collards later. For soups and stews, rough chopping works well. For Southern-style simmered greens, stack several leaves, roll them like a cigar, and slice them into ribbons. For smoothies or small recipe portions, chop them more finely.
Cutting before blanching makes the greens easier to pack and portion. It also helps them wilt evenly in the boiling water. Avoid chopping them into tiny confetti unless you specifically want small pieces. Collards shrink a lot during blanching, and what looks like a pile big enough to feed the neighborhood may become a modest bowl in just a few minutes.
If you want maximum flexibility, freeze some in larger ribbons and some in smaller chopped portions. Label the bags clearly so you do not have to play “mystery greens roulette” later.
Step 5: Blanch the Collard Greens for 3 Minutes
Blanching is the most important step when freezing collard greens. Bring a large pot of water to a rolling boil. Use plenty of water so the temperature returns to boiling quickly after the greens are added. For leafy greens, a large pot is your friend; a tiny saucepan is just a sauna with commitment issues.
Place a manageable amount of collards into a blanching basket, wire strainer, or directly into the boiling water. Do not overcrowd the pot. If you add too many greens at once, the water temperature drops, the greens cook unevenly, and the blanching time becomes unreliable.
Once the water returns to a full boil, blanch collard greens for about 3 minutes. This short heat treatment helps slow the natural enzymes that can cause quality loss during frozen storage. The greens should turn bright, glossy green and wilt down, but they should not be cooked into mush. Save the mush for nobody. Nobody asked for mush.
Step 6: Cool the Greens Quickly in Ice Water
As soon as blanching is done, transfer the collards into a large bowl or sink filled with ice water. This stops the cooking process quickly and helps protect the color and texture. Cooling should happen promptly; do not leave the greens sitting around on the counter while you answer a text, reorganize the spice cabinet, or contemplate dinner philosophy.
Keep the greens in the ice water until they are fully cool. Stir them gently so trapped heat can escape. If the water becomes warm, add more ice. Quick cooling is important because overcooked greens can become limp and dull once frozen and reheated.
After cooling, drain the greens thoroughly in a colander. Press gently to remove extra water, but do not crush them into a green brick. You want them drained, not emotionally flattened.
Step 7: Dry and Portion the Collards
Excess water is one of the main reasons frozen greens develop large ice crystals. After draining, spread the collards on a clean kitchen towel or layers of paper towels and blot them dry. They do not need to be bone-dry, but the less surface moisture, the better the freezer quality.
Next, portion the greens according to how you cook. Many home cooks like freezing collards in 1-cup or 2-cup portions because those amounts are easy to toss into recipes. If your family loves big pots of greens, freeze larger portions. If you cook for one or two people, smaller portions prevent waste.
You can pack the greens directly into freezer bags or first freeze them in small mounds on a parchment-lined baking sheet. Tray freezing keeps portions separate, making it easier to grab only what you need later. Once firm, transfer the frozen mounds into bags or containers.
Step 8: Pack, Label, and Freeze
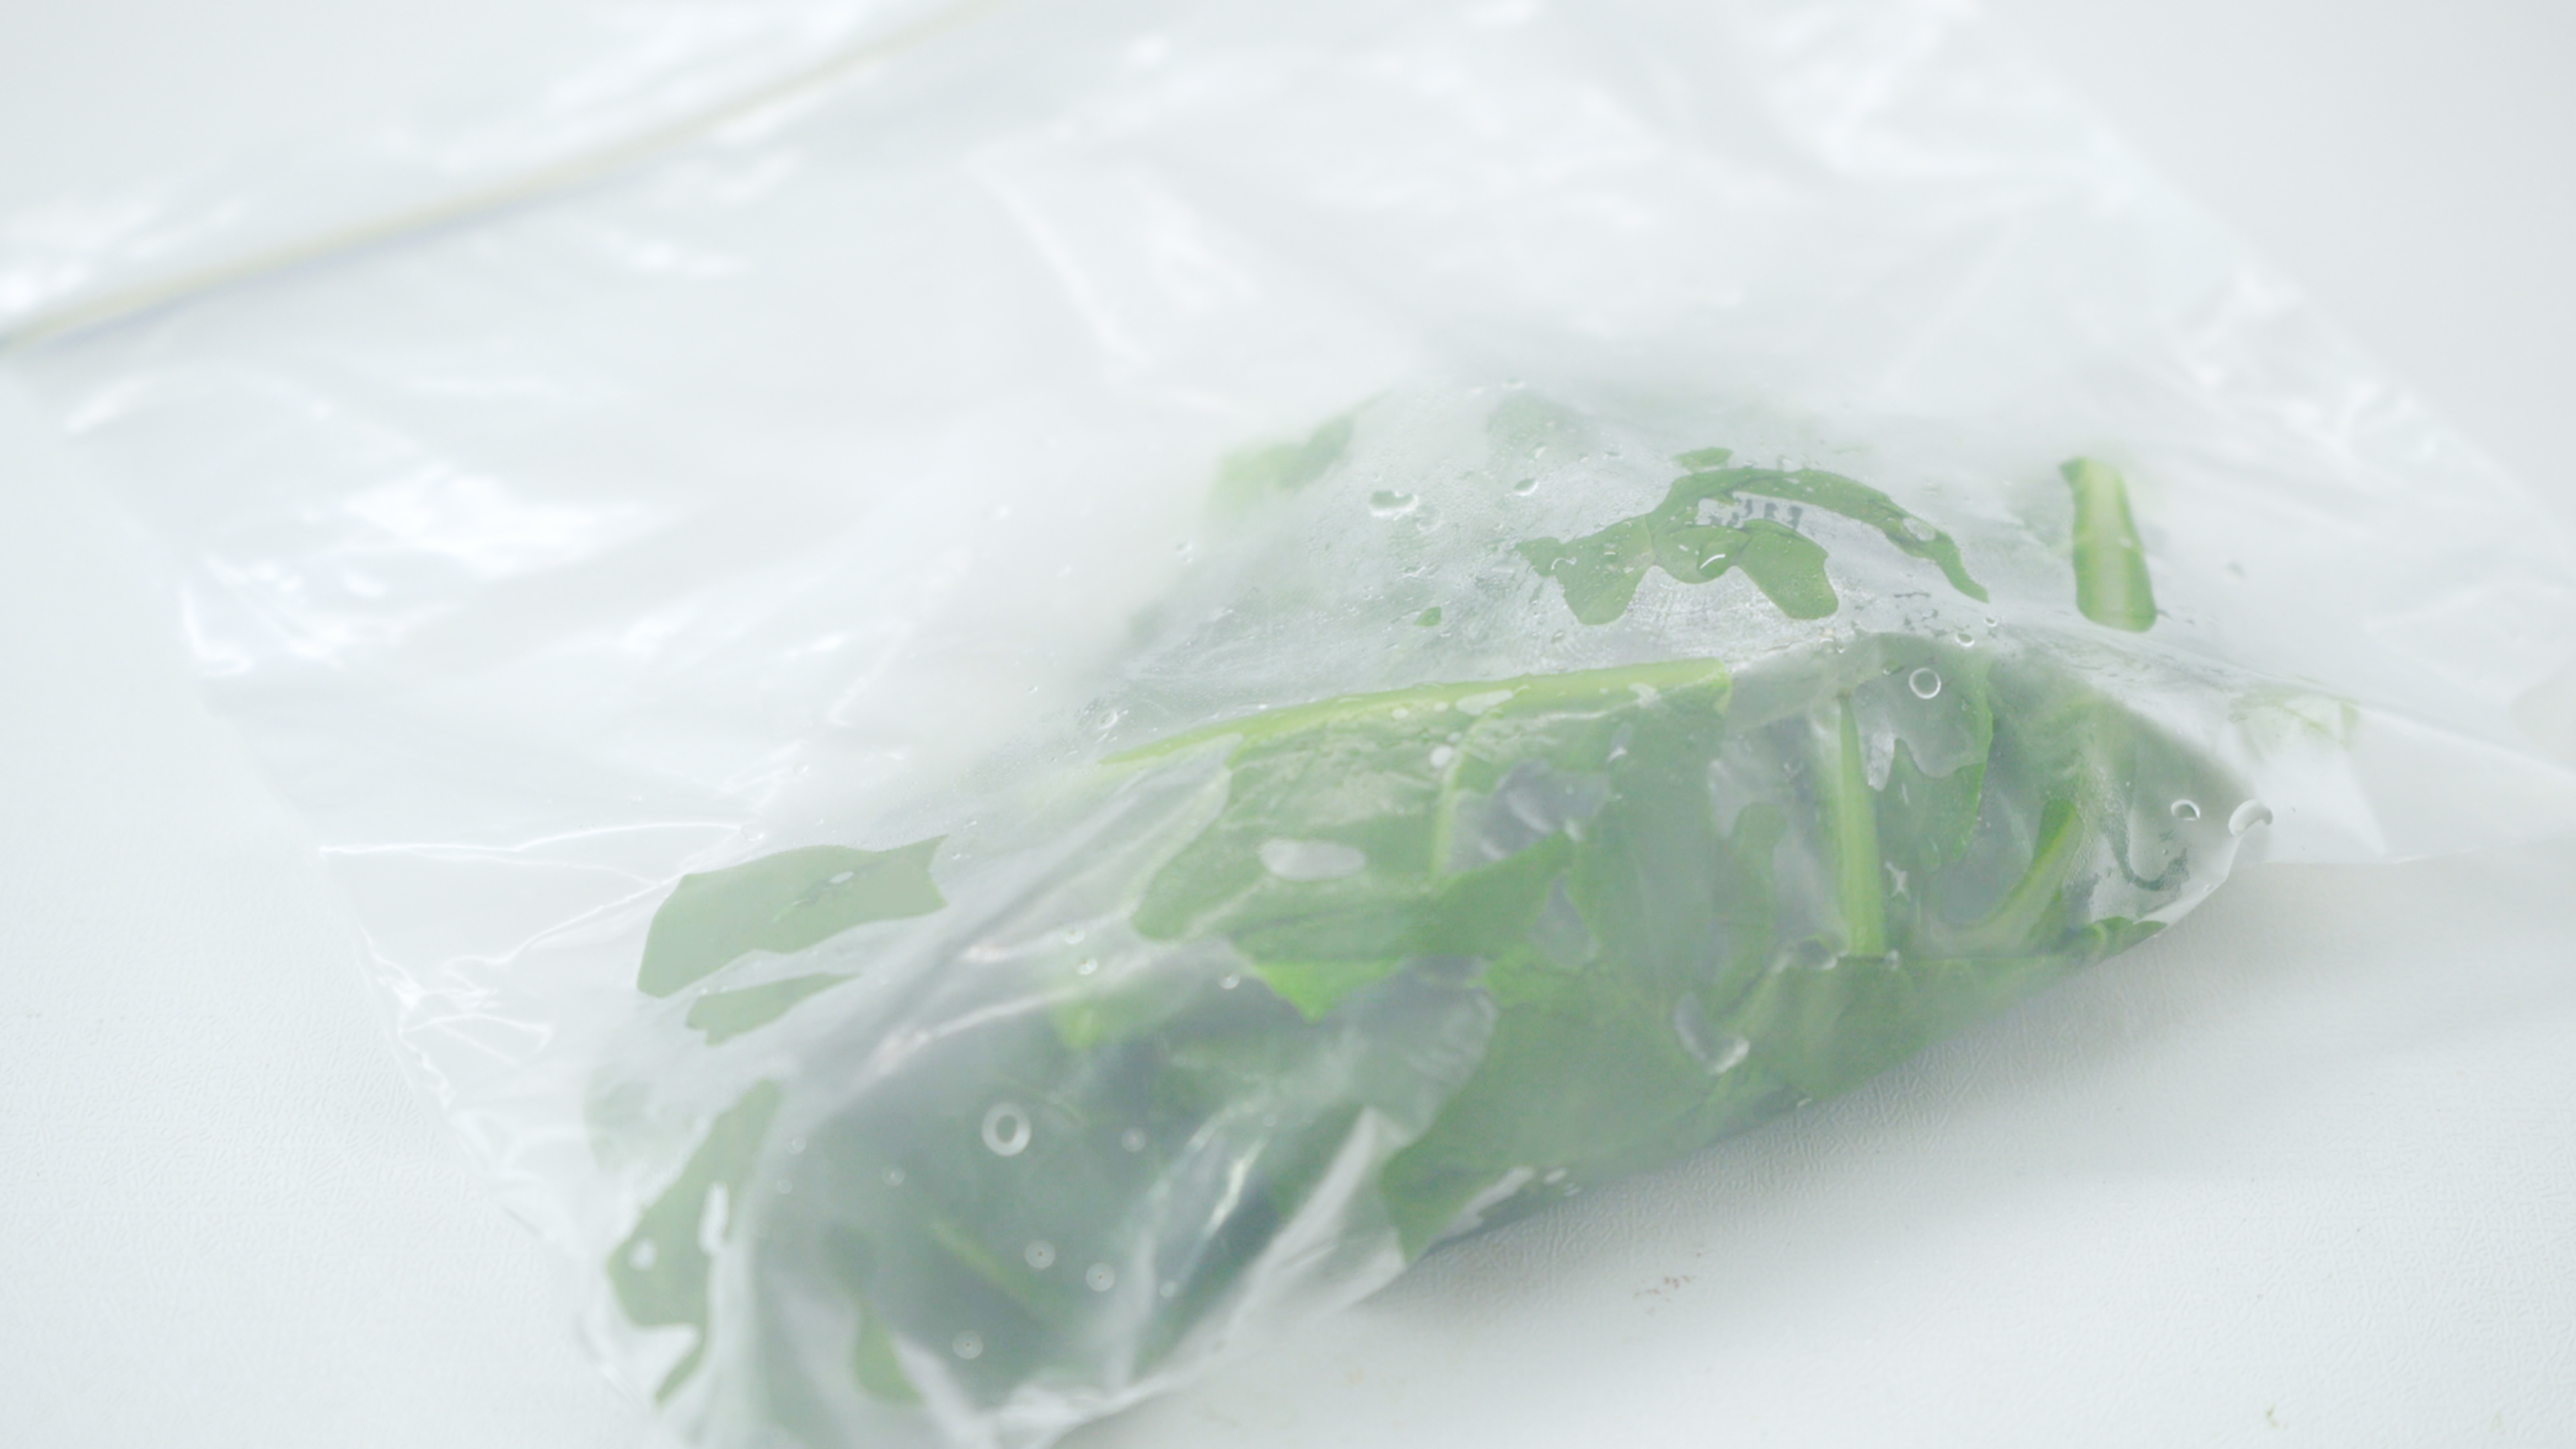
Pack the cooled, drained collards into freezer-safe bags, containers, or vacuum-seal bags. Press out as much air as possible before sealing. Air is the enemy of freezer quality because it contributes to freezer burn, off flavors, and dry patches. If using rigid containers, leave about 1/2 inch of headspace so the greens have room to expand as they freeze.
Label each package with the contents and date. Write “collard greens,” the portion size, and the freezing date. This small habit prevents future confusion, especially when frozen greens begin to resemble every other green thing in your freezer. Kale? Spinach? Collards? A science experiment from last winter? Labels solve the mystery.
Place packages in the coldest part of the freezer. For best quality, use frozen collard greens within about 10 to 12 months. Food kept constantly frozen at 0°F remains safe, but quality can decline over time. Translation: the freezer is powerful, but it is not a time machine.
Can You Freeze Collard Greens Without Blanching?
Technically, yes, you can put raw collard greens in the freezer. Practically, you probably should not if you care about flavor, color, and texture. Unblanched greens may darken, develop stronger flavors, and become tougher or more unpleasant during storage. Blanching takes only a few minutes and gives you a better final product.
The only time skipping blanching makes sense is if you plan to use the greens very soon and are not concerned about long-term quality. Even then, blanched greens usually perform better in cooked recipes. Think of blanching as a tiny investment with a leafy return.
How to Use Frozen Collard Greens
Frozen collard greens are best in cooked dishes. In many recipes, you do not need to thaw them first. Add frozen collards directly to simmering soups, stews, beans, or braised dishes. The heat will thaw and cook them quickly.
For skillets, casseroles, egg dishes, or cornbread stuffing, thaw the greens in the refrigerator or microwave first, then squeeze out extra moisture. This helps prevent watery recipes. If you have ever made a casserole that looked like it needed a lifeguard, you know why this matters.
Try frozen collards in black-eyed peas, lentil soup, chicken broth, turkey sausage skillets, vegetable lasagna, breakfast hash, rice and greens bowls, or creamy white bean soup. They also work well with garlic, onion, smoked paprika, crushed red pepper, vinegar, lemon juice, broth, and a small amount of olive oil or butter.
Common Mistakes to Avoid
Freezing Old or Damaged Greens
Start with fresh leaves. Yellow, limp, slimy, or damaged greens will not improve in the freezer.
Skipping the Wash
Collards can hide grit. Wash them thoroughly in cool water and repeat until the water is clean.
Overcrowding the Blanching Pot
Too many greens lower the water temperature and lead to uneven blanching. Work in batches.
Blanching Too Long
Three minutes is enough for collard greens. Overblanching can make them soft and dull.
Leaving Too Much Water on the Leaves
Drain and blot well before packaging. Less water means fewer ice crystals and better texture.
Forgetting to Label the Bags
Freezer memory is not reliable. Labels are cheap. Confusion is expensive, at least emotionally.
Helpful Tips for Better Frozen Collard Greens
Freeze collard greens in recipe-sized portions. If you usually make soup with two cups of greens, freeze two-cup portions. If you add a handful to morning eggs, freeze smaller amounts. Practical portions make frozen greens easier to use and reduce waste.
Use freezer bags if you want to save space. Flatten the greens into thin layers before freezing so they stack neatly and thaw faster. Vacuum sealing is excellent if you have the equipment, but regular freezer bags work well when you press out extra air.
Do not season heavily before freezing unless you are freezing a fully cooked dish. Plain blanched collards are more versatile. You can later season them for Southern-style greens, Italian soups, Asian-inspired stir-fries, or whatever dinner personality you are having that day.
Keep your freezer at 0°F or below. A consistent freezer temperature protects quality and helps frozen foods stay safe. Avoid storing greens in the freezer door, where temperature changes more often.
Personal Experience: What Freezing Collard Greens Teaches You in a Real Kitchen
The first time I froze collard greens, I underestimated them completely. One bunch looked reasonable on the counter. Two bunches looked ambitious. Three bunches looked like I had accidentally adopted a leafy pet. After washing, trimming, and chopping, the kitchen looked like a green parade had marched through and left confetti behind. But once the greens hit the boiling water, they shrank dramatically, and suddenly the mountain became manageable. That is lesson number one: collards are big talkers until blanching begins.
The biggest practical lesson is that setup matters. Freezing collard greens is easy, but it feels chaotic if you start boiling water before preparing your ice bath, towels, colander, bags, and labels. The smoothest method is to create a little assembly line: washed greens on one side, boiling pot in the middle, ice bath next to it, draining area after that, and freezer bags waiting at the end. When everything is ready, the process moves quickly and calmly. When it is not ready, you find yourself holding hot greens with tongs while wondering where the ice went. This is not the glamorous side of home cooking, but it is memorable.
Another lesson is to dry the greens better than you think you need to. Early on, I packed a batch while it was still too wet. The greens froze into icy clumps that were usable but not ideal. They cooked fine in soup, but they were annoying in a skillet because the extra water had to evaporate before anything could sauté properly. Now I drain them well, spread them on towels, and give them a few minutes to steam off and dry before packing. That small pause makes a big difference.
Portioning is also more important than it sounds. A giant freezer bag of collards feels efficient until you need only one cup and have to chisel greens from a frozen slab like an archaeologist with dinner plans. Smaller bags or tray-frozen portions are much more convenient. For everyday cooking, I like one-cup portions for quick meals and two-cup portions for soups or beans. Flat freezer bags are especially nice because they stack like books and thaw faster.
The best part of freezing collard greens is how useful they become later. On a busy night, frozen collards can turn plain beans into a real meal, add body to chicken soup, or make a skillet of eggs and potatoes feel more intentional. They are also a great way to reduce food waste. Instead of watching fresh greens slowly wilt in the refrigerator while you pretend tomorrow will be different, you can preserve them while they are still fresh.
Freezing collard greens also changes how you shop or garden. Once you know how simple the process is, a large bunch no longer feels intimidating. A garden harvest becomes exciting instead of urgent. A farmers market deal becomes an opportunity, not a race against time. You begin to see the freezer as an extension of your pantry, not a cold cave where leftovers disappear forever.
Most of all, freezing collards teaches the value of small kitchen systems. Wash well, blanch briefly, cool quickly, drain thoroughly, pack smartly, label clearly. None of those steps is difficult, but together they create a freezer stash that makes future meals easier. And honestly, anything that helps dinner happen faster without sacrificing flavor deserves a little applause.
Conclusion
Freezing collard greens is one of the easiest ways to preserve their hearty flavor and make future meals faster. The process is simple: choose fresh leaves, wash away grit, remove tough stems, chop, blanch for 3 minutes, cool in ice water, drain well, pack carefully, label, and freeze. With good preparation, frozen collards can stay delicious for months and become a reliable ingredient for soups, beans, casseroles, skillets, and classic comfort-food dinners.
The secret is not complicated. Fresh greens plus proper blanching plus airtight packaging equals freezer success. Your future self will thank you on a busy weeknight when dinner needs vegetables and patience is in short supply.