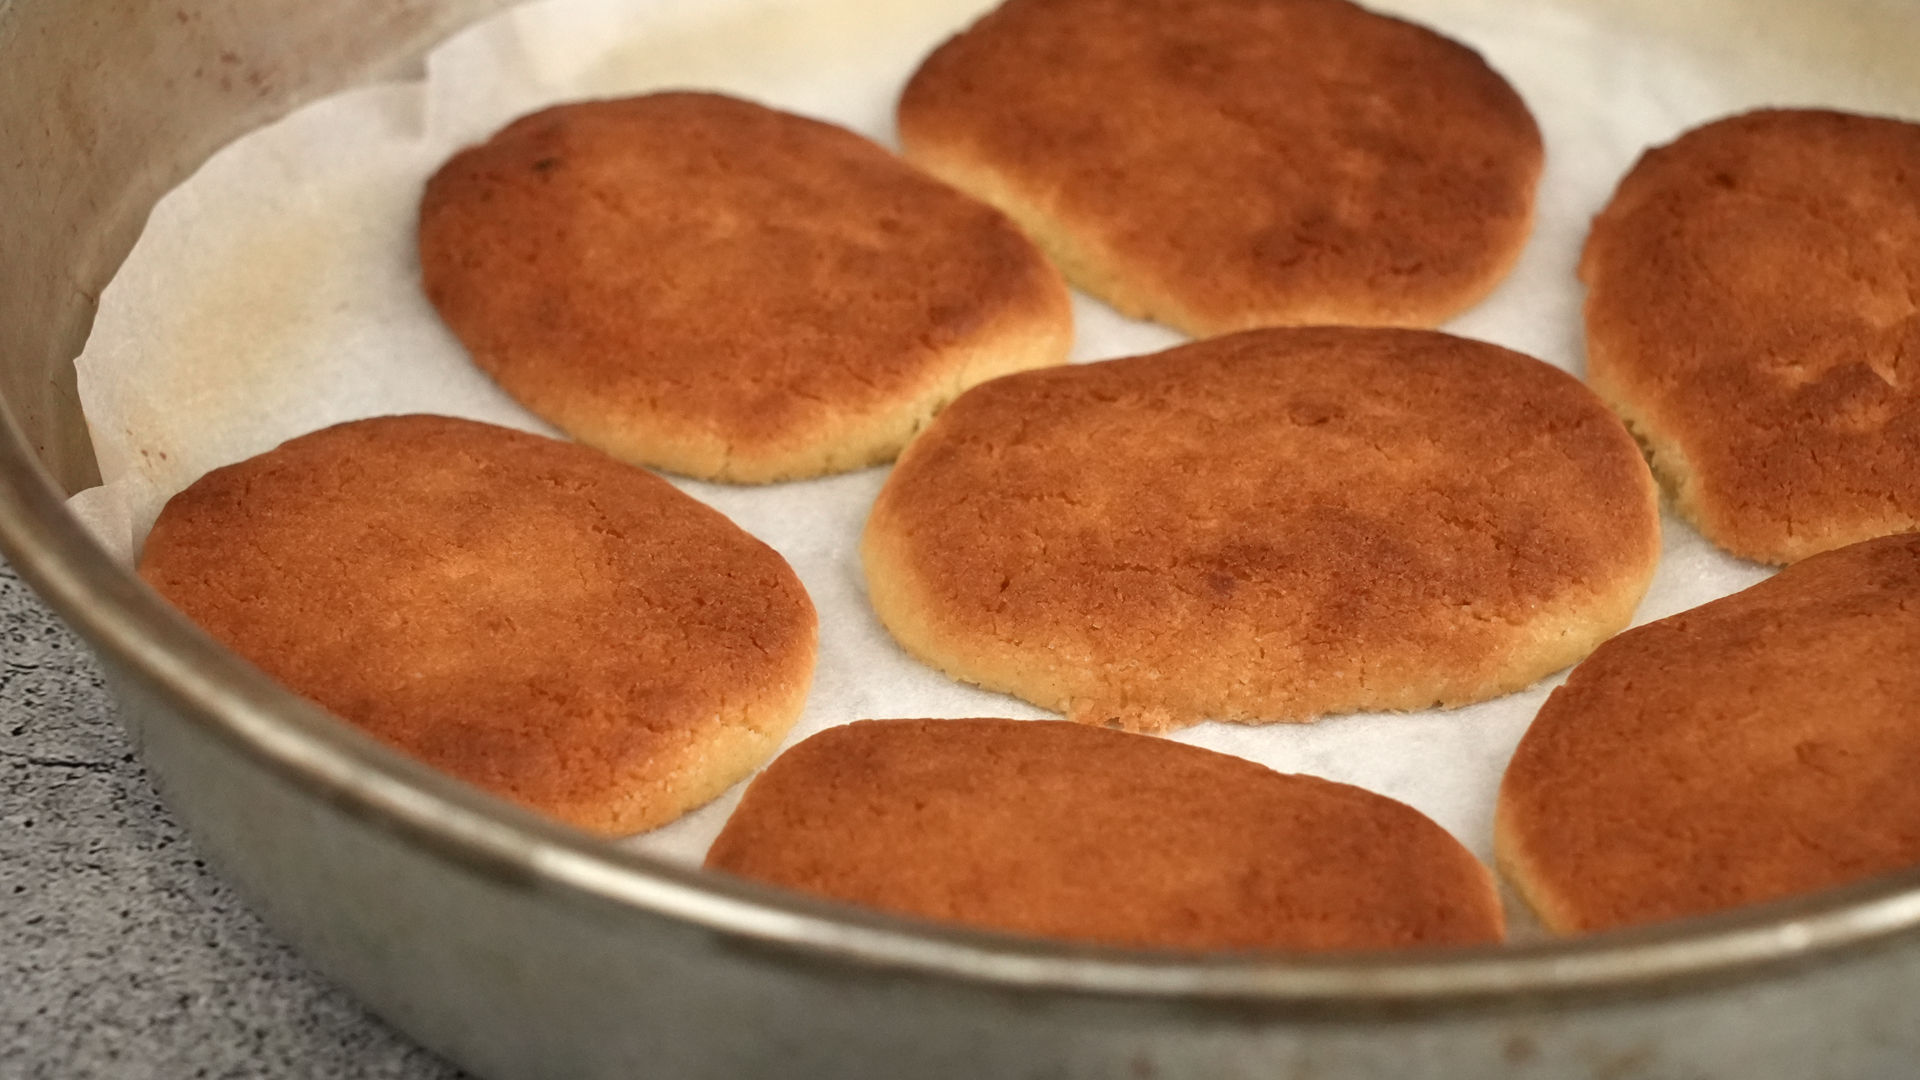
Butter cookies are proof that simple ingredients can still act like they own the dessert table. With butter, sugar, flour, eggs, vanilla, and a little patience, you can make cookies that are crisp at the edges, tender in the center, and rich enough to make your kitchen smell like a professional bakery moved in overnight.
This guide breaks down how to make butter cookies in 11 easy steps, from choosing the right butter to cooling, decorating, storing, and troubleshooting your batch. Whether you want classic holiday cutout cookies, piped Danish-style butter cookies, or simple slice-and-bake rounds, the method below gives you a reliable foundation. No cookie panic. No flour snowstorm. No sad, flat little puddles pretending to be dessert.
The best butter cookies are not complicated, but they are precise. The butter should be softened, not melted. The dough should be mixed just enough, not beaten into submission. The cookies should be baked until lightly golden, not browned like they have spent a week on a beach vacation. Follow these steps, and you will have a buttery, fragrant, beautifully textured cookie that works for holidays, parties, gifts, or Tuesday afternoons when life clearly needs more cookies.
What Are Butter Cookies?
Butter cookies are classic cookies made with a high amount of butter, usually combined with sugar, flour, egg, vanilla, and sometimes a small amount of milk or baking powder. They are similar to shortbread cookies but often slightly sweeter, lighter, and more flexible for shaping. Depending on the recipe, butter cookies can be rolled and cut, piped through a pastry bag, shaped into logs, sliced into rounds, or pressed with a cookie press.
Their signature flavor comes from butter, so this is not the moment to use the mystery stick hiding in the back of the fridge. Good butter creates a clean dairy richness, crisp edges, and that melt-in-your-mouth texture that makes people say, “I’ll just have one more,” while already holding three.
Ingredients for Homemade Butter Cookies
For a classic batch of butter cookies, you will need:
- 1 cup unsalted butter, softened
- 3/4 cup granulated sugar
- 1 large egg, room temperature
- 1 1/2 teaspoons pure vanilla extract
- 1/4 teaspoon almond extract optional, but lovely
- 2 1/4 cups all-purpose flour
- 1/2 teaspoon salt
- 1 to 2 tablespoons milk only if needed for piped cookies
- Sanding sugar, sprinkles, melted chocolate, or icing for decorating
This basic butter cookie recipe makes about 30 to 36 cookies, depending on size and shape. For cutout cookies, keep the dough slightly firmer. For piped butter cookies, add a small splash of milk to make the dough soft enough to push through a piping tip without needing the arm strength of a superhero.
How to Make Butter Cookies: 11 Steps
Step 1: Soften the Butter Properly
Start with softened unsalted butter. Softened butter should be cool to the touch but flexible enough to leave a slight indentation when pressed. It should not look shiny, greasy, or half-melted. Melted butter changes the structure of the dough and can lead to cookies that spread too much in the oven.
If you forgot to take the butter out early, cut it into small cubes and let it sit at room temperature for 15 to 30 minutes. Avoid microwaving unless absolutely necessary, because butter can go from “almost ready” to “liquid disappointment” in seconds.
Step 2: Measure the Flour Carefully
Too much flour is one of the most common reasons butter cookies turn dry, crumbly, or tough. For best results, weigh the flour with a kitchen scale. If using measuring cups, spoon the flour into the cup and level it off with a knife. Do not scoop directly from the bag, because packed flour can quietly sabotage your cookie dough.
Butter cookies rely on a balanced ratio of fat, sugar, and flour. When that balance is right, the cookies hold their shape while staying tender. When there is too much flour, they may taste like sweet sand. Delicious? Not quite. Memorable? Unfortunately.
Step 3: Cream the Butter and Sugar
Place the softened butter and sugar in a large mixing bowl. Beat them together with a hand mixer or stand mixer on medium speed for about 2 to 3 minutes, until the mixture looks pale, creamy, and slightly fluffy.
Creaming is more than just mixing. It incorporates tiny air pockets into the butter, which helps create a lighter texture. Scrape down the sides and bottom of the bowl at least once during this step so no dense butter pockets hide in the corners like cookie dough villains.
Step 4: Add the Egg and Extracts
Add the egg, vanilla extract, and almond extract if using. Beat until the mixture is smooth and fully combined. Room-temperature eggs blend more easily into the butter mixture, helping the dough stay even and silky.
Vanilla gives butter cookies their warm bakery aroma, while almond extract adds a subtle old-fashioned flavor. Use almond extract sparingly because it is powerful. A little tastes elegant; too much tastes like your cookie is wearing perfume.
Step 5: Mix the Dry Ingredients
In a separate bowl, whisk together the all-purpose flour and salt. This distributes the salt evenly, so every bite tastes balanced. Salt may seem minor, but it makes the butter flavor brighter and prevents the cookies from tasting flat.
If you prefer slightly puffier cookies, you can add 1/4 teaspoon of baking powder. For a more shortbread-like texture, skip the baking powder and keep the formula simple.
Step 6: Combine Wet and Dry Ingredients
Add the flour mixture to the butter mixture in two or three additions. Mix on low speed just until the dough comes together. Do not overmix after adding flour, because too much mixing can develop gluten and make the cookies tougher.
The dough should be soft, smooth, and slightly thick. If you are making piped butter cookies and the dough feels too stiff, add 1 tablespoon of milk. Add the second tablespoon only if needed. The goal is pipeable dough, not cookie soup.
Step 7: Choose Your Cookie Shape
Butter cookie dough is wonderfully versatile. You can shape it several ways:
- For cutout cookies: Chill the dough, roll it out, and use cookie cutters.
- For piped cookies: Transfer the dough to a piping bag with a large star tip.
- For slice-and-bake cookies: Shape the dough into logs, chill, and slice into rounds.
- For simple drop cookies: Scoop small portions onto a lined baking sheet.
For beginners, slice-and-bake cookies are the easiest. For holiday trays, cutout cookies are charming. For bakery-style flair, piped cookies look fancy without requiring a culinary degree or a dramatic chef hat.
Step 8: Chill the Dough
Chilling is one of the best ways to prevent butter cookies from spreading too much. For cutout cookies, wrap the dough and refrigerate it for at least 1 hour. For piped cookies, pipe the shapes first and then chill the baking sheet for 20 to 30 minutes before baking.
Cold dough helps the butter firm up, which means the cookies hold their shape better in the oven. Skipping this step can work in some recipes, but if your kitchen is warm or your dough feels soft, chilling is your best friend.
Step 9: Bake Until Lightly Golden
Preheat the oven to 350°F. Line baking sheets with parchment paper. Arrange cookies about 1 inch apart, giving them enough room to bake evenly. Bake for 10 to 14 minutes, depending on size and thickness.
Butter cookies are done when the edges are lightly golden and the centers look set. Do not wait for the tops to brown deeply. These cookies should look delicate, not roasted. If baking multiple trays, rotate the pans halfway through for more even results.
Step 10: Cool Before Decorating
Let the cookies cool on the baking sheet for 5 minutes, then transfer them to a wire rack. Butter cookies are fragile when hot, so moving them too soon can cause breakage. Give them a little time to firm up.
Once completely cool, decorate with melted chocolate, royal icing, glaze, sanding sugar, or sprinkles. If you are dipping cookies in chocolate, place them on parchment paper until the coating sets. If using icing, allow it to dry before stacking.
Step 11: Store and Serve
Store butter cookies in an airtight container at room temperature for up to 1 week. For longer storage, freeze undecorated cookies for up to 2 months. You can also freeze the dough, well wrapped, then thaw it in the refrigerator before baking.
Serve butter cookies with coffee, tea, hot chocolate, milk, or a small moment of silence for how quickly they disappear. They are excellent for cookie tins, holiday dessert boards, lunchbox treats, bake sales, and edible gifts.
Helpful Tips for Perfect Butter Cookies
Use Good-Quality Butter
Because butter is the star ingredient, its flavor matters. Unsalted butter gives you better control over the salt level. European-style butter, which often has a higher fat content, can create an especially rich cookie, though standard American unsalted butter works beautifully.
Do Not Overbake
Butter cookies continue to firm as they cool. Pull them from the oven when the edges are just lightly golden. Overbaking can make them dry and overly crisp.
Keep Dough Cool Between Batches
If your first tray bakes well but the second tray spreads, the dough may have warmed up. Keep extra dough in the refrigerator while each batch bakes.
Scrape the Bowl
Scraping the bowl helps make the dough consistent. Uneven mixing can cause some cookies to spread more than others, even when they come from the same batch.
Experiment With Flavors
Classic vanilla butter cookies are wonderful, but you can add lemon zest, orange zest, cinnamon, cardamom, espresso powder, cocoa powder, or finely chopped nuts. Keep additions modest so the dough still holds its shape.
Common Butter Cookie Problems and Fixes
Why Did My Butter Cookies Spread?
The butter may have been too soft, the dough may not have been chilled, or the baking sheet may have been warm. Use cool dough and cool pans for the best shape.
Why Are My Cookies Dry?
Dry cookies usually come from too much flour or overbaking. Measure flour carefully and remove cookies from the oven when the edges are lightly golden.
Why Is My Dough Too Stiff to Pipe?
Add milk 1 teaspoon at a time until the dough becomes soft enough to pipe. Use a large piping tip, because tiny tips make butter cookie dough difficult to push through.
Why Did My Cookies Break?
They may have been moved while too hot. Let cookies rest on the baking sheet before transferring them to a cooling rack.
Flavor Variations for Butter Cookies
Chocolate-Dipped Butter Cookies
Dip half of each cooled cookie into melted semisweet or dark chocolate. Add sprinkles, crushed nuts, or flaky salt before the chocolate sets.
Lemon Butter Cookies
Add 1 tablespoon of fresh lemon zest to the dough and replace almond extract with lemon extract. These taste bright, fresh, and perfect for spring gatherings.
Cinnamon Sugar Butter Cookies
Roll sliced dough rounds in cinnamon sugar before baking. The edges become crisp, fragrant, and slightly caramelized.
Holiday Sprinkle Cookies
Top shaped cookies with sanding sugar or colorful sprinkles before baking. This is the easiest way to make them festive without creating an icing station that looks like a glitter storm.
Experience-Based Notes: What I Learned Making Butter Cookies
The first lesson of butter cookies is simple: butter has opinions. It may look innocent sitting on the counter, but its temperature can decide the entire personality of your cookie. When I first started making butter cookies, I thought “softened butter” meant “butter that has given up on life.” I let it sit out too long, beat it with sugar, and proudly watched my cookies spread into thin golden pancakes. They still tasted good, because butter rarely fails completely, but they were not the neat little cookies I imagined.
Over time, I learned that properly softened butter should still feel cool. It should bend, not melt. That one detail improved everything. The dough became smoother, the cookies held their edges, and the texture turned tender instead of greasy. If you only remember one practical tip from this entire article, remember this: your butter should be soft enough to cream but firm enough to behave.
The second major lesson is that chilling is not punishment; it is protection. Many bakers want to skip chilling because cookies are exciting and waiting is rude. But butter cookie dough benefits from rest. Chilling gives the flour time to hydrate and lets the butter firm up, which helps the cookies keep their shape. This is especially important for cutout cookies. If you have ever cut out perfect stars and baked mysterious blobs, warm dough was probably the culprit.
I also learned that parchment paper is worth using every time. It prevents sticking, makes cleanup easier, and helps the bottoms brown more evenly. Greased baking sheets can encourage spreading, especially in butter-heavy doughs. Parchment paper is less dramatic and more reliable, which is exactly what you want when cookies are involved.
Another useful experience is to bake a test cookie before committing the whole tray. Scoop or cut one cookie, bake it, and see what happens. If it spreads too much, chill the dough longer. If it seems dry, check whether too much flour was added. If it browns too quickly, lower the oven temperature slightly or move the rack toward the center. A test cookie is like a tiny edible weather report for your dough.
Decorating also taught me restraint. It is tempting to add chocolate, icing, sprinkles, nuts, glaze, edible glitter, and possibly a small parade. But butter cookies shine because they are simple. A drizzle of chocolate, a sprinkle of coarse sugar, or a thin vanilla glaze is often enough. The goal is to enhance the buttery flavor, not bury it under a sugar costume.
For gifting, I recommend baking the cookies a day ahead. Butter cookies often taste even better after resting overnight in an airtight container. The flavor settles, the texture becomes more even, and the cookies feel sturdy enough for packing. Layer them with parchment paper in a tin, and they will look thoughtful without requiring professional bakery packaging.
Finally, homemade butter cookies are forgiving in the best way. Even when they are not perfect, they are usually still delicious. A slightly crooked star, a cracked edge, or a cookie with too many sprinkles is not a failure. It is personality. The real success is a cookie that tastes buttery, smells wonderful, and makes someone reach for another one before asking politely. That is when you know the batch worked.
Conclusion
Learning how to make butter cookies is one of the most rewarding baking skills because the recipe is simple, flexible, and endlessly useful. With properly softened butter, careful flour measuring, gentle mixing, smart chilling, and light baking, you can create cookies that are crisp, tender, rich, and beautiful enough for any occasion.
These 11 steps give you a dependable method whether you prefer cutout cookies, piped cookies, slice-and-bake rounds, or decorated holiday treats. Start with the classic version, then experiment with citrus, chocolate, spices, nuts, or seasonal decorations. Butter cookies may look humble, but when made well, they can steal the dessert table with quiet confidence and a very buttery smile.
Note: This article is written as original, publish-ready web content based on widely accepted American baking methods and practical cookie-making techniques.