An infinity mirror looks like something borrowed from a spaceship, a science museum, or the secret lounge where LED strips go to feel important. The best part? You do not need a physics degree, a laser cutter, or a suspiciously large toolbox to make one. With a simple frame, a regular mirror, a semi-reflective front panel, and LED lights, you can create the illusion of a glowing tunnel that seems to stretch forever.
This guide explains how to make an infinity mirror at home using beginner-friendly materials and practical DIY methods. You will learn what supplies to buy, how the illusion works, how to assemble the mirror safely, and how to troubleshoot common problems like weak reflections, visible wires, bubbles in mirror film, or LEDs that refuse to behave like civilized lighting.
Whether you want a wall decoration, gaming-room centerpiece, science fair project, desk lamp, party prop, or conversation starter, this easy DIY infinity mirror tutorial will walk you through the entire process.
What Is an Infinity Mirror?
An infinity mirror is an optical illusion created by placing lights between two reflective surfaces: a fully reflective back mirror and a partially reflective front mirror. The front mirror is often called a two-way mirror, one-way mirror, see-through mirror, or semi-transparent mirror. When the LEDs turn on, the light bounces between the two mirrors again and again. Some light passes through the front panel to your eyes, while the rest keeps reflecting inside the frame. The result is a tunnel of repeated lights that appears to go on forever.
In reality, the mirror may only be one or two inches deep. Your brain, however, sees layer after layer of shrinking reflections and happily files the whole thing under “Whoa.” That is the charm of the project: simple materials, dramatic effect.
Materials You Need
Before you start building, gather everything in one place. This prevents the classic DIY tragedy where you are halfway through a project, covered in sawdust, and realize the power adapter is still “arriving tomorrow.”
Basic Supplies
- A regular mirror for the back panel
- A clear glass or acrylic sheet for the front panel
- Two-way mirror film or a ready-made two-way mirror acrylic sheet
- LED strip lights, either white, RGB, or addressable LEDs
- A wooden shadow box, picture frame, or custom-built frame
- Foam board, thin wood strips, or spacers
- Power supply that matches your LED strip voltage
- Electrical tape, heat-shrink tubing, or wire connectors
- Black paint, black tape, or black paper for the inside of the frame
- Double-sided tape, hot glue, silicone adhesive, or mounting clips
Helpful Tools
- Measuring tape or ruler
- Utility knife or craft knife
- Scissors
- Squeegee or credit card wrapped in a soft cloth
- Drill with a small bit for the power cord hole
- Soldering iron, if your LED strip needs custom wiring
- Sandpaper
- Clamps, if you are building a wooden frame
- Microfiber cloth
- Spray bottle with water and a tiny drop of dish soap for film application
Choosing the Right Mirror Setup
The mirror stack is the heart of the build. You have two practical options: use a regular mirror plus a clear panel with reflective film, or use a regular mirror plus a manufactured two-way mirror acrylic sheet.
Option 1: Regular Mirror + Reflective Film
This is usually the most affordable method. You apply two-way mirror film to clear glass or acrylic, then use that piece as the front panel. The film gives the front surface enough reflectivity to bounce light back into the frame while still allowing you to see the repeated reflections.
The downside is that film application requires patience. Dust, fingerprints, and air bubbles are the tiny gremlins of this method. Work slowly, use plenty of application solution, and squeegee from the center outward.
Option 2: Regular Mirror + Two-Way Mirror Acrylic
This method costs more but is easier for beginners. A pre-made two-way mirror acrylic sheet already has the reflective surface built in, so you avoid the bubble battle. Acrylic is also lighter and safer to handle than glass, which makes it great for wall-mounted mirrors, kids’ projects, and larger builds.
For the clearest effect, keep the two mirror surfaces parallel. If they tilt away from each other, the tunnel may look crooked, shallow, or oddly stretched. A tiny angle can be artistic; an accidental wobble looks like your mirror had too much coffee.
Step-by-Step Instructions: How to Make an Infinity Mirror
Step 1: Plan the Size and Shape
Decide where the infinity mirror will live. A small 8-by-10-inch frame is great for a desk or beginner project. A 12-by-12-inch square mirror works well for wall art. A long rectangular mirror can become a dramatic hallway or gaming-room feature. You can even build a circular infinity mirror, though cutting round panels and placing LEDs evenly is a little trickier.
Measure your back mirror and front panel carefully. The frame must hold both pieces securely with enough space between them for the LED strip. Most simple builds use a gap of about one to two inches. A deeper gap creates a more spacious tunnel effect, while a shallow gap creates tighter, more frequent reflections.
Step 2: Prepare the Frame
A shadow box frame is the easiest starting point because it already has depth. Remove the backing and glass. If you are building a custom frame, cut four pieces of wood to size and assemble them into a box. The frame should be sturdy enough to hold the mirrors without flexing.
Paint or cover the inside of the frame with matte black paint, black paper, or black tape. This helps hide the frame interior and makes the lights look more dramatic. Glossy paint can create unwanted reflections, so matte is usually better. Think of the black interior as the stage curtain; the LEDs are the performers.
Step 3: Drill a Hole for the Power Cable
Pick a corner or lower side of the frame where the power cable can exit neatly. Drill a small hole just large enough for the LED connector or wires to pass through. If the hole has rough edges, sand it smooth so it does not damage the wire.
If your LED strip has a barrel connector or controller box, plan where it will sit. For a wall-mounted mirror, you may want the cord to exit near the bottom. For a tabletop infinity mirror, the cord can exit from the back. The cleaner the wiring path, the more professional the finished project will look.
Step 4: Install the Back Mirror
Place the regular mirror at the back of the frame with the reflective side facing inward. Secure it using frame tabs, silicone adhesive, clips, or a thin retaining board. Avoid using too much glue, especially near the visible area. Globs of adhesive have a special talent for showing up exactly where you do not want them.
Make sure the mirror is clean before sealing it in. Dust inside an infinity mirror is not dangerous, but it can become surprisingly noticeable once the LEDs turn on. Wipe the surface with a microfiber cloth and glass cleaner, then let it dry fully.
Step 5: Attach the LED Strip
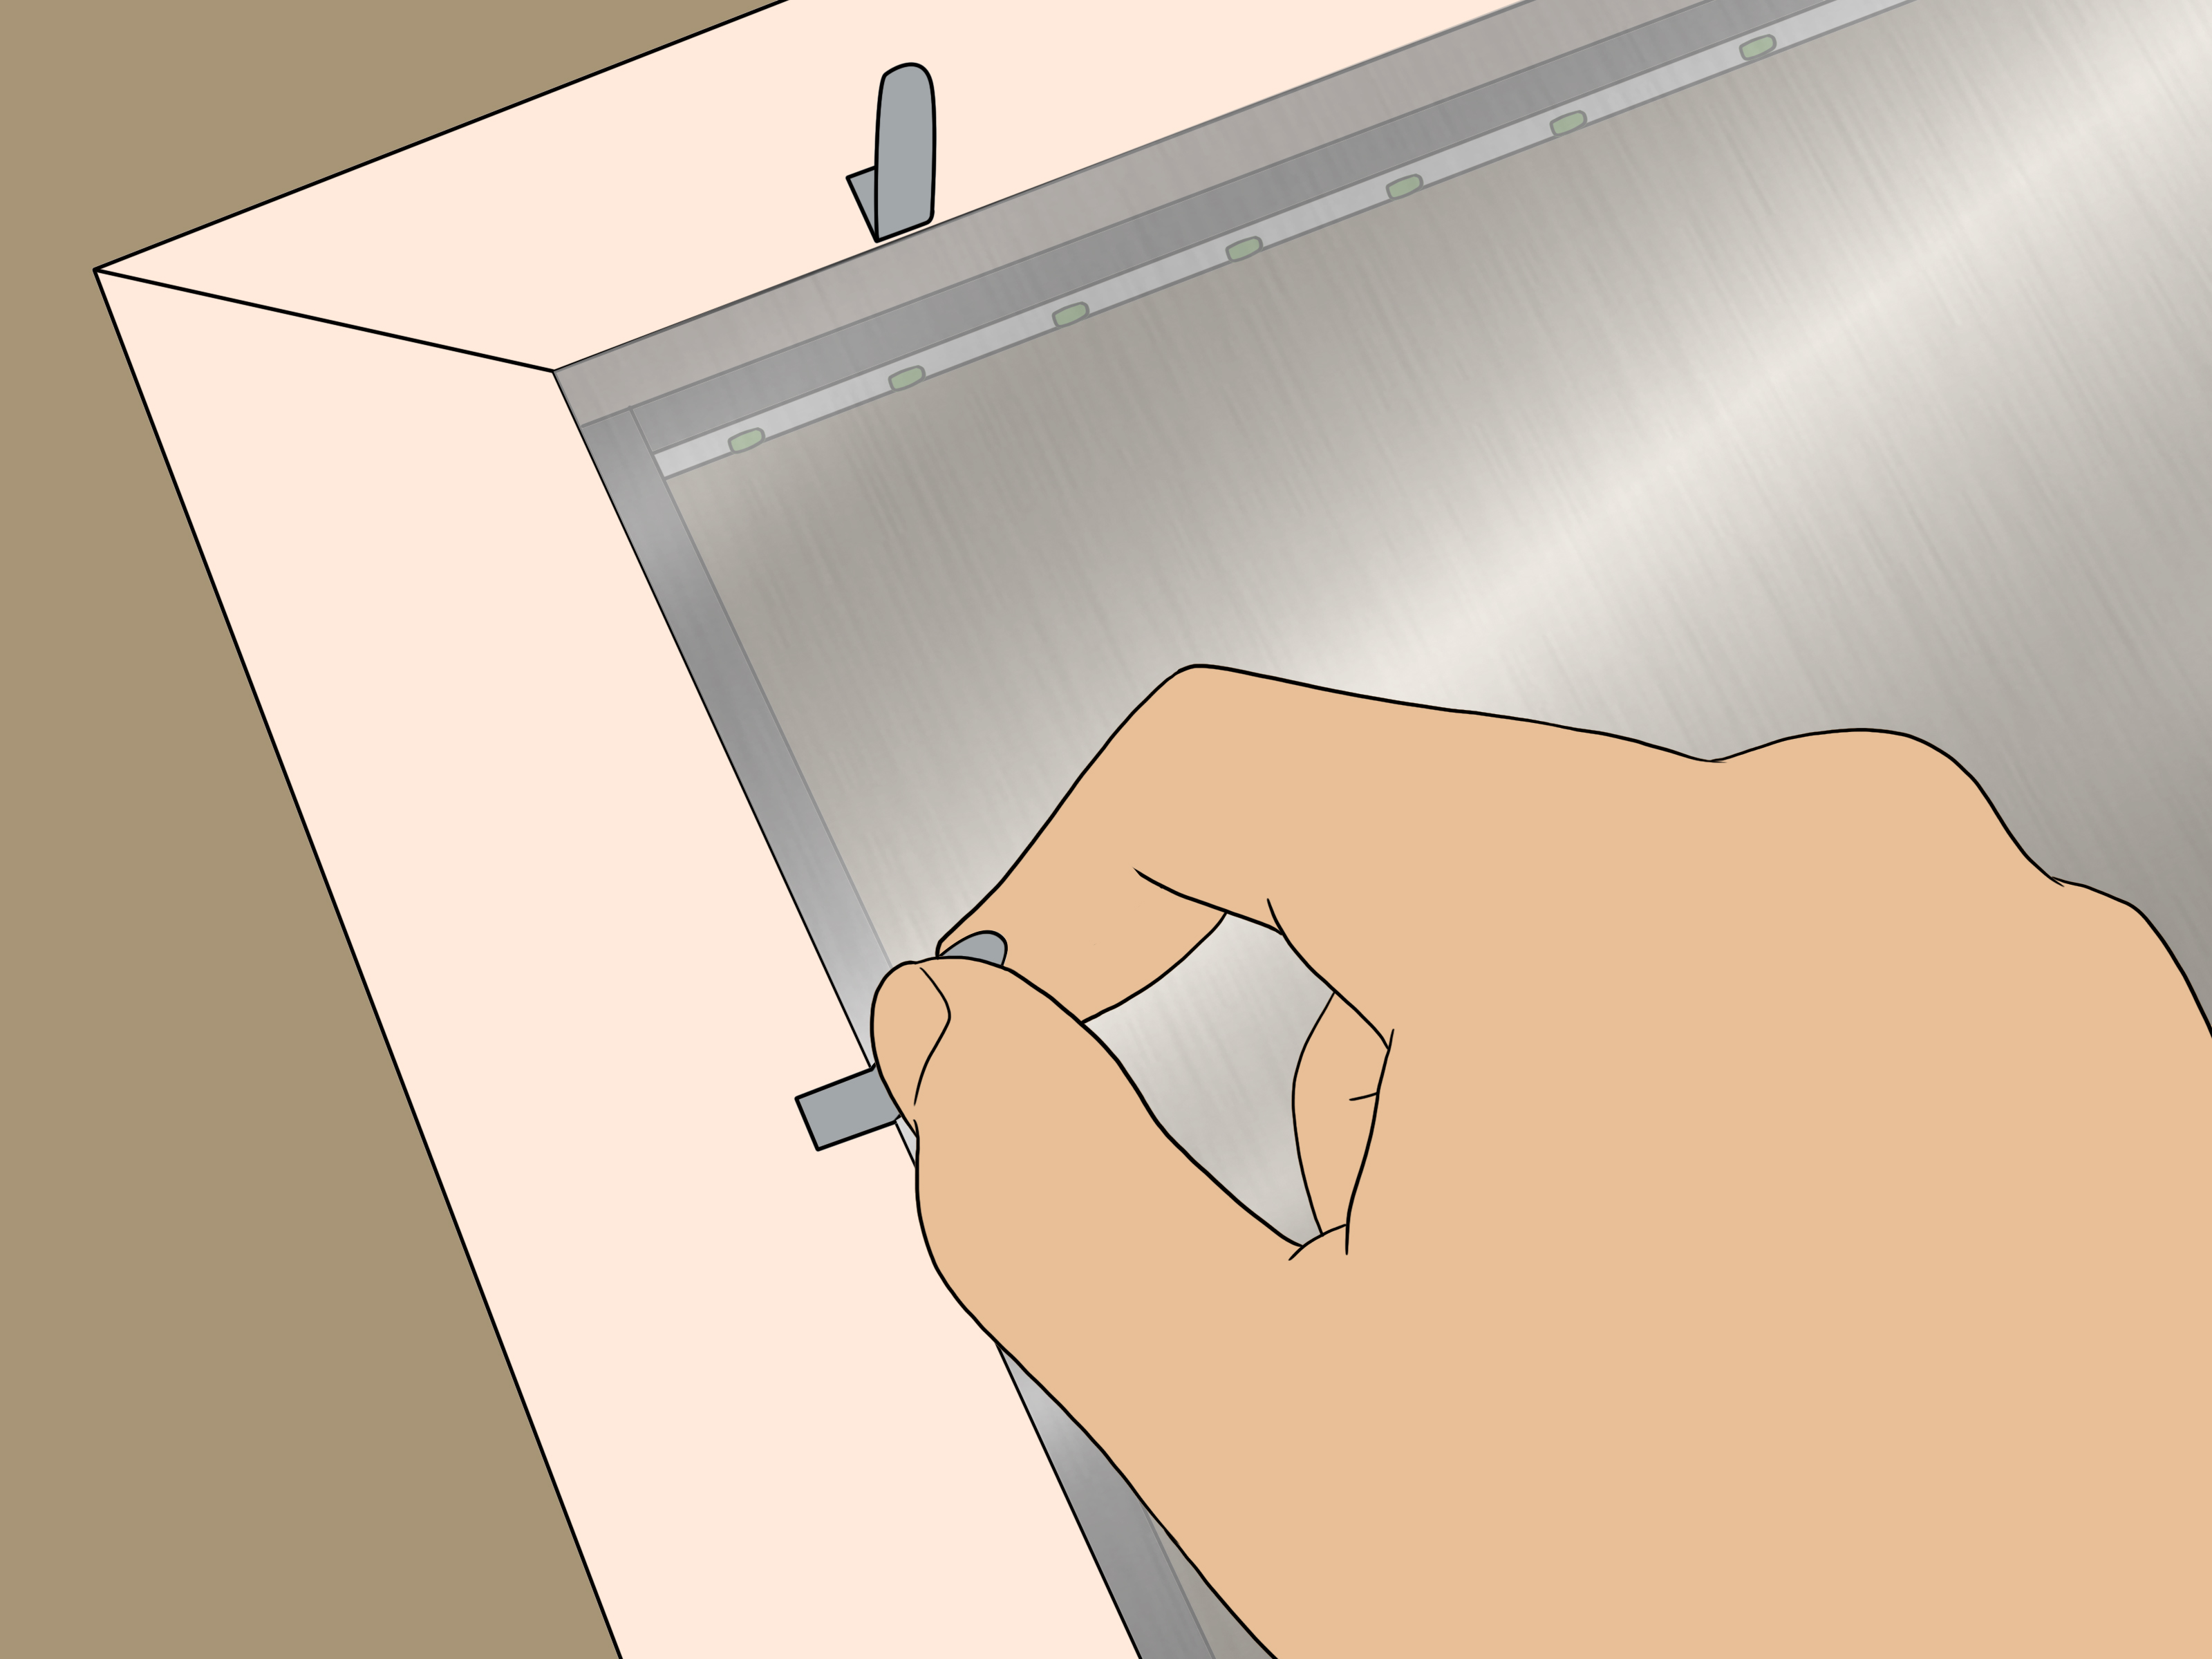
Run the LED strip around the inner wall of the frame, facing toward the center of the mirror. Most adhesive-backed strips can stick directly to the frame, but the adhesive is not always heroic. Add small clips, dabs of hot glue, or extra double-sided tape if needed.
Do not bend the LED strip sharply at the corners unless it is designed for that. Instead, make gentle turns or cut and reconnect the strip at approved cut points. If you are using RGB lights, follow the strip’s wiring labels carefully. If you are using addressable LEDs such as NeoPixels, pay attention to data direction arrows and power requirements.
Before final assembly, plug in the LEDs and test them. Check every section, color mode, remote control, app connection, and dimmer. It is much easier to fix a dead section now than after the mirror is sealed and hanging proudly on the wall like a smug rectangle.
Step 6: Apply Two-Way Mirror Film
If you are using a pre-made two-way mirror acrylic sheet, skip to the next step. If you are applying film, clean the clear glass or acrylic panel thoroughly. Spray the panel with water mixed with a tiny drop of dish soap. Peel the protective liner from the film, spray the adhesive side, and carefully lay it onto the panel.
Use a squeegee or wrapped card to push water and air bubbles outward from the center. Work slowly. Trim excess film with a sharp utility knife after the film is positioned. Let it dry according to the film manufacturer’s instructions before installing it.
For the best durability, place the film side facing inward toward the LEDs. This helps protect the film from scratches when people inevitably touch the front and say, “Is this glass?” Yes, Kevin, it is glass. Please stop poking the portal.
Step 7: Install the Front Panel
Place the two-way mirror panel at the front of the frame with the reflective side facing inward. The front panel and back mirror should be parallel. Secure it with frame tabs, small screws, clips, or a retaining lip.
If your frame has a removable back, assemble everything carefully and close the frame. If you built a custom frame, you can use small brads, screws, or a removable panel. A removable design is helpful because LED strips can fail, controllers can be upgraded, and future-you will appreciate present-you’s mercy.
Step 8: Test the Infinity Effect
Turn on the LEDs in a dim room. The tunnel should appear instantly. If the effect looks weak, increase LED brightness, darken the room, or check whether the front mirror is reflective enough. If the lights look blurry, clean both mirror surfaces. If the tunnel appears uneven, check that the two panels are parallel and seated flat.
Different LED colors produce different moods. Cool white looks futuristic. Warm white feels classy and lounge-like. Red looks dramatic. Blue feels deep and electric. RGB rainbow mode says, “I have surrendered to the party.” Use whatever fits your space.
Safety Tips Before You Plug It In
Infinity mirrors are usually low-voltage projects, but you still need to treat electricity with respect. Use a power supply that matches your LED strip’s voltage, commonly 5V, 12V, or 24V depending on the strip. Do not guess. Check the label or product page.
Calculate the total power draw of your LEDs and choose a power supply with extra capacity. A supply that is too weak may flicker, overheat, or shut down. If you are building a large mirror with addressable LEDs, power planning becomes even more important because full-brightness white can draw much more current than a gentle color animation.
Keep wires secured so they cannot be pinched by the frame. Do not power an LED strip while it is still tightly wound on a reel, because heat can build up. If soldering, work in a ventilated area and protect your work surface. If using glass, wear gloves and eye protection when cutting or handling sharp edges.
Common Infinity Mirror Problems and Fixes
The Tunnel Looks Too Shallow
Try increasing the distance between the front and back mirrors. Also check that your front panel has enough reflectivity. A very transparent film may allow too much light through and reduce the repeated reflection effect.
The Reflection Looks Crooked
The mirror panels are probably not parallel. Add thin spacers or adjust the retaining clips until the front panel sits evenly. Even a small tilt can shift the repeated reflections.
The Film Has Bubbles
Small water bubbles may dry out over time, but trapped dust or large air bubbles usually need attention. Lift the film gently if possible, spray again, and re-squeegee. For future builds, clean the panel like you are preparing it for a royal inspection.
The LEDs Are Too Visible
This is normal if the LED strip faces forward. Place the strip along the inner frame wall facing inward, not directly at the viewer. You can also add a thin diffuser strip or choose LEDs with closer spacing for a smoother look.
The Mirror Gets Warm
Some warmth is normal, but it should not feel hot. Lower the brightness, improve ventilation, or use a more efficient LED strip. Never seal a high-power LED system in a tiny airtight frame without testing heat buildup.
Design Ideas for Your DIY Infinity Mirror
Once you understand the basic build, the creative options open up quickly. A square infinity mirror is classic, but you can also make a hexagon, triangle, heart, star, or long vertical panel. A round mirror creates a tunnel that feels especially portal-like, which is excellent if your home decor style is “friendly wormhole.”
You can also place objects inside the mirror cavity. Small vinyl shapes, laser-cut symbols, letters, or silhouettes can float inside the tunnel effect. Keep them lightweight and avoid blocking too much of the light. For a gaming setup, use RGB LEDs and sync the color scheme with your desk. For a modern living room, use warm white LEDs and a thin black frame. For a kid-friendly science project, use battery-powered LEDs and acrylic instead of glass.
If you enjoy electronics, upgrade the project with addressable LEDs, a microcontroller, Bluetooth control, music-reactive patterns, or motion sensors. Start simple first. A working basic infinity mirror is better than an overcomplicated masterpiece that lives forever in a cardboard box labeled “almost done.”
Beginner-Friendly Build Example
For a simple first project, use a 12-by-12-inch shadow box frame, a 12-by-12-inch regular mirror tile, a matching acrylic sheet, two-way mirror film, and a 12V adhesive RGB LED strip with a plug-in controller. Paint the inside of the frame matte black. Install the back mirror. Stick the LED strip around the inner wall. Apply the mirror film to the acrylic. Place the acrylic at the front with the film side facing inward. Route the power cable through a drilled hole. Test the LEDs, close the frame, and enjoy your new glowing tunnel.
This version avoids advanced programming and keeps the wiring simple. It is affordable, attractive, and forgiving. If something goes wrong, the most likely issues are film bubbles, loose LED adhesive, or mirror alignmentnot a mysterious circuit problem that makes you question your life choices.
Maintenance and Cleaning
Clean the outside front panel with a soft microfiber cloth. Avoid harsh cleaners on acrylic because they can scratch or cloud the surface. If the mirror film is exposed, do not scrape it. For wall-mounted mirrors, check the mounting hardware occasionally, especially if the frame is large or heavy.
If the LEDs stop working, inspect the power supply, connector, controller, and strip. Many failures happen at the connector or solder joint rather than the entire strip. A removable back panel makes repairs much easier.
Real-World Experiences: What You Learn While Making an Infinity Mirror
The first thing most people learn while making an infinity mirror is that the project looks more complicated than it really is. Visitors see the finished mirror and assume it required advanced electronics, secret optics, and possibly a small wizard. In practice, the magic comes from careful layering. Once you understand the sandwichback mirror, LED space, semi-reflective front mirrorthe whole project becomes approachable.
The second lesson is that cleanliness matters more than expected. A fingerprint on the inside of the front panel becomes part of the universe. A speck of dust may appear to repeat down the tunnel like it paid rent there. During assembly, take your time cleaning each surface before closing the frame. It may feel fussy, but the final result is sharper and more professional.
Another experience many beginners share is underestimating the LED test. The strip might work beautifully on the table, then flicker once it is bent around corners or tucked into the frame. Always test the strip before installing it, after installing it, and again before closing the mirror. This sounds excessive until you have to reopen a sealed frame because one corner decided to retire early.
Applying mirror film can also be a small character-building exercise. The first attempt may include bubbles, wrinkles, or a dramatic moment where the film sticks to itself like a clingy octopus. The trick is to use enough soapy water, keep dust away, and avoid rushing. If you want a cleaner beginner experience, buy two-way mirror acrylic instead of applying film. It costs more, but it removes one of the most frustrating steps.
Frame depth is another discovery. A shallow frame creates a tight, dense reflection pattern. A deeper frame creates a longer-looking tunnel. Neither is automatically better; it depends on the style you want. For wall art, a slim frame often looks sleek. For a dramatic display piece, more depth can make the illusion feel richer.
You also learn that brightness is a balancing act. Too dim, and the effect disappears in normal room light. Too bright, and the mirror becomes less mysterious and more “tiny nightclub trapped in a box.” A dimmer or remote-controlled RGB strip is useful because it lets you adjust the mirror for daytime, evening, parties, or quiet background glow.
Finally, making an infinity mirror teaches the best kind of DIY confidence. It combines woodworking, lighting, optics, design, and a little patience, but none of the steps are impossible. The finished result feels rewarding because it transforms ordinary materials into something that looks genuinely impressive. It is the rare project that can make a beginner feel like an inventor, an artist, and an electrician’s cautious cousin all at once.
Conclusion
Learning how to make an infinity mirror is one of the most satisfying DIY projects because the payoff is huge compared with the difficulty level. With a regular mirror, a two-way mirror surface, a simple frame, and LED strip lights, you can create a glowing illusion that looks far deeper than it really is. The key is careful planning: choose the right frame depth, keep the mirror surfaces clean and parallel, use the correct power supply, hide the wiring neatly, and test your LEDs before final assembly.
Start with a small shadow box mirror if this is your first build. Once you understand the process, you can experiment with larger wall panels, colorful RGB effects, programmable LEDs, custom shapes, or furniture-style designs. The infinity mirror may look endless, but the instructions are refreshingly finite.
Note: For best results, build a small test version before making a large mirror. It helps you understand spacing, brightness, film quality, and wiring without spending extra money on materials you may need to change later.