A sash is one of those small sewing projects with suspiciously big personality. It can cinch a dress, decorate a party outfit, dress up a wreath, turn a plain costume into a “yes, I planned this” moment, or proudly announce Bride to Be, Birthday Queen, Class President, or whatever title your household has decided is legally binding for the day.
The best part? Learning how to make a sash is beginner-friendly, budget-friendly, and forgiving enough that even your first try can look polished. You do not need couture-level sewing skills. You need fabric, thread, a measuring tape, an iron, a little patience, and the emotional courage to turn a long fabric tube right side out without questioning your life choices.
This guide explains how to make a fabric sash in 12 clear steps, including measuring, cutting, sewing, pressing, finishing, and decorating. You can use the method for a waist sash, dress sash, pageant sash, bridal sash, costume sash, or decorative sash. Once you understand the basic construction, you can customize the size, fabric, color, lettering, and embellishments to match almost any occasion.
What Is a Sash?
A sash is a long strip of fabric worn around the waist, across the body, over the shoulder, or tied onto decorative items. In fashion, a sash can define the waist and add shape to a dress, tunic, robe, or jumpsuit. For events, a sash can display a title or message. In home décor, a fabric sash can add color and texture to a wreath, chair, basket, or gift display.
Most simple sashes are made by sewing a long rectangle of fabric into a tube, turning it right side out, pressing it flat, and closing the opening. More structured sashes may include fusible interfacing. More decorative sashes may include iron-on vinyl, fabric paint, rhinestones, lace, fringe, ribbon, or embroidery. In other words, a sash can be as quiet as a linen belt or as dramatic as a parade float with manners.
Supplies You Will Need
- Fabric, ribbon, satin, cotton, linen, rayon, or polyester
- Matching thread
- Measuring tape
- Fabric scissors or rotary cutter
- Cutting mat and ruler, if available
- Sewing pins or clips
- Sewing machine or hand-sewing needle
- Iron and ironing board
- Safety pin, tube turner, chopstick, or dowel
- Optional fusible interfacing for extra body
- Optional decorations such as iron-on letters, lace, trim, beads, or appliqués
Best Fabric for Making a Sash
The right fabric depends on the purpose of the sash. For a soft waist sash, choose fabric with drape, such as rayon challis, silk, satin, lightweight cotton lawn, or linen blend. For a structured pageant-style sash, use wide polyester ribbon, satin, or cotton with interfacing. For a bridal sash, satin, silk, organza, tulle, lace, and embellished trim can look elegant. For a costume sash, cotton, broadcloth, faux suede, or lightweight canvas may work well.
If you want the sash to tie into a graceful bow, avoid fabric that is too thick or stiff. If you want the sash to sit flat across the body, choose fabric that holds its shape. If your fabric is very thin, fusible interfacing can add stability and prevent the sash from looking limp, wrinkly, or like it gave up halfway through the party.
How Long and Wide Should a Sash Be?
For a waist sash, measure your waist and add 20 to 40 inches for tying. Add more length if you want a large bow or long tails. For a shoulder or pageant sash, measure from one shoulder across the body to the opposite hip, then double that measurement because the sash wraps around the body. Add a few extra inches for overlap, seam allowance, and comfort.
A narrow waist sash may finish at 1.5 to 2 inches wide. A standard dress sash often finishes around 2.5 to 4 inches wide. A pageant sash usually looks best around 3 to 4 inches wide. To calculate the cutting width, double your desired finished width and add seam allowance. For example, if you want a finished 3-inch sash and plan to use a 1/2-inch seam allowance, cut the fabric 7 inches wide: 3 inches for the front, 3 inches for the back, and 1 inch total for seam allowance.
How to Make a Sash: 12 Steps
Step 1: Decide What Kind of Sash You Want
Before cutting anything, choose the sash style. Are you making a waist sash for a dress? A diagonal party sash? A bridal sash? A decorative wreath sash? Each type uses the same basic construction, but the measurements and fabric choices change.
For a waist sash, comfort and drape matter most. For a pageant or party sash, readability and structure matter most. For a bridal sash, texture and elegance matter most. Think about how the sash will be worn, how long it needs to last, and whether it will be washed, reused, photographed, or dramatically removed at midnight.
Step 2: Measure the Body or Object
Use a soft measuring tape. For a waist sash, measure around the waist where the sash will sit. Then add extra length for tying. A simple knot needs less length; a bow needs more. For a pageant sash, measure diagonally from shoulder to opposite hip and continue around the back to the shoulder again. Add enough ease so the sash does not pull, twist, or sit awkwardly.
If you are unsure, test the length with a piece of string or ribbon first. Tie it the way you plan to wear the finished sash. This tiny test can save you from making a beautiful sash that fits only a lamp post.
Step 3: Choose and Prepare Your Fabric
Wash and dry washable fabric before sewing, especially cotton or linen. This helps prevent shrinking later. Press the fabric flat before cutting. Wrinkles can distort your measurements and make straight cutting harder than it needs to be.
For formal sashes, satin and polyester ribbon are popular because they shine nicely and are available in many colors. For everyday waist sashes, soft woven fabric usually feels more comfortable. If the fabric is slippery, use extra pins or clips and cut slowly.
Step 4: Draft a Simple Pattern
A sash pattern is usually a rectangle. The length equals your desired sash length plus seam allowance. The width equals double the finished width plus seam allowance. If you want angled ends, draw a diagonal line at each short end. Angled ends look especially nice on waist sashes, costume sashes, and decorative sashes.
Example: For a finished sash that is 3 inches wide and 72 inches long, using 1/2-inch seam allowance, cut a piece 7 inches wide and 73 inches long. If your fabric is not long enough, sew shorter strips together to create the full length.
Step 5: Cut the Fabric Carefully
Lay the fabric flat. Use a ruler and fabric marker to mark the cutting lines. Cut with sharp scissors or a rotary cutter. For a softer sash that curves beautifully around the waist, you may cut the fabric on the bias, which means at a 45-degree angle to the grain. Bias-cut fabric has more flexibility and a more elegant drape.
If you are using directional fabric, such as stripes, florals, or text print, check the direction before cutting. Nothing says “homemade adventure” like upside-down roses marching across your torso.
Step 6: Add Interfacing if Needed
Interfacing gives a sash more structure. Use lightweight fusible interfacing for thin cotton, satin, or broadcloth. Cut the interfacing slightly smaller than the fabric piece so glue does not stick to your iron or ironing board. Place the rough adhesive side against the wrong side of the fabric, cover with a pressing cloth, and press according to the interfacing instructions.
Let the fabric cool before sewing. This helps the adhesive set properly and reduces puckering. Skip interfacing if you want a very soft, fluid sash, especially for delicate bows.
Step 7: Fold and Pin the Sash
Fold the fabric lengthwise with right sides together. Match the long edges. Pin or clip along the length. If your sash has angled ends, make sure the points line up neatly. If the fabric shifts, use more pins. There is no prize for using the fewest pins, and there should be, frankly, a small warning label.
Leave one short end open, or leave a small opening along the long seam for turning. For beginners, leaving one short end open is often easier. For a cleaner finish, sew both short ends and leave a 2- to 4-inch opening in the center of the long edge.
Step 8: Sew the Long Edge
Sew along the pinned edge using a straight stitch. A 1/4-inch to 1/2-inch seam allowance works for most sashes. Backstitch at the beginning and end so the stitches do not unravel. If you are sewing stretch fabric, use a stretch stitch or narrow zigzag stitch.
Take your time on slippery fabrics. Satin can behave like it has dinner reservations elsewhere. Hold the fabric gently, guide it steadily, and avoid pulling it through the machine.
Step 9: Sew or Shape the Ends
If you want square ends, sew straight across the short ends. If you want pointed or angled ends, sew along the diagonal lines you marked earlier. Trim the corners carefully, leaving enough seam allowance so the stitches stay secure. Clipping excess fabric from corners helps the ends turn neatly.
For a pageant sash, you may choose to overlap the ends at the hip and secure them with hand stitches, snaps, hook-and-loop tape, or a decorative pin. This keeps the sash from sliding around during photos, speeches, dancing, or enthusiastic cake-related movement.
Step 10: Turn the Sash Right Side Out
Turn the fabric tube right side out using a safety pin, tube turner, chopstick, or dowel. Attach a safety pin to one end and feed it through the tube, gently pulling the fabric with it. If one end is closed, use a dowel or chopstick to push the closed end through the tube.
Do not force the fabric. If it bunches, smooth it out and keep working slowly. Once turned, use a blunt point turner or chopstick to shape the corners. Avoid sharp tools that can poke through the fabric and create a tiny tragedy.
Step 11: Press the Sash Flat
Pressing is what turns a fabric tube into something that looks intentional. First, roll the seam gently between your fingers so it sits at the edge or back of the sash. Then press with the iron. Use a pressing cloth for satin, silk, synthetic fabric, vinyl decoration, or anything delicate.
Press rather than iron aggressively. Pressing means lifting and setting the iron down; ironing means sliding it back and forth. Pressing helps the sash stay crisp without stretching or distorting the fabric.
Step 12: Close the Opening and Decorate
Fold the raw edges of the opening inward and press. Close it by hand with a ladder stitch or by machine with a narrow topstitch. Topstitching around the entire sash gives a neat, professional finish and helps it stay flat after wearing or washing.
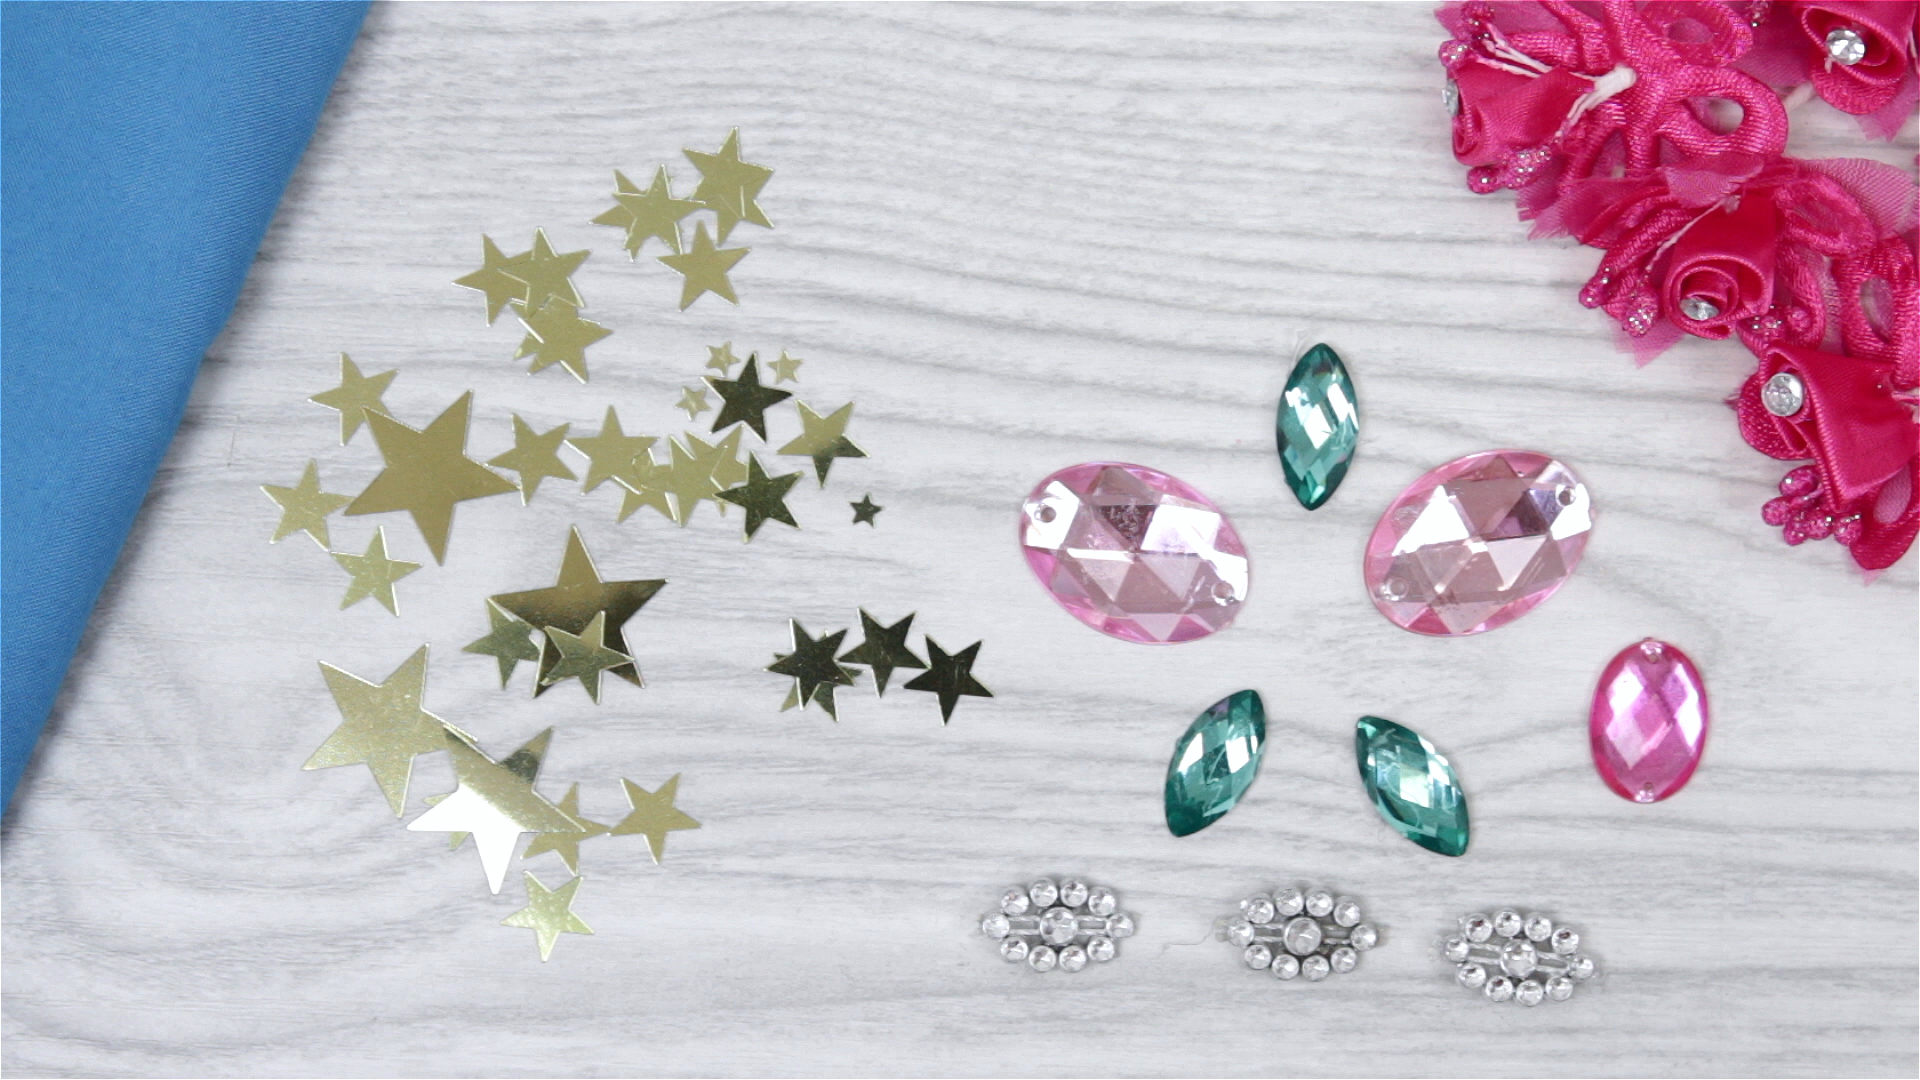
Now decorate. Add iron-on letters, fabric paint, lace, ribbon, rhinestones, appliqués, embroidery, fringe, or a rosette. If using heat transfer vinyl or iron-on letters, arrange the design first and check the spelling twice. “Bride to Be” is lovely. “Bribe to Be” is a different event.
How to Make a No-Sew Sash
If you do not sew, you can still make a sash with wide ribbon and iron-on hemming tape. Cut the ribbon to length, angle the ends, seal the ends with a tiny amount of fray check or careful heat if the ribbon is synthetic, and attach decorations with fabric glue or iron-on letters. For a diagonal sash, overlap the ends at the hip and secure them with adhesive hook-and-loop tape or a decorative safety pin.
A no-sew sash is perfect for one-day events, birthday parties, bachelorette weekends, school spirit days, costumes, and photo booths. It may not be as durable as a sewn sash, but it can look great with careful pressing and clean lettering.
Creative Sash Ideas
Bridal Sash
Use satin, silk, lace, organza, or beaded trim. Keep the color soft and elegant: ivory, champagne, blush, silver, or pearl. A bridal sash can be tied in a bow at the back or fastened with hooks and eyes for a flatter look.
Birthday or Party Sash
Use bright satin ribbon and bold lettering. Add glitter heat transfer vinyl, rhinestones, fringe, or a fabric flower. This is the sash category where “subtle” may take a short vacation.
Costume Sash
Choose fabric that matches the character or theme. Pirates, superheroes, historical costumes, and fantasy outfits all benefit from a sash. A weathered cotton sash can look rugged; a shiny satin sash can look royal.
Wreath Sash
Use linen, cotton, or seasonal fabric. Tie it around the wreath with the tails hanging down. Add a monogram, holiday phrase, or decorative trim. This is an easy way to make front-door décor look custom without buying a whole new wreath.
Common Mistakes to Avoid
The first mistake is cutting the sash too short. Always add more length than you think you need, especially for bows. The second mistake is skipping the iron. Pressing may feel optional, but it is the secret handshake of polished sewing. The third mistake is using fabric that is too thick for a tied sash. Bulky fabric creates bulky knots, and bulky knots create regret.
Another common mistake is decorating before pressing. Always press the sash smooth before adding letters or embellishments. If you apply iron-on vinyl over wrinkles, the wrinkles become part of the design, and not in a charming way. Also, test fabric paint, glue, or heat settings on a scrap first. Some fabrics scorch, melt, bleed, or pucker when exposed to heat or moisture.
Care and Storage Tips
Store your sash flat or loosely rolled. Avoid folding it sharply, especially if it has vinyl lettering, beads, or delicate trim. Spot-clean formal sashes when possible. Wash cotton or linen sashes gently, then press them flat. If the sash includes rhinestones, appliqués, or glue, hand washing is safer than machine washing.
For event sashes, keep a small emergency kit nearby: safety pins, double-sided fashion tape, a lint roller, and a mini sewing kit. These tiny tools can rescue a sash from slipping, twisting, or collecting every speck of lint in the county.
Experience Notes: What Actually Helps When Making a Sash
After making a few sashes, you quickly learn that the sewing part is not usually the hard part. The real challenge is planning the length, controlling the fabric, and making the finish look clean. A sash is simple, but because it is long and narrow, every small wobble can become more noticeable. The good news is that most issues are easy to prevent.
One of the most useful habits is testing the sash length with ribbon or string before cutting fabric. This is especially important for waist sashes. A measurement on paper may look generous, but once you wrap it around the body and tie a bow, the tails can become surprisingly short. If you want a dramatic bow, add extra length. If you want a simple knot, you can use less. When in doubt, cut longer. You can always shorten a sash, but adding length later may create a seam in an awkward spot.
Another lesson is that fabric personality matters. Cotton is easy to sew but can look casual. Satin looks glamorous but slips around like it has secrets. Linen looks beautiful and natural but wrinkles if someone merely thinks about sitting down. Rayon drapes nicely but can stretch if handled roughly. Polyester ribbon is convenient for party sashes, but it can melt under high heat. Every fabric has a mood. Respect the mood, and the project goes better.
Pressing also makes a bigger difference than beginners expect. A sash that looks homemade in the “oops” sense often just needs better pressing. Press the seam after sewing, press again after turning, and press the finished edges before topstitching. If the sash has a center seam, press it open so it lies flat. Use a pressing cloth on delicate materials. This one step can make a five-dollar fabric strip look boutique.
Turning the sash right side out can be annoying, especially if the sash is narrow. A safety pin works well for open-ended tubes, while a dowel or tube turner works better for closed ends. The trick is not to rush. Pull gently, smooth the bunching fabric, and avoid yanking. If the sash is very long, take breaks before you begin bargaining with the sewing gods.
For decorated sashes, layout is everything. Before applying letters, put the sash on a dress form, hanger, table, or actual person and mark where the words should appear. Text that looks centered on a flat table can shift when worn across the body. For diagonal sashes, place the words where they will be visible from the front, not hidden near the shoulder or swallowed at the hip. Use painter’s tape or heat-resistant tape as a guide to keep letters straight.
Finally, make the sash practical for the event. If someone will wear it for hours, add a hidden safety pin, snap, or small piece of hook-and-loop tape at the hip or shoulder. If the sash is for a child, avoid scratchy trims near the neck. If it is for a bride, test the fabric against the dress to make sure it does not snag lace or shed glitter. If it is for a party, make it sturdy enough to survive hugs, dancing, photos, snacks, and at least one person saying, “Wait, can I try it on?”
Conclusion
Making a sash is a satisfying project because it delivers a big visual payoff with simple sewing skills. Once you know how to measure, cut, sew, turn, press, and finish a long fabric strip, you can create sashes for clothing, parties, weddings, costumes, gifts, wreaths, and special events. The key is to match the fabric to the purpose, add enough length for tying, press carefully, and decorate with intention.
Whether you make a soft waist sash for a dress or a sparkling party sash that announces the guest of honor, the process is flexible and fun. Start with the basic 12 steps, then experiment with different fabrics, widths, lettering, and trims. Your first sash may be simple, but your second one might involve satin, rhinestones, and a level of confidence normally reserved for award-show entrances.
Note: This article is written as original, publish-ready content based on practical sewing and crafting methods. It contains no source links, citation placeholders, or unnecessary publishing artifacts.