Installing a power supply in a PC sounds like the kind of job that requires a lab coat, a tiny screwdriver, and a dramatic thunderstorm in the background. Good news: it does not. If you can follow labels, use a Phillips screwdriver, and resist the urge to force square-ish things into not-square-ish holes, you can install a PSU with confidence.
The power supply unit, or PSU, is the part of your computer that takes power from the wall and distributes usable power to your motherboard, CPU, graphics card, storage drives, fans, and accessories. In other words, it is the cafeteria worker of your PC: everything gets fed because the PSU shows up and does its job.
This beginner-friendly guide explains how to install a power supply in a PC, connect the right PSU cables, avoid common mistakes, and test your system safely. Whether you are building your first gaming PC, replacing an old power supply, or upgrading for a new graphics card, the process is manageable when you take it one cable at a time.
What a Power Supply Does in a PC
A PC power supply converts AC power from your wall outlet into DC power that computer parts can use. It also provides different connectors for different hardware. Your motherboard needs a large 24-pin connector. Your CPU usually needs a 4-pin, 8-pin, or 4+4-pin EPS connector. Your graphics card may need 6-pin, 8-pin, 6+2-pin PCIe cables, or a newer 12VHPWR or 12V-2×6 connector. SATA power cables feed SSDs, hard drives, fan hubs, RGB controllers, and some accessories.
That may sound like a cable jungle, but most modern PSU cables are labeled. Many are also keyed, meaning they only fit in the correct orientation. The trick is to slow down, read the labels, and check your motherboard, case, GPU, and PSU manuals whenever something looks suspiciously confusing. In PC building, confusion is not failure. It is the tutorial level.
Before You Start: Choose the Right PSU
Check Wattage
Before installing a power supply, make sure it has enough wattage for your system. A basic office PC may run comfortably on a modest PSU, while a gaming PC with a powerful graphics card may need 650W, 750W, 850W, or more. Use a reputable PSU wattage calculator or check the recommended power supply rating from your GPU manufacturer.
A smart beginner rule is to avoid choosing a PSU that barely meets your estimated power draw. If your build is estimated around 500 watts, a quality 600W or 650W PSU gives useful overhead for efficiency, quieter operation, and future upgrades. This does not mean you need a nuclear reactor under your desk. It simply means the PSU should not be sweating like it just ran a marathon while your GPU opens a game menu.
Check Form Factor
Most mid-tower and full-tower desktop cases use standard ATX power supplies. Smaller cases may require SFX or SFX-L units. Before buying, check your case specifications. A full-size ATX PSU will not magically squeeze into a tiny Mini-ITX case just because you asked nicely.
Understand Modular, Semi-Modular, and Non-Modular PSUs
A non-modular power supply has all cables permanently attached. It is often cheaper, but unused cables must be tucked away. A semi-modular PSU has some permanent cables and some detachable ones. A fully modular PSU lets you connect only the cables you need, which makes cable management easier and helps airflow.
For beginners, a fully modular PSU is usually the easiest to work with because you can connect cables one by one. However, any type can work if it is good quality, compatible with your case, and powerful enough for your components.
Tools and Safety Checklist
You do not need a professional repair bench to install a PSU. A clean table, patience, and decent lighting will do most of the heavy lifting.
- Phillips screwdriver
- Zip ties or Velcro straps for cable management
- Your PSU, case, motherboard, and graphics card manuals
- Anti-static wrist strap, optional but useful
- A small bowl or magnetic tray for screws
Safety matters. Shut down the computer completely, flip the PSU switch to the “O” position if there is one, unplug the power cord, and press the case power button for a few seconds to help discharge leftover power. Never open the metal housing of a power supply. Even when unplugged, internal components can retain dangerous voltage. The PSU is not a mystery box. Do not make it one.
Step-by-Step Guide: How to Install a Power Supply in a PC
Step 1: Prepare the Case
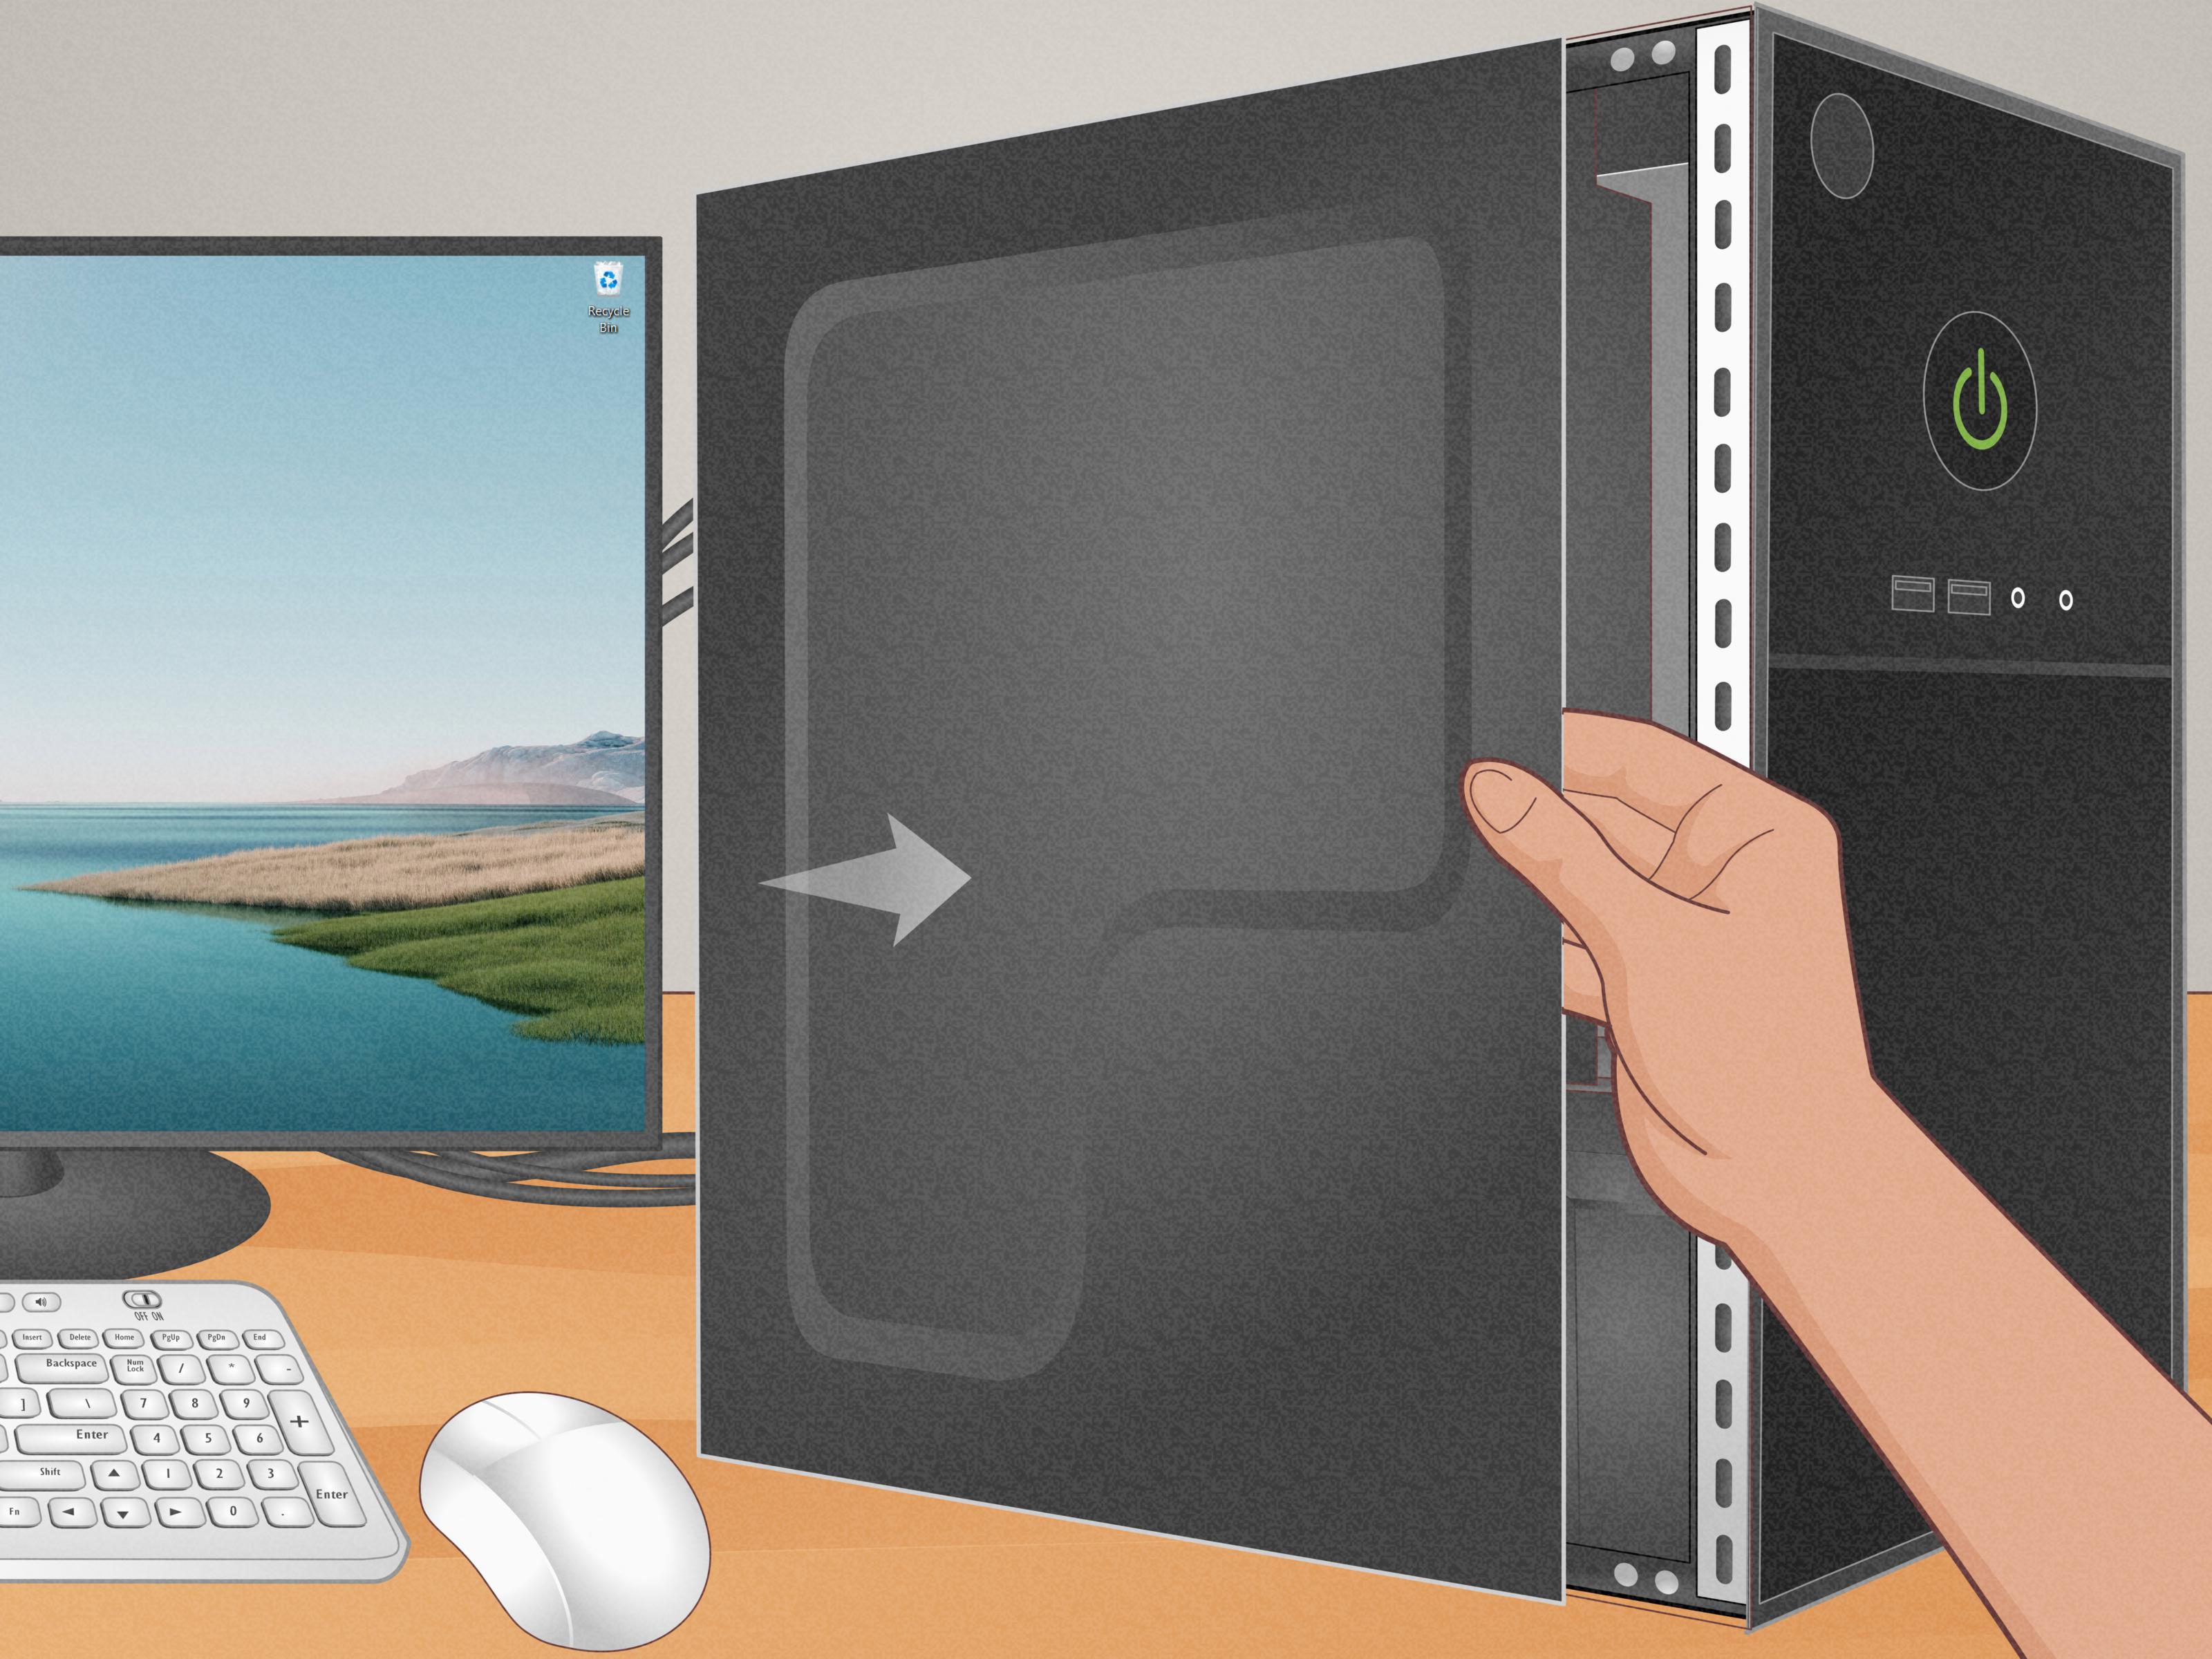
Place the computer case on a stable surface and remove the side panels. If you are replacing an old PSU, take a few photos before disconnecting anything. Your phone can become your “before” map, which is especially helpful when the cables begin multiplying like spaghetti with ambition.
If this is a new build, locate the PSU bay. It is usually at the bottom rear of the case, often under a PSU shroud. Older cases may place it at the top rear. Also check for a removable dust filter and ventilation holes near the PSU area.
Step 2: Decide the PSU Fan Direction
Most power supplies have a large fan on one side. In modern cases with a bottom vent and dust filter, the PSU fan usually faces downward so it can pull cool air from outside the case. If your case sits on thick carpet or has no bottom ventilation, the fan may need to face upward into the case. Always follow your case manual if it gives specific instructions.
The goal is simple: give the power supply access to air. A PSU fan pressed against a solid surface is like trying to breathe through a pillow. Technically dramatic, practically bad.
Step 3: Slide the PSU Into Position
Slide the power supply into the PSU bay from the side or rear, depending on your case design. Align the screw holes on the back of the PSU with the mounting holes on the case. The power switch and AC power socket should face outward at the rear of the PC.
Use the four screws provided with the PSU or case to secure it. Tighten them until snug, but do not over-tighten. You are securing a component, not sealing a submarine hatch.
Step 4: Connect Modular Cables to the PSU First
If you have a modular power supply, connect only the cables your build needs. Common cables include:
- 24-pin ATX cable: main motherboard power
- 4+4-pin EPS CPU cable: CPU power near the top of the motherboard
- PCIe 6+2-pin cable: graphics card power for many GPUs
- 12VHPWR or 12V-2×6 cable: newer high-power GPU connector
- SATA power cable: SSDs, hard drives, fan hubs, RGB controllers, and accessories
- Molex cable: older fans and legacy accessories
Important: do not reuse modular PSU cables from an old power supply unless the manufacturer confirms they are compatible with the exact PSU model. Modular cables can look identical but have different pinouts on the PSU side. Mixing cables can damage components. This is one of those “save five minutes, risk hundreds of dollars” situations. Not a great trade.
Step 5: Connect the 24-Pin Motherboard Cable
The 24-pin ATX connector is the largest power connector and usually plugs into the right side of the motherboard. Line up the latch with the socket tab and press firmly until it clicks into place. It may require more pressure than expected, but it should not require violence, chanting, or a hammer.
If your motherboard is older and uses a 20-pin connector, some 20+4-pin cables allow the extra 4 pins to separate. For modern beginner builds, expect to use the full 24-pin connector.
Step 6: Connect the CPU Power Cable
The CPU power connector is usually near the top-left corner of the motherboard, close to the CPU socket. It may be labeled CPU_PWR, ATX_12V, or EPS. Most modern PSUs use a 4+4-pin CPU cable that can plug into an 8-pin CPU socket or split for a 4-pin socket.
Do not confuse CPU/EPS cables with PCIe GPU cables. They can look similar, but they are not the same. The labels on the cable ends are your friends. Trust the labels. They studied for this exam.
Step 7: Connect Graphics Card Power
If your PC uses a dedicated graphics card, check whether it needs external power. Some low-power GPUs draw all the power they need from the motherboard slot. Gaming GPUs usually need one or more PCIe power connectors or a newer 12VHPWR or 12V-2×6 cable.
For standard PCIe cables, plug the 6-pin or 6+2-pin connector into the GPU until the latch clicks. If your GPU requires two or three separate connectors, use the recommended cable layout from your PSU or GPU manual. When possible for higher-power graphics cards, use separate PCIe cables instead of relying on one daisy-chained cable for everything.
For 12VHPWR or 12V-2×6 connectors, full insertion is critical. Push the connector in straight and make sure there is no visible gap. Avoid bending the cable sharply right at the connector; leave a short straight section before any curve. A neat bend is fine. A cable folded like a taco at the plug is not.
Step 8: Connect SATA Power and Accessories
SATA power connectors are thin, wide connectors used for 2.5-inch SSDs, 3.5-inch hard drives, fan hubs, RGB controllers, and some liquid cooler accessories. The connector is L-shaped, so it fits one way. Do not force it.
If your storage is an M.2 SSD installed directly on the motherboard, it does not need a SATA power cable. Many beginners look for a cable for an M.2 drive and then wonder whether the drive is powered by fairy dust. It is powered through the motherboard slot. The fairies were unavailable.
Step 9: Manage the Cables
Before closing the case, route cables behind the motherboard tray when possible. Use Velcro straps or zip ties to keep cables away from fans and airflow paths. Leave enough slack so connectors are not under tension. A clean build is not just pretty; it also makes future upgrades easier and improves airflow through the case.
Do not cinch cables so tightly that they pull on motherboard sockets or GPU connectors. Cable management should look organized, not like the PC is wearing a corset.
Step 10: Do a Final Inspection
Before plugging in the PC, check the essentials:
- The PSU is screwed securely into the case.
- The 24-pin motherboard cable is fully seated.
- The CPU power cable is connected near the top of the motherboard.
- The graphics card power cable is fully inserted, if required.
- SATA-powered accessories are connected.
- No cables are touching fans.
- The PSU fan has ventilation.
- The voltage switch, if your PSU has one, is correctly set for your region.
Most modern PSUs automatically handle input voltage, but if your unit has a manual voltage switch, check it carefully. Setting it wrong can cause serious problems.
Step 11: First Power-On Test
Connect the monitor, keyboard, and mouse. Plug the power cable into the PSU and wall outlet. Flip the PSU switch to “I” for on. Press the case power button.
If everything is connected correctly, fans may spin, LEDs may light up, and the system should begin its startup process. New builds may take a little longer on the first boot while memory training or motherboard checks occur. Do not panic if it does not instantly leap to life like a caffeinated squirrel.
What to Do If the PC Does Not Turn On
If nothing happens, start with the simple checks. Make sure the wall outlet works. Confirm the power cord is fully seated. Check that the PSU switch is set to “I.” Verify the case power-button cable is connected to the correct front-panel pins on the motherboard. This tiny connector causes many first-build headaches and deserves its own villain origin story.
Next, re-seat the 24-pin motherboard connector and CPU power connector. If your GPU needs power, check those cables too. Make sure modular cables are fully plugged into both the PSU and component ends. If you are replacing an old PSU, confirm you did not leave one old cable connected to a new modular PSU.
If the PC powers on but shows no display, make sure your monitor cable is plugged into the graphics card, not the motherboard, if your CPU does not have integrated graphics. Also verify that RAM and the graphics card are fully seated.
Use PSU paperclip tests or standalone PSU testing only if you are following the manufacturer’s instructions. Beginners should not randomly bridge pins because an online comment said, “Trust me, bro.” Electricity is not famous for forgiving confidence.
Common Beginner Mistakes to Avoid
Mistake 1: Forgetting the CPU Power Cable
The 24-pin motherboard cable is obvious because it is huge. The CPU power cable hides near the top of the board and is easy to miss. A PC may appear dead or fail to boot if this cable is not connected.
Mistake 2: Mixing Modular PSU Cables
Never assume cables from another modular PSU are safe to reuse. Even from the same brand, compatibility depends on the exact PSU family. Use the cables that came with your power supply or confirm compatibility with official documentation.
Mistake 3: Bending GPU Power Cables Too Sharply
High-power GPU connectors need careful handling. Fully insert the connector and avoid sharp bends immediately at the plug. A little patience here can prevent serious stability and safety issues.
Mistake 4: Blocking the PSU Fan
A PSU needs airflow. If the fan faces downward, keep the bottom dust filter clean and avoid placing the PC on deep carpet. If the case has no bottom vent, follow the case manual for proper fan orientation.
Mistake 5: Over-Cable-Managing
Yes, neat cables are good. No, you do not need to pull every wire tight enough to tune it like a guitar string. Leave gentle slack near connectors so nothing is strained.
Extra Beginner Experience: Lessons From Installing a PC Power Supply
The first time many beginners install a power supply, the scariest part is not the installation itself. It is the feeling that every cable is secretly waiting to destroy the computer. In reality, most PSU installation problems come from three very normal things: rushing, not reading labels, and assuming one cable is “close enough.” Close enough is fine for pizza slices. It is not fine for power connectors.
A useful beginner habit is to lay out all PSU cables before installing them. Group them by purpose: motherboard, CPU, graphics card, SATA accessories, and extras. Once the cables are sorted, the whole project becomes less mysterious. The 24-pin cable is unmistakably large. The CPU cable usually says CPU or EPS. The GPU cable says PCIe. SATA power has that long, flat L-shaped connector. Suddenly the cable pile looks less like a snake convention and more like a small team with job titles.
Another real-world lesson is that cable routing is easier before every component is installed. In a new build, many people mount the PSU and then immediately plug cables into the motherboard from the front. That works, but routing the CPU power cable behind the motherboard tray first can save frustration later. The CPU power socket often lives in the most awkward corner of the case, where fingers go to question their life choices. Pre-routing that cable before installing a large CPU cooler can be a beautiful act of self-kindness.
When replacing an old PSU, photos are incredibly helpful. Take pictures of the old cable connections before removing anything. Photograph the motherboard, GPU, storage drives, and fan hub. Even if the new PSU uses different cable styling, the photos remind you what needed power in the first place. This simple trick prevents the classic “Why is this RGB hub now emotionally unavailable?” moment.
Beginners should also expect connectors to require firm pressure. The 24-pin motherboard cable and GPU connectors may need a solid push before the latch clicks. Firm is normal. Forcing is not. If a connector will not seat, stop and inspect the shape, latch direction, and label. Most connectors are keyed. If it feels wildly wrong, it probably is.
Finally, do not judge your success only by how the back side of the case looks. Many first builds have cable management that looks like a raccoon organized it during a thunderstorm. That is okay. The first priorities are correct connections, safe routing away from fans, and good airflow. Pretty cables can come later. A working, stable PC with slightly messy cables is better than a beautiful build that refuses to boot because the CPU power cable is sitting on the table, looking innocent.
Installing a power supply teaches an important PC-building lesson: most tasks are not hard when broken into small steps. Mount the PSU. Connect motherboard power. Connect CPU power. Connect GPU power. Connect storage and accessories. Check everything. Power on. That is the rhythm. Once you have done it once, the PSU stops feeling like a dangerous black box and starts feeling like what it really is: the dependable lunchbox that feeds the entire computer.
Conclusion: Installing a PSU Is Beginner-Friendly When You Go Slowly
Learning how to install a power supply in a PC is one of the most useful skills for any beginner builder. The PSU powers every major component, so careful installation matters. But the job is not complicated when you follow a clear process: choose a compatible PSU, mount it securely, connect the correct cables, manage airflow, and inspect everything before the first boot.
The biggest beginner wins are simple. Use the cables that came with your PSU. Do not mix modular cables from other units. Connect both the 24-pin motherboard cable and the CPU EPS cable. Fully seat GPU power connectors. Keep cables away from fans. Give the PSU room to breathe. If the system does not turn on, start with the basic checks before assuming disaster has arrived wearing a cape.
With patience and a screwdriver, you can install a PC power supply safely and confidently. Your computer will not applaud, but when it powers on successfully, the little fan spin and motherboard lights will feel like a standing ovation.
SEO Tags
Note: Always follow the manuals for your exact PSU, case, motherboard, and graphics card. If a connector, cable label, or installation step does not match this general guide, the manufacturer’s documentation should take priority.