Somewhere in a drawer, backpack pocket, glove compartment, or mysterious “tech box” lives an old iPod loaded with songs you forgot you loved. Maybe it has rare live tracks, carefully built playlists, ripped CDs from the golden age of jewel cases, or one embarrassing workout mix that absolutely must be preserved for historical reasons. The problem? You want to get songs off an iPod without iTunes.
Good news: you are not stuck. Bad news: the solution depends on what kind of iPod you have. A classic click-wheel iPod, iPod nano, or iPod shuffle often behaves more like a storage drive, which means you may be able to copy the hidden music folder manually. An iPod touch is closer to an iPhone, so it usually needs transfer software instead of the old hidden-folder trick.
This guide explains two practical methods: one free manual method and one easier software-assisted method. You will learn how to transfer music from iPod to computer without iTunes, what to watch out for, and how to keep your recovered songs organized instead of dumping them into a digital junk drawer.
Before You Start: What You Need to Know
Before we rescue your songs like tiny digital puppies, let’s cover a few basics. First, only copy music you own or have the legal right to back up. This guide is for recovering your personal music library, not borrowing someone else’s 2008 breakup playlist and calling it “archival research.”
Second, do not sync the iPod with a new library before copying the music. Syncing can erase or replace content on older iPods. If your computer pops up a message asking whether you want to sync, cancel it. Your mission is extraction, not accidental musical demolition.
Third, if the iPod battery is weak, charge it first. Old iPods are charming, but many have the battery stamina of a tired houseplant. Use a reliable cable and, if possible, connect directly to the computer rather than through a cheap USB hub.
Which Method Should You Use?
Use Method 1 if you have an iPod classic, iPod mini, many iPod nano models, or an iPod shuffle that can appear as a drive on your computer. This method is free, but it can be messy because the song files may have strange names like “ABCD.mp3.” Thankfully, the music metadata usually remains inside the files, so apps can often rebuild the artist, album, and title information later.
Use Method 2 if you want a cleaner process, need playlists, have an iPod touch, or do not want to spelunk through hidden folders like a caffeinated raccoon. Transfer apps can display songs normally and export them to your computer in a more organized way.
Method 1: Copy Songs Manually from the Hidden iPod_Control Folder
This is the old-school, no-iTunes method. It works best with classic-style iPods that mount as storage devices. The idea is simple: connect the iPod, show hidden files, open the hidden music folder, and copy the audio files to your computer.
Step 1: Connect the iPod to Your Computer
Plug your iPod into your Windows PC or Mac using a USB cable. If the iPod appears in File Explorer on Windows or Finder on Mac, you are off to a good start. If it does not appear, try another cable, another USB port, or restart the iPod.
For some older iPods, you may need to enable disk use. If your old computer still has iTunes or you are using a Mac that recognizes the device in Finder, look for an option such as “Enable disk use.” Once enabled, the iPod can behave more like an external drive.
Step 2: Show Hidden Files
The music folder you need is hidden, because apparently your iPod wanted a secret identity. On Windows 11, open File Explorer, click View, choose Show, and select Hidden items. On Windows 10, the wording is similar: open File Explorer, go to the View tab, and enable hidden items.
On a Mac, open Finder and press Command + Shift + Period to toggle hidden files. Hidden folders usually appear faded or slightly ghost-like. Do not be alarmed; that is normal. Your music is not haunted, just shy.
Step 3: Open the iPod_Control Folder
After hidden files are visible, open your iPod drive and look for a folder named iPod_Control. Inside it, open Music. You should see folders named something like F00, F01, F02, and so on.
Inside those folders are your song files. The file names may look random, but do not panic. The track information is often stored in the file metadata, which means your music player can still identify the song title, artist, album, and genre after import.
Step 4: Copy the Music Folders to Your Computer
Create a new folder on your computer called something obvious, such as Recovered iPod Music. Then copy all the folders inside iPod_Control > Music into that new folder.
Do not move the files. Copy them. Moving files off the iPod can create problems, especially if you still want the iPod to work normally. Copying is safer because it leaves the original iPod library intact.
Step 5: Import and Organize the Songs
Once the files are on your computer, open a music manager such as Apple Music, MusicBee, MediaMonkey, VLC, or another player that can read metadata. Import the recovered folder and let the software scan the tracks.
If the files have correct tags, your music library may rebuild itself beautifully. If some songs are missing album art or titles, use a tag editor such as Mp3tag to clean them up. This is the part where you may discover that your “Unknown Artist” folder contains both jazz, metal, and one ringtone from 2006. Be brave.
Pros and Cons of the Manual Method
The biggest advantage is that this method is free. You do not need to install special software, create an account, or trust a third-party app with your device. It is also useful when you only need the raw audio files.
The downside is organization. Playlists usually do not transfer cleanly, file names may be strange, and iPod touch models generally do not expose music this way. If you want a polished export with playlists, ratings, play counts, or readable names, the second method is usually better.
Method 2: Use iPod Transfer Software Without iTunes
If the manual method feels too messy, transfer software is the easier route. These tools are designed to read the iPod library and export music to a computer without forcing a full iTunes sync. Popular examples include iMazing, CopyTrans, TouchCopy, Syncios, and similar device managers.
The exact buttons vary by app, but the process is usually the same: install the software, connect the iPod, select music, choose an export folder, and copy the songs to your computer. Compared with the hidden-folder method, it feels less like archaeology and more like using a normal modern app. What a concept.
Step 1: Choose a Reputable Transfer Tool
Download software only from the official developer website. Avoid random download portals, “cracked” versions, or installers that promise twelve miracles and quietly bring along five browser extensions. Your goal is to recover music, not adopt malware.
If you are on Windows, CopyTrans is a common option for iPod and iPhone media management. iMazing works on both Mac and PC and supports music transfer from iPhone, iPad, and iPod devices. TouchCopy and Syncios are also known for iPod music export features. Always check current compatibility with your iPod model and operating system before paying for a license.
Step 2: Connect Your iPod
Install the transfer app, then connect your iPod using a USB cable. Unlock the device if it is an iPod touch. If the software asks you to trust the computer, follow the on-screen instructions. Older click-wheel iPods may appear automatically, while iPod touch models may need drivers or Apple device support components installed on Windows.
Step 3: Select the Songs You Want to Export
Open the Music section in the transfer program. Most apps show your songs by artist, album, playlist, or genre. Select individual tracks, whole albums, or the entire library. If your iPod has years of music on it, exporting everything at once may take a while, so make sure your computer has enough free storage.
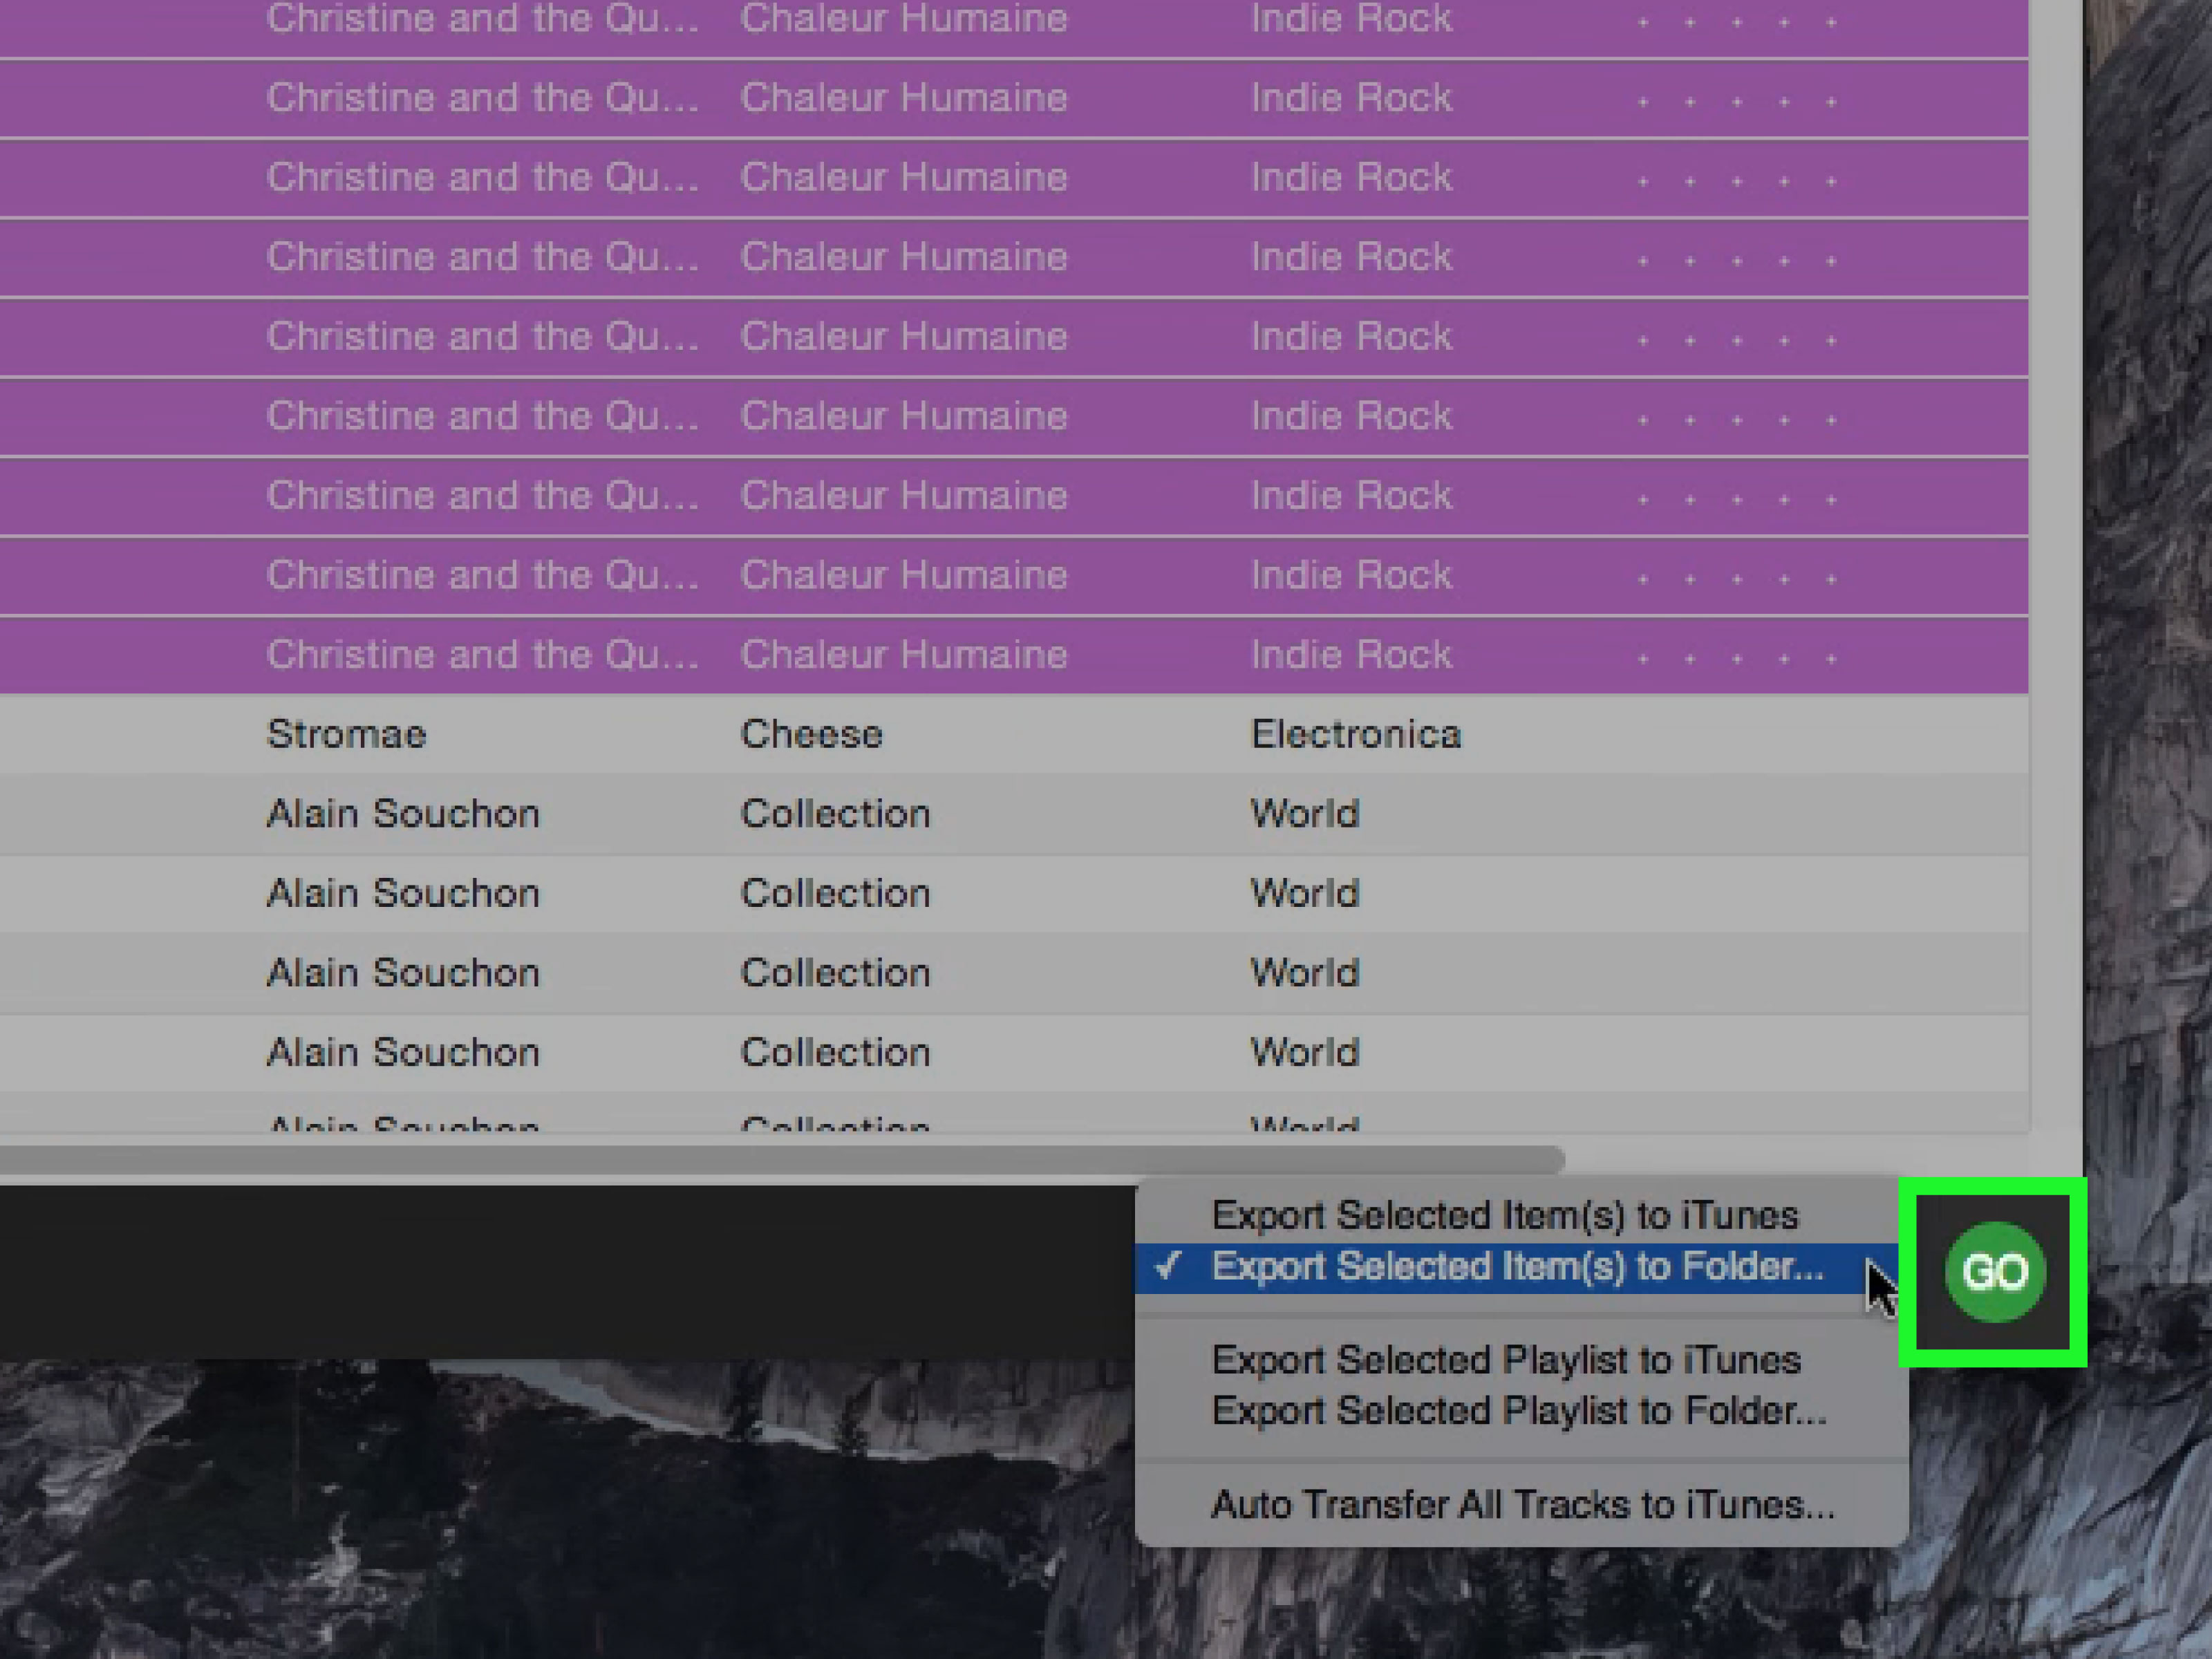
Step 4: Export to a Folder on Your Computer
Choose an export location, such as Music > iPod Backup. Many transfer apps can preserve file names, folders, metadata, playlists, and album structure better than the manual method. Some can export directly into Apple Music, iTunes for Windows, or another media library, but exporting to a plain folder first gives you a clean backup you can control.
Step 5: Check the Results
After the transfer finishes, open the folder and play a few songs. Check whether the titles, artists, and albums look correct. If playlists were exported, open them and confirm that the songs are actually there. A quick check now can save you from discovering later that your “Road Trip Mix” contains three tracks and a mysterious silence.
Pros and Cons of Transfer Software
The main advantage is convenience. Transfer software is cleaner, easier, and better for iPod touch models. It may preserve playlists and readable names, which is a big deal if you spent years building the perfect gym playlist and refuse to let technology disrespect your art.
The downside is cost and trust. Many apps offer free trials but limit how many songs you can export before requiring payment. You also need to choose software carefully. Use reputable developers, read recent reviews, and avoid tools that look outdated, aggressive, or suspicious.
What About Finder, Apple Music, and iTunes?
On modern Macs, iTunes was replaced by separate apps, and device syncing moved into Finder. On Windows, iTunes and newer Apple apps may still be used for syncing and purchases. However, syncing tools are not always designed to pull non-purchased songs from an iPod back to a computer. That is why manual copying or transfer software remains useful for recovery.
If your songs were purchased from the iTunes Store, you may also be able to redownload them using the same Apple Account. This can be cleaner than copying from an old device. However, redownloading will not help with ripped CDs, old MP3s, live recordings, voice memos, or rare files that exist only on the iPod.
Common Problems and Quick Fixes
The iPod Does Not Show Up
Try a different USB cable, preferably an original or high-quality cable. Plug directly into the computer instead of a hub. Restart the iPod and the computer. If the iPod is very old, charge it for at least 30 minutes before trying again.
The Music Folder Is Empty
Make sure hidden files are enabled. If you are using an iPod touch, the hidden-folder method likely will not work because it does not mount like older iPods. Use transfer software instead.
The Songs Have Weird Names
This is normal with the manual method. Import the files into a music manager that reads metadata. The song title and artist may still appear correctly even if the file name looks like a robot sneezed.
Some Songs Will Not Play
Older protected purchases may need authorization through the Apple Account that bought them. If the music was purchased from the iTunes Store, check whether you can redownload a DRM-free version or authorize the computer.
Playlists Did Not Transfer
The manual method usually recovers audio files, not playlist structure. If playlists matter, use transfer software that specifically supports playlist export.
Best Practices After Recovering Your iPod Music
Once the songs are safely on your computer, make a second backup. Use an external hard drive, cloud storage, or both. One backup is better than none, but two backups are better than future-you shouting at a drawer full of cables.
Next, clean up your tags. Make sure artist names, album titles, genres, and track numbers are consistent. A little organization now makes your recovered library easier to search, stream locally, or move to a new phone.
Finally, keep the original recovery folder untouched until you are sure everything imported correctly. Think of it as your “do not delete until life is stable” folder. After you verify the library, you can sort, rename, convert, or archive copies as needed.
Personal Experience: What Recovering Songs from an Old iPod Is Really Like
Getting songs off an old iPod is part technical task, part nostalgia trap. You plug in the device expecting a simple file transfer, and suddenly you are staring at albums you forgot existed, playlists named after inside jokes, and songs that instantly teleport you to a specific bus ride, road trip, breakup, summer job, or dorm room. It is less like opening a music player and more like cracking open a tiny time capsule with a headphone jack.
The manual method feels especially retro. You enable hidden files, open the iPod_Control folder, and find a maze of folders named F00, F01, and F02. At first glance, it looks wrong. The files may have nonsense names, and you may wonder whether you copied music or accidentally downloaded a spreadsheet from another planet. But once you import those files into a proper music app and the metadata appears, the chaos starts making sense. The artist names return. Album titles come back. Suddenly, the mystery files become actual songs again.
Transfer software, on the other hand, feels more civilized. It is the difference between rummaging through a storage unit with a flashlight and walking into a neatly labeled archive. You see song names, playlists, albums, and sometimes ratings. For people who only want their music back without touching hidden folders, software is usually worth the convenience. It is also a lifesaver when dealing with an iPod touch, because those devices do not behave like old storage-based iPods.
The biggest lesson is to avoid rushing. Many people accidentally sync their iPod before recovering the music, which can erase the very library they were trying to save. The safest approach is to connect carefully, cancel any sync prompts, copy first, and organize later. Treat the iPod as the only surviving copy until you have confirmed the files are playable on your computer.
Another practical lesson: expect some cleanup. Even successful transfers can produce duplicate songs, missing artwork, odd genres, or albums split into separate entries because one track says “The Beatles” and another says “Beatles.” That is normal. A tag editor can fix most of it. The recovery process is not always glamorous, but it is deeply satisfying when the final library looks clean again.
There is also an emotional payoff. Old iPods often contain music that never made it to streaming services, ripped CD bonus tracks, downloaded demos, college band recordings, or personal mixes. Recovering those files is not just about storage. It is about preserving a version of your music taste before algorithms started politely insisting that you listen to the same twelve songs forever.
So yes, getting songs off an iPod without iTunes can be a little awkward. The manual route is free but messy. The software route is easier but may cost money. Either way, the reward is worth it: your old songs escape the tiny aluminum vault and return to your computer, where they can be backed up, organized, and enjoyed again.
Conclusion
If you want to get songs off an iPod without iTunes, you have two reliable options. The first is the free manual method: show hidden files, open the iPod_Control folder, copy the Music folder, and import the recovered tracks into your preferred music manager. This works best for older iPod classic, mini, nano, and shuffle models that appear as drives.
The second option is to use iPod transfer software. This is usually better for iPod touch models, playlists, readable file names, and anyone who would rather not dig through hidden folders like a digital archaeologist. Choose reputable software, export to a folder first, and check your results before deleting anything.
Most importantly, back up your recovered music in more than one place. Your old iPod did its job for years. Now let it retire with dignity, preferably next to the drawer where all retired charging cables go to form a tangled civilization.