A smelly garbage disposal has a special talent for making an otherwise clean kitchen feel suspicious. You wipe the counters, take out the trash, light a candle, and still the sink whispers, “Something happened here.” The good news is that most garbage disposal odors are not mysterious. They usually come from food particles, grease, bacteria, or gunk trapped under the rubber splash guard, inside the grinding chamber, or farther down the drain line.
This guide explains how to get a bad smell out of a garbage disposal in 14 simple steps using common household items like dish soap, baking soda, vinegar, ice, salt, and citrus. It also covers what not to put down the disposal, when to use an enzyme cleaner, and when a lingering odor may be a plumbing issue rather than a cleaning issue. Your disposal does not need perfume. It needs a proper reset.
Why Does a Garbage Disposal Smell Bad?
Garbage disposals handle soft food scraps, but they are not tiny black holes under the sink. Bits of food can cling to the grinding chamber, the underside of the splash guard, and the drain walls. Grease can coat the pipe, starches can thicken into paste, and forgotten food residue can develop a smell that travels right up into the kitchen.
The most common causes of garbage disposal odor include trapped food, grease buildup, poor rinsing, a dirty splash guard, clogged drain lines, and rarely, sewer gas from a dry or faulty P-trap. If the smell is musty, sour, fishy, or like old leftovers, cleaning usually solves it. If it smells like rotten eggs and does not improve after cleaning, the issue may be deeper in the plumbing.
What You’ll Need
Before you begin, gather a flashlight, rubber gloves, dish soap, a scrub brush or old toothbrush, baking soda, white vinegar, ice cubes, coarse salt, lemon or orange peels, and a microfiber cloth. You may also want an enzyme-based disposal cleaner for stubborn smells. Avoid harsh chemical drain cleaners unless your disposal manufacturer specifically says they are safe, because strong chemicals can damage components and create unsafe reactions.
How to Get a Bad Smell out of a Garbage Disposal: 14 Steps
1. Turn off the disposal and inspect the opening
Start by turning off the garbage disposal. For deeper cleaning, unplug the unit under the sink or switch off the circuit breaker. Never put your hand inside the disposal. Use a flashlight to look into the drain opening and check for visible food scraps, utensils, bottle caps, fruit pits, or other debris. If you see an object, use tongs or pliers to remove it safely.
2. Run cold water for a first flush
Turn the power back on only if the chamber is clear. Run cold water for about 30 seconds. Cold water helps firm up greasy residue so the disposal can move it along instead of smearing it around the drain. This first rinse may loosen light debris and gives you a better sense of how strong the odor really is.
3. Add dish soap and run the disposal
Squeeze a small amount of dish soap into the disposal while cold water is running. Turn on the disposal for 20 to 30 seconds, then keep the water running for another 15 seconds after switching it off. Dish soap helps cut through grease and food film. Think of this step as the disposal’s quick shower before the real spa treatment.
4. Scrub the rubber splash guard
The rubber splash guard is one of the biggest odor traps in the kitchen. Food particles can stick to the underside of the flaps, where they quietly become the villain of your sink. Turn off the power again. Lift the flaps carefully and scrub both sides with dish soap and a small brush. If your splash guard is removable, take it out and wash it thoroughly in warm, soapy water.
5. Clean around the drain rim
Use an old toothbrush or small scrub brush to clean the drain rim and the area where the splash guard meets the sink. This narrow ring often collects grease, sauce, and tiny food particles. Wipe the area with a damp microfiber cloth. If your sink still smells after cleaning the disposal chamber, this rim is often the sneaky culprit.
6. Pour in baking soda
Add 1/2 cup of baking soda directly into the garbage disposal. Baking soda is a gentle deodorizer and mild abrasive, which makes it useful for loosening residue without being too rough on the appliance. Let it sit for 15 to 30 minutes. For stronger odors, let it sit a little longer while you pretend you are not checking the sink every three minutes.
7. Follow with white vinegar
Pour 1 cup of white vinegar into the disposal. The mixture will fizz, foam, and make your drain look like a tiny science fair volcano. That bubbling reaction helps loosen grime and neutralize odors. Let the baking soda and vinegar sit for 10 to 15 minutes. Do not immediately rinse it away; the contact time helps the mixture work on smelly buildup.
8. Flush with hot water
After the fizzing settles, run hot water for 30 to 60 seconds to rinse away loosened debris. Some experts recommend hot water after deodorizing because it helps move loosened grease and residue through the drain. Use a steady stream rather than a splash. The goal is to flush, not politely suggest that the gunk leave.
9. Use ice cubes to knock off residue
Place two cups of ice cubes into the disposal. Turn on cold water, then run the disposal until the ice is gone. Ice helps knock stuck-on residue from the grinding chamber and impellers. It does not sharpen blades in the way many people imagine, because disposals use blunt impellers rather than knife-like blades, but it can help clean the mechanism.
10. Add coarse salt for extra scrubbing
If the smell is stubborn, repeat the ice step with 1/2 cup of coarse salt. The salt adds gentle abrasion, helping scrub away residue from the chamber walls. Use cold water while running the disposal. Once the grinding sound returns to normal, turn off the disposal and keep the water running briefly to clear the drain.
11. Deodorize with citrus peels
Add a few small lemon, lime, or orange peels to the disposal while cold water is running. Citrus oils help freshen the chamber and can cut some greasy odor. Keep the pieces small, and remove seeds or pits first. Citrus is great for deodorizing, but it should not replace deeper cleaning. A lemon wedge can make your disposal smell cheerful, but it will not magically remove a month of hidden sludge.
12. Try an enzyme cleaner for lingering organic odor
If the smell remains, use an enzyme-based disposal or drain cleaner according to the product instructions. Enzyme cleaners are designed to break down organic material such as food residue and grease. They can be especially helpful when odors are coming from buildup farther down the drain line. Give the product enough time to work, usually overnight or several hours, depending on the label.
13. Check the P-trap if the odor will not leave
If cleaning the disposal does not solve the problem, the odor may be coming from the P-trap, the curved pipe under the sink. A clogged P-trap can hold decomposing food and grease. A dry P-trap can allow sewer gas to enter the kitchen. Run water for a minute to refill the trap. If the sink drains slowly, gurgles, or smells like rotten eggs, consider calling a plumber.
14. Build a weekly maintenance routine
Once the disposal smells fresh, keep it that way. Once a week, run cold water, add a little dish soap, and operate the disposal for 20 seconds. Every two to four weeks, use baking soda and vinegar or a disposal cleaning tablet. Scrub the splash guard regularly. Prevention is much easier than staging a dramatic rescue mission for a sink that smells like yesterday’s dinner and last week’s mistakes.
What Not to Put Down a Garbage Disposal
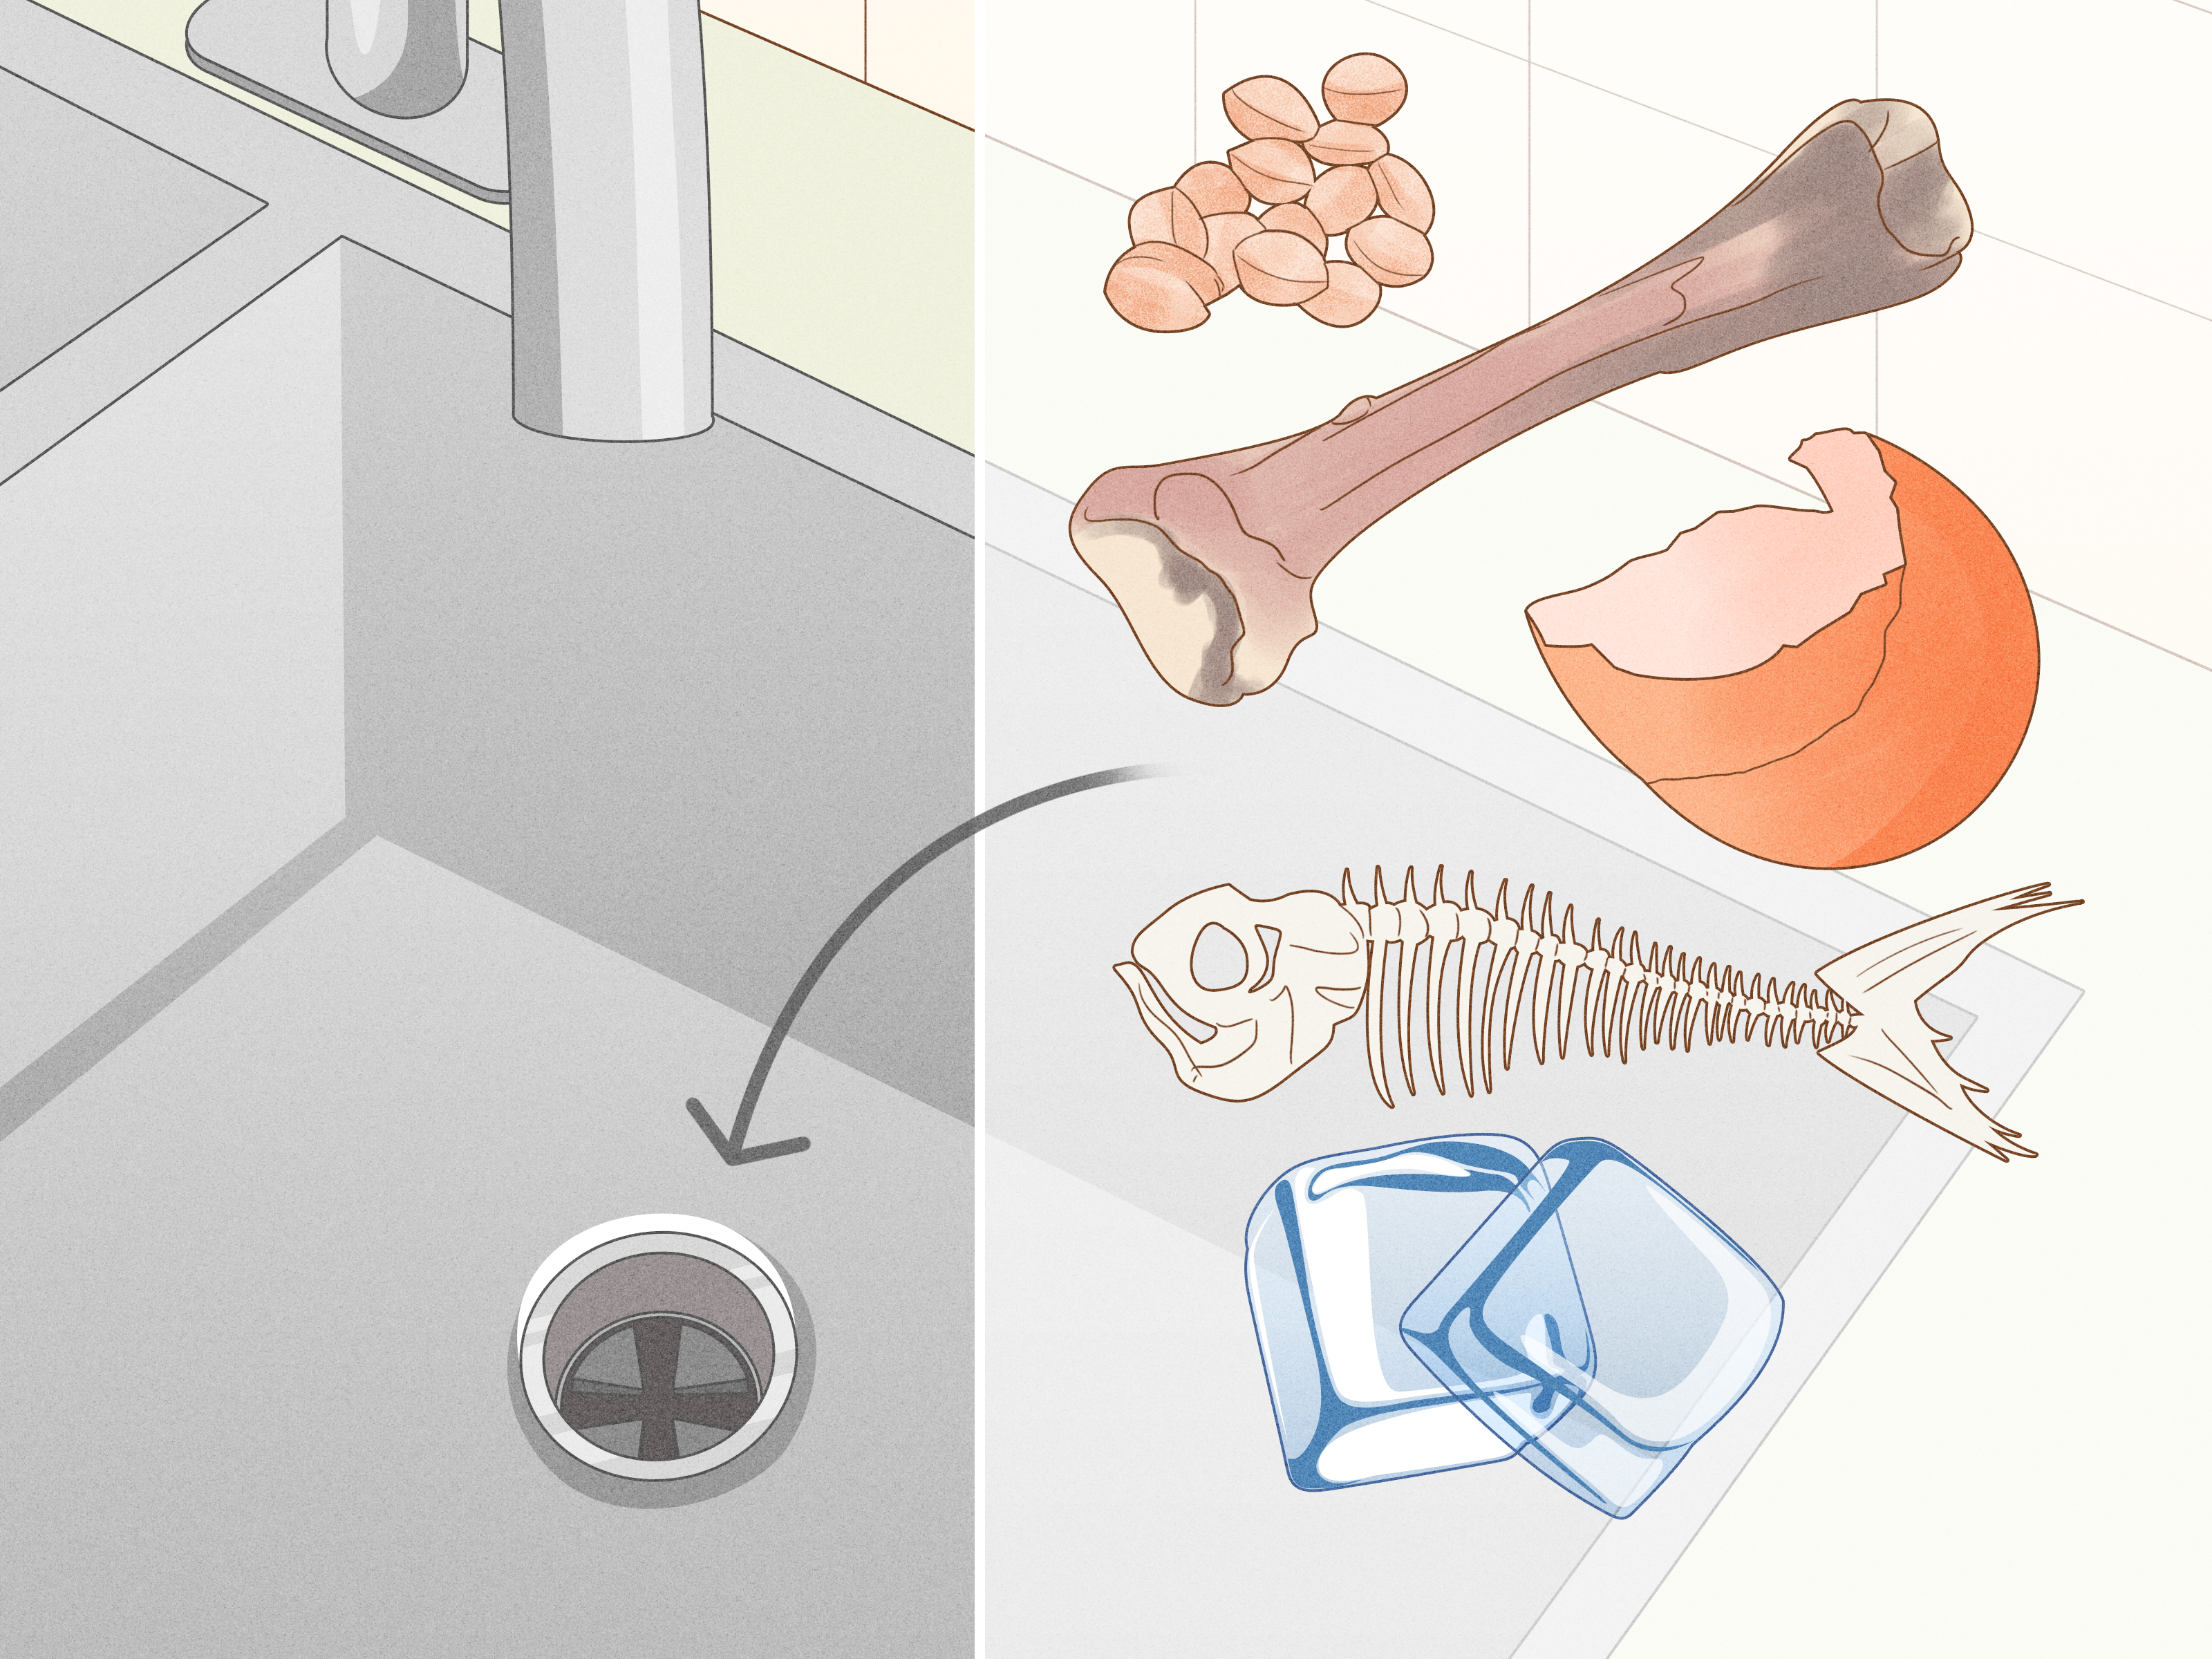
The fastest way to create garbage disposal smells is to feed the unit foods it cannot handle well. Avoid pouring fats, oils, and grease down the drain because they can coat pipes and trap odor-causing debris. Skip coffee grounds, eggshells, pasta, rice, potato peels, onion skins, celery, corn husks, bones, shells, fruit pits, and large amounts of fibrous or starchy food.
Small amounts of soft food are usually fine when rinsed with plenty of cold water. Large scraps should go in the trash or compost. Your garbage disposal is a helper, not a wood chipper with kitchen manners.
Cold Water or Hot Water: Which Is Better?
Use cold water while the disposal is actively grinding food. Cold water helps keep grease more solid so it can be chopped and flushed away instead of melting onto the sides of the pipe. After cleaning with baking soda and vinegar, hot water can help rinse loosened residue. A simple rule works well: cold water for grinding, hot water for flushing after deodorizing.
How Often Should You Clean a Garbage Disposal?
For a busy kitchen, clean the garbage disposal weekly with dish soap and cold water. Deep clean it every two to four weeks with baking soda, vinegar, and a splash guard scrub. If you cook often, use the disposal daily, or notice odors returning quickly, clean it more often. A two-minute maintenance routine can prevent a full-scale kitchen stink situation later.
Common Mistakes That Make Garbage Disposal Smells Worse
Using citrus only
Citrus peels freshen the smell, but they do not remove all grime. If you use lemon without cleaning the splash guard or chamber, you may simply create a lemon-scented swamp.
Forgetting the splash guard
The underside of the splash guard is a major odor source. Scrubbing it is not glamorous, but neither is blaming the trash can for a smell that is actually coming from the sink.
Running too little water
Always run water before, during, and after using the disposal. Without enough water, food particles may stay in the chamber or drain line.
Pouring grease into the sink
Grease may go down as a liquid, but it can cool, thicken, and cling to pipe walls. Wipe greasy pans with a paper towel before washing them.
Ignoring slow drains
If water drains slowly, odor may be coming from a clog. Cleaning the disposal helps, but it will not fix a blocked pipe by itself.
When to Call a Plumber
Call a plumber if the smell stays after repeated cleaning, the sink drains slowly, water backs up, the disposal hums but does not grind, or the odor resembles sewer gas. You should also get help if you see leaks under the sink or if the disposal is old, noisy, and frequently jammed. A fresh-smelling kitchen should not require daily negotiations with your plumbing.
Experience Notes: Real-World Lessons from Cleaning a Smelly Garbage Disposal
The first thing most people learn when dealing with a smelly garbage disposal is that the obvious solution is not always the complete solution. Many homeowners start with lemon peels because they smell fresh and feel satisfyingly simple. That works for a light odor, especially after chopping onions or rinsing a plate with sauce on it. But when the smell comes back the next morning, the issue is usually not a lack of lemon. It is buildup.
In real kitchens, the splash guard is often the turning point. You can pour baking soda, vinegar, soap, and citrus into the disposal all day, but if the underside of those rubber flaps is coated with old food film, the sink will keep smelling. The experience is not pretty, but it is effective: put on gloves, turn off the power, lift the flaps, and scrub. The smell often improves immediately because you are finally cleaning the part that has been hiding the problem.
Another useful lesson is to clean in layers. Start with dish soap and water, then scrub the splash guard, then use baking soda and vinegar, then finish with ice, salt, and citrus. Each step has a job. Soap cuts grease. Scrubbing removes visible grime. Baking soda deodorizes. Vinegar loosens residue. Ice and salt help knock away stuck particles. Citrus leaves a fresh scent. When combined, these methods work better than relying on one dramatic trick.
Timing also matters. If you clean the disposal right after dinner, let the baking soda sit while you wipe counters or load the dishwasher. Give the vinegar time to fizz. Let an enzyme cleaner sit overnight if the label recommends it. Many odor problems return because people rinse cleaning products away too quickly. The disposal did not fail; it just never got a fair chance.
Prevention is where the biggest wins happen. Running cold water before, during, and after grinding food makes a noticeable difference. So does avoiding grease, rice, pasta, coffee grounds, and stringy vegetables. These materials may seem harmless in small amounts, but they can collect in the chamber and drain line. After a few weeks, the odor announces itself like an unwanted kitchen roommate.
A practical weekly routine can be very simple: run cold water, add dish soap, turn on the disposal, rinse well, and wipe the splash guard. Once or twice a month, do the deeper baking soda and vinegar clean. Keep citrus peels in the freezer in small portions if you like a fresh finish. The freezer trick is handy because it turns leftover lemon or orange peels into a quick deodorizer instead of letting them dry out on the counter.
Finally, trust your nose, but do not ignore plumbing clues. A sour food smell usually means cleaning is needed. A rotten egg smell, frequent clogs, or slow draining may point to a drain or P-trap issue. In that case, more lemon will not help. The best experience-based advice is simple: clean the parts you can reach, use the right ingredients, stop feeding the disposal problem foods, and call a professional when the smell acts less like old food and more like a plumbing warning sign.
Conclusion
Learning how to get a bad smell out of a garbage disposal is mostly about cleaning the hidden places where food residue collects. Start safely, scrub the splash guard, deodorize with baking soda and vinegar, scour with ice and salt, and finish with citrus for a clean scent. Then keep the odor away by running enough water, avoiding grease and problem foods, and cleaning the disposal on a regular schedule. Your kitchen should smell like dinner when you are cooking, not three days after dinner has left the building.
Note: This article is prepared for web publication in standard American English and is based on practical, widely accepted garbage disposal cleaning and maintenance guidance.