Cutting in butter is one of those baking instructions that sounds suspiciously like a craft project until you try it. Fortunately, it is not difficult, and it does not require a pastry chef’s résumé, a marble countertop, or a beret. It simply means working cold butter into flour or other dry ingredients while leaving small pieces of butter behind.
Those little butter pieces are the secret to tender scones, flaky pie crusts, lofty biscuits, crisp streusel, and shortcakes that do not eat like sweet hockey pucks. As the butter melts in the oven, it releases steam and leaves behind tiny pockets that create a layered, crumbly texture.
What Does “Cut in Butter” Mean?
To cut in butter means to blend cold butter into flour until the butter is coated in the dry ingredients and broken into smaller pieces. The goal is not to make a smooth paste. You want a rough, sandy mixture with visible crumbs and bits of butter throughout.
This technique is very different from creaming butter and sugar. Creaming uses softened butter and vigorous mixing to trap air for cakes and cookies. Cutting in butter uses cold butter and gentle handling to keep separate pieces of fat intact. In other words: creamed butter wants to become one with the batter; cut-in butter prefers to keep its personal space.

Why Cold Butter Creates Flaky Pastries
Cold butter is the main character in this baking story. When pieces of butter remain solid in dough, they melt later in the oven rather than disappearing into the flour at the mixing stage. The moisture in butter turns into steam, which creates little gaps and layers in the dough.
That is why biscuit dough, pie dough, and many scone recipes call for cold ingredients and minimal mixing. Warm butter blends too completely into flour, which can lead to a dense, greasy, or tough result. The butter should stay firm enough to cut or rub into the flour without becoming soft and shiny.
For most recipes, unsalted butter is easiest to use because it gives you more control over the amount of salt in the final bake. Use the type of butter specified in your recipe whenever possible.
Tools You Can Use to Cut in Butter
You do not need a drawer full of fancy gadgets. Choose the tool that keeps the butter cold and feels comfortable in your hands.
Pastry Blender
A pastry blender has several curved metal wires or blades attached to a handle. Press it down through the butter and flour, then lift and repeat. It is one of the easiest tools for beginners because it chops butter efficiently without warming it too much.
Two Forks
Two sturdy forks can work surprisingly well for small batches. Use them to press, pull, and separate the butter through the flour. This method takes a little longer, but it is useful when the pastry blender has wandered off to the mysterious land behind the kitchen drawer.
Your Fingertips
Clean fingertips give you excellent control because you can feel the butter pieces. Rub or pinch the butter lightly with flour using only your fingertips, not your warm palms. Work quickly so the butter does not soften.
Food Processor
A food processor can be fast and effective, especially for pie dough. Use short pulses instead of running the machine continuously. A few quick pulses are usually enough. Overprocessing is the easiest way to turn flaky potential into a dense, overmixed disappointment.
Stand Mixer
A stand mixer fitted with a paddle attachment can help bakers who find hand mixing tiring. Keep the speed low and stop early. The mixture should still look uneven, with a combination of fine crumbs and larger butter pieces.
How to Cut in Butter Step by Step

- Measure the dry ingredients. Add flour, salt, sugar, baking powder, spices, or other dry ingredients to a large bowl. Whisk them together first so everything is evenly distributed.
- Add cold butter. Use cold butter cut into small pieces. For younger bakers, ask a trusted adult to prepare the butter if needed. Smaller pieces are easier to distribute quickly, but they should still be cold and firm.
- Coat the butter with flour. Toss the butter gently through the dry ingredients. This keeps the pieces separate and helps prevent them from clumping together.
- Press, cut, or rub. Use a pastry blender, forks, fingertips, or short food-processor pulses to break the butter into smaller pieces. Pause occasionally and scrape the sides of the bowl if needed.
- Watch the texture, not the clock. Most recipes want a mixture that resembles coarse crumbs with some pea-sized butter pieces. Do not aim for perfectly identical crumbs. A little unevenness is great news for flaky baking.
- Add liquid only after cutting in the butter. Once the butter is distributed, add cold liquid as directed. Stir just until the dough begins to hold together. The dough may look shaggy, and that is usually a good sign.

How to Know When the Butter Is Cut in Properly
The phrase “until the mixture resembles coarse crumbs” can feel vague. Coarse crumbs compared to what, exactly? Gravel? Sand? Breakfast cereal? Here is a clearer way to judge the mixture.
- For pie crust: Look for a mix of small crumbs and larger, flattened pieces of butter about the size of peas or small coins.
- For biscuits and scones: Aim for coarse crumbs with pea-sized bits of butter scattered throughout.
- For streusel or crumb topping: The mixture can be more evenly crumbly, with small clusters that hold together when squeezed.
- For shortcake: Keep some visible butter pieces so the baked shortcakes stay tender and layered.
A useful test is to pinch a small amount of the mixture between your fingers. It should feel dry and crumbly, but the butter pieces should be visible rather than fully absorbed into the flour.

Common Mistakes When Cutting in Butter
Using Butter That Is Too Warm
Soft butter smears instead of breaking into pieces. Once it becomes greasy or shiny, chill the bowl for several minutes before continuing. A cool bowl and cool ingredients can rescue a warm-kitchen situation.
Mixing Until Everything Looks Like Powder
If every trace of butter disappears, the final pastry may be tender but less flaky. A little floury dust is fine; a butter-free desert landscape is not the goal.
Handling the Dough Too Much After Adding Liquid
Once liquid enters the bowl, gluten development begins. Stir and gather the dough only until it holds together. Overworking can make biscuits tough and pie crust difficult to roll.
Adding Too Much Liquid
Too much water can make dough sticky, heavy, and tough. Add only enough cold liquid for the mixture to hold together when lightly squeezed. It is easier to add a little more than to undo a puddle.
Using a Hot Kitchen Without Adjusting
In a warm kitchen, butter can soften at superhero speed. Chill the butter longer, refrigerate the flour mixture for a few minutes, and work in small batches. Your dough does not need drama; it needs a lower temperature.
Best Recipes for the Cut-In Butter Method
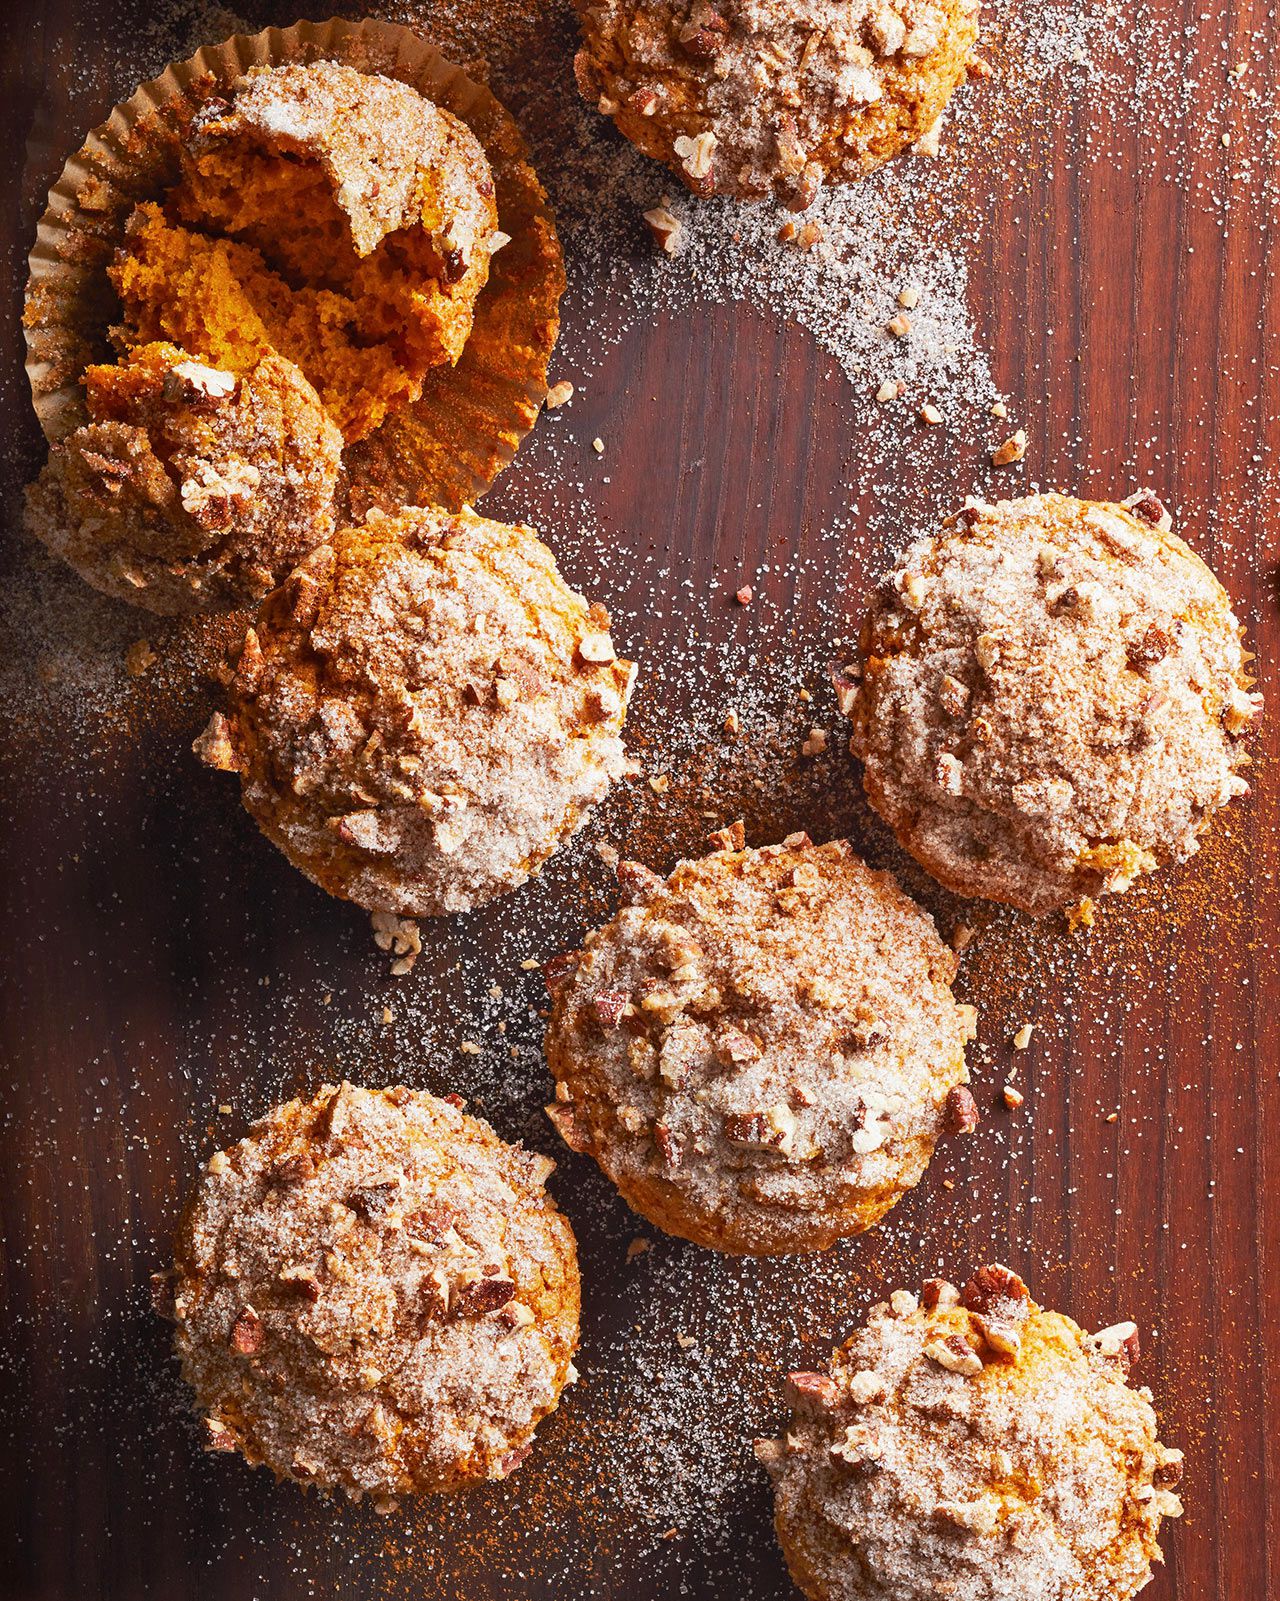
Once you understand how to cut in butter, an entire world of flaky baking opens up. Use this method for homemade pie crust, buttermilk biscuits, fruit scones, Irish soda bread, cobbler toppings, streusel, shortcakes, savory galettes, and crumb-topped muffins.
The exact butter size may change from recipe to recipe, but the principle stays the same: keep the butter cold, leave some pieces visible, and handle the dough gently. Baking is chemistry, yes, but it is also an excellent excuse to make something that tastes like a warm weekend.
Experience Notes: What Baking Teaches You About Cutting in Butter
Learning how to cut in butter is one of those small kitchen skills that makes a baker feel much more capable. At first, the instruction can seem frustratingly abstract. A recipe tells you to stop when the mixture looks like “coarse crumbs,” but the bowl contains flour, butter, and approximately one thousand questions. The good news is that this step becomes easier the moment you stop searching for mathematical perfection.
Experienced bakers often learn to trust their hands and eyes more than the timer. You begin to notice the difference between cold butter that breaks cleanly and butter that has started to smear. You notice that pie dough feels different from a crumb topping, and that scone dough benefits from a few larger pieces of butter. Eventually, the mixture stops looking random and starts looking familiar.
One of the most useful lessons is that uneven butter pieces are not a failure. In fact, they are often the point. Tiny pieces coat some of the flour and help create tenderness, while larger pieces melt later and help form flaky pockets. This is why a bowl of properly cut-in butter may look a little messy. It should not look like a uniform flour paste. Baking occasionally rewards controlled chaos, which is reassuring for anyone whose kitchen counter resembles a small flour storm.
Temperature also becomes easier to understand with practice. On a cool morning, butter may stay firm long enough for a relaxed hand-mixing session. On a humid summer afternoon, the same butter can become soft before the oven finishes preheating. Instead of treating that as a disaster, experienced bakers adjust. They chill the bowl, refrigerate the ingredients briefly, or work more quickly. A short cooling break can save an entire batch of pastry.
Another valuable experience comes from comparing results. Make biscuits one week with butter worked until only tiny crumbs remain. Make them again later with a few pea-sized pieces left behind. The contrast in texture can be surprisingly clear. The second batch often has more defined layers and a softer interior. That kind of side-by-side baking teaches more than any dramatic recipe description ever could.
Most importantly, cutting in butter encourages patience. It is not a step to rush, but it is also not a step to fear. The more you practice, the more natural it feels to press, lift, toss, and stop at the right moment. Soon, a recipe that once sounded mysterious becomes routine. And when a warm biscuit splits into tender, buttery layers, you will know exactly why: you gave the butter room to do its delicious little job.
Final Thoughts
Knowing how to cut in butter gives you a foundation for better biscuits, pie crusts, scones, and crumb toppings. Keep the butter cold, use a gentle tool or technique, leave some pieces visible, and avoid overmixing once liquid is added. That is the whole secretsimple, useful, and far less intimidating than it sounds.