Note: This tutorial uses standard American crochet terms. In this article, SC means single crochet, CH means chain, SK means skip, and ST means stitch. Keep your yarn cozy, your hook friendly, and your snacks safely away from the yarn pile.
The crochet moss stitch is one of those magical stitches that looks fancy without demanding that you sell your soul to the yarn cabinet. Also known as the linen stitch or granite stitch, it creates a neat, woven-looking fabric using only two beginner-friendly moves: single crochet and chain stitches. That is it. No secret handshake. No dramatic music. Just a simple repeat that somehow produces a texture polished enough for blankets, scarves, dishcloths, sweaters, baby projects, home décor, and “I made this while watching three episodes of my favorite show” gifts.
If you already know how to make a chain and a single crochet, you can learn how to crochet the moss stitch today. The trick is not complicated; you work single crochet stitches into chain spaces from the previous row. This creates the staggered, pebbly texture that makes moss stitch so attractive. It is soft but structured, simple but stylish, and forgiving enough for beginners who occasionally forget whether they were counting stitches or thinking about lunch.
What Is the Crochet Moss Stitch?
The moss stitch is a crochet stitch pattern made by alternating single crochet stitches and chain-one spaces. On the next row, you place your single crochet stitches into the chain spaces instead of directly into the tops of stitches. This small change gives the fabric its signature woven effect.
Many crocheters love the moss stitch because it lies relatively flat, has attractive drape, and looks clean on both sides. It is less bulky than rows of plain single crochet, but it still feels sturdy. That makes it especially useful for projects that need flexibility without becoming floppy, such as lightweight blankets, wraps, scarves, baby blankets, cardigans, and table runners.
Why Beginners Love the Moss Stitch
The moss stitch is beginner-friendly because the repeat is easy to memorize. Once you understand where to insert your hook, the stitch becomes almost meditative. The pattern rhythm goes something like this: single crochet, chain one, skip one, single crochet. After a few rows, your hands begin to recognize the spaces, and your brain can relax a little. Congratulations, your crochet has entered “cozy autopilot” mode.
Another reason beginners enjoy this stitch is that it hides small tension differences better than many solid stitches. If one single crochet is slightly tighter than its neighbor, the chain spaces help balance the texture. Of course, wildly uneven tension can still show, but moss stitch is kind to real humans with real hands, not crochet robots programmed in a yarn laboratory.
Materials You Need
Yarn
You can crochet moss stitch with almost any yarn weight, but smooth yarn is best when you are learning. Worsted weight yarn is a great starting point because it is thick enough to see clearly but not so bulky that the chain spaces disappear. Cotton yarn works well for dishcloths and washcloths, while acrylic or wool blends are excellent for blankets, scarves, and wearables.
Hook
Use the hook size recommended on your yarn label as a starting point. If your fabric feels too stiff, go up one hook size. If it looks too loose or holey, go down one hook size. Moss stitch naturally includes tiny spaces, so do not panic if your first swatch is not completely solid. Those spaces are part of the charm, not a personal attack from the yarn.
Helpful Extras
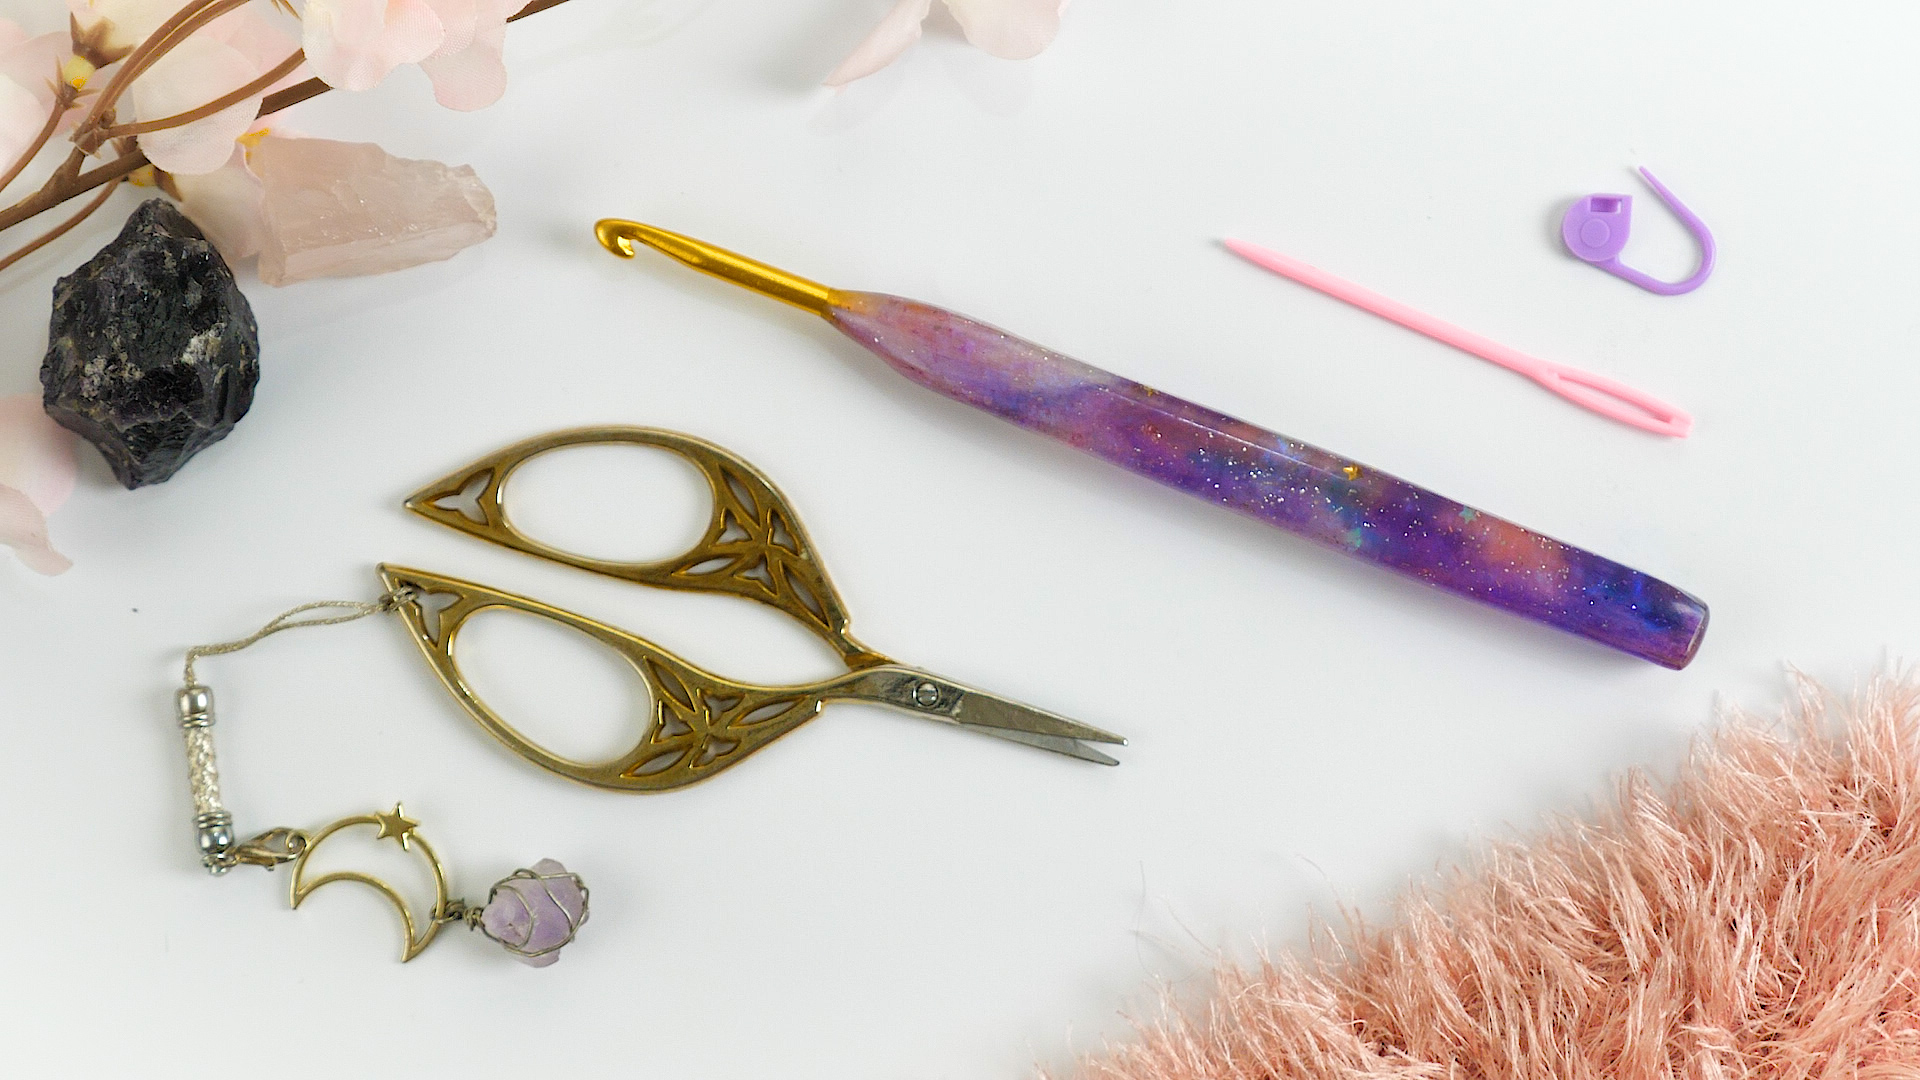
A tapestry needle is useful for weaving in ends, and stitch markers can help you identify the first and last stitches of each row. If your edges tend to wander like they are sightseeing, stitch markers are your tiny plastic security guards.
Basic Moss Stitch Pattern for Beginners
There are several ways to start the moss stitch, but this beginner version uses an even-numbered foundation chain. It creates a clean, easy-to-follow setup row.
Abbreviations
- CH: chain
- SC: single crochet
- SK: skip
- SP: space
- ST: stitch
Foundation Chain
Chain an even number of stitches. For practice, chain 24. This gives you enough width to see the pattern without committing to a blanket large enough to cover a small village.
Row 1
Single crochet in the fourth chain from the hook. Chain 1, skip the next chain, then single crochet in the next chain. Repeat this pattern across the row: CH 1, SK 1, SC in next CH. When you reach the end, turn your work.
Row 2
Chain 2. Single crochet in the first chain-one space from the previous row. Chain 1, then single crochet in the next chain-one space. Repeat across the row, working each single crochet into the next chain space. End with a single crochet in the final space or turning chain area, depending on the edge style you are using.
Rows 3 and Beyond
Repeat Row 2 until your project reaches the length you want. The more rows you add, the more obvious the moss stitch texture becomes. After several rows, you will see a soft, woven surface that looks much more complicated than it actually is. This is the crochet equivalent of wearing sunglasses indoors and somehow pulling it off.
How to Keep Your Edges Straight
Straight edges are one of the most common challenges when learning how to crochet the moss stitch. Because the stitch pattern includes chain spaces, it can be easy to miss the last space or accidentally add an extra stitch at the end of the row.
The simplest fix is to place a stitch marker in the first and last stitch or chain space of each row. Move the markers up as you work. This may feel slow at first, but it saves time later because you will not have to stare at your project wondering why it has slowly become a trapezoid.
Another helpful habit is to count your chain spaces every few rows. You do not need to count obsessively after every stitch, but a quick check keeps the pattern under control. If your project is growing wider, you are probably adding stitches at the edges. If it is shrinking, you are likely skipping the final space.
Choosing the Right Yarn for Moss Stitch
Moss stitch changes personality depending on the yarn. With cotton yarn, it becomes crisp and practical, perfect for dishcloths, placemats, coasters, and market bags. With soft acrylic yarn, it becomes cozy and washable, making it great for baby blankets and everyday throws. With wool or wool-blend yarn, it gains warmth and elasticity, which works beautifully for scarves, cowls, wraps, and sweaters.
Variegated and self-striping yarns can look especially interesting in moss stitch because the short stitch repeat breaks up color changes in a pleasant way. If you enjoy planned pooling, moss stitch is also a popular choice because its short, consistent repeat can help colors stack or shift in controlled patterns. That said, planned pooling requires careful tension and yarn selection, so beginners may want to practice the basic stitch first before inviting color math to the party.
Common Moss Stitch Mistakes and How to Fix Them
Mistake 1: Crocheting Into the Wrong Spot
The moss stitch depends on placing your single crochet into the chain-one spaces from the previous row. If you accidentally crochet into the top of the single crochet stitches instead, the texture changes. Look for the little gaps between single crochet stitches. Those gaps are your target.
Mistake 2: Making Chains Too Tight
If your chain-one spaces are very tight, it becomes difficult to insert your hook on the next row. Try relaxing your chain stitches slightly. You do not need giant loops, just enough room for the hook to enter without wrestling the yarn like it owes you money.
Mistake 3: Uneven Tension
Moss stitch looks best when your single crochets and chains are consistent. If your fabric puckers, your chains may be too tight. If it looks overly loose, your chains may be too relaxed or your hook may be too large. Make a small swatch before beginning a large project so you can adjust your hook size and tension.
Mistake 4: Losing Stitches at the Ends
The final stitch or turning-chain space can be easy to miss. Use stitch markers until you can recognize the edge confidently. Even experienced crocheters use markers, because confidence is great but counting is better.
Best Projects for the Moss Stitch
The moss stitch is wonderfully versatile. For beginners, a dishcloth or small scarf is a smart first project. These are manageable sizes, and they give you plenty of practice without requiring a suitcase full of yarn. A moss stitch dishcloth in cotton yarn is quick, useful, and satisfying. It also makes you feel productive in a way that buying another skein of yarn does not, though both are emotionally valid.
For intermediate crocheters, moss stitch blankets are a classic choice. The stitch creates a flexible fabric with a modern look, especially when worked in stripes or color blocks. Baby blankets, temperature blankets, lapghans, and throw blankets all work beautifully in this pattern.
Wearables are another excellent option. Because moss stitch has nice drape, it can work well for scarves, shawls, lightweight cardigans, and tops. Always check gauge for garments, since a small difference in stitch size can change the final fit. A scarf that is two inches wider than planned is cozy. A cardigan two inches off everywhere is a plot twist.
How to Change Colors in Moss Stitch
Color changes are simple in moss stitch. Work to the final step of the last single crochet before the color change. Instead of completing the stitch with the old color, yarn over with the new color and pull through the final loops. Then continue the pattern with the new yarn.
For clean stripes, change colors at the end of a row. For a modern speckled or woven effect, use two colors and alternate every row. You can also carry the unused yarn up the side if the color changes are frequent, then cover the carried strands with a border. This reduces the number of ends you must weave in, which is excellent news for anyone who considers end-weaving the vegetable of crochet tasks.
Adding a Border to Moss Stitch
A border can make a moss stitch project look finished and professional. A simple single crochet border works well for dishcloths and blankets. For a more coordinated look, continue the moss stitch around the edge by working single crochet and chain-one spaces evenly along the sides.
At each corner, work extra stitches so the fabric can turn without curling. A common corner approach is to place multiple stitches or a small combination of single crochet, chain spaces, and single crochet into the corner. The exact number depends on your yarn, hook, and project style. If the corner cups inward, add more stitches. If it ruffles, use fewer stitches. Crochet is part craft, part geometry, and occasionally part negotiation.
Moss Stitch in the Round
The moss stitch can also be worked in the round to make squares, blankets, bags, and modern granny-square-style projects. Instead of turning rows back and forth, you build outward from a center ring or center square. Corners are usually formed with chain-two spaces, while the sides continue the single crochet and chain-one rhythm.
When working moss stitch squares, some crocheters turn after each round to reduce twisting or slanting. Others work continuous rounds for a smoother look with fewer visible joins. Try both methods on a small sample to see which style you prefer. Your hook, yarn, and personal tension can affect the final shape.
Simple Practice Project: Moss Stitch Washcloth
Here is a beginner-friendly project idea. Use worsted weight cotton yarn and a hook that matches the yarn label. Chain 32. Work the moss stitch pattern until the piece is approximately square. Add a single crochet border if desired, then weave in the ends.
This small project teaches the full rhythm of the stitch: starting, turning, reading chain spaces, maintaining edges, and finishing. It is also useful in real life. A practice swatch is nice, but a practice swatch that can scrub a coffee mug has ambition.
Helpful Tips for Better Moss Stitch
First, keep your chains relaxed. The chain spaces are the foundation of the next row, so they should be easy to see and use. Second, check your row ends often. Most moss stitch problems begin at the edges. Third, swatch before large projects. This helps you choose the best hook size and confirms whether your fabric has the drape you want.
Fourth, block your finished piece if the yarn allows it. Blocking can even out stitches and help edges lie flat. Cotton and wool often respond well to blocking, while acrylic may need gentle steam blocking. Always follow the yarn care instructions and avoid applying too much heat.
Experience Notes: What Crocheting the Moss Stitch Teaches You
After working with moss stitch for a while, you start to notice that it teaches more than a stitch pattern. It teaches patience, rhythm, and the fine art of not yanking your yarn every time a loop looks suspicious. The first few rows can feel slow because the chain spaces are not yet obvious. You may look at the fabric and wonder whether anything impressive is happening. Then, around row five or six, the texture begins to appear, and suddenly the stitch looks intentional, elegant, and slightly smug.
One of the best experiences with moss stitch is learning to read your work. In many crochet patterns, beginners focus only on written instructions. Moss stitch encourages you to look closely at the fabric itself. You begin to see the chain spaces as little windows. You learn where the next single crochet belongs. You understand why missing the last space changes the edge. This is the moment when crochet starts feeling less like following orders and more like having a conversation with the yarn.
Moss stitch is also a wonderful teacher of tension. Because the stitch alternates between firm single crochets and open chain spaces, uneven tension shows in a gentle but noticeable way. If your chains are too tight, the next row becomes frustrating. If they are too loose, the fabric may look messy. With practice, your hands learn the sweet spot. You stop strangling the yarn and start guiding it. The difference is huge, both for the fabric and for your mood.
Another practical lesson is project planning. Moss stitch often looks best when the yarn and hook are chosen thoughtfully. A fuzzy yarn can hide the texture. A very splitty yarn can make the chain spaces annoying to find. A smooth yarn lets the stitch shine. When making blankets, you may discover that moss stitch grows steadily but not as quickly as taller stitches like double crochet. That is not a flaw; it is part of the fabric’s charm. The result is neat, flexible, and durable.
Colorwork in moss stitch can be especially satisfying. Simple two-row stripes look clean and modern. Self-striping yarn creates movement without extra effort. Scrap yarn projects can turn into charming, woven-looking blankets with personality. The stitch has a way of making color changes look deliberate, even when your real plan was “use whatever yarn is in this basket before it becomes a permanent roommate.”
Perhaps the biggest experience-related tip is this: do not judge your moss stitch too early. The first row often looks unimpressive. The second row may still look a little awkward. But once the repeat builds, the fabric settles into itself. Many crocheters learn to trust the process through this stitch. Keep your edges marked, keep your tension relaxed, and give the pattern enough rows to show its texture.
In the end, moss stitch is one of the most rewarding crochet stitches because it offers a beautiful result without complicated technique. It is beginner-friendly, but it does not look basic. It is relaxing, but not boring. It works for practical projects and gift-worthy pieces. Whether you are making your first washcloth or your tenth blanket, the moss stitch earns its place in your crochet toolbox.
Conclusion
Learning how to crochet the moss stitch is a smart next step for anyone who knows the basics and wants a stitch that looks polished, modern, and wonderfully useful. With only single crochet and chain stitches, you can create fabric that has texture, drape, and style. Start with a small swatch, practice finding the chain spaces, keep an eye on your edges, and experiment with yarns and colors. Before long, the moss stitch will become one of those patterns you reach for again and again.
The best part is that moss stitch grows with you. Beginners can use it for dishcloths and scarves, while experienced crocheters can turn it into blankets, garments, borders, bags, and square motifs. It is simple enough for a quiet evening but attractive enough for handmade gifts. In other words, it is the stitch equivalent of a reliable friend who also happens to dress well.