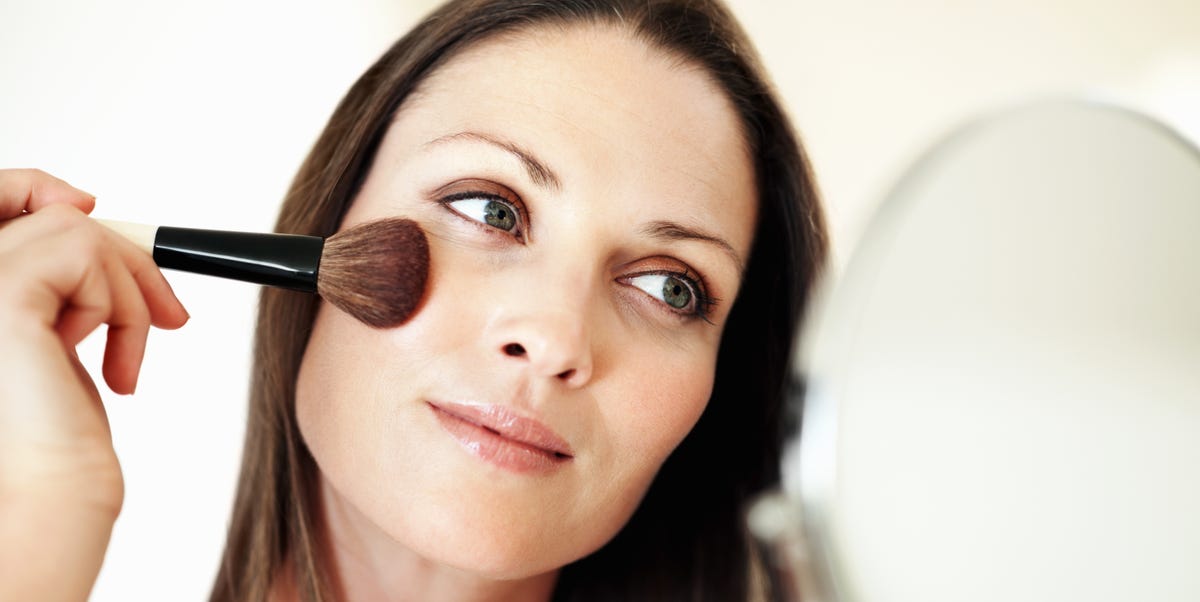
Foundation should make your skin look smoother, fresher, and more evennot like you accidentally frosted your face with beige birthday cake. Yet cakey foundation is one of the most common makeup problems, and it can happen with luxury products, drugstore gems, full-coverage formulas, skin tints, powders, sticks, and everything in between.
The good news? Cakey makeup is rarely caused by one “bad” foundation. More often, it is the result of mismatched skin prep, too much product, rushed layering, the wrong tool, heavy powder, or a formula that does not play nicely with the rest of your routine. Once you understand how foundation behaves on real skinpores, texture, dry patches, oil, smile lines, and allyou can create a base that looks polished without looking painted on.
This guide breaks down how to apply foundation the right way, how to avoid cakey foundation, and how to fix your base when it starts looking heavy. Think of it as a friendly makeup map: no shame, no complicated rules, and no requirement to own seventeen brushes shaped like tiny garden tools.
What Is Cakey Foundation?
Cakey foundation happens when base makeup looks thick, dry, patchy, powdery, cracked, or separated on the skin. Instead of blending into your complexion, it sits on top of it. You may notice foundation gathering around the nose, clinging to flakes, settling into fine lines, emphasizing pores, or creating that dreaded “mask” effect.
Some cakiness appears immediately after application. Other times, your makeup looks beautiful at 8 a.m. and turns into a textured map of your afternoon stress by 2 p.m. Both versions are common, and both can be improved with better technique.
Why Foundation Looks Cakey
Before learning how to apply foundation smoothly, it helps to know what causes the problem. Foundation usually looks cakey because of one or more of these issues:
- Dry or flaky skin: Foundation clings to uneven texture and makes flakes more visible.
- Too much product: Thick layers build coverage, but they also build texture.
- Wrong formula for your skin type: A matte foundation may look flat on dry skin, while a dewy formula may slide on oily skin.
- Rushed skin prep: Applying foundation before moisturizer or sunscreen has settled can cause streaking or pilling.
- Incompatible products: Some water-based and silicone-based products do not layer well together.
- Over-powdering: Powder can lock makeup in place, but too much can make skin look dry and dusty.
- Rubbing instead of pressing: Aggressive blending can lift product and create patchiness.
Step 1: Start With Clean, Comfortable Skin
The best foundation routine begins before the foundation bottle is even opened. Clean skin gives your makeup a smoother surface and helps prevent oil, leftover sunscreen, dead skin, and yesterday’s mascara dust from interrupting the party.
Use a gentle cleanser that does not leave your face tight or squeaky. “Squeaky clean” may sound nice for dishes, but your face is not a casserole pan. If your skin feels stripped, your foundation may cling, crack, or overcompensate with extra oil later in the day.
Should You Exfoliate Before Foundation?
Exfoliation can help foundation look smoother, especially if your base often catches on dry patches. However, the goal is not to scrub your face into submission. A gentle chemical exfoliant used according to product directions can help smooth rough texture over time. A soft washcloth can also help remove visible flakes when used carefully.
Avoid harsh scrubs right before makeup, especially if your skin is sensitive. Red, irritated skin under foundation is like a dramatic supporting actor: it will steal the scene.
Step 2: Hydrate Based on Your Skin Type
Moisturizer is one of the most important steps for avoiding cakey foundation. Hydrated skin allows foundation to glide more evenly and look more like skin. The trick is choosing the right texture.
- Dry skin: Try a richer moisturizer or a hydrating cream under foundation.
- Oily skin: Use a lightweight gel moisturizer so your skin feels balanced, not greasy.
- Combination skin: Apply more hydration to dry areas and a lighter layer on the T-zone.
- Sensitive skin: Choose gentle, fragrance-free options when possible.
After moisturizer, pause for a few minutes. This small waiting period can make a big difference. When you apply foundation over wet, slippery skin care, the layers may move around instead of bonding smoothly.
Step 3: Apply Sunscreen Before Makeup
For daytime makeup, sunscreen belongs under foundation. A broad-spectrum SPF is part of a smart skin care routine, and makeup with SPF is usually not enough on its own because most people do not apply foundation in the thick, even layer required for full sunscreen protection.
Choose a sunscreen texture that works under makeup: lightweight lotion, gel, serum-style SPF, or a non-greasy mineral formula. Let it settle before foundation. If your makeup pills after sunscreen, the issue may be too many layers, too much rubbing, or formulas that are not compatible.
Step 4: Use Primer Only Where You Need It
Primer is helpful, but it is not mandatory for everyone. If your foundation already wears well, you may not need a full-face primer. If your makeup disappears from your nose, settles into pores, or gets shiny fast, primer can help in targeted areas.
Use a smoothing primer around enlarged pores, a gripping primer where makeup fades, or a hydrating primer where foundation looks dry. The key is restraint. A pea-sized amount is often enough. Too much primer can make foundation slide, pill, or look thick.
Step 5: Choose the Right Foundation Formula
The best way to avoid cakey foundation is to choose a formula that matches your skin type, lifestyle, and preferred finish. A product can be excellent and still be wrong for your skin.
For Dry Skin
Look for hydrating liquid foundation, serum foundation, skin tint, or satin-finish formulas. Avoid very matte or powder-heavy products unless your skin is well moisturized first.
For Oily Skin
Try oil-control, soft matte, or long-wear formulas. Use powder only where you shine instead of covering your whole face in a flour-like cloud.
For Combination Skin
You may need a flexible strategy: hydrating prep on the cheeks, a pore-smoothing primer on the T-zone, and light powder only where oil breaks through.
For Mature Skin
Lightweight liquid foundation often looks more natural than heavy matte foundation. Thin layers, strategic concealer, and minimal powder can help keep the skin fresh and dimensional.
Step 6: Match Your Shade and Undertone
Even perfectly applied foundation can look “off” if the shade is wrong. A foundation that is too light may appear chalky. A shade that is too dark can look muddy. A mismatched undertone can make your face look pink, orange, gray, or yellow compared with your neck and chest.
Test foundation along the jawline and check it in natural light. Your best shade should disappear into the skin without requiring a negotiation meeting between your face and your neck.
Step 7: Apply Less Than You Think You Need
This is the golden rule: start with less foundation than you think you need. You can always add more, but removing excess foundation without disturbing everything underneath is much harder.
Place a small amount on the back of your hand or a clean palette. Dot foundation on the center of the facearound the nose, cheeks, chin, and foreheadthen blend outward. Most people need the most coverage in the center of the face and less around the edges.
This technique keeps the perimeter of the face natural and prevents the heavy mask effect. It also saves product, which your wallet will appreciate deeply.
Step 8: Choose the Best Tool for Your Finish
There is no single best foundation tool for everyone. Brushes, sponges, and fingers can all work beautifully when used correctly.
Brush
A dense foundation brush gives more coverage and a polished finish. Use short strokes or gentle stippling motions. Avoid dragging the brush repeatedly over the same area, which can create streaks or lift product.
Damp Sponge
A damp makeup sponge creates a softer, more skin-like finish. It can sheer out heavy foundation and press product into the skin. The sponge should be damp, not dripping. If water is running down your wrist, your sponge is auditioning to become a rain cloud.
Fingers
Fingers work well with lightweight liquids, skin tints, and creamy formulas. The warmth of your hands can help foundation spread easily. Just wash your hands first, because “breakout surprise” is not a beauty trend anyone requested.
Step 9: Blend by Pressing, Not Rubbing
One of the easiest ways to avoid cakey makeup is to press foundation into the skin instead of rubbing it around. Pressing helps the product settle evenly and reduces streaking. This is especially helpful around the nose, chin, and textured areas.
If your foundation looks heavy after blending, take a clean damp sponge and gently bounce it over the skin. This picks up extra product and softens edges without removing all your coverage.
Step 10: Build Coverage Only Where Needed
Full coverage all over the face can look beautiful in photos, but in everyday light, it may emphasize texture. A more natural strategy is to use a light layer of foundation everywhere, then add coverage only where you need it.
For example, apply foundation lightly across the face, then use concealer on blemishes, redness, dark spots, or under-eye discoloration. This keeps the skin looking breathable while still giving you the evenness you want.
Step 11: Set Foundation Without Turning It Cakey
Setting powder can be your best friend or your worst roommate. Used lightly, it controls shine and helps makeup last. Used heavily, it can make foundation look dry, thick, and textured.
Use a small fluffy brush or a powder puff and apply powder only where needed: under the eyes, around the nose, on the chin, or across the forehead. Press powder into oily areas instead of sweeping it all over the face. If your cheeks are dry, you may not need powder there at all.
Loose Powder vs. Pressed Powder
Loose powder is often great for setting larger areas lightly. Pressed powder is convenient for touch-ups. For mature or dry skin, finely milled powder is usually more forgiving than thick powder foundation layered over liquid foundation.
Step 12: Use Setting Spray Strategically
Setting spray can help melt layers together and reduce a powdery finish. It is especially useful if your makeup looks slightly dry after powder. Hold the bottle away from your face and mist lightly. Your face should look refreshed, not like it just survived a garden sprinkler.
For long wear, choose a setting spray designed for your skin type. Hydrating sprays can help dry skin look dewier, while long-wear sprays may help oily skin hold foundation in place longer.
How to Fix Cakey Foundation Without Starting Over
If your foundation already looks cakey, do not panic. You may be able to rescue it without washing your face and emotionally starting a new chapter.
Use a Damp Sponge
Lightly press a clean damp sponge over cakey areas. This helps lift extra product and blend edges.
Add a Tiny Mist
A fine mist can soften powder and help makeup look more skin-like. Do not soak the face. A little moisture is helpful; a monsoon is not.
Blot Oil Before Adding Powder
If foundation separates because of oil, blot first. Adding powder directly on top of oil can create a thick paste-like texture.
Spot Correct Instead of Layering More Foundation
If one area needs more coverage, use a small amount of concealer rather than another full layer of foundation.
Common Foundation Mistakes to Avoid
- Applying foundation too soon after skin care: Give moisturizer and sunscreen time to settle.
- Using too many base products: Serum, moisturizer, oil, sunscreen, primer, glow drops, foundation, concealer, powder, and spray can overwhelm the skin.
- Choosing full coverage for every day: Sometimes medium coverage plus concealer looks smoother.
- Powdering the entire face automatically: Set only where needed.
- Using dirty brushes or sponges: Clean tools blend better and are more hygienic.
- Ignoring skin changes: Your summer foundation may not work in winter, and your skin may need different prep over time.
Best Foundation Routine for a Natural, Smooth Base
Here is a simple routine that works for many people:
- Cleanse your face gently.
- Apply moisturizer suited to your skin type.
- Apply sunscreen during the day and let it settle.
- Use primer only where needed.
- Apply a thin layer of foundation from the center of the face outward.
- Blend with a brush, sponge, or fingers using pressing motions.
- Add concealer only where extra coverage is needed.
- Set oily areas with a light amount of powder.
- Finish with setting spray if desired.
Foundation Tips for Different Situations
For Work or School
Choose a lightweight foundation or skin tint and spot conceal. This keeps your base comfortable and low-maintenance.
For Photos
Use thin layers and check your makeup in different lighting. A little extra coverage may be helpful, but avoid heavy powder that can look flat on camera.
For Hot Weather
Use lightweight skin care, let sunscreen settle, apply less foundation, and keep blotting papers nearby. Blot before powdering to prevent buildup.
For Dry Winter Skin
Focus on hydration and use less powder. A satin or radiant foundation may look smoother than a matte formula.
Experience Notes: What Real Foundation Problems Teach You
One of the most useful lessons about foundation is that the same product can look amazing one day and strangely patchy the next. That does not always mean the foundation has betrayed you. Skin changes. Weather changes. Sleep, stress, hydration, hormones, air-conditioning, heating, sunscreen, and even how much coffee you drank before breakfast can affect how makeup sits.
For example, imagine applying a matte foundation on a cold morning after using a foaming cleanser and skipping moisturizer because you were in a hurry. At first, the coverage may look smooth. But after an hour, the foundation starts clinging around the mouth and nose. The problem is not necessarily the foundation. The skin underneath was dry, so the makeup had no flexible, comfortable base to sit on.
Now picture a different day: you apply a rich moisturizer, facial oil, sunscreen, gripping primer, and full-coverage foundation. That sounds luxurious, but by lunchtime the makeup begins to pill and separate. In this case, the issue may be too many layers or formulas that do not cooperate. Skin prep should support foundation, not create a slippery obstacle course.
Another common experience is the “more coverage” trap. A blemish appears, so you add foundation. It still shows, so you add more foundation. Then powder. Then more concealer. Suddenly the blemish is still there, but now it is wearing a tiny cakey hat. A better method is to apply a thin base first, then use a small brush to place concealer exactly where coverage is needed. Let it sit briefly, tap the edges, and set lightly.
Many people also discover that their favorite tool changes with the formula. A brush may make a sheer foundation look polished, but the same brush may streak a fast-drying matte formula. A damp sponge may soften full coverage beautifully, but it may absorb too much of a watery skin tint. Fingers may work wonderfully for creamy products but not for every long-wear formula. The best tool is the one that helps that specific foundation look natural on your specific skin.
The biggest experience-based takeaway is this: foundation looks best when you stop trying to erase skin completely. Real skin has pores, movement, expression, and texture. Smooth foundation does not mean plastic foundation. It means balanced prep, thin layers, thoughtful blending, and strategic setting. When your base still looks like skin, your whole makeup routine looks more modern, more comfortable, and much less likely to enter cake territory.
Conclusion
Learning how to apply foundation is less about perfection and more about balance. The best way to avoid cakey foundation is to prep your skin properly, choose a formula that suits your skin type, apply thin layers, blend with patience, and set only where needed. When foundation looks heavy, the answer is rarely “add more.” Usually, the answer is to pause, blend, press, blot, or simplify.
A smooth base does not require expensive products or professional-level skills. It requires understanding your skin, respecting texture, and letting foundation enhance your complexion instead of burying it. With the right routine, your makeup can look fresh, comfortable, and naturallike your skin had a very productive morning and remembered to drink water.
Note: This article is original, publication-ready content synthesized from reputable dermatology and beauty guidance. It has been written in natural American English with no copied phrasing, unnecessary markup, or source-code references.