If your guitar suddenly feels harder to play, buzzes like an angry jar of bees, or seems to have developed a neck with “opinions,” the truss rod may need a small adjustment. That sentence probably sounds dramatic, but here is the good news: a basic truss rod tweak is one of the most useful setup skills a guitarist can learn. It is not wizardry. It is not forbidden luthier magic. It is simply a careful way to manage neck relief so your guitar feels comfortable, plays cleanly, and stays fun instead of fighting back.
The catch is that you should do it slowly and intelligently. The truss rod is there to control the neck’s curvature, not to fix every setup problem on Earth. If you rush it, force it, or use the wrong tool, you can turn a small maintenance task into an expensive lesson. So in this guide, we will walk through exactly how to adjust the truss rod on a guitar in 10 clear steps, explain what neck relief actually means, and help you figure out when to keep going and when to hand the guitar to a pro.
What the Truss Rod Actually Does
The truss rod is a metal rod inside the guitar neck that helps counter the pull of the strings. Steel strings create serious tension, and over time that tension, along with temperature and humidity changes, can pull the neck forward or leave it too straight. A properly adjusted neck usually has a very slight forward bow, called neck relief. That tiny curve gives the strings enough room to vibrate without rattling against the frets.
When there is too much relief, the neck bows forward too much and the action can feel unnecessarily high, especially in the middle of the neck. When there is too little relief or backbow, the strings sit too close to the frets and buzzing becomes more likely. The truss rod helps you fine-tune that balance.
One important reality check: the truss rod is mainly for setting neck relief. It is not the only setup control on a guitar. If your relief is correct but the strings are still too high or too low, the saddle, bridge, or nut may need attention too. Think of the truss rod as one part of the setup puzzle, not the whole jigsaw box dumped on the floor.
Tools You’ll Want Before You Start
You do not need a workshop that looks like a NASA lab, but you do need the basics:
- The correct truss rod wrench or Allen key for your guitar
- A tuner
- A capo
- A feeler gauge or a small ruler, if you want a more precise measurement
- Good lighting
- A little patience, which sadly is not sold in music stores
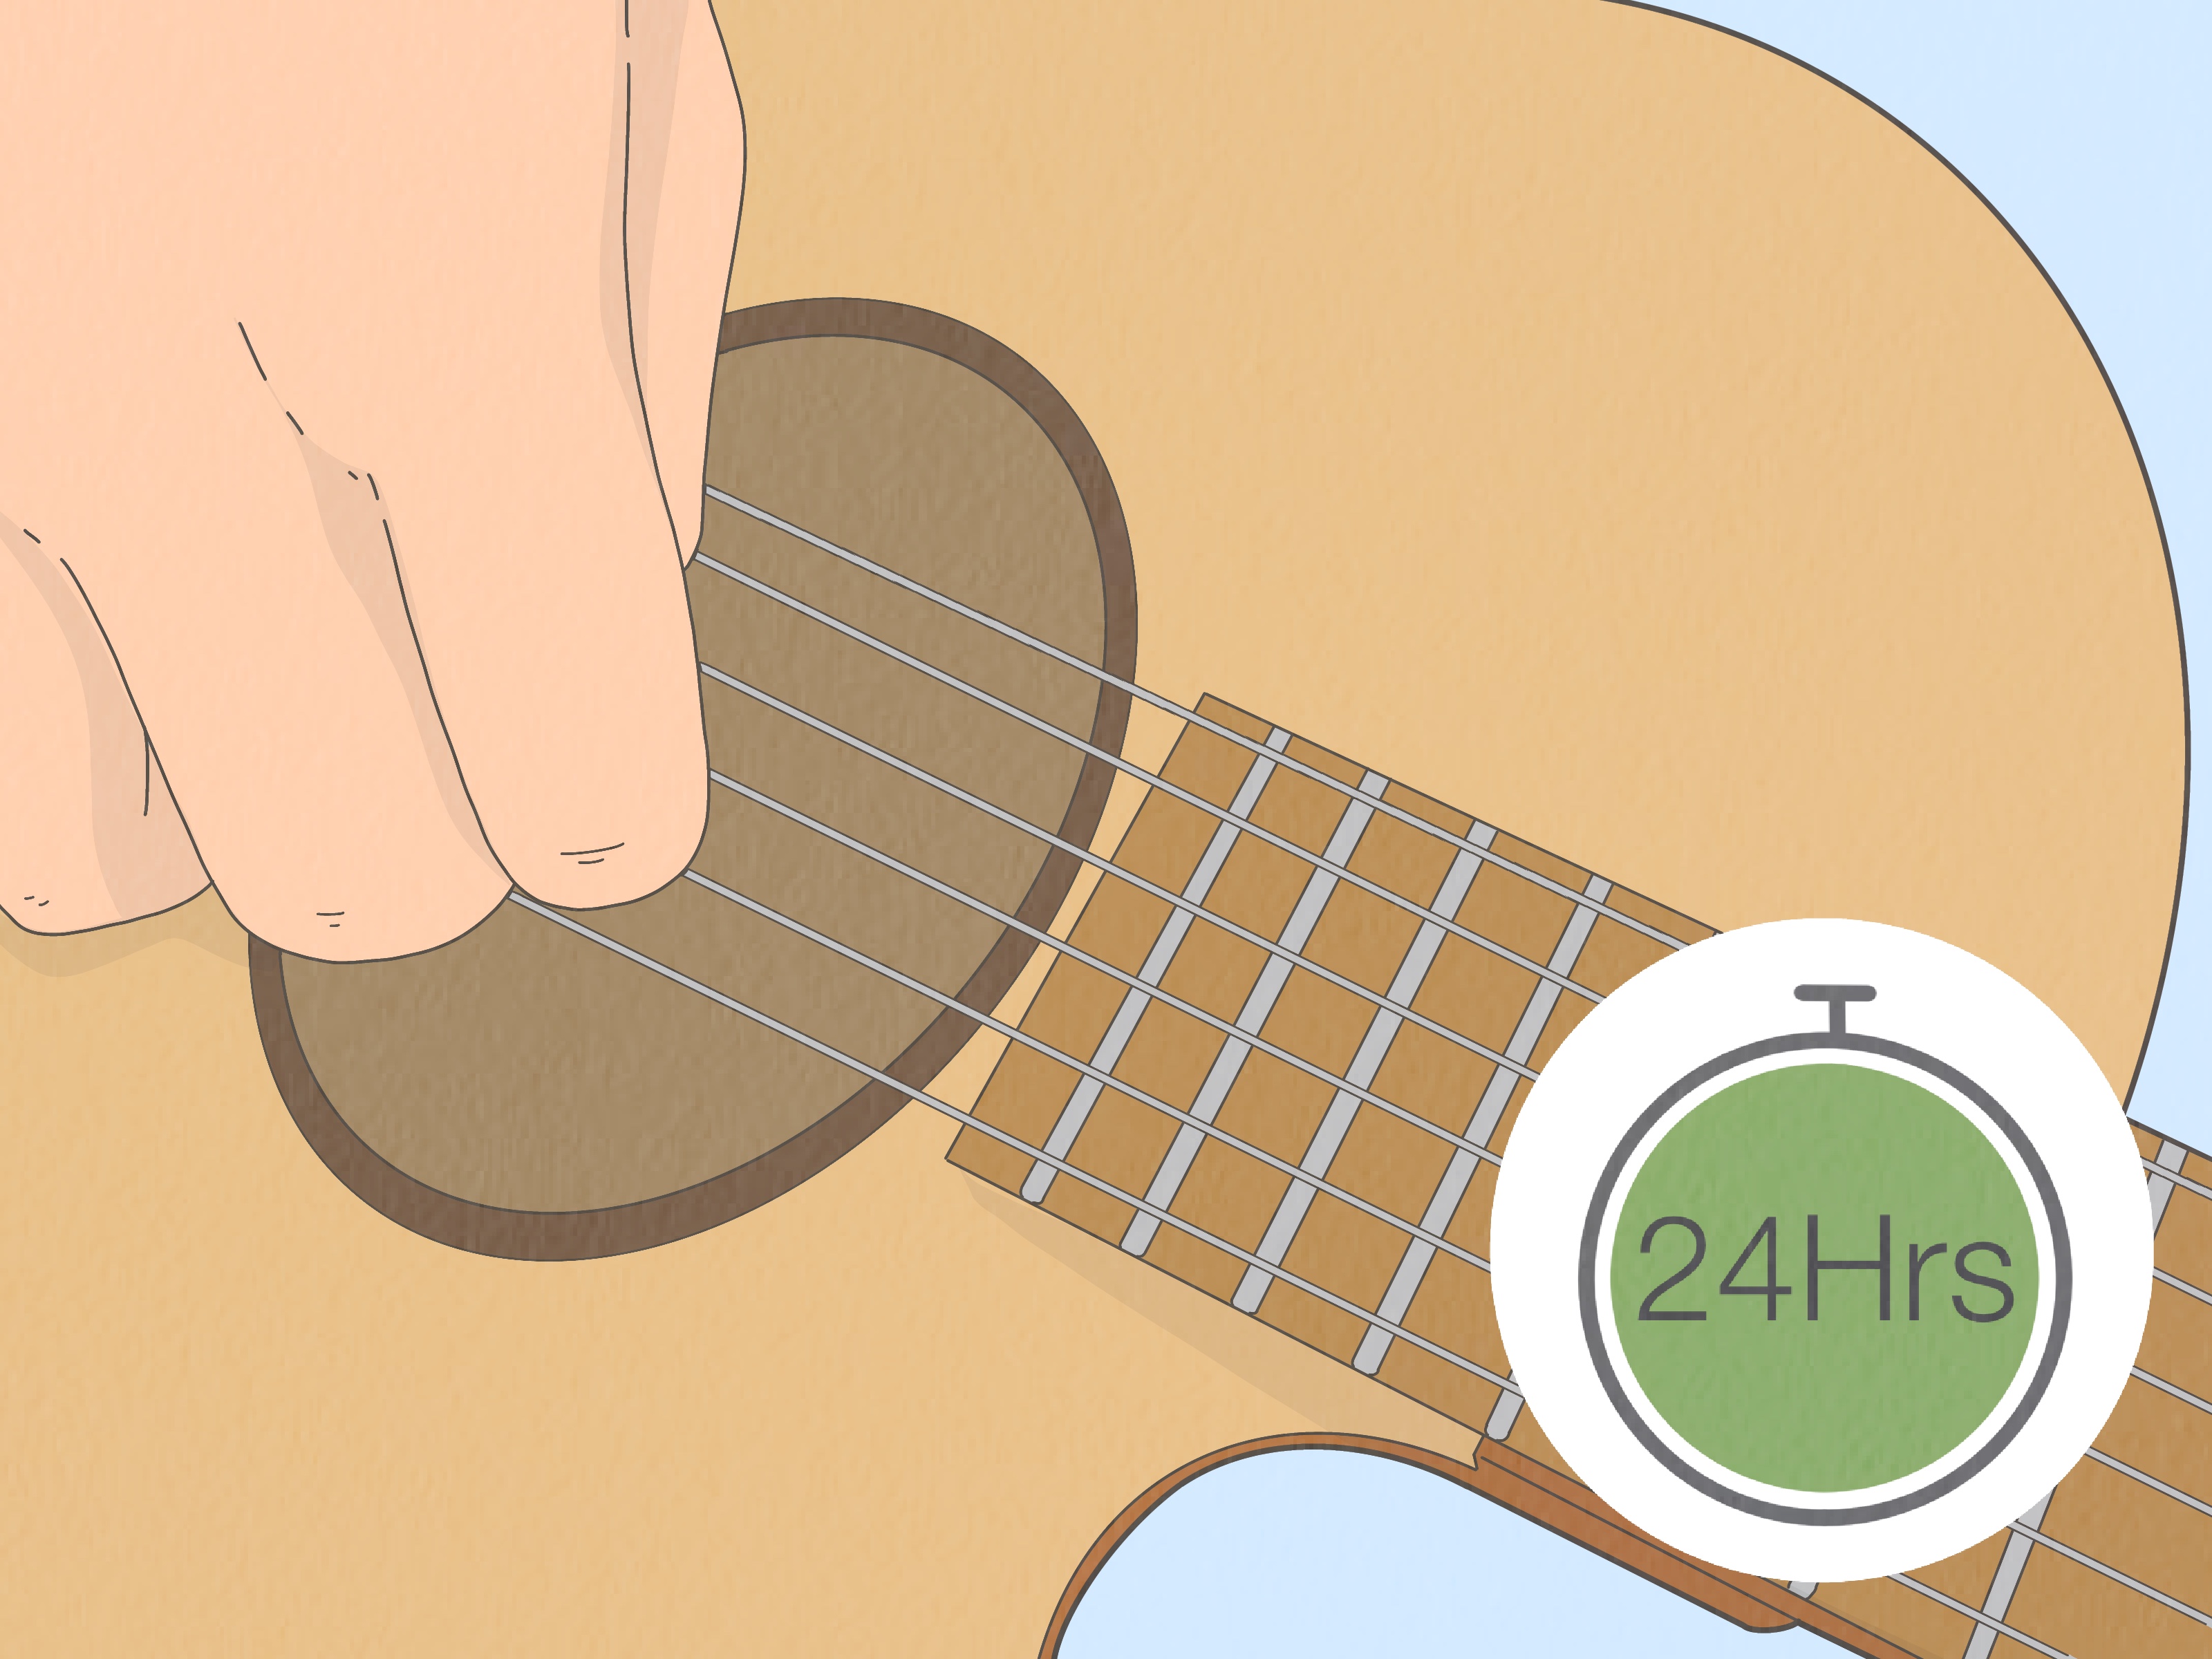
Before doing anything, make sure you know where the truss rod access point is. On many electric guitars, it is near the headstock. On some acoustics, it may be accessible through the soundhole. Different brands and models use different sizes and systems, so never assume that one wrench fits all. Use the correct tool or you risk rounding off the nut, which is the guitar-equivalent of stripping a screw in a hard-to-reach corner and immediately regretting your life choices.
How to Adjust the Truss Rod on a Guitar: 10 Steps
-
Step 1: Tune the guitar to the pitch you actually use
This is the best place to start because neck relief should be checked under normal playing tension. Tune to standard if that is how you play. Tune to your usual alternate tuning if that is your daily reality. If you always live in drop D, do not measure the guitar like a standard-tuning angel and then wonder why it behaves like a goblin later. Strings pull on the neck differently depending on pitch and gauge, so accurate setup starts with honest tuning.
-
Step 2: Put the guitar in playing position
Gravity is subtle, but it matters. Many setup guides recommend checking relief with the guitar in a normal playing position instead of flat on a bench. Hold it as you would when seated or standing. That gives you a more realistic read on the neck. This step is easy to skip because laying the guitar flat feels convenient, but convenience is how people end up adjusting things twice.
-
Step 3: Measure the neck relief
Capo the first fret. Then fret the low E or high E string near the point where the neck meets the body, depending on your preferred method and instrument style. Now look at the gap between the string and a middle fret, often around the 6th, 7th, or 8th fret. That gap tells you how much relief the neck has. Some players use a feeler gauge for precision; others use a visual check and experience. Either works, but precision is especially helpful when you are learning.
If the gap looks larger than it should, the neck likely has too much forward bow. If there is barely any gap or none at all, the neck may be too straight or back-bowed. That usually means buzzing is waiting to ambush you.
-
Step 4: Decide which way the rod needs to move
This is the big question, and fortunately the rule is usually simple. Clockwise tightens the rod and generally reduces relief, making the neck straighter. Counterclockwise loosens the rod and generally adds relief, allowing a little more forward bow. In plain English: if the neck has too much bow, tighten a little. If the neck is too straight or back-bowed, loosen a little.
Remember the word “little.” The truss rod is not a jar lid. It is not asking for a heroic twist and a grunt.
-
Step 5: Find the truss rod access point and fit the correct tool
Take a breath and make sure the wrench seats properly. Whether the access is at the headstock, heel, or inside the soundhole, the tool should fit snugly. If it feels sloppy, stop and verify the correct size. This step matters more than people think. A wrong-size wrench can damage the adjustment nut, and once that happens, your quick home setup turns into a professional repair bill.
-
Step 6: Mark your starting point
Before you turn anything, make a mental note or even a small temporary alignment mark so you know where you began. This is especially helpful if you are new to guitar setup. It keeps you from getting lost and helps you reverse course if needed. Think of it as leaving breadcrumbs in the forest, except the forest is your guitar neck and the witch is overconfidence.
-
Step 7: Make a very small adjustment
Turn the truss rod in the needed direction, but keep it tiny. A quarter-turn is usually the outer limit for one move, and many players prefer even less, such as an eighth-turn. Small changes are smart because the neck may respond more than you expect. If you tighten too much at once, you can overshoot the sweet spot and create a new problem while “fixing” the old one.
As a rule of thumb:
- Too much relief or a neck that bows forward too much: turn clockwise a little
- Backbow or a neck that feels too straight and buzzy: turn counterclockwise a little
-
Step 8: Retune the guitar and let the neck settle
After the adjustment, bring the guitar back to pitch. Then give it a few minutes. Some necks respond quickly. Others take a bit longer. In some cases, especially with stubborn seasonal movement, it can help to let the guitar settle longer before deciding whether another adjustment is needed. This is where impatience causes trouble. Make one change, retune, recheck, and let the instrument tell you what happened.
-
Step 9: Recheck the relief and play-test the guitar
Repeat the same measurement you used earlier. Then actually play the thing. Check open chords, notes in the first five frets, notes in the middle of the neck, and notes higher up the board. If buzzing improves and the action feels better, you are moving in the right direction. If the guitar now buzzes mostly high up the neck, relief may be set but the action could need adjustment at the bridge or saddle. That is why a proper setup is a sequence, not a single magic turn.
-
Step 10: Stop when it feels right, and know when to call a pro
If the neck looks good, the guitar plays comfortably, and the buzzing is gone or clearly improved, stop there. You do not get bonus points for “just one more turn.” If you feel strong resistance, the rod does not seem to move, the neck does not respond, or the instrument needs constant correction, take it to a qualified guitar tech. The same goes for valuable vintage instruments, guitars with obvious structural issues, or any situation where humidity damage may be involved.
How to Tell If Your Guitar Needs a Truss Rod Adjustment
Sometimes the signs are obvious. The guitar suddenly feels stiffer. Chords in the middle of the neck feel harder to fret. Buzzing appears where it was not there before. Other times, the clues are sneakier. Maybe your action creeps upward after the seasons change. Maybe you switched to heavier strings and now the neck looks like it started doing yoga without your permission.
In general, here are common warning signs:
- Buzzing in the lower or middle frets
- Action that feels higher than normal
- A neck that visibly bows forward or backward
- Setup changes after a big weather shift
- A change in string gauge or tuning habits
Humidity is a huge factor, especially for acoustic guitars. Wood moves. That is not a flaw. That is wood being wood. Seasonal shifts can easily change the amount of relief, which is why many players find themselves tweaking the truss rod a little in winter or summer.
Common Truss Rod Mistakes to Avoid
Using the wrong wrench
This is one of the fastest ways to make a simple job miserable. Always confirm the correct tool for your guitar model.
Turning too much at once
A quarter-turn is already a meaningful change on many guitars. Smaller is often better.
Trying to fix action only with the truss rod
The truss rod sets relief first. Final action adjustments may belong at the saddle, bridge, or nut. If you treat the truss rod like a universal cure-all, the guitar will eventually file a complaint.
Forcing a stubborn rod
If there is excessive resistance, stop. Forcing it can cause real damage.
Skipping the recheck
Every adjustment should be followed by retuning, remeasuring, and playing. Guesswork is entertaining in game shows, not in guitar setup.
Acoustic vs. Electric Guitar Truss Rod Adjustment
The basic concept is the same on both acoustic and electric guitars, but access and feel can differ. Many electrics make the truss rod easy to reach at the headstock. Some acoustics place access inside the soundhole, which is slightly less convenient and slightly more likely to make you mutter under your breath. Acoustic guitars can also be more affected by humidity, so if your action suddenly changes, do not assume the truss rod is the only cause. Sometimes the top, bridge, saddle, or overall moisture level is part of the story.
That is why a careful diagnosis matters. Relief first, then action, then intonation. That sequence saves time and bad decisions.
Conclusion
Learning how to adjust the truss rod on a guitar is one of the most useful setup skills you can build. Done correctly, it helps you control neck relief, improve playability, reduce fret buzz, and keep your instrument feeling consistent through seasonal changes and string swaps. The secret is not bravery. It is moderation. Tune to pitch, measure carefully, make small turns, retune, recheck, and stop the moment the guitar tells you to.
A truss rod adjustment is not something to fear, but it is definitely something to respect. Treat it like seasoning in a good meal: a little can make everything better, and too much can ruin dinner.
Real-World Experiences With Truss Rod Adjustments
One of the most common experiences guitar players have is realizing that a guitar they thought needed “major work” actually needed a tiny relief correction. A player notices the strings suddenly feel high in the middle of the neck, assumes the guitar is falling apart, and starts mentally budgeting for a dramatic repair. Then a careful check reveals the neck just picked up a bit too much forward bow after a weather change. A very small clockwise turn, followed by tuning and a recheck, brings the instrument right back into its comfort zone. That moment is usually when players stop seeing setup as black magic and start seeing it as routine maintenance.
Another common experience happens with fret buzz. Many players hear buzzing and immediately blame the truss rod, but the buzz itself does not always tell the full story. If the guitar buzzes in the first few frets, the neck may need more relief. If it buzzes mostly up high, the action may be too low at the bridge or saddle instead. This is why experienced players learn to diagnose before they twist. The truss rod can absolutely help, but only when the neck is actually the problem.
Seasonal shifts are another classic plot twist. A guitar can feel perfect in one month and weird in the next, especially if indoor heating or summer humidity changes the wood’s moisture content. Players who live in dry winters often notice sharper fret ends, lower humidity, and neck movement that calls for a fresh look at relief. Meanwhile, more humid conditions can leave an acoustic guitar feeling a little puffier and stiffer. In real life, a good setup is not permanent. It is a moving target that usually stays close, but occasionally needs a polite nudge.
String gauge changes also create memorable learning experiences. Someone switches from light strings to a heavier set because they want a bigger tone, then wonders why the action feels different a few days later. Heavier strings pull harder. Different tunings pull differently too. The neck notices, even if the player does not at first. After a while, seasoned guitar owners begin to expect this. They know that a change in strings can mean a change in relief, and they check before assuming something is wrong.
Then there is the universal first-time lesson: tiny turns matter. Almost every player who learns truss rod adjustment remembers the first time a tiny movement made a surprisingly obvious difference. That is usually followed by a second lesson: stopping is a skill. The best setup results often come from one careful change, not five dramatic ones. In the end, real-world experience teaches the same thing every solid guide does: be patient, measure honestly, respect the instrument, and never confuse confidence with force.