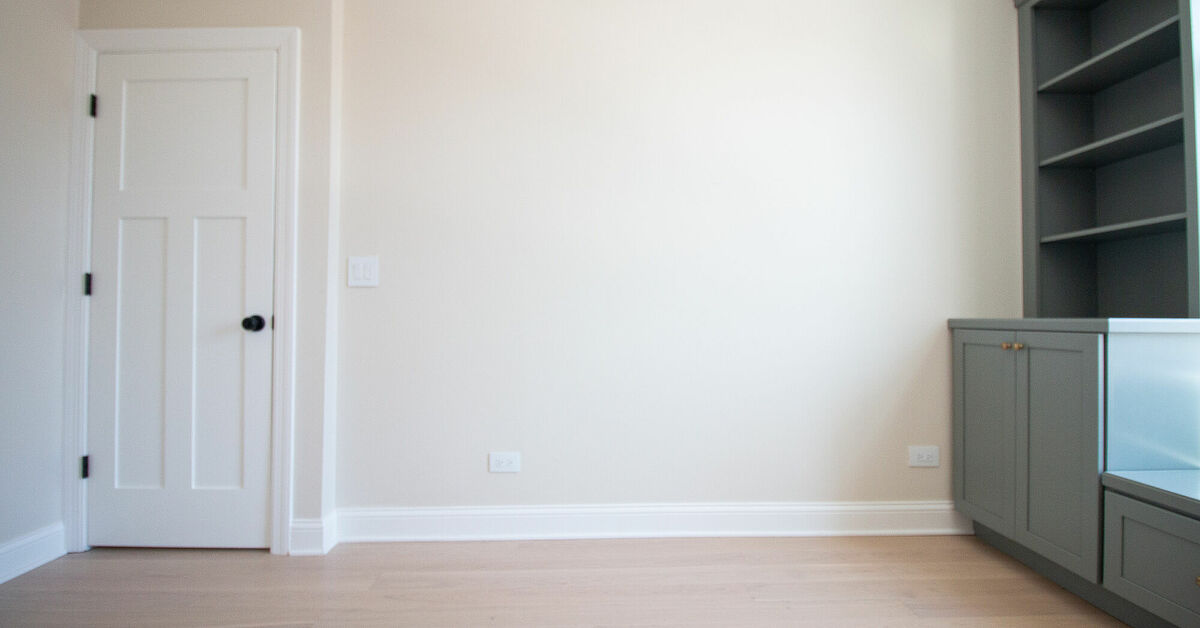
A bare wall is like a plain bagel: perfectly fine, technically useful, but quietly begging for a little cream cheese. Chair rail molding is one of the simplest ways to give that wall structure, charm, and a finished architectural look without remodeling the whole room or accidentally becoming the star of a home-renovation disaster show.
Learning how to add chair rail to a bare wall is a smart DIY project for homeowners who want more character, better wall protection, and a clean design break between paint, wallpaper, wainscoting, or panel molding. Chair rail was originally used to protect walls from chair backs in dining rooms, but today it does more than stand guard against aggressive furniture. It helps divide wall space, improves proportions, and creates a natural place to use two paint colors or textures.
The good news? You do not need to be a master carpenter with a tool belt named “Betsy.” With careful measuring, a level line, a few clean cuts, construction adhesive, finishing nails, caulk, and patience, you can install chair rail molding that looks crisp, intentional, and not like it was applied during a caffeine emergency.
What Is Chair Rail Molding?
Chair rail molding is a horizontal strip of trim installed around a room, usually on the lower third of the wall. In traditional dining rooms, it helped prevent chairs from scuffing the plaster or drywall. In modern homes, it is both practical and decorative. It can separate two paint colors, cap wainscoting, frame wallpaper, or add subtle detail to an otherwise flat wall.
Think of chair rail as the belt of the room. Too low, and the wall looks awkward. Too high, and the room appears chopped in half. Installed at the right height, it pulls everything together and makes a bare wall look designed rather than forgotten.
Before You Begin: Plan the Look
Before grabbing the saw, decide what role the chair rail will play. Are you adding it for wall protection in a dining room? Are you using it as a decorative divider in a hallway? Will the wall below it become wainscoting, beadboard, or a darker paint color? Your answer affects the height, molding profile, finish, and installation method.
Choose the Best Chair Rail Height
A common chair rail height is around 30 to 36 inches from the floor, although many installation guides recommend a range of about 32 to 42 inches or roughly one-third of the wall height. For an 8-foot ceiling, that usually means the chair rail lands near 32 inches. Taller rooms can sometimes handle a slightly higher placement, but the key is proportion, not a blind obsession with the number 36.
Here is a simple rule: measure the total wall height and divide by three. Mark that height, then step back and look at the room. If your light switches, window stools, existing trim, or furniture make the line feel strange, adjust slightly. The chair rail should make the room feel balanced, not like it lost a bet with a measuring tape.
Pick the Right Molding Material
Chair rail molding comes in several materials. Solid wood, such as pine, poplar, or oak, is durable and can be painted or stained. MDF is smooth, affordable, and easy to paint, making it popular for interior trim. PVC and polyurethane molding are lightweight, moisture-resistant choices that work well in bathrooms, mudrooms, and other damp-prone spaces.
If you plan to stain the molding, choose real wood with a grain pattern you like. If you plan to paint it white, cream, black, navy, or a dramatic “I watch design shows now” green, primed MDF or finger-jointed pine can be budget-friendly and attractive. For high-humidity areas, avoid materials that swell easily when exposed to moisture.
Tools and Materials You Will Need
Gather everything before you start. Nothing interrupts DIY confidence quite like standing on a ladder holding trim while realizing the caulk gun is still at the store.
- Chair rail molding
- Tape measure
- Pencil
- Level, laser level, or chalk line
- Stud finder
- Miter saw or miter box with hand saw
- Coping saw for inside corners, if desired
- Construction adhesive
- Brad nailer or hammer with finishing nails
- Nail set, if hammering by hand
- Wood filler or spackling compound
- Paintable caulk
- Sandpaper or sanding sponge
- Primer, paint, or stain
- Painter’s tape
- Safety glasses and hearing protection
Step 1: Prepare the Bare Wall
Start with a clean, smooth wall. Remove dust, cobwebs, old adhesive, loose paint, and any mysterious bumps that appear to have been painted over since 1998. Patch holes with spackle, sand rough areas, and wipe the wall with a damp cloth.
If your home was built before 1978 and you will disturb old painted surfaces, take lead-safe precautions. Avoid sanding unknown old paint without proper testing or containment. Lead dust is not a “wipe it up later” situation; it is a real health hazard, especially for children and pregnant people. When in doubt, test first or hire a certified professional.
If you plan to paint the wall two colors, it is often easier to paint the upper and lower sections before installing the chair rail. You will still need touch-ups later, but pre-painting saves time and gives cleaner edges around the molding.
Step 2: Measure the Room
Measure each wall where the chair rail will go. Write down every length and label each wall: left wall, window wall, door wall, and so on. Add 10 percent extra molding for waste, mistakes, angled cuts, and the inevitable piece that gets cut backward because the saw suddenly turned into a puzzle box.
For long walls longer than one piece of molding, plan a scarf joint. A scarf joint uses two opposing 45-degree cuts so the pieces overlap neatly. It looks cleaner than a blunt butt joint and hides the seam better after caulking and painting.
Step 3: Mark a Level Chair Rail Line
Measure up from the floor to your chosen chair rail height and make pencil marks every few feet. Then connect those marks using a long level, laser level, or chalk line. Do not simply measure up from the floor in one spot and trust the floor everywhere else. Floors can slope. Walls can wave. Old houses especially enjoy having a personality.
Use the level line as your true guide. The chair rail needs to look level to the eye, even if the floor is not perfectly flat. Once your guide line is marked, lightly mark stud locations along it with painter’s tape or pencil.
Step 4: Locate and Mark the Studs
Use a stud finder to locate wall studs along the chair rail path. Most studs are spaced about 16 inches on center, but do not assume. Mark each stud just above or below the guide line so the marks remain visible when you hold the molding in place.
Nailing into studs gives the molding a stronger hold. Construction adhesive can help, especially when studs are difficult to hit, but nails into studs keep the trim secure while the adhesive cures and help prevent future gaps.
Step 5: Cut the First Piece
Start with the longest, most visible wall if possible. Measure carefully, then cut the molding to length. For a wall that ends at door casing or window trim, use a straight 90-degree cut where the chair rail dies into the trim.
For outside corners, cut both meeting pieces at 45 degrees so they form a clean corner. For inside corners, you have two options: miter or cope. Mitering means cutting both pieces at 45 degrees. It is fast and beginner-friendly, but if the corner is not perfectly square, the joint may open. Coping means one piece butts square into the corner while the other is cut to fit the profile. Coping takes more practice, but it usually looks better on imperfect walls.
Quick Cutting Tip
Always test-fit before applying adhesive. Hold the piece on the wall, check the line, inspect the corner, and make sure the profile faces the correct direction. Chair rail often has a top and bottom; installing it upside down is not illegal, but your wall may quietly judge you.
Step 6: Dry-Fit the Molding
Dry-fitting is the step that separates neat DIY work from “we’ll hide it with furniture.” Place the molding against the wall along your level line. Check that it sits flat, meets corners cleanly, and lines up with adjoining trim.
If a corner has a small gap, do not panic. Slight gaps can often be fixed with careful sanding, recutting, caulk, or wood filler. Large gaps usually mean the angle is wrong or the piece is too short. Measure again and adjust before you attach anything permanently.
Step 7: Apply Construction Adhesive
Apply a thin bead of construction adhesive to the back of the chair rail. Do not smear on so much adhesive that it squeezes out like frosting from an overfilled cupcake. A modest bead is enough to help the molding grip the wall.
If you think you may remove the chair rail someday, use adhesive sparingly and rely more on nails. Heavy adhesive can damage drywall during removal. In forever rooms, adhesive plus nails creates a strong installation.
Step 8: Nail the Chair Rail in Place
Press the molding against the wall, align it with your level line, and nail it into the studs. A brad nailer makes this faster and cleaner, but a hammer and finishing nails also work. If hammering by hand, use a nail set to countersink the nail heads slightly below the surface.
Place nails where the molding is thick enough to avoid splitting. On narrow molding, one nail at each stud may be enough. On wider profiles, two nails can help keep the piece flat. Keep checking the level line as you go because trim has a funny habit of drifting when no one is watching.
Step 9: Continue Around the Room
Work one wall at a time. Cut, dry-fit, glue, nail, and then move to the next section. For long runs, use scarf joints with opposite 45-degree cuts. Add a little wood glue at the joint for a cleaner seam, then nail both pieces securely.
When chair rail meets door casing or window trim, make a clean square cut. If the chair rail ends in the middle of a wall, consider using a return cut. A return is a small mitered piece that turns the profile back into the wall, creating a finished end instead of an exposed raw edge.
Step 10: Fill Nail Holes and Seams
Once the molding is installed, fill nail holes with wood filler or spackle. Use a putty knife and avoid overloading the holes. After the filler dries, sand it smooth with fine-grit sandpaper.
For seams, corners, and scarf joints, use wood filler where the trim pieces meet. For gaps between the molding and wall, use paintable caulk. This distinction matters. Wood filler sands hard and works well on the trim itself; caulk stays flexible and is better where the wall and molding meet.
Step 11: Caulk the Edges
Run a thin bead of paintable caulk along the top and bottom edges of the chair rail where it meets the wall. Smooth it with a damp finger or caulk tool, then wipe away excess with a damp cloth.
Caulk is not a substitute for careful measuring, but it is a wonderful finishing tool. It hides tiny shadows, closes hairline gaps, and makes the chair rail look built-in. Use less than you think you need. Giant caulk ridges are not architectural detail; they are evidence.
Step 12: Prime, Paint, or Stain
If your chair rail is bare wood or unprimed MDF, prime it first. If it came pre-primed, lightly sand rough areas and wipe off dust before painting. Use a quality trim paint in a satin, semi-gloss, or gloss finish for durability and easy cleaning.
For stained wood, sand evenly, apply stain according to the manufacturer’s instructions, and protect it with a clear topcoat. Painted chair rail is usually easier for beginners because caulked edges and filled nail holes blend beautifully under paint.
Design Ideas for a Bare Wall With Chair Rail
Classic Two-Tone Paint
Paint the lower wall a darker color and the upper wall a lighter shade. This creates depth and makes the room feel grounded. Navy below and soft white above is timeless. Sage green below and warm cream above feels cozy without looking sleepy.
Chair Rail With Wallpaper
Use wallpaper above the chair rail and paint below it. This works beautifully in powder rooms, dining rooms, bedrooms, and entryways. The chair rail acts as a clean border, so the wallpaper looks intentional rather than like it wandered in and got stuck.
Chair Rail With Wainscoting
Add beadboard, picture frame molding, or board-and-batten below the chair rail for a more custom look. The chair rail becomes the cap that finishes the lower wall treatment. This approach adds texture, protects high-traffic walls, and can make a basic room feel much more polished.
Monochrome Modern Trim
Paint the wall and chair rail the same color for a subtle, modern effect. This is especially attractive with deeper shades like charcoal, forest green, clay, or muted blue. The molding adds shadow and dimension without high contrast.
Common Mistakes to Avoid
The first mistake is installing the chair rail too high. A rail placed near the middle of the wall can make the room feel squat. Keep the proportion closer to the lower third unless your design intentionally calls for something different.
The second mistake is skipping the level line. Measuring from the floor alone can create a wavy installation if the floor is uneven. Use a laser level or long level to keep the molding visually straight.
The third mistake is ignoring corners. Inside corners are often not exactly 90 degrees. If mitered corners keep opening, try coping one side. It takes longer, but the finished result is usually worth it.
The fourth mistake is overusing adhesive. Adhesive is helpful, but too much creates squeeze-out and future drywall damage. Use a controlled bead and secure the trim with nails whenever possible.
The fifth mistake is rushing the finish. Nail holes, seams, caulk, sanding, and touch-up paint are what make the difference between “installed” and “professionally finished.” The magic is not just in the molding; it is in the final 10 percent.
How Long Does It Take to Add Chair Rail?
For a simple room with four straight walls, a confident beginner can often install chair rail in a weekend. Measuring, cutting, and nailing may take a few hours. Filling, caulking, sanding, and painting take additional time because products need to dry between steps.
If the room has many corners, windows, doorways, uneven walls, or elaborate molding profiles, expect the project to take longer. That is normal. Trim work rewards patience. It does not reward “close enough” energy unless you enjoy staring at one bad corner for the next decade.
Experience Notes: What Homeowners Learn After Installing Chair Rail
The biggest real-world lesson about adding chair rail to a bare wall is that the wall is never as bare or simple as it first appears. Once you start measuring, you notice outlets, switches, door casings, window trim, sloped floors, bowed drywall, and corners that apparently graduated from geometry school with a C-minus. This does not mean the project is difficult; it means the project requires observation before action.
One helpful experience is to tape a temporary line on the wall before committing. Painter’s tape lets you preview the chair rail height from across the room. Live with it for a few hours. Look at it while standing, sitting, and walking through the doorway. A height that seems perfect with a tape measure may feel too high once you see it wrap the room. This simple preview can save you from installing a rail that visually cuts the wall in half.
Another practical lesson is to paint before installation whenever the design includes two wall colors. Painting after the rail is installed is possible, but it requires more taping and more careful brushwork. If the lower wall will be dark blue and the upper wall will be white, paint both sections first, install the molding, then caulk and touch up. The final edge will look cleaner, and your patience will remain mostly intact.
Cutting corners is where many beginners get nervous, and that is reasonable. A good strategy is to buy one extra length of inexpensive molding for practice cuts. Test a 45-degree outside corner. Try a scarf joint. Practice coping an inside corner if you want a more professional fit. Ten minutes of practice on scrap trim can prevent ten colorful words later.
Homeowners also learn that caulk is powerful but not magical. It can hide small gaps between the wall and molding, but it cannot rescue a piece that is clearly too short or an outside corner that misses by a dramatic amount. If a joint looks bad before caulk, improve the cut first. The best finish work begins before the finish work.
A final experience worth remembering is that chair rail changes how a room feels immediately. A bare wall that once looked flat suddenly has rhythm. A dining room feels more traditional. A hallway feels more intentional. A bedroom gains quiet detail. The project is affordable compared with many renovations, but the visual payoff is surprisingly large. You may even find yourself staring proudly at the wall like it just brought home a report card full of A’s.
Conclusion
Adding chair rail to a bare wall is one of those DIY projects that looks fancy but remains very achievable with planning and patience. Choose a height that fits the room’s proportions, pick the right molding material, mark a level line, locate the studs, cut carefully, dry-fit everything, and finish with filler, caulk, sanding, and paint.
The result is more than a strip of trim. It is a design line that organizes the wall, protects the surface, and gives the room a custom feel. Whether you pair it with wainscoting, wallpaper, two-tone paint, or a single dramatic color, chair rail molding can turn a plain wall into a feature without requiring a full renovation or a second mortgage.