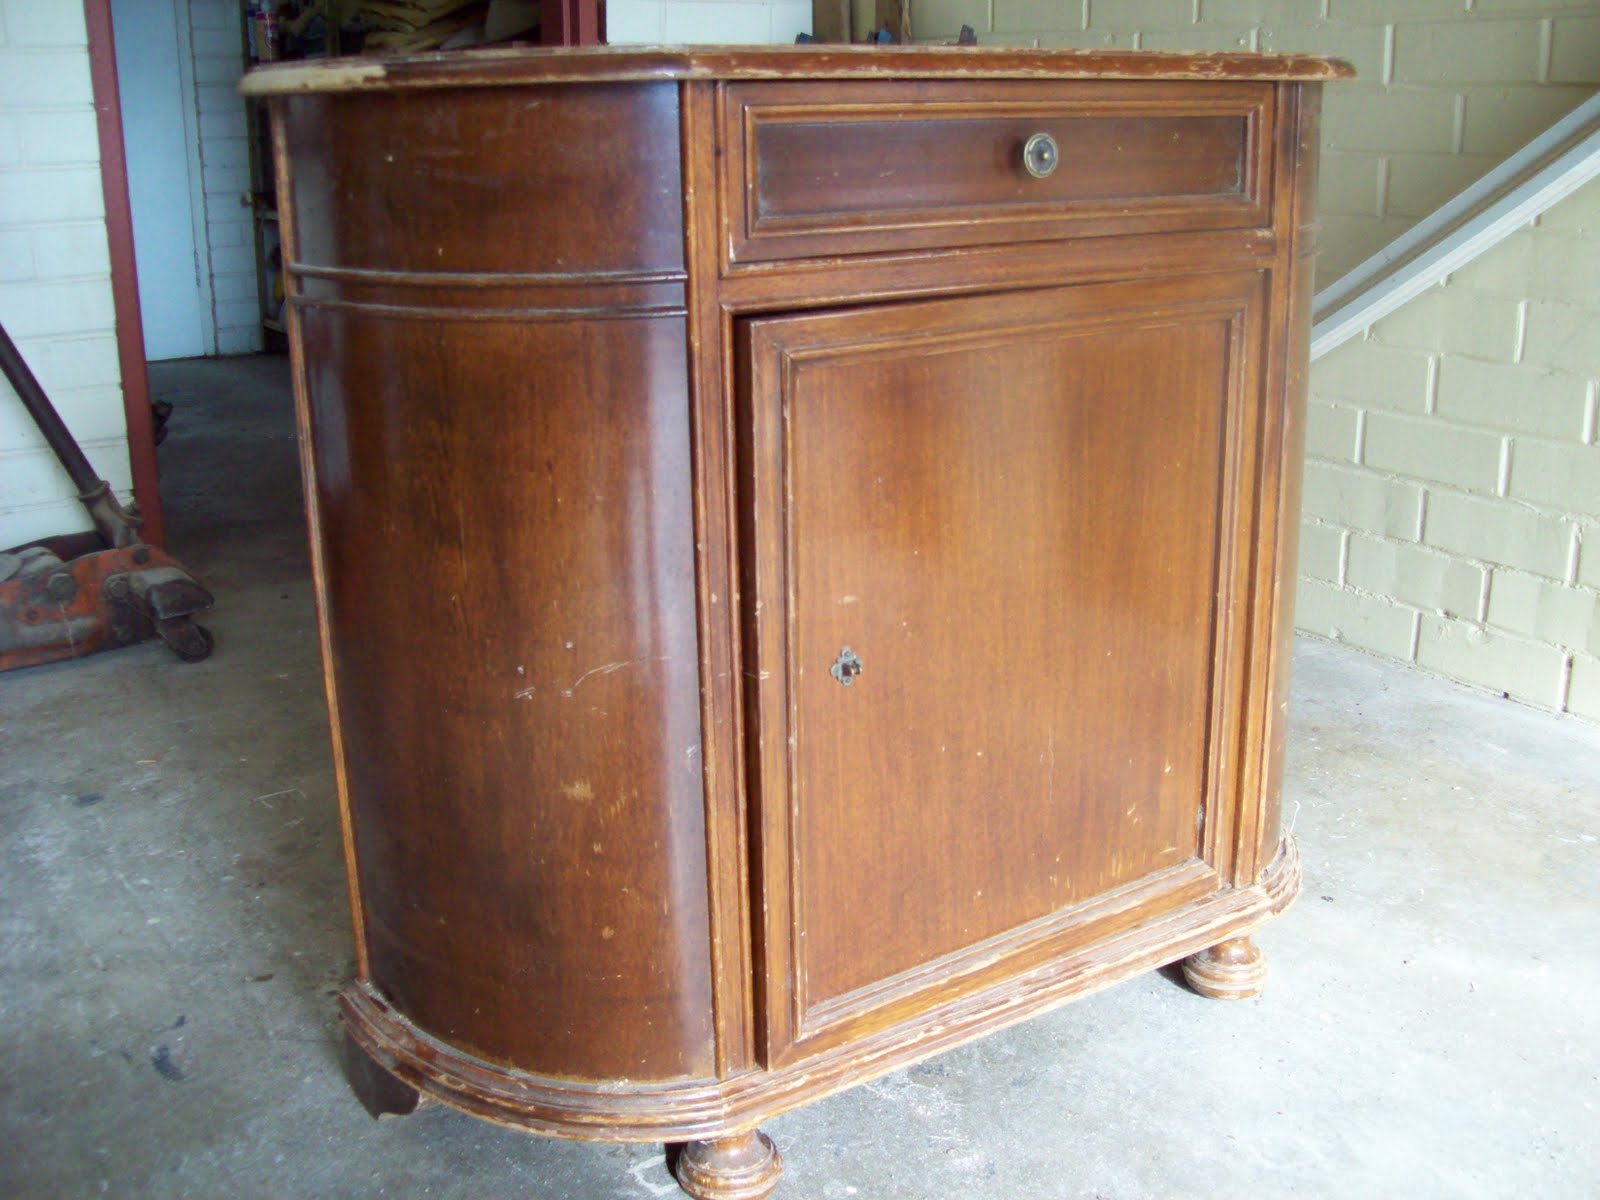
Some furniture walks into a room and says, “I was expensive.” Other furniture sits quietly in the corner, missing one knob, wearing three scratches, and whispering, “Please don’t put me on the curb.” The magic of a Furniture Makeover by The Painted Hive is that it listens to the second piece and says, “Relax, buddy. You’re about to become the star.”
The Painted Hive has earned a loyal following for budget-friendly, high-style DIY projects that turn ordinary furniture into pieces with soul, patina, texture, and personality. Its furniture makeovers are not about slapping paint on a dresser and hoping no one notices the drips. They are about seeing potential: the plain dresser that can become a statement chest, the dated timber piece that can look collected and classic, the basic cabinet that can gain charm with smart hardware, trim, stain, or a little decorative trickery.
This guide explores what makes The Painted Hive approach so useful for real homes: practical techniques, affordable materials, clever design thinking, and a healthy respect for furniture that has already survived a few decades of life. If your garage currently contains a thrift-store find, a hand-me-down side table, or a cabinet that has been silently judging you since 2019, consider this your friendly nudge.
What Makes The Painted Hive Furniture Makeover Style Special?
The Painted Hive style is not loud for the sake of being loud. It is layered, warm, budget-conscious, and thoughtful. Many DIY furniture makeovers online chase the fastest “before and after” possible, but The Painted Hive often feels more like design problem-solving. A plain piece is studied first: What lines does it have? What can be disguised? What should be celebrated? Could paint make it fresher? Could stain make it richer? Could hardware make it look custom? Could cladding, labels, trim, or texture make it look like something from a boutique shop rather than someone’s forgotten spare room?
Budget is not the enemy of beauty
One of the biggest lessons from The Painted Hive is that beautiful furniture does not have to begin with a beautiful price tag. A low-cost dresser, a secondhand cabinet, or a roadside rescue can become something polished when the design choices are intentional. The real currency is not cash; it is patience, planning, and the ability to imagine a piece without its current crimes against decor.
Imperfection can become character
A scratch does not always need to be erased. A gouge does not always need to be hidden. A worn edge can support a vintage effect, and visible wood grain can become part of the story. This is where The Painted Hive shines: instead of making every piece look brand-new, the makeover often makes it look discovered, loved, and artfully revived.
The Core Formula: How to Create a Painted Hive-Inspired Makeover
A successful DIY furniture makeover usually follows a process. You can break rules later, but first learn which rules are holding the whole thing together like the last screw in a wobbly nightstand.
1. Choose furniture with good bones
Start with structure. A piece does not need to be pretty, but it should be sturdy. Check drawers, legs, joints, veneer, and the top surface. Wobbles can often be fixed, but water damage, swollen particleboard, deep rot, or major missing parts may turn a weekend project into a full emotional support hobby.
Solid wood is usually the easiest and most forgiving candidate for refinishing. Veneer can be beautiful, but it requires gentler sanding. Laminate and flat-pack furniture can be painted too, but they need special prep and a strong bonding primer. The Painted Hive aesthetic works best when you select a piece that has a simple shape and enough surface area to carry a transformation.
2. Clean before you dream
Paint does not like grease, dust, wax, furniture polish, mystery kitchen residue, or whatever that sticky spot is on the drawer front. Before sanding or painting, remove hardware and clean the piece thoroughly with a mild cleaner. Pay attention to corners, trim, drawer edges, and handles. A surface may look clean from across the room, but paint is extremely dramatic and will reveal every shortcut.
3. Repair holes, dents, and awkward hardware scars
If you plan to change the hardware, fill old holes with wood filler and sand them smooth after drying. This step is small but powerful. New knobs or pulls can completely change a piece, especially when the original hardware looks like it was designed during a beige office-supply conference.
For a Painted Hive-inspired look, consider classic brass pulls, wooden knobs, antique-style cup pulls, library label holders, or simple matte black hardware. The goal is not just to replace a handle; it is to tell the furniture what decade it now belongs to.
4. Sand strategically, not angrily
Sanding is not punishment. You are not disciplining the furniture for being ugly. You are creating a surface that paint or stain can grip. For previously finished wood, light sanding with fine-grit paper is often enough to dull the gloss. For rougher surfaces, start with a medium grit and work toward a smoother finish. Always remove sanding dust before moving on.
For stained pieces, sanding with the grain helps avoid scratches that show under the finish. For painted pieces, sanding between coats can help create a smoother, more professional result. Yes, it is an extra step. No, the furniture gods will not forgive you if you skip it and then blame the brush.
5. Prime when the surface demands it
Primer is the quiet hero of many furniture makeovers. It helps paint adhere, improves coverage, and blocks stains or tannins from bleeding through. Use primer when painting glossy surfaces, laminate, raw wood, dark stained wood, or any piece with unknown old finishes.
Can you sometimes skip primer? Yes, depending on the paint, the surface, and the final use of the piece. Some low-traffic decorative pieces can survive a simpler approach. However, for a dresser, cabinet, desk, table, or anything that will be touched daily, primer is cheap insurance. Think of it as the seatbelt of furniture painting: not glamorous, but you’ll be glad it was there.
6. Choose paint, stain, or both
The Painted Hive look often balances paint with natural or stained timber. A painted body with a stained top can feel classic. A dark stained piece with aged hardware can feel collected. A muted painted dresser with polished brass details can feel calm and custom. The best choice depends on the shape of the furniture and the room where it will live.
For painted furniture, satin and eggshell finishes are popular because they hide small imperfections while still being wipeable. Semi-gloss can work on cabinets or high-use pieces, but too much shine may highlight flaws. For stain, test first in an inconspicuous area. Wood species absorb color differently, and some woods become blotchy without conditioner. A test patch is much less painful than discovering your “warm walnut” dream has become “orange raccoon.”
Design Ideas Inspired by The Painted Hive
The simple painted dresser
A plain dresser can become fresh and charming with a soft muted color, patched hardware holes, new knobs, and a carefully styled top. The Painted Hive has shown how even a straightforward paint makeover can feel elevated when the color is warm, the hardware is intentional, and the final styling includes meaningful objects such as bottles, books, art, or natural textures.
The dark stained vintage piece
If a timber piece has beautiful grain, do not rush to bury it under paint. A darker stain can add depth, especially when it settles into grooves and imperfections. Finish with oil or a clear protective coat, then add aged brass or library-style pulls. This creates a piece that feels old-world, useful, and slightly mysteriousin a good way, not in a “what is living in drawer three?” way.
The faux multi-drawer cabinet effect
One clever furniture makeover idea is to make a basic cabinet look like it has many smaller drawers. This can be done with trim, decorative lines, label holders, or carefully placed pulls. The result feels like vintage apothecary furniture or an old filing cabinet, even if the original piece was far less exciting.
The boho dresser makeover
For a softer, more relaxed look, pair a neutral painted finish with cane, woven texture, warm wood, or simple hardware. A boho dresser does not need to scream “I own twelve macrame wall hangings.” It can be subtle: light wood tones, creamy paint, earthy accessories, and one or two handcrafted-looking details.
Painted Furniture Mistakes to Avoid
Skipping prep
The fastest way to ruin a furniture makeover is to treat prep as optional. Cleaning, sanding, repairing, and priming may not be exciting, but they separate “custom-looking furniture” from “painted in panic at midnight.” Poor prep leads to peeling, chipping, rough texture, and regret.
Using the wrong paint for the job
Wall paint can work for some low-use projects, but furniture often needs a more durable finish. Cabinet and furniture paint, enamel, mineral paint, chalk-style paint with a protective topcoat, or quality acrylic paint can all work depending on the project. The key is matching the paint to the surface and the amount of wear the piece will receive.
Applying thick coats
Thick coats are tempting because they look like progress. Unfortunately, they also lead to brush marks, drips, slow drying, and gummy surfaces. Several thin coats are usually better than one heroic coat that looks like frosting. Furniture is not a cupcake.
Ignoring curing time
Paint may feel dry quickly, but curing takes longer. A piece can be dry to the touch and still vulnerable to dents, scratches, and sticky objects. Give freshly painted furniture time before loading it with books, lamps, baskets, or your full collection of “decorative” things that are really just mail.
How to Make a Makeover Look More Expensive
The difference between amateur and expensive-looking furniture is often in the details. Start with color. Muted tones tend to look more sophisticated than harsh colors. Warm whites, mushroom, sage, charcoal, navy, deep olive, greige, and soft black are all strong choices for a Painted Hive-inspired palette.
Next, upgrade the hardware. Inexpensive furniture can instantly look more custom with the right knobs or pulls. Brass, bronze, black metal, wood, ceramic, or antique-style label holders can create a strong design direction. If the hardware finish looks too shiny, aging waxes or metallic finishes can soften it.
Then add texture. Trim, cladding, cane webbing, fabric drawer liners, map-lined drawers, stenciled details, or faux panels can make a basic piece feel collected. Use these details sparingly. One clever idea is charming; seven clever ideas on one dresser is a committee meeting with legs.
Why Furniture Upcycling Matters
Furniture upcycling is not only about saving money. It keeps useful pieces out of landfills, reduces the demand for cheaply made replacements, and allows homes to feel personal rather than copied from a showroom. A revived dresser carries a story. A repainted sideboard can solve a storage problem. A refinished table can become the piece everyone asks about at dinner, right after they ask whether you made dessert.
The Painted Hive approach reminds us that decorating does not have to be disposable. You can create a layered, stylish home by working with what already exists. That might mean repainting a dresser, staining a cabinet, swapping hardware, adding trim, or simply cleaning and styling a piece so it finally looks intentional.
Experience Notes: What Real Furniture Makeovers Teach You
The first practical lesson of a Painted Hive-style furniture makeover is that the “before” phase always looks worse in person. Photos flatten flaws, but real furniture has sticky drawers, tired varnish, weird smells, missing screws, and at least one stain that makes you question humanity. This is normal. The trick is to stop looking at the current finish and start looking at the silhouette. Good proportions matter more than ugly color. A sturdy frame matters more than dated handles. If the bones are good, the makeover has a fighting chance.
The second lesson is that prep takes longer than painting, and that is not a sign you are doing it wrong. Removing hardware, cleaning grime, filling holes, sanding, wiping dust, and taping edges can feel painfully slow. But once the paint goes on, you will see why the boring steps mattered. A smooth painted surface is rarely an accident. It is usually the result of someone quietly doing unglamorous things with sandpaper while questioning their life choices.
The third lesson is that hardware can change the entire personality of a piece. A dresser with basic round knobs may look sweet and cottage-like. The same dresser with brass cup pulls may look vintage and practical. Add label holders and suddenly it has apothecary energy, as if it stores handwritten letters, linen napkins, or extremely organized secrets. Before buying paint, test hardware ideas. Sometimes the right pulls tell you what color the piece wants to be.
The fourth lesson is to respect the room where the furniture will live. A makeover should not be designed in isolation. Consider wall color, flooring, nearby wood tones, lighting, and existing decor. A dark stain might look rich in a bright room but heavy in a small dim corner. A pale painted finish might disappear against white walls unless you add contrast through hardware or styling. The Painted Hive look works because finished pieces are usually styled as part of a whole space, not treated like lonely craft projects.
The fifth lesson is patience. Paint needs drying time. Topcoats need curing time. Stain needs testing time. Rushing turns a budget makeover into a repair project wearing fresh clothes. If you can, finish the piece, then let it sit before heavy use. Reattach hardware gently. Place decor carefully. Use felt pads under lamps and trays. Your future self will appreciate this restraint, especially when the tabletop does not develop a mysterious ring on day two.
Finally, furniture makeovers teach confidence. Once you revive one piece, every thrift store, garage sale, and family basement becomes suspiciously full of possibility. You begin to see past orange varnish and chipped veneer. You start saying things like, “I could fix that,” which is both empowering and dangerous. That is the charm of a Furniture Makeover by The Painted Hive: it proves that style is not always bought finished. Sometimes it is cleaned, sanded, painted, stained, sealed, and proudly dragged into the house while everyone else says, “Wait, that’s the same dresser?”
Conclusion
A Furniture Makeover by The Painted Hive is less about copying one exact project and more about adopting a mindset: look closer, spend wisely, preserve character, and use simple techniques with intention. Whether you are painting a thrifted dresser, staining a tired cabinet, swapping hardware on a side table, or turning a basic storage piece into something with vintage charm, the goal is the same. Create furniture that looks thoughtful, feels personal, and earns its place in your home.
The best makeovers do not hide the past completely. They refine it. They take the dents, the awkward shapes, the old timber, and the forgotten potential, then turn everything into a finished piece with warmth and purpose. And if the project also saves money and keeps furniture out of the landfill, that is not just DIY. That is design with manners.