Putting on virtual reality glasses for the first time can feel like stepping into a science-fiction movieexcept the spaceship is your living room, and the mysterious alien obstacle is probably your coffee table. Fortunately, learning how to use VR glasses is much easier than it looks.
Modern virtual reality headsets guide users through most of the setup process. Whether you own a standalone Meta Quest headset, a PlayStation VR2, an Apple Vision Pro, a PC-connected headset, or a simple phone-based viewer, the basic principles remain similar: prepare the device, clear your surroundings, adjust the fit, learn the controls, and start with comfortable experiences.
This beginner-friendly guide explains how to use VR glasses in 10 practical steps. It also covers motion sickness, visual clarity, controller use, play-area safety, cleaning, and the small mistakes almost every new user makes.
What Are VR Glasses?
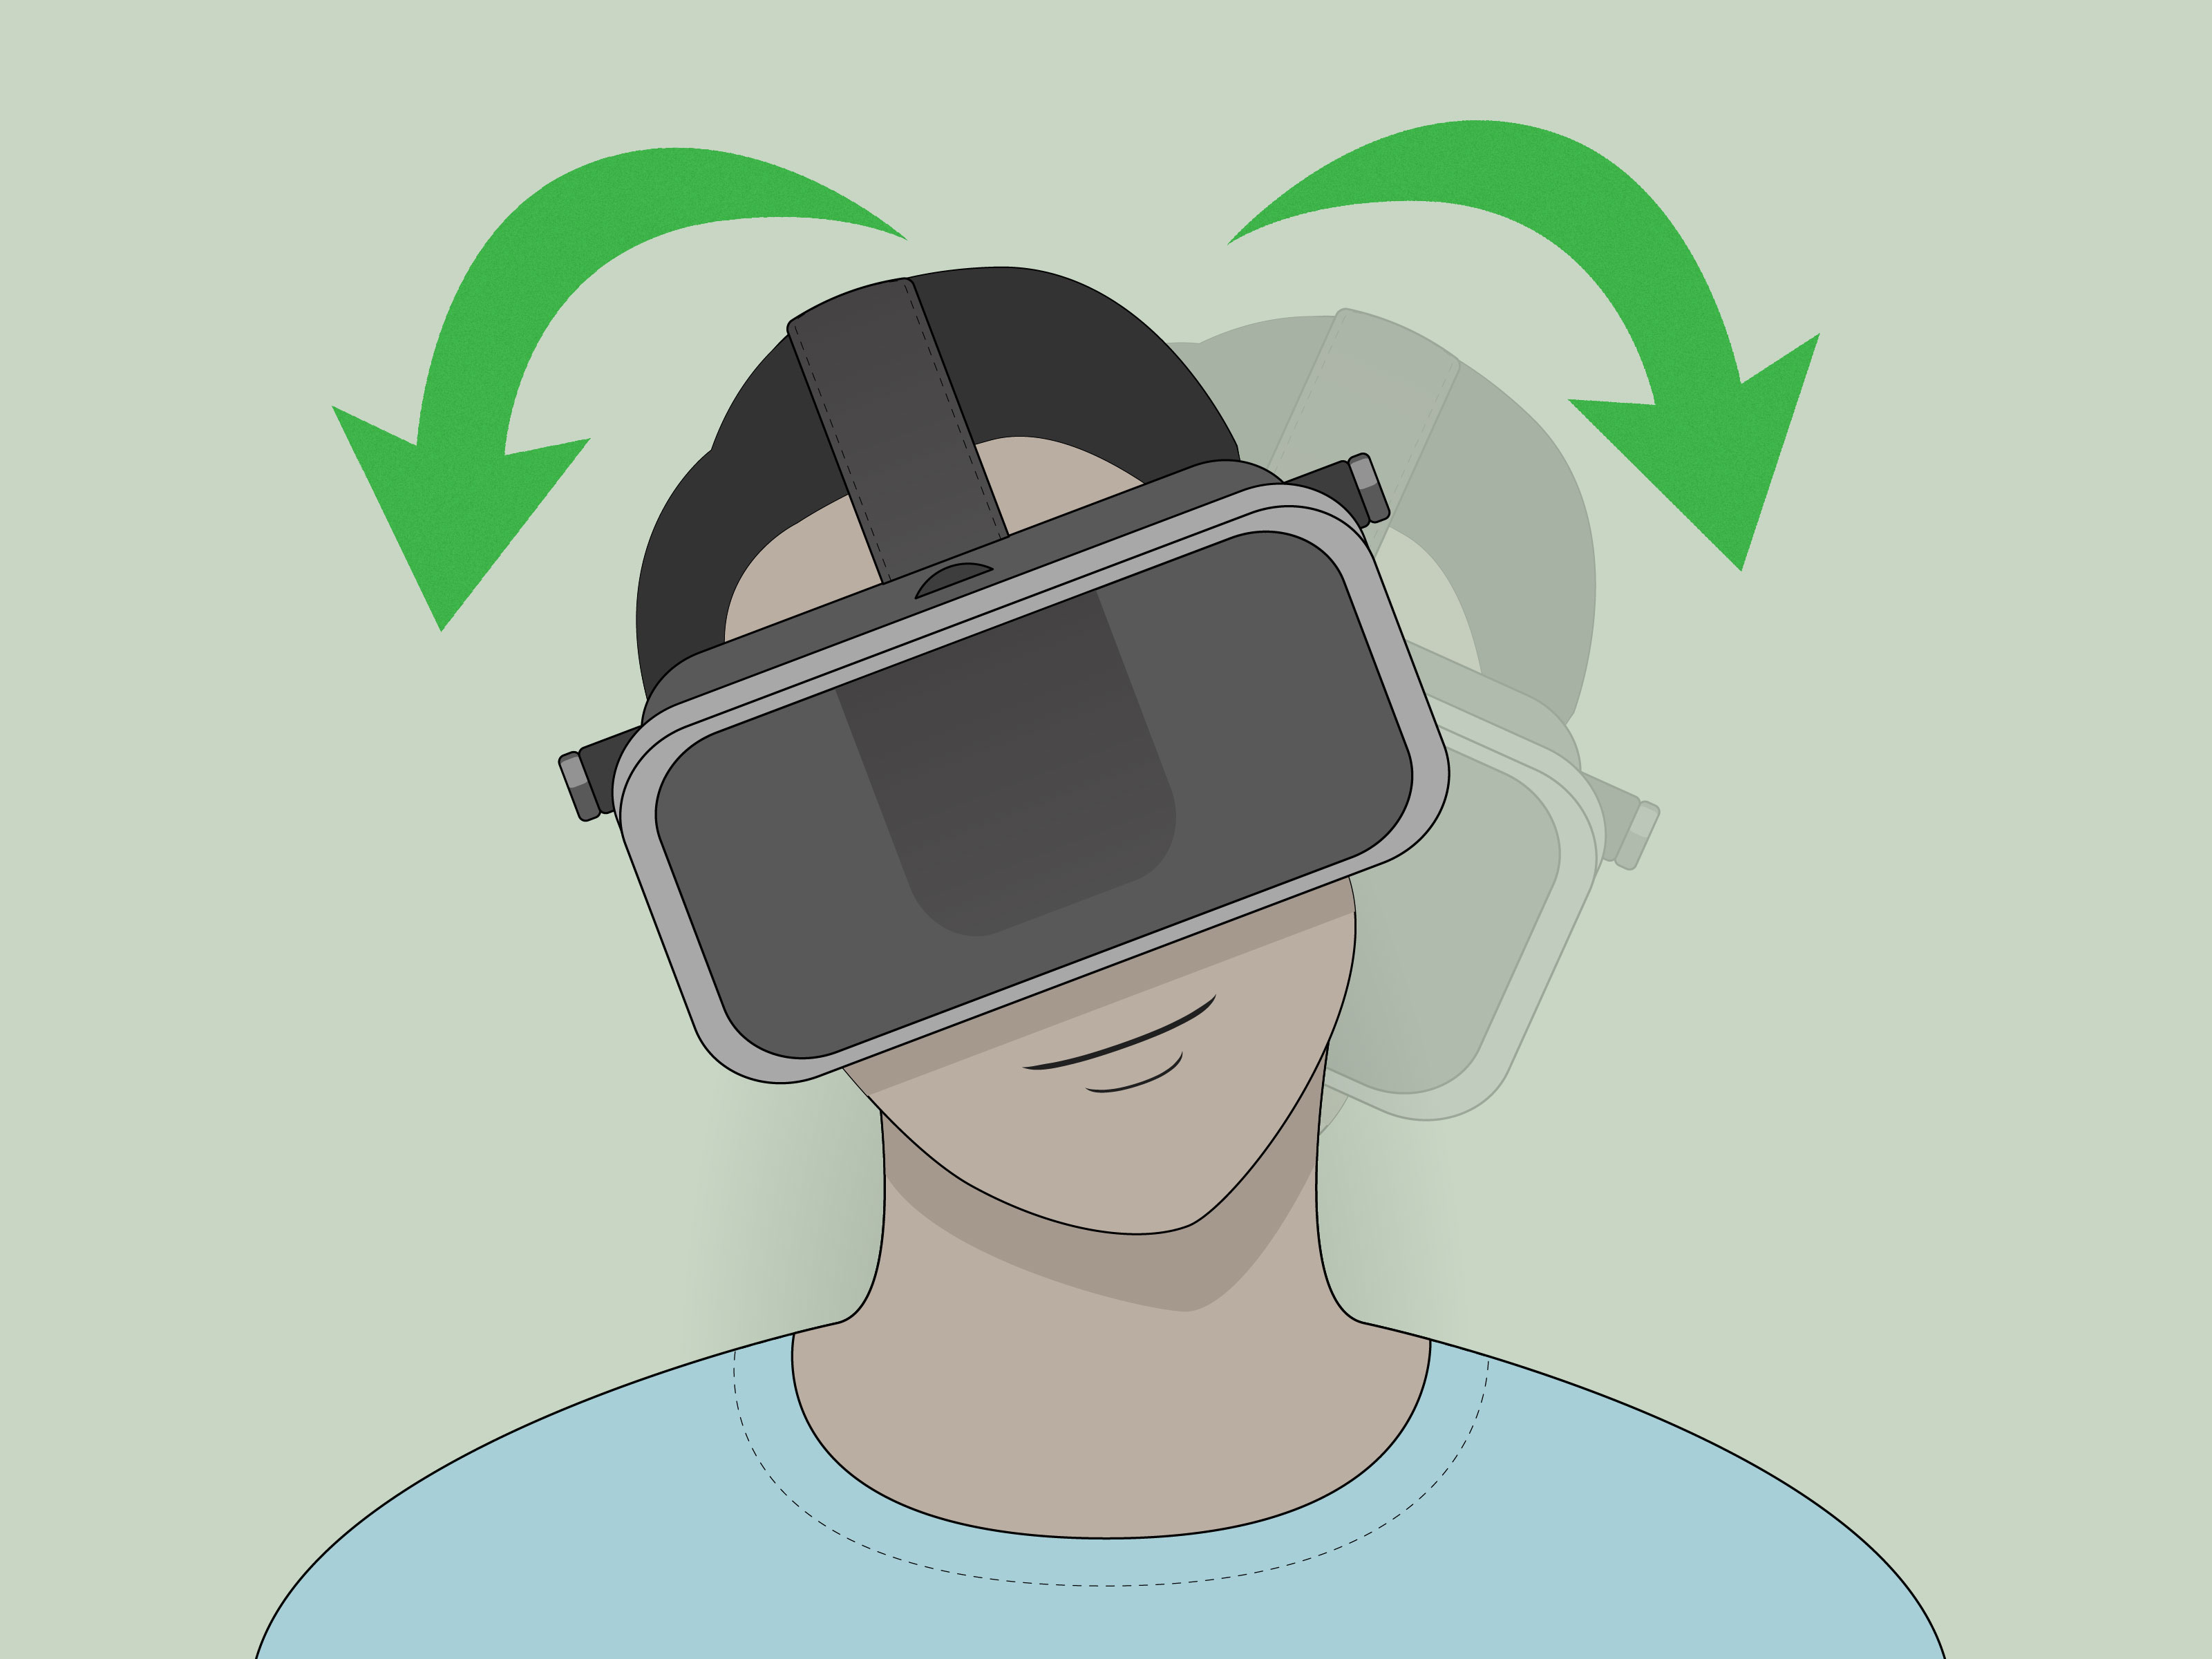
VR glasses, more accurately called a virtual reality headset or head-mounted display, place screens and lenses directly in front of your eyes. The device tracks the movement of your head so the virtual scene changes naturally as you look up, down, left, right, or behind you.
Some headsets are standalone devices with their own processor, battery, operating system, and app store. Others connect to a gaming console or computer. Smartphone viewers use a compatible phone as the screen, while spatial-computing headsets may combine virtual objects with a live view of the real room.
The experience can range from watching a 360-degree travel video to playing a room-scale action game, attending a virtual meeting, exercising, designing a 3D model, or watching a movie on a screen that appears larger than your entire wall. Google, for example, supports immersive VR180 and 360-degree video viewing through compatible YouTube experiences.
How to Use VR Glasses in 10 Easy Steps
Step 1: Identify Your Type of VR Headset
Before pressing every button in sight, determine what kind of headset you own. This affects how it is powered, connected, and controlled.
- Standalone VR headset: Runs apps directly on the device and usually needs Wi-Fi and a user account.
- Console VR headset: Connects to a compatible game console, such as a PlayStation 5.
- PC VR headset: Uses a gaming computer, compatible software, and sometimes external tracking stations.
- Phone-based viewer: Holds a smartphone and displays specially formatted VR or 360-degree content.
- Mixed-reality or spatial headset: Displays digital windows and objects within a view of your physical environment.
Check the model name printed on the headset, packaging, controller, or companion app. Then verify that your phone, computer, or console meets the device requirements. A headset cannot overcome an incompatible graphics card through optimism alone.
Step 2: Charge and Update Everything
Charge the headset and both controllers before beginning. Many controllers use removable batteries, while others have built-in rechargeable batteries. Starting with a full charge prevents the classic first-time VR experience: entering a beautiful fantasy world and being evicted three minutes later by a low-battery warning.
Turn on the device and install available system, controller, app, and firmware updates. Updates may improve tracking, compatibility, stability, security, battery management, and visual performance.
Some devices also require a companion phone app, online account, strong Wi-Fi connection, or two-factor authentication. Apple, for example, recommends charging the battery, confirming a reliable Wi-Fi connection, and preparing the required account before completing Vision Pro setup.
Step 3: Prepare a Safe VR Play Area
Clear more space than you think you need. Remove chairs, cables, toys, lamps, fans, pets, exercise equipment, and anything fragile enough to lose an argument with a swinging controller.
A seated experience may require only a stable chair and enough space to move your arms. Standing and room-scale applications need a larger open area. SteamVR documentation has historically recommended approximately 6.5 feet by 5 feet for room-scale play, while PS VR2 supports defined standing and room-scale areas based on the selected experience.
Avoid playing near:
- Stairs, balconies, open doors, or low ceilings
- Glass tables, mirrors, windows, and televisions
- Ceiling fans, heaters, fireplaces, or kitchen appliances
- Uneven flooring or slippery rugs
- Children or pets that may unexpectedly enter the area
Manufacturers consistently advise users to create an obstacle-free environment. Apple specifically warns against using its headset around stairs, balconies, glass, mirrors, excessive heat, and other hazards. PlayStation similarly recommends clearing obstacles and preventing pets or children from entering the active space.
Step 4: Put On the Headset Correctly
Loosen the straps before placing the headset over your face. Position the rear strap low enough to support the back of your head, then tighten the side or top straps gradually.
The headset should feel secure without squeezing your temples, cheeks, or forehead. If the device slides whenever you turn your head, it is too loose. If your face feels like it has been vacuum-sealed into another dimension, it is too tight.
Adjust the headset’s vertical position until the center of the display appears sharp. Some models use a top strap, rear dial, light seal, forehead support, or multiple interchangeable cushions. A correct fit improves comfort, image quality, tracking accuracy, and weight distribution. Apple’s guidance emphasizes that a headset should be secure but not excessively tight, while using the correct facial interface and headband is important for safe, comfortable use.
People who wear prescription glasses should follow the instructions for their specific headset. Some models accommodate glasses or use a spacer. Others require compatible prescription lens inserts and should not be worn over ordinary eyeglasses.
Step 5: Adjust the Lenses and Visual Clarity
If the virtual image looks blurry, resist the urge to blame your eyesight, the game developer, and the entire technology industry at once. First, adjust the headset position and lens spacing.
Many VR glasses allow adjustment of the interpupillary distance, commonly called IPD. This is the distance between the centers of your pupils. Depending on the model, IPD may be adjusted with a wheel, slider, menu, or several fixed lens positions.
Look directly at text or a detailed object while making small adjustments. The image should become clear without requiring you to squint. If the center looks sharp but the edges do not, this may be normal for certain lens designs. Turn your head toward important objects instead of moving only your eyes.
Also verify that the protective films have been removed from the lenses. More than one enthusiastic beginner has spent 20 minutes adjusting a headset while staring through factory plastic.
Step 6: Create the Virtual Boundary
Most modern headsets include a boundary system that warns you when you approach the edge of your safe area. Depending on the platform, it may be called a boundary, Guardian, Chaperone, play area, or room setup.
During setup, the headset may ask you to:
- Look around so its cameras can scan the room.
- Confirm or adjust the virtual floor height.
- Choose seated, standing, or room-scale mode.
- Trace the safe area with a controller.
- Confirm the direction considered the front of the space.
Make the boundary slightly smaller than the actual open area. This creates a safety buffer between the warning grid and your furniture. SteamVR’s Chaperone system displays the limits of the available room, and Valve recommends rerunning room setup when the virtual floor or orientation no longer matches the physical environment. PS VR2 also lets users adjust the play area and floor height through its settings.
Recreate the boundary whenever you move furniture, change rooms, relocate tracking stations, or notice that the virtual floor appears too high or low.
Step 7: Learn the Basic Controls
Complete the headset’s introductory tutorial instead of immediately launching the most complicated game in the store. Tutorials demonstrate how to point, select, grab, release, scroll, recenter, open menus, and return to the home environment.
Common VR controller functions include:
- Trigger: Selects, fires, pinches, or grabs.
- Grip button: Holds virtual objects.
- Thumbstick: Moves, turns, scrolls, or teleports.
- System button: Opens the main VR menu.
- Menu button: Opens an application’s options.
Always use the controller wrist straps when provided. A virtual tennis racket should remain virtual; the controller does not need to continue its athletic career across the room.
Headsets with eye and hand tracking may allow you to select objects by looking, pinching, tapping fingers together, or pointing. Perform the calibration carefully. PS VR2, for instance, provides eye-tracking adjustment within its accessory settings, as well as a see-through function that lets users view their surroundings without removing the headset.
Step 8: Start With a Comfortable Experience
Your first VR activity should be short, simple, and relatively stationary. Good beginner options include a guided tutorial, virtual museum, 360-degree nature video, casual puzzle, drawing app, or seated entertainment experience.
Avoid beginning with roller coasters, racing games, aerial combat, artificial jumping, rapid spinning, or free movement through a complex environment. These experiences can create a mismatch between what your eyes see and what your balance system feels.
When choosing games, look for comfort ratings and settings such as:
- Teleport movement
- Snap turning instead of smooth turning
- Reduced camera shaking
- Vignette or tunnel-vision comfort mode
- Seated play
- Adjustable walking and rotation speed
Research commonly describes cybersickness symptoms as nausea, visual discomfort, disorientation, dizziness, headache, fatigue, and eye strain. Rotational virtual movement can be particularly uncomfortable for susceptible users.
Step 9: Take Breaks and Stop When You Feel Unwell
Begin with sessions of approximately 10 to 15 minutes. Remove the headset, rest your eyes, drink water, and check how you feel before continuing. Your comfortable session length may increase gradually, but endurance is not a competition.
Stop immediately if you experience:
- Nausea or stomach discomfort
- Dizziness or loss of balance
- Cold sweating or unusual warmth
- Headache, blurred vision, or eye strain
- Disorientation, fatigue, or difficulty concentrating
Do not attempt to “push through” VR sickness. Continuing after symptoms begin can make the discomfort stronger and may leave you feeling unwell after the headset is removed. The CDC recommends regular breaks and advises users to stop immediately if they become dizzy, nauseated, or otherwise uncomfortable.
After a highly immersive session, pause before driving, using stairs, operating machinery, or doing anything requiring perfect balance. Consult a qualified healthcare professional before VR use when relevant medical conditions, seizures, serious balance disorders, or persistent symptoms are a concern.
Step 10: Clean, Store, and Share the Headset Properly
Turn off the headset after use and store it in a dry, stable place away from direct sunlight. Sunlight passing through the lenses can damage the display, sometimes surprisingly quickly.
Use a clean, dry microfiber cloth on the lenses. Begin in the center and wipe gently in a circular motion. Do not use household window cleaner, abrasive cloths, paper towels, alcohol, or liquid directly on optical lenses unless the manufacturer specifically approves it.
Wipe controllers, straps, and facial surfaces according to the manufacturer’s cleaning instructions. If several people share the headset, use a cleanable facial interface or disposable hygiene cover where appropriate. Never share a headset while someone has a contagious eye, skin, or respiratory infection.
You can also cast the headset display to a phone, computer, or television so friends can follow the action. Meta’s official casting instructions require the receiving device and headset to use the same Wi-Fi network before casting to a compatible mobile, web, or nearby display.
Common Beginner Problems and Quick Fixes
The Image Is Blurry
Move the headset slightly higher, lower, left, or right. Adjust the strap tension and IPD setting. Clean the lenses with a microfiber cloth and confirm that the headset supports your vision-correction method.
The Virtual Floor Is Too High or Low
Run the play-area setup again and recalibrate the floor height. Place a controller gently on the real floor if the setup instructions request it.
The Controllers Drift or Disappear
Improve the room lighting, replace or charge the controller batteries, clean the headset’s tracking cameras, and move away from highly reflective surfaces. For systems with external base stations, confirm that the stations are stable, unobstructed, and correctly positioned.
The Headset Hurts Your Face
Loosen the side straps and let the top strap carry more weight. Reposition the rear support lower on your head. Consider a compatible alternative strap or facial interface only after confirming that it is designed for your exact headset model.
You Feel Sick Within Minutes
Stop, remove the headset, and rest. During the next session, use a seated experience with teleport movement and snap turning. Keep the session shorter and avoid fast-moving content until you know what your body tolerates.
What Using VR Glasses Is Really Like: A Beginner’s Experience
The following is a realistic composite of common first-session experiences rather than a claim about one specific user.
The first surprise is usually how ordinary the headset looks before it is turned on. It is a plastic device with straps, lenses, and controllers. Then the display lights up, the room disappears, and suddenly a floating menu is hovering at arm’s length. The brain accepts the transformation with alarming enthusiasm.
During the first few minutes, new users often move cautiously. They reach for a virtual button as though it might be hot. They turn their entire body to inspect objects behind them. When they pick up their first digital item, they may laugh because the virtual object appears solid even though their hand is holding only a controller.
Learning the controls is normally less difficult than expected. Pointing and clicking feels familiar, while grabbing objects takes a little practice. The most common early mistake is gripping every button at once. This can cause a virtual object to jump, disappear, or fly across the scene like it has remembered an urgent appointment.
The sense of scale can be astonishing. A virtual whale, mountain, building, or movie screen may feel genuinely enormous. Even when users understand that the room has not changed, their bodies may react to a simulated cliff or fast-moving object. Knees bend. Hands reach for balance. Someone watching from outside the headset may find this extremely entertaining.
The physical boundary becomes important quickly. A beginner may start in the center of the room but gradually drift toward a wall while exploring. When the warning grid appears, it can feel like a magical force field. In reality, it is a polite message from the headset saying, “Your bookshelf is about to become involved.”
Comfort is usually the biggest learning process. A slightly incorrect fit may make the display look blurry or place too much pressure on the forehead. After loosening the straps, adjusting the headset angle, and setting the lens spacing, the image often becomes noticeably clearer. This is why careful fitting matters more than simply tightening everything until the device stops moving.
Motion also affects first impressions. A stationary museum or rhythm game may feel completely comfortable, while smooth artificial movement can produce nausea within minutes. The difference surprises many users. Teleport controls and snap turning may look less cinematic, but they are often much friendlier to a beginner’s balance system.
A successful first session usually ends before discomfort appears. Ten enjoyable minutes create a better introduction than an hour followed by dizziness and a lifelong grudge against virtual roller coasters. Taking the headset off can feel briefly strange because the real room seems less dramatic and has significantly fewer floating menus.
By the second or third session, most actions become easier. Users remember where the system menu is, how to recenter the view, and how to tighten the wrist straps. They also become better at recognizing their limits. Some people can handle fast games quickly; others prefer seated entertainment, fitness, art, education, or exploration.
The best lesson is that there is no single correct way to enjoy VR glasses. Virtual reality is not limited to gaming. It can be a private theater, exercise space, classroom, art studio, social room, travel simulator, or professional tool. Start slowly, explore different categories, and keep the experiences that feel useful, comfortable, or simply delightful.
Conclusion
Learning how to use VR glasses does not require advanced technical knowledge. Charge the equipment, update the software, create a safe play area, fit the headset correctly, adjust the lenses, complete the boundary setup, and practice the basic controls.
Most importantly, begin with comfortable content and take breaks before fatigue or motion sickness develops. A good first VR session should leave you curious about what to try nextnot lying on the couch negotiating peace with your stomach.
Once the setup becomes familiar, VR glasses can provide immersive games, movies, exercise programs, creative tools, educational simulations, virtual travel, and social experiences. Respect the physical room, follow the manufacturer’s safety instructions, and remember that the virtual dragon may not be real, but the wall behind it definitely is.