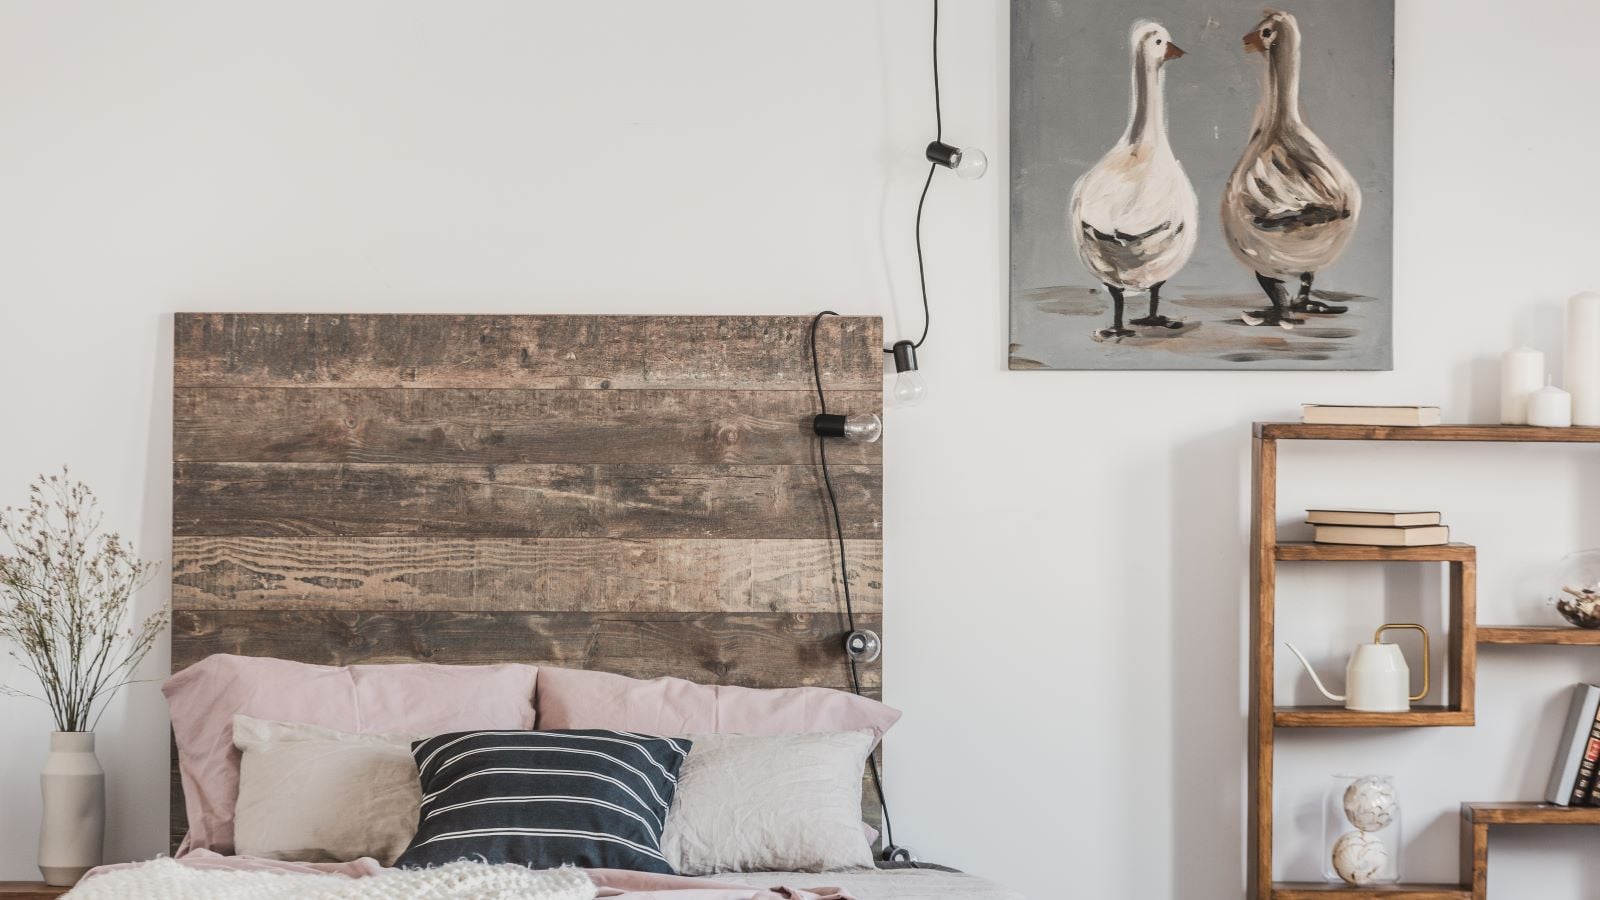
A bed without a headboard can feel a little like a sentence without punctuation. It technically works, but something seems unfinisrenovation crew to give your bedroom a proper focal point.
The best DIY headboard ideas turn ordinary materialsplywood, fabric, paint, trim, cushions, reclaimed boards, and even folding screensinto something personal and polished. Whether your style leans cozy cottage, modern minimalist, colorful maximalist, or “I found this at a flea market and now it is art,” there is a project that can fit your room, budget, and skill level.
This guide explores practical designs, planning tips, construction basics, common mistakes, and real-world lessons that can help you create a headboard worthy of your best pillows.
Why Make a DIY Headboard?
A headboard visually anchors the bed, which is usually the largest object in a bedroom. Without that anchor, bedding, nightstands, lamps, and wall decor may look as though they arrived separately and have not yet been introduced.
Building your own headboard also gives you control over its width, height, color, texture, and function. A custom design can accommodate an unusually shaped room, disguise an imperfect wall, soften a hard sleeping area, or add storage where floor space is scarce.
Cost is another advantage. Designer upholstered headboards and oversized wood panels can be expensive, while DIY versions can often be made with basic lumber, foam, batting, leftover fabric, or secondhand materials. Upcycling an old door, screen, rug, or existing headboard can reduce both spending and waste. tion>
Plan Before You Pick Up the Staple Gun
Excitement is useful during a DIY project. Unmeasured excitement is how a queen-size headboard accidentally becomes suitable for a dollhouse.
Measure the Bed and Wall
Measure the mattress or bed frame rather than relying only on the size printed on the label. Your finished headboard can match the bed’s width, extend slightly beyond it, or stretch from wall to wall for a dramatic built-in appearance.
Mark the proposed outline on the wall with painter’s tape. Step back, sit on the bed, and look at it from the doorway. This simple test reveals whether the design feels balanced before you buy materials or drill holes.
Consider the Visible Height
Part of the headboard will disappear behind the mattress and pillows. Decide how much should remain visible once the bed is fully dressed. A low headboard creates a streamlined look, while a tall design adds drama and can make the bed feel more substantial.
Choose the Mounting Method
A DIY headboard may be attached to the bed frame, supported by legs, mounted directly to the wall, or carefully placed between the bed and wall. Heavy wood, storage, and oversized upholstered designs should be secured with hardware appropriate for their weight and the wall construction. Wall-mounted projects are commonly installed with sturdy hangers, cleats, screws driven into studs, or properly rated anchors. tion>
10 Dreamy DIY Headboard Ideas
1. The Classic Upholstered Headboard
An upholstered headboard adds softness, color, and comfort, making it ideal for anyone who reads, watches television, or conducts serious weekend negotiations with the snooze button from bed.
Start with a plywood panel cut to your preferred shape. Layer upholstery foam and batting over the front, pull the batting around the edges, and staple it securely to the back. Repeat the process with upholstery fabric, keeping the material smooth and the tension even.
Velvet creates a rich, romantic effect. Linen blends feel relaxed and breathable, while durable performance fabric works well in children’s rooms or homes with pets. The quality and thickness of the padding have a major influence on whether the finished piece looks plush or disappointingly pancake-like. Wood-Plank Headboard
Wooden headboards work with farmhouse, rustic, coastal, industrial, and contemporary bedrooms. Arrange boards horizontally for a calm, spacious appearance or vertically to emphasize ceiling height.
New pine provides a clean foundation that can be stained or painted. Reclaimed boards add texture and history but should be cleaned, sanded, and inspected for protruding nails, splinters, insects, or damaged areas before entering the bedroom.
For a more finished look, add a narrow cap board along the top. A matte clear coat can preserve the natural character while making the surface easier to dust.
3. A Modern Slatted-Wood Design
Evenly spaced wood slats give a headboard architectural rhythm without making the room feel visually heavy. The style works especially well with neutral walls, simple bedding, and modern nightstands.
Attach narrow strips to a backing panel or horizontal supports, using spacer blocks to keep the gaps consistent. Paint the backing dark for contrast, match it to the wall for a floating effect, or extend the slats beyond the bed to frame the nightstands.
Accuracy matters here. Uneven spacing may be charming in a rustic project, but in a modern slatted headboard it tends to look as though the tape measure resigned halfway through.
4. A Chevron or Geometric Wood Headboard
A chevron pattern transforms inexpensive boards into a striking bedroom centerpiece. Pieces are cut at matching angles and arranged over a plywood base to create repeating V shapes.
Test the entire pattern without glue first. Small cutting differences multiply as the design expands, so begin at a clearly marked centerline and work outward. Contrasting stains can highlight the geometry, while a single stain produces a quieter, more sophisticated surface. Paneled and angled-board projects are popular ways to create custom-looking headboards from accessible lumber. ted Arch Headboard
Not every DIY headboard requires actual furniture. A painted arch creates the illusion of a rounded headboard using little more than paint, tape, a pencil, string, and patience.
Mark two vertical sides, then draw the curved top using a homemade compass or traced template. Choose a color that contrasts gently with the wall, or use a deep saturated shade for a bold focal point.
This approach is inexpensive, space-saving, and ideal for narrow rooms because it adds no physical depth. Renters should confirm painting rules or consider removable wallpaper cut into the same shape. Painted silhouettes, color blocking, wallpaper, and taped designs are widely used as low-carpentry headboard alternatives. nd-Stick Wallpaper Headboard
Removable wallpaper can create a headboard-shaped accent without sawdust, lumber, or the mysterious disappearance of every drill bit you own.
Apply the wallpaper inside a taped rectangle, arch, or decorative outline behind the bed. Botanical prints add romance, grasscloth-inspired textures provide warmth, and geometric patterns introduce modern energy.
The wall should be clean, smooth, dry, and compatible with the product. Textured surfaces may prevent proper adhesion, so test a small hidden area before committing to the full design.
7. A Hanging Cushion Headboard
For a relaxed, boutique-hotel look, suspend large cushions from a wall-mounted rod, wooden rail, or secure hooks. Fabric loops, canvas straps, or leather-look tabs can hold the cushions in place.
This design is comfortable, removable, and easy to clean when the covers include zippers. It is also flexible: change the cushion covers when the season, bedding, or your decorating personality changes.
Keep the hanging system firmly attached and position hardware so it does not press against anyone sitting in bed. Wall-mounted cushions and padded panels are practical ways to combine softness with a shallow footprint. or Cane-Inspired Headboard
Woven surfaces add warmth and texture without the bulk of solid wood. Cane webbing can be installed inside a wood frame, while thin plywood strips may be interlaced to create a graphic basket-weave pattern.
Natural materials pair beautifully with white bedding, warm wood tones, linen curtains, and leafy plants. A painted woven headboard can feel more playful, especially in a guest room or child’s bedroom.
Because woven designs depend on consistent spacing and tension, lay out the pattern carefully before fastening anything permanently. Lowe’s and The Home Depot both feature projects that use intersecting wood or flexible materials to create woven effects. led Door or Folding Screen
Old doors, shutters, decorative screens, and room dividers can become distinctive headboards with minimal construction. The existing panels, hardware marks, paint layers, and imperfections provide character that is difficult to reproduce with new materials.
Clean the piece thoroughly and stabilize any loose sections. Sand sharp edges, seal flaking paint, and use caution with very old painted furniture because it may contain hazardous coatings. Large pieces should be securely mounted rather than casually balanced behind the pillows.
A folding screen is one of the fastest transformations: open it to the desired width, position it behind the bed, and secure it so it cannot tip. Vintage doors and screens are frequently recommended as affordable statement alternatives to conventional headboards. ge Headboard with Shelves
A storage headboard earns its floor space by providing cubbies for books, charging accessories, alarm clocks, and decorative objects. It can replace bulky nightstands in a compact bedroom or provide display space in a child’s room.
Keep shelves above pillow level so objects do not interfere with sleeping. Avoid storing heavy, fragile, or unstable items directly over the bed. Openings for electrical cords should be smooth and generously sized, and plug-in lighting must be installed according to the manufacturer’s instructions.
Storage designs require more planning than decorative panels, but well-positioned cubbies can combine visual interest with valuable organization. tion>
How to Make a Basic Upholstered Headboard
Materials
- Plywood or another suitable rigid panel
- Upholstery foam
- Quilt batting
- Upholstery or decorator fabric
- Staple gun and compatible staples
- Scissors or a utility knife
- Measuring tape, straightedge, and marker
- Mounting hardware appropriate for the finished weight
- Safety glasses, hearing protection, and a dust mask when cutting or sanding
Step 1: Create the Base
Measure the bed, mark the panel, and cut it to size. A home-improvement store may be able to make a straight cut for you. Sand the edges until they are smooth.
Step 2: Add the Foam
Cut the foam to match the front of the panel. Spray adhesive can help hold it temporarily, but use only a product suitable for the materials and follow its ventilation instructions.
Step 3: Wrap with Batting
Lay the batting flat, place the foam-covered board face down, and pull the batting around the edges. Staple from the center of each side, alternating sides as you work toward the corners.
Step 4: Attach the Fabric
Center the fabric and check the direction of the pattern. Pull it firmly enough to eliminate wrinkles without distorting the weave. Fold the corners neatly and keep staples several inches away from the outer edge so the fabric remains secure.
Step 5: Install the Headboard
Attach legs, connect the panel to the bed frame, or mount it to the wall. Confirm that it is level, stable, and free of exposed fasteners before moving the bed back into position.
Styling Your Finished Headboard
Coordinate Rather Than Match
Your headboard does not need to match every textile in the bedroom. Instead, repeat one or two colors from the headboard in the pillows, rug, curtains, or artwork. This makes the design feel intentional without turning the room into a furniture catalog display.
Balance Bold Designs with Simple Bedding
A patterned fabric, dramatic wood grain, or oversized painted arch already commands attention. Solid sheets and a restrained duvet allow the headboard to remain the star. A plain headboard, meanwhile, can support patterned quilts and layered pillows.
Use Lighting to Frame the Bed
Matching wall sconces or pendant lights can emphasize the headboard’s width while freeing the nightstands. Plan the lighting before building so cords, switches, and mounting hardware do not become awkward afterthoughts.
DIY Headboard Mistakes to Avoid
- Skipping the taped outline: A design that looks modest on paper may dominate the wall once built.
- Choosing fabric by appearance alone: Very thin material can reveal foam seams, while delicate fabric may snag or stretch.
- Ignoring pillow height: Decorative details placed too low can vanish behind the bedding.
- Using insufficient mounting hardware: Heavy panels require support appropriate for their size, weight, and wall type.
- Forgetting access to outlets: Measure the locations of switches, plugs, vents, and windows before finalizing the width.
- Leaving rough edges: Sand wood carefully and cover sharp upholstery corners before installation.
- Rushing patterned upholstery: A slightly crooked stripe will become the only thing you see at 2 a.m.
Real-World Experiences: What DIY Headboard Projects Teach You
The most useful lessons often appear after a project has started. A headboard may look simple in a finished photograph, but the construction process reveals dozens of small decisions that determine whether it feels homemade in the best senseor merely unfinished.
Measuring the Room Changes the Original Idea
Many DIYers begin with an inspiration photo featuring a towering upholstered headboard. After outlining that height on the bedroom wall, they realize it would crowd a window, overlap a light switch, or make the ceiling appear lower. The revised design is often smaller and better suited to the actual room.
This is not a disappointing compromise. It is the difference between copying an image and designing for a real home. Painter’s tape costs very little and can prevent an expensive plywood monument to poor spatial judgment.
Fabric Behaves Differently Once Stretched
A fabric that looks flawless while folded may reveal crooked printing, unexpected transparency, or a directional pattern when pulled over foam. Experienced makers center the pattern before cutting and check it repeatedly while stapling.
Corners are usually the most frustrating part. The first corner may resemble a bundled winter scarf, while the fourth looks crisp enough for a showroom. Practicing the fold with scrap fabric helps, as does removing and replacing staples instead of accepting a wrinkle that will cause low-level irritation for the next five years.
Padding Is Not the Place to Become Too Frugal
A thin layer of batting can soften a decorative panel, but it will not create a comfortable backrest. When the headboard is intended for reading or sitting upright, sufficiently dense foam makes a noticeable difference. Better padding also rounds the edges of the plywood and gives upholstery a more tailored appearance.
One practical approach is to test a foam sample against a hard surface before purchasing a full sheet. Sit against it for several minutes. Your shoulders will deliver a more honest product review than the packaging.
Wood Preparation Takes Longer Than Assembly
Rustic wood projects can appear wonderfully effortless, but “rustic” should not mean splintery, dirty, or structurally questionable. Cleaning, inspecting, sanding, and sealing reclaimed boards may take longer than fastening them together.
The reward is a surface that retains its weathered character without attacking the bedding. Makers also learn that stain can exaggerate sanding marks and glue residue, so testing the finish on a scrap board is worth the additional step.
Installation Deserves as Much Attention as Design
After hours of cutting, painting, or upholstering, it is tempting to push the headboard behind the mattress and declare victory. That may work for a lightweight decorative panel, but larger pieces can shift, squeak, or tip.
A stable installation transforms the project from a temporary prop into functional bedroom furniture. Locating studs, choosing suitable anchors, checking the level, and tightening connections may not produce glamorous photographs, but these steps make the finished headboard safer and more satisfying.
The Best Result Usually Includes an Imperfection
A handmade headboard may contain a slightly irregular seam, a board with more character than expected, or a curve that is not mathematically perfect. Those details rarely matter once the bed is styled with pillows and blankets.
What matters is that the headboard fits the room, reflects the maker’s taste, and turns an ordinary sleeping area into a personal retreat. DIY bedroom bliss does not require perfection. It requires a plan, a reasonable amount of patience, and perhaps permission to stop adjusting the pillows after the seventh attempt.
Conclusion: Build the Bed of Your Dreams
A DIY headboard is one of the most effective ways to refresh a bedroom without replacing every piece of furniture. Upholstered panels create softness, wooden designs add warmth, painted arches save space, and storage headboards work harder in compact rooms.
Begin with accurate measurements, choose materials that suit your lifestyle, and plan the installation before construction starts. Most importantly, select an idea that feels like an extension of your personality rather than a trend you are obligated to chase.
Your finished project does not need to look factory-made. It needs to make the room feel welcoming when you walk through the doorand perhaps persuade you to make the bed slightly more often.
Note: This article synthesizes established home-improvement, upholstery, upcycling, bedroom-design, and headboard-construction practices from reputable U.S. design and DIY publications. Always follow tool manufacturers’ safety instructions and select mounting hardware appropriate for the project’s weight and wall structure.
Research basis: HGTV, Architectural Digest, Good Housekeeping, Martha Stewart, This Old House, Lowe’s, The Home Depot, Apartment Therapy, Better Homes & Gardens, The Spruce, and Bob Vila. data”>