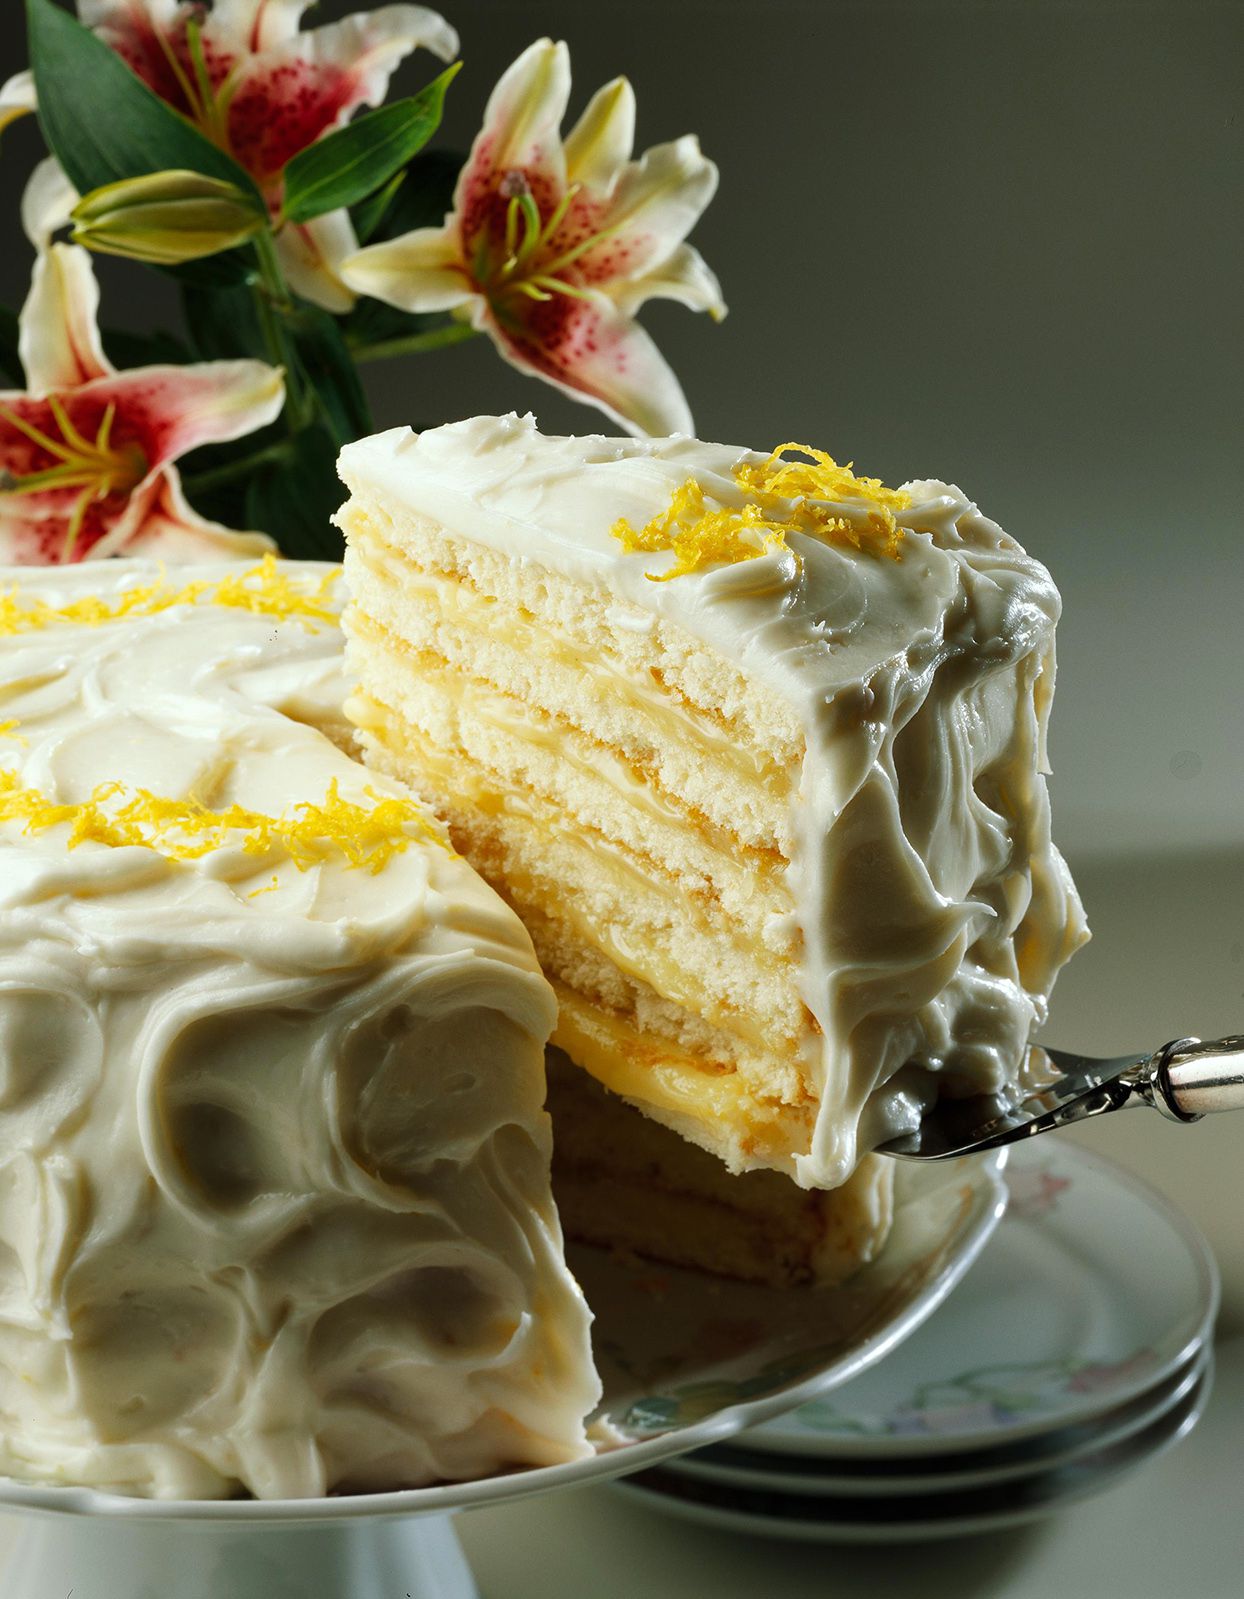
If layer cake had a dramatic theater kid cousin, it would be Doberge. This New Orleans icon is tall, elegant, and just a little extra in the best possible way. A true classic Doberge cake is all about thin cake layers, silky custard, and a glossy finish that makes people gasp before they take a bite. Then they take the bite and go quiet, which is the highest compliment in dessert language.
In this guide, you’ll get a fully detailed Classic Doberge Cake Recipe designed for home bakers: exact ingredients, practical steps, troubleshooting, make-ahead timing, and flavor options that stay faithful to the cake’s roots. You’ll also get the tiny technique upgrades that separate “nice cake” from “who made this and can I have another slice right now?”
The goal is simple: help you bake a Doberge cake that looks polished, slices cleanly, and tastes like a celebration. Whether it’s for a birthday, holiday, or a random Tuesday that needs more joy, this cake delivers.
The Story Behind the Cake: Why Doberge Is a New Orleans Legend
Doberge traces back to the Hungarian Dobos torte, a layered cake created in the late 1800s. In New Orleans, baker Beulah Ledner adapted it into something better suited for local tastes and climate: lighter cake layers, custard-style fillings, and a refined finish. The name was “Frenchified” to “Doberge,” and a city-wide love affair began.
Over time, the cake became a staple for birthdays and big family gatherings across southeast Louisiana. Traditional versions usually feature six to eight (sometimes more) thin layers, often with chocolate and/or lemon filling, plus a smooth outer coat that can include buttercream, fondant-style glaze, or ganache-like chocolate finishes.
Today, you’ll find both classic and modern takes (from traditional half-lemon, half-chocolate to playful flavors), but the soul of Doberge stays the same: thin layers + creamy filling + a clean, elegant finish.
What Makes a Classic Doberge Cake “Classic”?
1) Thin, even cake layers
Doberge is not a chunky three-layer cake pretending to be fancy. Thin layers are part of the identity and texture.
2) Custard or pudding-like filling
Rich but smooth, never runny. Chocolate and lemon are the old-school favorites.
3) A polished outer coat
Usually a thin buttercream layer, then a glossy top finish (ganache or poured glaze style).
4) Clean slices
When chilled and built correctly, each slice shows beautiful stripes. If your slice leans like a tired houseplant, the filling was likely too warm.
Classic Doberge Cake Recipe (Home Kitchen, From Scratch)
Yield: 12–14 slices
Time: 5 to 6 hours total (with chilling), best made over 2 days
Difficulty: Intermediate
Equipment
- 2 or 4 round 8-inch cake pans
- Parchment paper
- Stand mixer or hand mixer
- 2 saucepans
- Whisk + silicone spatula
- Offset spatula
- Long serrated knife (if splitting layers)
- Wire rack
- Instant-read thermometer (helpful, not mandatory)
Ingredients
For the Yellow Cake Layers
- 3 3/4 cups cake flour (about 450g)
- 2 1/2 tsp baking powder
- 3/4 tsp fine salt
- 1 cup unsalted butter, softened
- 2 cups granulated sugar
- 4 large eggs + 2 large egg yolks (room temp)
- 2 tsp vanilla extract
- 1 1/2 cups whole milk (room temp)
For Chocolate Custard Filling
- 3 cups whole milk
- 3/4 cup granulated sugar (divided)
- 1/4 cup cornstarch
- 1/4 tsp fine salt
- 6 large egg yolks
- 1/3 cup unsweetened cocoa powder
- 4 oz bittersweet chocolate, finely chopped
- 2 tbsp unsalted butter
- 1 tsp vanilla extract
For Buttercream Crumb Coat
- 1 cup unsalted butter, softened
- 3 1/2 cups powdered sugar
- 2–3 tbsp milk or cream
- 1 tsp vanilla extract
- Pinch of salt
For Chocolate Glaze Finish
- 8 oz semi-sweet or bittersweet chocolate, chopped
- 1 cup heavy cream
- 1 tbsp corn syrup (optional, for shine)
Optional Simple Syrup (for extra tenderness)
- 1/2 cup water
- 1/2 cup sugar
- 1 tsp vanilla
Step-by-Step Instructions
Step 1: Prep your pans and oven
Heat oven to 350°F. Grease pans, line bottoms with parchment, grease lightly again. If you have cake strips, soak and wrap them around the pans for flatter layers.
Step 2: Make the cake batter
- Whisk flour, baking powder, and salt.
- Cream butter + sugar until light and fluffy (about 3 minutes).
- Add eggs and yolks one at a time. Mix in vanilla.
- Add dry ingredients in 3 additions, alternating with milk in 2 additions. Start and end with dry.
- Mix just until combined. Don’t overbeat.
Step 3: Bake and cool
Divide batter evenly among pans. Bake 20–26 minutes (depending on pan count and depth), until springy and a tester comes out clean. Cool 10 minutes in pans, then turn out to racks to cool completely.
Step 4: Split for thin layers
Wrap cooled cakes and chill 30–45 minutes so they’re easier to cut. Slice horizontally to create 8 thin layers total. Keep layers flat and similar in thickness for that classic striped interior.
Step 5: Cook the chocolate custard filling
- In a bowl, whisk yolks with 1/4 cup sugar, cornstarch, salt, and cocoa.
- In saucepan, heat milk with remaining sugar until steaming (not boiling hard).
- Slowly whisk hot milk into yolk mixture to temper.
- Return mixture to pan. Cook over medium heat, whisking constantly, until thick and bubbling (1–2 minutes after thickening).
- Remove from heat. Stir in chopped chocolate, butter, and vanilla until smooth.
- Press plastic wrap directly on surface; chill until fully cold and spreadable (about 2–3 hours).
Step 6: Make the buttercream
Beat butter until creamy, add powdered sugar gradually, then vanilla, salt, and just enough milk to make a smooth, spreadable frosting.
Step 7: Assemble the cake
- Place first layer on cake board/stand.
- Spread a thin, even layer of custard (about 1/3 cup).
- Repeat with remaining layers, leaving top layer plain.
- If using simple syrup, brush each layer lightly before adding filling.
- Chill stacked cake 20–30 minutes to firm it up.
Step 8: Crumb coat and chill
Apply a thin buttercream coat over top and sides to lock crumbs and seal custard seams. Chill 20 minutes.
Step 9: Finish with glaze
Heat cream until steaming, pour over chocolate, rest 2 minutes, stir until smooth. Add corn syrup if using. Cool glaze until thick but pourable. Pour over chilled cake and guide with offset spatula. Let set.
Step 10: Slice like a pro
Chill 30 minutes before slicing. Use a long sharp knife dipped in hot water and wiped clean between cuts. Your layers will look neat and bakery-worthy.
Pro Tips for a Better Doberge
Keep the filling cold before assembly
Warm filling = sliding cake. Chilled filling = sharp stripes and stable structure.
Use a scale for consistency
Even layer thickness makes every bite balanced and every slice prettier.
Don’t skip resting time
Doberge tastes better after a few hours in the fridge. The layers settle, and the flavor melds.
Want half lemon, half chocolate?
Classic New Orleans move. Split the filling: keep half chocolate custard, swap half for thick lemon curd/pastry cream. Alternate layers for the iconic two-flavor profile.
Troubleshooting (Because Cake Happens)
My cake layers domed too much
Lower rack too high, oven too hot, or no insulation around pans. Next time use cake strips and verify oven temp.
My custard got lumpy
Heat was too aggressive or whisking paused. Fix by blending briefly and straining while warm.
My buttercream looks curdled
Usually temperature mismatch. Keep beating; it often comes together. If still broken, gently warm bowl for a few seconds and re-whip.
Glaze is too thin
Let it cool longer before pouring. It should coat the spoon, not run like hot cocoa.
Serving, Storage, and Make-Ahead Plan
- Serve: Slightly cool room temp (about 20 minutes out of fridge).
- Store: Refrigerate covered up to 4 days.
- Freeze: Freeze slices tightly wrapped up to 1 month.
- Make ahead: Day 1 bake layers + make filling. Day 2 assemble + glaze.
Conclusion: Why This Classic Doberge Cake Recipe Is Worth It
Yes, Doberge takes effort. It asks for patience, chilling time, and the kind of focus usually reserved for assembling flat-pack furniture with no missing screws. But the payoff is huge: a refined, celebration-worthy cake with texture, flavor, and real history in every slice.
If this is your first attempt, start with the chocolate version and nail the layering. Once you’re confident, branch into half-lemon/half-chocolate or seasonal custard twists. Either way, you’ll be making a dessert that feels both old-school and unforgettable.
500-Word Kitchen Experience: What Baking Classic Doberge Really Feels Like
The first time I made a true Doberge at home, I thought I was prepared. I had my ingredients lined up, my playlist ready, and my confidence set to “professional baker in a movie montage.” Forty minutes later, I was covered in cocoa, looking at four cooling cake rounds, and realizing this cake is less “quick weekend bake” and more “tiny edible architecture project.”
The biggest surprise was how emotional thin layers can be. You slice through one cake round and immediately think, “This is either genius or chaos.” By layer three, I started naming each one like a tiny pancake child I was trying not to disappoint. The trick that changed everything was chilling the cake before cutting. Warm cake crumbles. Chilled cake behaves. That one move took me from “rustic energy” to “actually presentable.”
Then came the custard phase, where patience matters more than talent. Custard doesn’t care how optimistic you are. If you rush it, it clumps. If you walk away, it scorches. If you whisk steadily and trust the process, it turns glossy and rich and makes you feel like you unlocked a secret level in baking. The first spoonful tasted so good I had to physically remind myself that filling a cake is easier when the filling still exists.
Assembly was the true personality test. Spread, stack, breathe, rotate, repeat. Around layer five, the cake begins to look tall enough to have its own zip code. Around layer seven, you start negotiating with gravity. I learned to keep the filling thin and even, and to chill between stages. Ten minutes of chilling can save ten minutes of panic. Also: if a layer slides slightly, nudge it back and move on. Doberge rewards calm hands, not perfectionism.
The crumb coat felt like putting a winter jacket on a very fancy tower. It looked messy at first, then magically sharp after chilling. The glaze pour was the cinematic moment: one smooth stream over the top, then gentle guiding down the sides. Suddenly the whole cake looked intentional, polished, and way above my pay grade.
The best part was serving it. People leaned in before the first bite, counting layers with their eyes. Then silence. Then “Wait, you made this?” That question is the baker’s gold medal. The texture is what everyone noticed: soft cake, cool custard, smooth finish. No single element shouts; together they sing.
Since then, Doberge has become my celebration cake when I want dessert to feel meaningful. It isn’t difficult in a mysterious way; it’s detailed in a rewarding way. You build it piece by piece, and it teaches you to slow down. My practical takeaway: read the recipe twice, chill more than you think you need, and don’t judge the cake mid-process. Doberge always looks awkward before it looks elegant. Honestly, same.