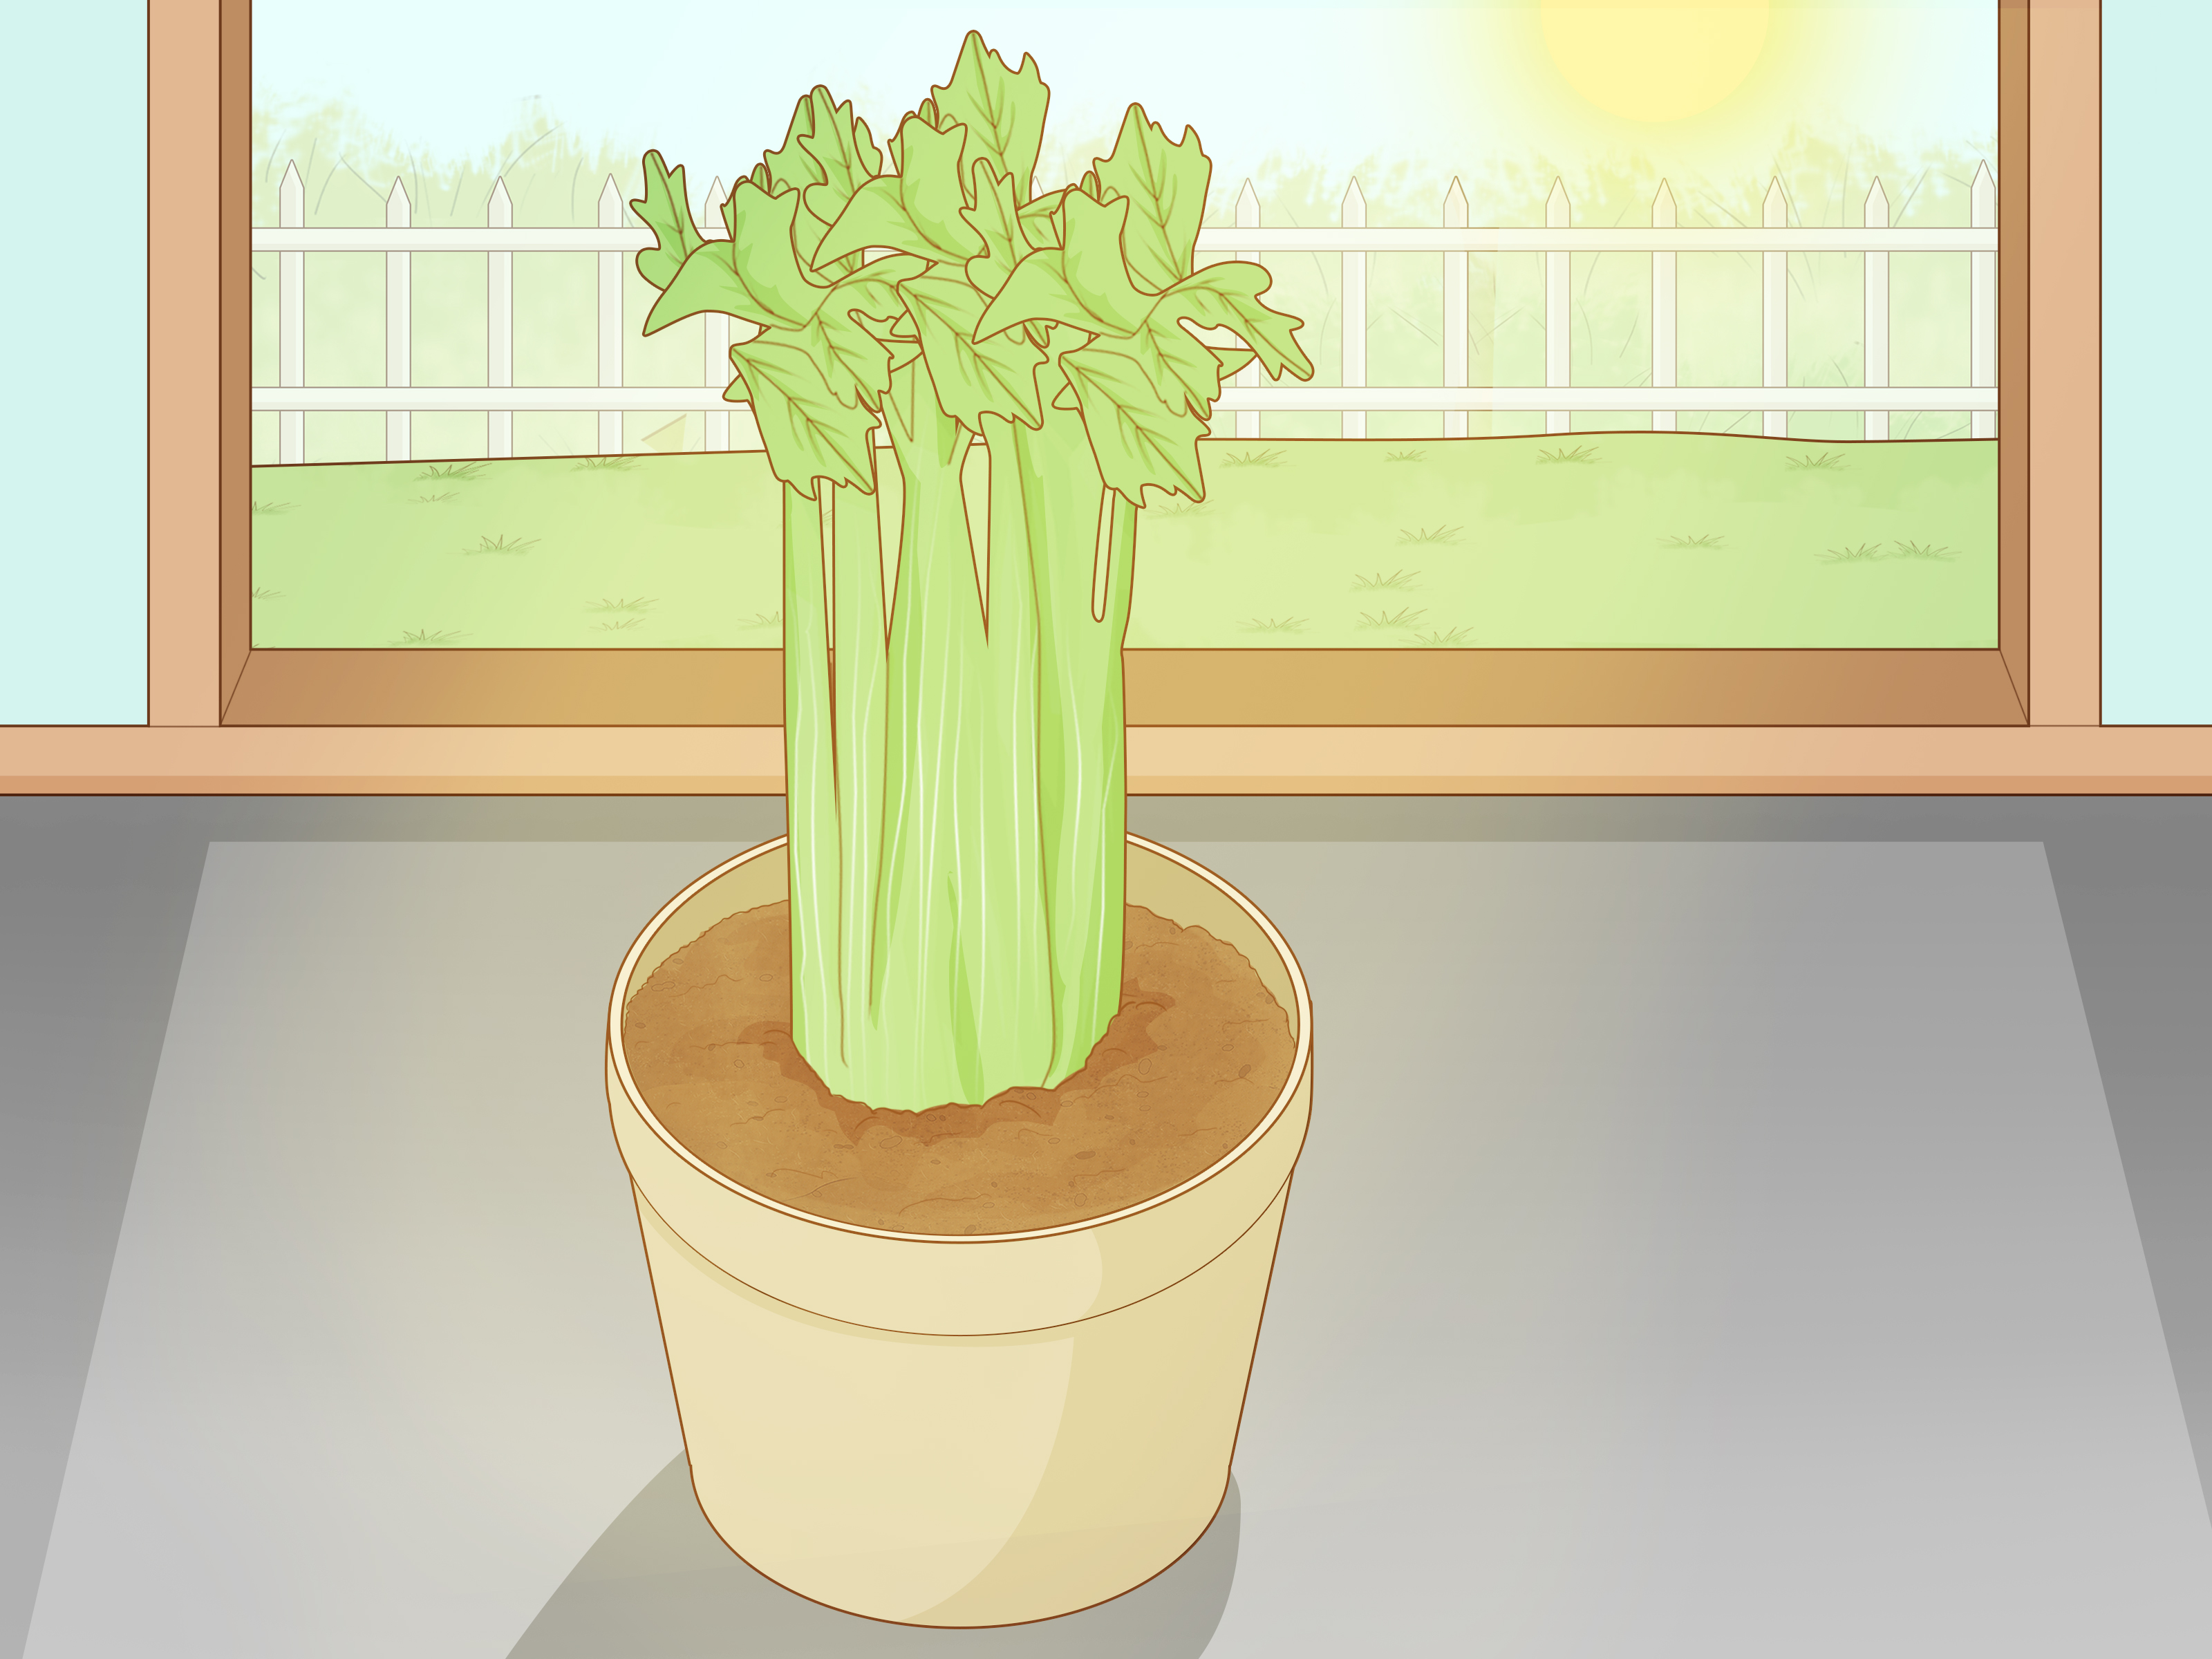
Growing celery from a stalk sounds like the kind of kitchen magic your grandmother would casually do while also knowing exactly where every missing sock went. The good news? It is real, simple, cheap, and surprisingly fun. With one leftover celery base, a shallow dish of water, a sunny windowsill, and a little patience, you can coax fresh green growth from what most people toss into the trash.
Before we get too carried away and start naming the plant “Sir Crunch-a-Lot,” let’s be honest: regrowing celery from a supermarket stalk usually gives you a bonus harvest of leaves and smaller stalks, not a giant grocery-store bunch overnight. Celery is a cool-season vegetable that loves rich soil, steady moisture, mild temperatures, and consistent care. In other words, celery is not difficult exactlyit is just a little dramatic about being thirsty.
This guide explains how to grow celery from a stalk in 9 clear steps, from cutting the base to transplanting it into soil and harvesting your homegrown crunch. Whether you have a backyard garden, a balcony container, or just a kitchen window with main-character energy, this method is an easy way to reduce food waste and experiment with edible gardening.
Can You Really Grow Celery from a Stalk?
Yes, you can grow celery from a stalk, specifically from the bottom base of a celery bunch. That base contains the growing point where new leaves can emerge. When placed in shallow water, the center begins to push out tender green growth. After roots develop, the celery can be moved into potting soil or the garden.
However, the goal matters. If you expect a full commercial celery bunch with thick, pale, perfectly uniform ribs, you may be mildly disappointed. If you want fresh celery leaves, small stalks, a satisfying kitchen experiment, and the smug joy of saying “I grew this from garbage,” you are in exactly the right place.
What You Need Before You Start
You do not need fancy equipment. Celery regrowing is a low-budget project, which is excellent because celery itself already looks like it was designed by a minimalist architect.
Supplies
- One fresh bunch of celery with the base still intact
- A sharp knife
- A shallow bowl, saucer, or jar lid
- Clean water
- A sunny windowsill with bright, indirect light
- A small pot with drainage holes
- Quality potting mix or compost-rich garden soil
- Optional: toothpicks, mulch, diluted liquid fertilizer
How to Grow Celery from a Stalk: 9 Steps
Step 1: Choose a Fresh, Healthy Celery Bunch
Start with the best celery you can find. Look for a firm bunch with crisp stalks, bright leaves, and a solid base. Avoid celery that is mushy, slimy, yellowing, or already collapsing emotionally in the produce drawer. The fresher the base, the better your chances of strong regrowth.
Organic celery can work well, but it is not required. What matters most is that the root end is intact. If the bottom has been trimmed too aggressively, the plant may not have enough living tissue to restart growth.
Step 2: Cut Off the Bottom 2 Inches
Use a clean, sharp knife to cut about 2 inches from the bottom of the celery bunch. This chunk is your future plant. The upper stalks can still go into soups, salads, stir-fries, tuna salad, chicken salad, or whatever crunchy mission you had planned.
Try to make a clean cut. A jagged, crushed base is more likely to rot. Think of it as surgery, but with fewer hospital forms and more soup potential.
Step 3: Rinse the Celery Base
Rinse the celery base under cool running water. Gently remove dirt, grit, or any soft outer pieces. Do not peel away the entire base; just clean it enough so it does not turn your water bowl into a swamp documentary.
Inspect the center. That pale yellow-green heart is where the new leaves will emerge. If the center is firm and fresh, you are ready to move on.
Step 4: Place the Base in Shallow Water
Set the celery base cut-side up in a shallow dish. Add enough water to cover the bottom inch of the base, but do not submerge the whole piece. The top should stay above water so it can breathe and grow instead of soaking like a forgotten sponge.
If your celery base keeps tipping over, you can use toothpicks to suspend it slightly, similar to sprouting an avocado pit. This helps keep the bottom moist while reducing the chance of rot.
Step 5: Put It in Bright, Indirect Light
Place the dish near a bright window. Celery likes light, but a tender regrowing base can dry out or overheat in harsh direct sun. A kitchen windowsill with bright, indirect light is usually perfect.
Within a few days, you should see tiny green leaves rising from the center. This is the moment when the celery begins to look less like a vegetable scrap and more like a tiny botanical comeback story.
Step 6: Change the Water Regularly
Change the water every day or every other day. Clean water helps prevent odor, slime, and fungal problems. Keep the water level steady so the base never dries out.
If the outer stalk pieces begin to brown, that is normal. The outside may deteriorate while the center grows. Remove soft or slimy parts as needed, but do not disturb the new center growth.
Step 7: Wait for New Roots and Leaves
After about one week, you should see obvious leafy growth. After two to three weeks, small roots may begin to form from the bottom. Some celery bases root faster than others, so do not panic if yours is taking its sweet celery time.
The best time to transplant is when the plant has fresh center leaves and visible roots. If you move it too early, it may struggle. If you leave it in water too long, it may weaken because water alone does not provide the nutrients celery needs for long-term growth.
Step 8: Transplant the Celery into Soil
Choose a pot that is at least 8 to 10 inches deep and has drainage holes. Fill it with rich, loose potting mix. Celery likes fertile, moisture-retentive soil, but it does not like standing in soggy conditions. Moist is good. Swampy is not.
Plant the celery base so the bottom and outer portion are covered with soil, while the new center leaves remain above the surface. Press the soil gently around the base and water thoroughly.
If planting outdoors, choose a spot with full sun in cool weather or partial afternoon shade in warmer climates. Celery prefers mild temperatures and steady moisture. Hot, dry conditions can make it tough, stringy, bitter, or bolting-prone.
Step 9: Care for, Harvest, and Enjoy
Keep the soil consistently moist. Celery is mostly water, and it behaves like it knows it. Dry spells can lead to stringy stalks, poor growth, and sad little leaves. Water deeply, especially during warm weather, and consider adding mulch to help retain soil moisture.
Feed lightly after the plant settles into soil. A diluted liquid fertilizer or compost tea can help, especially if you are growing celery in a container. Avoid overdoing nitrogen, because lush growth can invite aphids and other pests.
Harvest outer stalks when they are large enough to use, or snip leaves as needed for soups, stocks, salads, and garnishes. Celery leaves have strong flavor, so a little goes a long way. They are excellent in broth, egg salad, roasted vegetables, and homemade seasoning blends.
Best Conditions for Growing Celery from a Stalk
Light
Celery grows best with plenty of light. Indoors, place it near a bright window. Outdoors, provide full sun in cool climates and partial shade where afternoons are hot. If the plant looks pale, weak, or stretched, it probably needs more light.
Water
Consistent moisture is the secret to better celery. Do not let the soil dry out completely. At the same time, avoid leaving the pot sitting in water. Drainage holes are not optional; they are the celery plant’s tiny emergency exits.
Soil
Use rich, well-draining soil with organic matter. Compost helps hold moisture and supports steady growth. In containers, use high-quality potting mix rather than heavy garden soil, which can compact and suffocate roots.
Temperature
Celery is a cool-season crop. It grows best in mild conditions, generally thriving when temperatures are not too hot. If you live in a warm region, try growing celery from a stalk in fall, winter, or early spring rather than the blazing middle of summer.
Common Problems and How to Fix Them
The Celery Base Is Rotting
Rot usually happens when the base is submerged too deeply, the water is not changed often enough, or the celery was already old. Keep only the bottom inch in water, change the water frequently, and remove slimy outer pieces.
No Roots Are Growing
Some celery bases produce leaves before roots. Give it another week if the center growth looks healthy. If the base smells bad, turns mushy, or collapses, compost it and try again with a fresher bunch.
The Leaves Are Yellow
Yellow leaves may mean the plant needs more light, fresher water, or nutrients. Once the celery has roots, move it into soil. Water alone is only a temporary nursery, not a long-term apartment.
The Stalks Are Thin
Thin stalks are normal when regrowing celery from scraps. The plant is working from stored energy and then rebuilding in a small space. Give it rich soil, consistent water, and time. Even if the stalks stay small, the leaves are still useful and flavorful.
Aphids Show Up
Aphids are small sap-sucking insects that can gather on tender new growth. Rinse them off with a strong stream of water, check the undersides of leaves, and avoid overfertilizing. Healthy airflow and regular inspection help prevent small pest problems from becoming tiny insect conventions.
Can You Grow Celery from a Stalk Indoors?
Yes, celery can be started indoors very easily. The water stage is especially well suited to a kitchen windowsill. For longer growth, transplant the celery into a pot and keep it near strong light. A grow light can help if your home is dim.
Indoor celery may not become huge, but it can provide fresh leaves and small stalks. It also makes a great project for kids, beginner gardeners, apartment dwellers, and anyone who likes watching plants do suspiciously impressive things in a bowl of water.
Can You Grow Celery from a Stalk Outdoors?
Yes, and outdoor growing often gives the plant more room and light. After roots develop, transplant the celery into a garden bed or container. Choose a cool part of the growing season. In northern regions, spring can work well. In hotter areas, fall is often better.
Space plants generously if you grow more than one. Celery has shallow roots and appreciates mulch, compost, and reliable watering. If your summers are hot, provide afternoon shade or grow celery where taller plants shield it from the harshest sun.
How Long Does It Take to Grow Celery from a Stalk?
You may see new leaves in as little as a few days. Roots often appear within two to three weeks. After transplanting into soil, give the plant several more weeks to produce usable leaves and small stalks.
For full-size celery grown from seed, the timeline is much longer, often several months. Regrown celery from a stalk is faster for leaves and small harvests, but it is usually less productive than celery grown from seed or nursery transplants.
Is Regrown Celery Safe to Eat?
Regrown celery is safe to eat when grown in clean water, healthy soil, and sanitary conditions. Wash leaves and stalks before using them. If the plant develops mold, foul odor, sliminess, or pest damage you cannot manage, discard it.
Use clean containers, fresh water, and food-safe potting materials. Do not grow edible plants in containers that previously held chemicals, paint, automotive products, or mystery liquids from the garage. Mystery liquids are rarely part of a good salad.
Best Ways to Use Homegrown Celery Leaves and Small Stalks
Celery leaves are the underrated bonus prize of this project. They taste like concentrated celery with a slightly herbal bite. Use them in:
- Vegetable stock or chicken broth
- Soups, stews, and sauces
- Egg salad, tuna salad, or chicken salad
- Green smoothies in small amounts
- Compound butter
- Homemade herb salt
- Roasted vegetables
- Stir-fries and fried rice
Small stalks can be chopped into cooked dishes where perfect crunch is not required. They may be stronger in flavor than store celery, so taste first and adjust.
Extra Experience: What Growing Celery from a Stalk Teaches You
The most useful experience with regrowing celery is learning that plants are both resilient and picky. The celery base looks like nothing special on day one. It sits in the dish like a pale little stump, giving no sign that it plans to do anything impressive. Then, a few days later, tiny green leaves appear from the center, and suddenly the whole project feels like a science fair with better snacks.
One common lesson is that water quality matters. When the water is changed daily, the celery usually smells fresh and grows cleanly. When the water is ignored, the base can become cloudy, sour, and unpleasant. The plant is basically telling you, “I asked for a spa, not a swamp.” This is why a simple daily water change can make the difference between healthy regrowth and a slimy farewell.
Another practical lesson is that light should be bright but not brutal. A celery base placed in a dim corner often grows pale, weak leaves. A base placed in harsh afternoon sun may dry out too quickly or develop browning edges. The best spot is usually near a bright window where the plant receives steady light without being cooked. If the windowsill feels comfortable to your hand, it is probably comfortable for the celery.
Transplanting is where many beginners get nervous. The celery may look happy in water, so it is tempting to leave it there forever. But water is only the starting line. Once roots appear, soil gives the plant nutrients, stability, and a better chance of producing usable growth. The first few days after transplanting can look unimpressive. Leaves may droop slightly while the roots adjust. Keep the soil moist, avoid disturbing the plant, and give it time.
Containers are often easier than garden beds for first attempts. A pot lets you control soil, moisture, and sunlight more precisely. If the weather turns too hot, you can move the pot into afternoon shade. If heavy rain arrives, you can protect it from getting waterlogged. Container celery is not always huge, but it is convenient and forgiving.
The biggest expectation shift is harvest size. Regrown celery is not a factory reset of the original bunch. It is more like getting a sequel: related, enjoyable, but not exactly the same production budget. You may harvest leaves first, then small stalks later. That is still a win. A handful of fresh celery leaves can flavor a pot of soup beautifully, and there is real satisfaction in using something you grew from a kitchen scrap.
Finally, this project teaches observation. You notice roots forming, leaves changing color, soil drying faster on warm days, and pests appearing before they become a crisis. Those small observations build gardening confidence. Celery from a stalk may not turn you into a master gardener overnight, but it will make you look at your vegetable scraps differently. Suddenly the compost bowl is not waste. It is a waiting room for tiny experiments.
Conclusion
Learning how to grow celery from a stalk is one of the easiest ways to begin edible gardening. Cut the base, place it in shallow water, keep it clean, give it bright light, wait for leaves and roots, then transplant it into rich, moist soil. With steady care, you can harvest flavorful leaves and small stalks while reducing kitchen waste.
The key is realistic optimism. Your regrown celery may not become a massive supermarket bunch, but it can become a useful, attractive, and delicious little plant. It is inexpensive, beginner-friendly, and oddly satisfying. Plus, every time someone reaches for celery in your kitchen, you can point to the windowsill and say, “We grow our own now,” which is exactly the kind of harmless garden bragging the world needs more of.
Note: For best results, grow celery from a fresh stalk, keep the water clean during the rooting stage, transplant before the base weakens, and maintain consistent soil moisture after planting.