Learning how to make incense sticks is one of those crafts that feels mysterious until you actually try it. Then you realize the “ancient secret” is mostly powder, patience, and not knocking over the drying tray with your elbow. Homemade incense lets you control the scent, choose cleaner ingredients, adjust smoke strength, and create blends that smell like a forest cabin, a meditation room, a spice market, or your ideal version of “I definitely have my life together.”
This guide covers three easy methods for making incense sticks at home: dipping blank incense sticks, rolling natural incense paste onto bamboo sticks, and shaping coreless incense sticks. Each method has a different skill level, drying time, and scent style, so you can start simple and get craftier as your nose becomes pickier.
What Are Incense Sticks Made Of?
Most incense sticks include three basic parts: fragrant material, a binder, and a combustible base. The fragrant material creates the aroma. This may include sandalwood powder, cedarwood, cinnamon, clove, lavender, rose petals, frankincense, myrrh, patchouli, or essential oils. The binder helps the mixture stick together. Common natural binders include makko powder, joss powder, jigat powder, guar gum, or gum arabic. The combustible base helps the stick smolder after the flame is blown out.
In simple terms, incense is not supposed to burn like a birthday candle. It should glow slowly, release fragrance evenly, and turn to ash without crumbling like a sad breadstick. That balance depends on your ingredients, moisture level, drying time, and how finely everything is powdered.
Supplies You Will Need
Basic tools
- Glass bowl or ceramic mixing bowl
- Measuring spoons
- Mortar and pestle, spice grinder, or fine sieve
- Wax paper, parchment paper, or drying screen
- Disposable gloves if using strong oils or dark resins
- Glass jar or shallow dish for dipping
- Fireproof incense holder for testing
Common ingredients
- Unscented incense blanks or thin bamboo sticks
- Makko powder, joss powder, or jigat powder
- Sandalwood, cedarwood, agarwood, or pine powder
- Powdered herbs, spices, flowers, or resins
- Distilled water
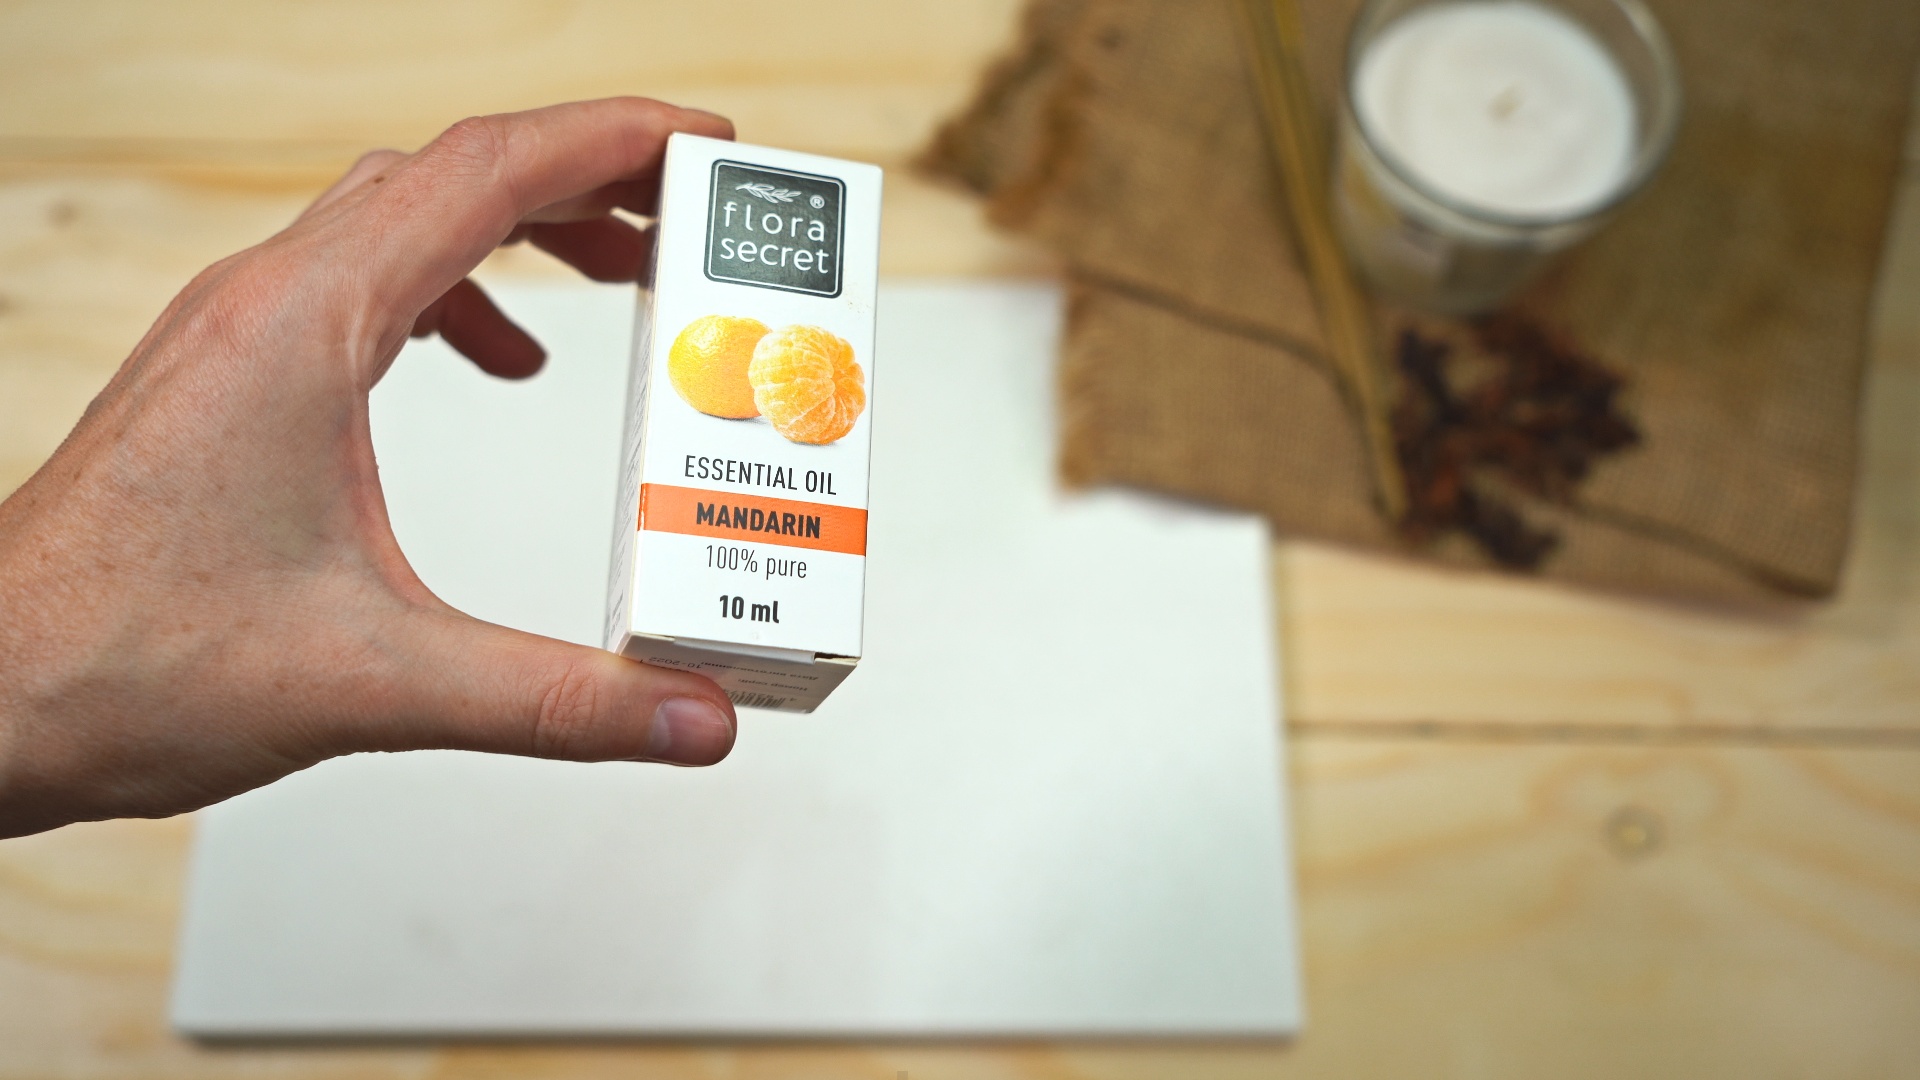
- Essential oils or incense-safe fragrance oils
For the best results, use ingredients that are very finely ground. Chunky herbs may look charming in the bowl, but they often burn unevenly. A fine powder gives your incense a smoother texture, steadier burn, and more balanced fragrance.
Method 1: Dipped Incense Sticks With Essential Oils
This is the easiest method and the best place for beginners to start. Instead of building the entire incense stick from scratch, you use unscented incense blanks. These blanks already contain the combustible base, so your job is simply to add scent. Think of it as giving plain toast a perfume makeoverexcept, please, do not eat it.
Best for
Dipped incense sticks are great for fast projects, small batches, gift sets, and testing scent combinations. They are also useful if you want a consistent burn without learning the full science of binders and powdered woods right away.
Simple recipe
- 10 unscented incense sticks
- 1 to 2 teaspoons essential oil or incense-safe fragrance oil
- Optional: 1 teaspoon dipropylene glycol-free carrier blend made for incense, if your fragrance supplier recommends it
- Glass jar, tray, or shallow dish
Steps
- Place your incense blanks in a glass dish or tall jar.
- Add the essential oil or fragrance oil slowly, rotating the sticks so the scent distributes evenly.
- Let the sticks absorb the oil for several hours. Turn them once or twice if they are lying flat.
- Remove the sticks and place them on parchment paper or a drying rack.
- Dry for at least 24 to 48 hours in a ventilated area away from direct sunlight.
- Store the finished sticks in a glass jar or paper sleeve for a few more days to let the scent settle.
Beginner scent blend
Try 6 drops lavender, 4 drops cedarwood, and 2 drops sweet orange per stick for a calm, cozy scent. Lavender brings the soft floral note, cedarwood gives the blend a grounded base, and orange adds brightness so the whole thing does not smell like a sleepy sock drawer.
Tips for success
Do not oversaturate the sticks. Too much oil can make incense smoky, wet, or difficult to light. If a stick feels greasy after two days, blot it gently and allow more drying time. Always test one stick before packaging the whole batch.
Method 2: Rolled Incense Sticks With Makko Powder
This method is more traditional and gives you more control over the incense formula. You create a soft incense dough from powdered woods, herbs, resins, binder, and water, then roll it around bamboo sticks. It is a little messier, but the reward is a handmade incense stick that feels truly custom.
Best for
Use this method when you want natural incense sticks with powdered botanicals instead of only added oils. It is perfect for earthy, woody, spicy, resinous, or meditation-style blends.
Simple recipe
- 2 tablespoons sandalwood or cedarwood powder
- 1 tablespoon makko powder or joss powder
- 1 teaspoon powdered herbs, spices, or resins
- Distilled water, added a few drops at a time
- 10 thin bamboo sticks
Steps
- Sift all dry powders into a bowl. Remove large pieces that could cause uneven burning.
- Mix the powders thoroughly before adding water. The dry blend should look uniform.
- Add distilled water a few drops at a time, stirring after each addition.
- Knead until the mixture forms a smooth, clay-like paste. It should hold together without sticking aggressively to your fingers.
- Pinch a small amount of dough and roll it into a thin rope.
- Place a bamboo stick beside the rope and roll gently until the dough coats the stick evenly.
- Smooth cracks with damp fingers, but do not soak the stick.
- Lay the sticks flat on parchment paper or a drying screen.
- Dry for 3 to 7 days, turning daily to reduce warping.
Easy woody blend
For a warm beginner blend, combine sandalwood powder, cedarwood powder, a pinch of cinnamon, and makko powder. The sandalwood adds creamy depth, cedarwood keeps it dry and clean, and cinnamon adds gentle spice. Use cinnamon lightly; it is powerful, and too much can turn your peaceful incense into “holiday candle attacked the kitchen.”
How to know the dough is right
If the dough cracks immediately, it is too dry. Add water one drop at a time. If it slumps, sticks to everything, or looks shiny, it is too wet. Add a small amount of wood powder or makko powder until it becomes workable again. The texture should feel like firm modeling clay.
Method 3: Coreless Incense Sticks
Coreless incense sticks, sometimes called dhoop-style sticks, do not use bamboo in the center. The entire stick is made from aromatic dough. This creates a pure fragrance because there is no bamboo core burning underneath the blend. The tradeoff is that coreless sticks can be more fragile and require careful drying.
Best for
This method is ideal for people who want a richer scent, less bamboo smell, and a more artisanal incense experience. It is also a good choice if you want shorter sticks for quick meditation, journaling, yoga, or a “please make this room smell less like yesterday’s leftovers” moment.
Simple recipe
- 2 tablespoons sandalwood, cedarwood, or agarwood powder
- 1 tablespoon makko powder or jigat powder
- 1 teaspoon powdered frankincense, myrrh, lavender, rose, or spice
- Distilled water, added slowly
- Optional: 3 to 6 drops essential oil for extra fragrance
Steps
- Combine and sift the dry ingredients.
- Add essential oil if using it, then mix very well.
- Add water gradually until a firm dough forms.
- Knead the dough for several minutes to activate the binder.
- Roll small portions into thin sticks about 3 to 4 inches long.
- Keep the sticks even in thickness so they burn consistently.
- Dry on a screen or parchment paper for 5 to 10 days.
- Turn daily and test only when completely dry.
Coreless incense troubleshooting
If the sticks break while rolling, the dough is too dry or the powder is too coarse. If they bend while drying, they are too wet or too thick. If they refuse to stay lit, they may need more drying time, more makko powder, or a finer grind. Homemade incense is part craft, part chemistry, and part tiny fragrant drama.
How to Create Better Incense Scents
A good incense blend usually has structure. Perfumers often think in terms of top notes, middle notes, and base notes. You do not need a lab coat or a dramatic French accent to use this idea.
Top notes
Top notes are bright and quick. Examples include sweet orange, lemon, bergamot, lemongrass, and peppermint. These scents grab attention first but fade faster.
Middle notes
Middle notes give the blend personality. Try lavender, rosemary, geranium, clary sage, cinnamon, cardamom, or rose. These are the “main character” aromas.
Base notes
Base notes are deep, slow, and grounding. Sandalwood, cedarwood, patchouli, vetiver, frankincense, myrrh, and benzoin help the scent linger.
A simple formula is 50% base note, 30% middle note, and 20% top note. For example, a relaxing blend might use sandalwood as the base, lavender as the middle, and sweet orange as the top. A focus blend might use cedarwood, rosemary, and lemon. A cozy evening blend might use patchouli, cinnamon, and a tiny touch of vanilla-like benzoin.
Drying, Curing, and Storing Homemade Incense
Drying is where many beginners get impatient. The incense may look ready on the outside while still holding moisture inside. Burning it too soon can create sputtering, weak fragrance, uneven ash, or a disappointing little smoke noodle that gives up halfway through.
Dry sticks in a cool, ventilated place. Avoid direct sun, which can fade delicate aromas and cause cracking. Turn hand-rolled sticks daily so they dry evenly. Once dry, store them in paper sleeves, kraft boxes, or glass jars. Letting incense cure for one to two weeks often improves the scent because the ingredients have time to settle together.
Common Mistakes to Avoid
Using too much oil
More oil does not always mean stronger incense. It can make sticks burn poorly, smell harsh, or smoke heavily. Start light, test, and adjust.
Skipping the sift
Large herb pieces and resin chunks may smell wonderful, but they can interrupt the burn. Grind and sift ingredients for a smoother result.
Rushing the drying time
If the incense is not fully dry, it may bend, crack, or refuse to stay lit. Give it time. Incense is not fast food; it is slow fragrance.
Ignoring ventilation
Even natural incense produces smoke. Burn it in a ventilated room, avoid enclosed spaces, and be extra cautious around children, pets, asthma, allergies, or respiratory sensitivity.
Safety Tips for Burning Incense
Always burn incense in a heatproof holder on a stable surface. Keep it away from curtains, paper, bedding, books, plants, and anything that can catch fire. Do not burn incense near medical oxygen or flammable liquids. Extinguish the ember completely before throwing away ash. If you feel coughing, headache, eye irritation, or discomfort, stop burning it and get fresh air.
Pet owners should be especially cautious. Animals have sensitive noses, and some essential oils are not suitable around pets. Keep incense smoke away from cages, litter areas, food bowls, and enclosed rooms where pets cannot leave.
My Experience Making Incense Sticks at Home
The first time I made incense sticks, I was wildly overconfident. I had a bowl of sandalwood powder, a bottle of lavender oil, and the energy of someone who had watched exactly two craft videos and was now emotionally ready to become an incense monk. The first batch smelled nice in the bowl, but I added too much water. The dough went from “workable clay” to “aromatic pancake batter” in about twelve seconds. I tried to save it by adding more powder, then more binder, then more optimism. Only one of those helped.
What I learned quickly is that incense rewards small adjustments. Add water drop by drop. Add oils sparingly. Test one stick before celebrating. My best early batch was not complicated at all: cedarwood powder, makko powder, a little lavender, and a touch of sweet orange. It smelled clean, soft, and slightly outdoorsy, like a cabin that owns good towels. The worst batch included too much clove. It burned aggressively and smelled like a gingerbread house filing a complaint.
Dipped incense was the easiest confidence-builder. I used blank sticks, added a cedar-lavender blend, and let them dry for two full days. The scent became smoother after a week in a paper sleeve. That curing time surprised me. Freshly dipped sticks can smell sharp, but after a few days, the aroma rounds out. It is like the ingredients stop arguing and finally form a band.
Hand-rolled sticks were more satisfying, though less tidy. Rolling paste around bamboo takes a light touch. Press too hard and the coating becomes uneven. Use too much dough and the stick looks like it has been wearing a winter coat. Use too little and it burns too fast. After a few tries, I found that thinner, even layers dried better and produced a cleaner burn.
Coreless sticks became my favorite for short sessions. They feel more handmade and smell deeper because there is no bamboo core. However, they are fragile. I had better results making them shorter instead of trying to create long, elegant sticks. Short sticks dry straighter, break less, and are perfect when you only want ten or fifteen minutes of fragrance.
The biggest lesson is simple: keep notes. Write down your ratios, drying time, oils, and burn results. Your nose will not remember every detail, especially after sniffing six blends in one afternoon. A tiny incense notebook can save you from accidentally recreating the clove monster. Start with simple blends, make small batches, and let each attempt teach you something. Homemade incense is peaceful, practical, and just unpredictable enough to keep things interesting.
Conclusion
Making incense sticks at home is an easy craft with plenty of room for creativity. If you want the fastest method, dip unscented incense blanks in essential oils or incense-safe fragrance oils. If you want a more natural, hands-on project, roll a makko-based paste around bamboo sticks. If you want a richer artisan-style burn, try coreless incense sticks made entirely from aromatic dough.
The secret is balance: fine powders, enough binder, careful moisture, patient drying, and safe burning habits. Start with small batches, test often, and keep your recipes simple until you understand how each ingredient behaves. Once you get the rhythm, homemade incense becomes more than a craft. It becomes a tiny ritual you can customize for focus, relaxation, meditation, cleaning day, rainy evenings, or any moment that deserves a better scent than “generic room.”