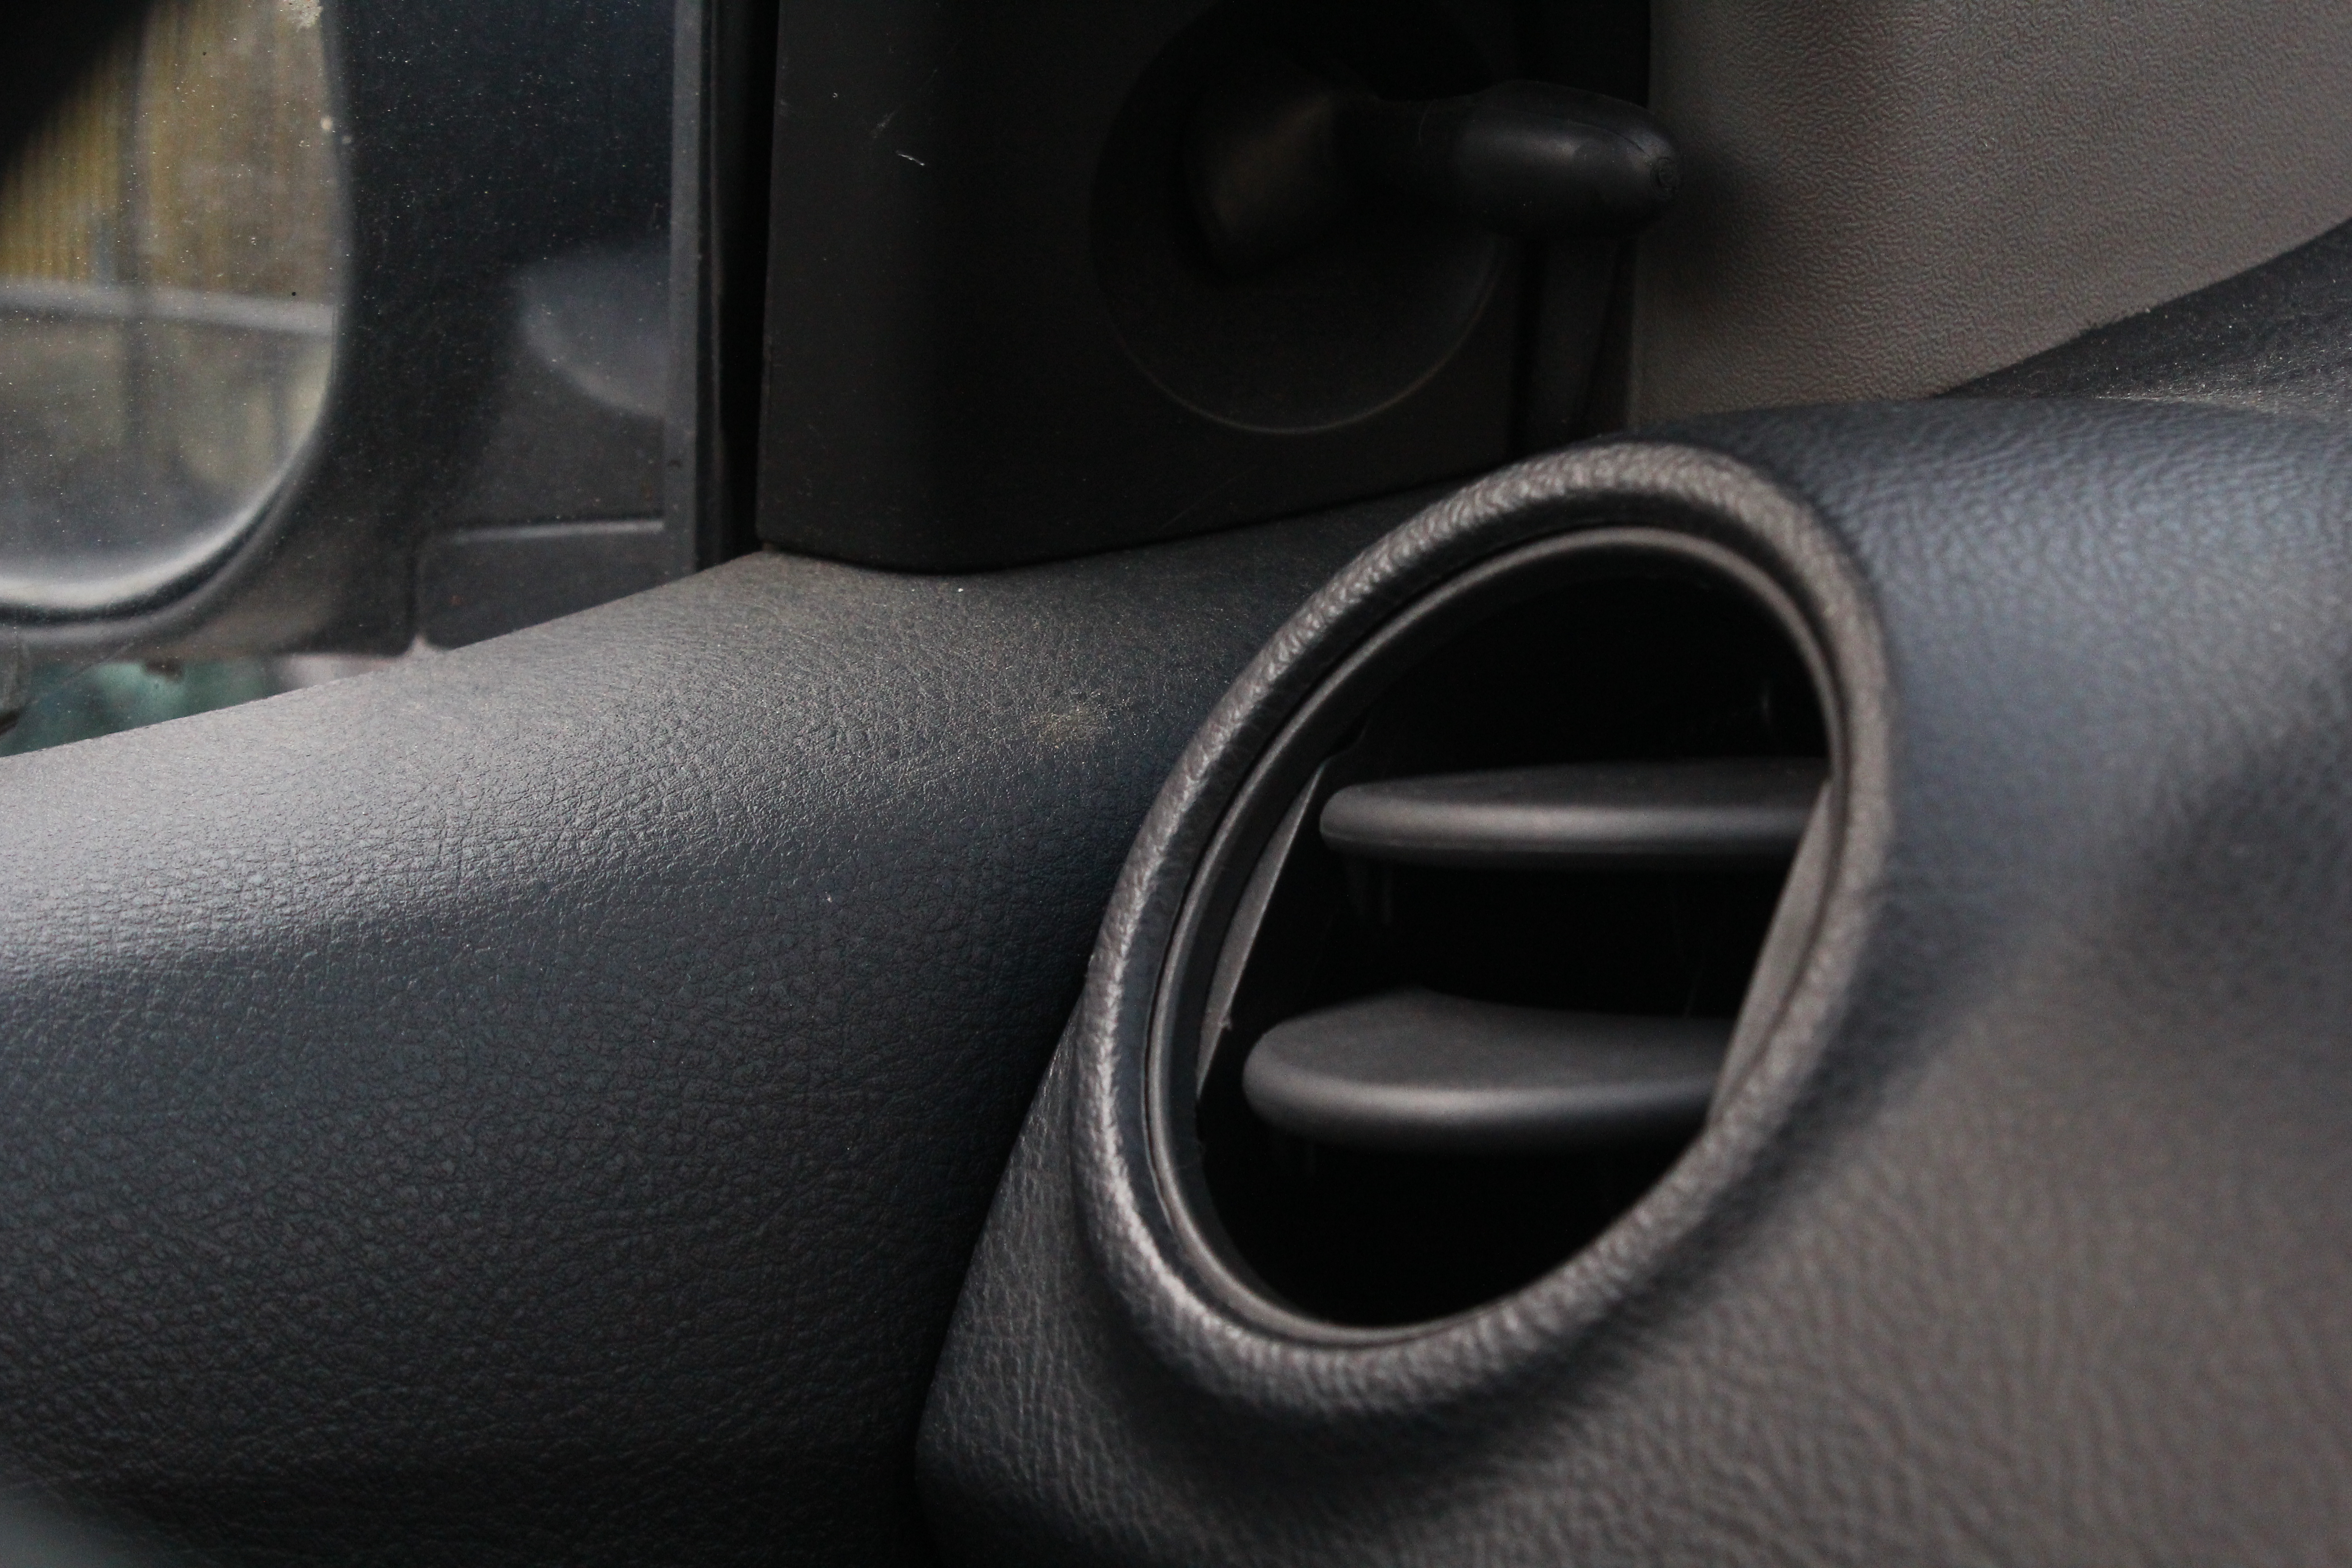
There are few automotive betrayals more personal than turning on your car’s air conditioner on a hot day and getting blasted with air that smells like an old gym bag trapped in a swamp. Your dashboard vents may look innocent, but behind those little plastic slats lives a busy world of dust, pollen, crumbs, moisture, bacteria, mildew, and sometimes the mysterious ghost of french fries past.
The good news? Learning how to clean car AC vents is not complicated. You do not need to be a mechanic, own a lift, or speak fluent engine. In most cases, you can refresh your car air vents with a few simple tools, a little patience, and the willingness to confront the lint kingdom living in your dashboard.
This guide covers three practical ways to clean car AC vents: surface cleaning the vent grilles, replacing or checking the cabin air filter, and deodorizing the deeper AC duct system. Together, these methods can improve airflow, reduce odors, help remove allergens, and make your car interior feel less like a rolling dust museum.
Why Car AC Vents Get Dirty in the First Place
Your car’s heating, ventilation, and air conditioning system constantly moves air through narrow ducts, filters, vents, and the evaporator area. That air carries dust, pollen, road grime, pet hair, smoke particles, humidity, and whatever else life throws into your cabin. Over time, debris collects on vent slats and inside the HVAC system.
Moisture is the real troublemaker. When the AC runs, the evaporator removes humidity from the air. That is great for cooling, but leftover moisture can create a friendly hangout spot for mildew and bacteria. Add organic debris like pollen or leaves, and suddenly your AC system has all the ingredients for musty odors. Basically, it becomes a tiny compost bin with climate control. Charming, right?
Common signs that your car AC vents need cleaning include weak airflow, visible dust around the vents, a musty or sour smell when the AC starts, foggy windows that clear slowly, increased dust on the dashboard, and allergy-like irritation while driving. If the smell is sharp, chemical, sweet, or burning, stop treating it like a cleaning issue and have the vehicle inspected. Some odors can point to refrigerant leaks, coolant problems, electrical issues, or other mechanical concerns.
Before You Start: Tools and Safety Tips
You do not need a garage full of equipment to clean car air vents. For most vehicles, gather a soft detailing brush, microfiber towels, cotton swabs, a vacuum with a brush attachment, mild interior cleaner, compressed air or a manual air blower, a replacement cabin air filter if needed, and an automotive AC vent or duct cleaner.
Avoid soaking the vents. Liquid can drip into electrical components or leave sticky residue inside the ductwork. Do not spray household disinfectants directly into the dashboard vents unless the product label clearly says it is safe for automotive interiors and ventilation systems. Your car is not a bathroom sink, even if the smell is making a strong argument.
Park in a well-ventilated area, open the doors or windows, and turn off the engine before doing detailed vent cleaning. If you use an AC system cleaner, follow the product instructions carefully. Some cleaners are designed for the intake near the windshield, others for the cabin vents, and some for the evaporator drain area. Using the wrong product in the wrong place can turn a simple refresh into a foamy science experiment.
Way 1: Clean the Vent Grilles and Dashboard Openings
The fastest way to clean car AC vents is to start with the parts you can see. Dust and grime often collect on the vent louvers, corners, thumb wheels, and surrounding trim. Even if the deeper system is clean, dirty vent grilles can spread dust every time you turn on the fan.
Step 1: Brush Away Loose Dust
Use a soft detailing brush to loosen dust from the vent slats. Move the louvers up, down, left, and right so you can reach the edges. A small paintbrush, makeup brush, or dedicated car detailing brush works well. The goal is to lift dust, not attack the dashboard like you are excavating fossils.
Step 2: Vacuum While You Brush
Hold a vacuum nozzle near the vent as you brush. This captures loosened dust instead of letting it float around the cabin and resettle on the dashboard five minutes later. If your vacuum has a soft brush attachment, use it around the vent frame and dashboard surface.
Step 3: Wipe the Slats with a Microfiber Towel
Lightly dampen a microfiber towel with water or a mild interior cleaner. Wrap the towel around a thin plastic trim tool, craft stick, or your finger, then wipe between the slats. Cotton swabs can help with tight corners, but use them gently so they do not leave fibers behind.
Step 4: Use Compressed Air Carefully
Compressed air can help blow dust out of hard-to-reach areas, but use short bursts. Hold the can upright and avoid forcing debris deeper into the vents. If you blast the system like you are inflating a bounce house, you may move dust farther into the ducts instead of removing it.
This surface-cleaning method is ideal for regular maintenance. Do it every few weeks if you drive on dusty roads, carry pets, park under trees, or snack in the car with the enthusiasm of a raccoon at a picnic.
Way 2: Replace or Clean the Cabin Air Filter
If your car AC smells bad or airflow feels weak, the cabin air filter deserves immediate suspicion. This filter traps dust, pollen, leaves, soot, and other particles before air enters the cabin. When it gets clogged, airflow drops and trapped debris can contribute to unpleasant odors.
Many modern vehicles place the cabin air filter behind the glove box, under the dashboard, or near the base of the windshield. Your owner’s manual will show the exact location. Some filters can be replaced in less than 15 minutes, while others require removing clips or trim panels. In other words, some cars make this easy; others treat the cabin filter like a state secret.
Step 1: Locate the Filter Housing
Check your owner’s manual or search for your specific year, make, and model. In many vehicles, you open the glove box, press in the sides to lower it, and remove a rectangular cover behind it. The cabin filter slides out from there.
Step 2: Remove the Old Filter
Pay attention to the airflow arrow on the old filter before removing it. The new filter should face the same direction. Pull the filter out slowly so leaves, dirt, and debris do not spill everywhere. If the filter looks gray, furry, clogged, damp, or smells like a basement wearing socks, replace it.
Step 3: Vacuum the Filter Compartment
Before installing the new filter, vacuum loose debris inside the compartment. Leaves and pine needles can collect there and keep causing odors even after the filter is replaced. Do not force the vacuum hose deep into the system; just remove what you can safely reach.
Step 4: Install the New Cabin Air Filter
Slide the new filter into place with the airflow arrow facing the correct direction. Reattach the cover and glove box or trim. If you drive in heavy traffic, dusty areas, wildfire smoke, high-pollen regions, or with pets, consider replacing the filter more often than the standard interval.
Basic particulate filters are fine for dust and pollen, but activated carbon cabin filters may help reduce some odors and traffic-related smells. They usually cost a little more, but if your daily commute includes exhaust fumes, fast food bags, and mystery city air, the upgrade can be worthwhile.
Way 3: Deodorize the AC Ducts and Evaporator Area
Surface cleaning and a fresh cabin air filter can solve many problems, but persistent musty odors often come from deeper inside the HVAC system. The evaporator area can hold moisture after AC use, and that damp environment can encourage mildew and bacteria. This is where an automotive AC duct cleaner can help.
Step 1: Choose an Automotive AC Cleaner
Use a product made specifically for vehicle HVAC systems. Some are aerosol sprays designed for the fresh-air intake, some are foam cleaners for the evaporator area, and others are odor treatments meant to circulate through the cabin. Read the label before buying so you understand where the cleaner goes and how long the process takes.
Step 2: Find the Fresh-Air Intake
On many vehicles, the fresh-air intake is near the base of the windshield, under the cowl area. Turn the fan on high with outside air mode selected, not recirculation, and the system pulls air through this intake. Some cleaners are sprayed into this area so the blower draws the treatment through the ducts.
Step 3: Open the Windows and Run the Fan
Ventilation matters. Open the windows or doors, follow the product instructions, and allow the fan to circulate the cleaner through the system. Keep people and pets out of the car during treatment. Your goal is to clean the AC system, not fumigate your passengers like mosquitoes.
Step 4: Dry the System
After using a cleaner, run the fan with the AC off for several minutes to help dry the ducts. Some drivers make this a habit after regular AC use: turn off the AC but leave the fan running for the last few minutes of the drive. This helps reduce leftover moisture, which is one of the main reasons musty smells return.
If the odor comes back quickly, if carpets are damp, or if you see water pooling inside the cabin, the issue may be a clogged AC drain, water leak, or contaminated evaporator case. At that point, professional inspection is smart. DIY cleaning can freshen normal odors, but it cannot fix a drainage problem hiding behind the dashboard.
How Often Should You Clean Car AC Vents?
For most drivers, a light vent cleaning once a month is enough to keep dust under control. Replace the cabin air filter according to your owner’s manual, commonly around once a year or every 15,000 to 30,000 miles depending on the vehicle and driving conditions. Drivers in dusty climates, high-pollen areas, heavy traffic, or wildfire-prone regions may need to change it sooner.
Use an AC duct cleaner only when needed, such as when musty odors appear or after replacing a badly contaminated cabin filter. Overusing fragrance sprays does not clean the system; it only covers the smell. That is like putting cologne on a trash can. Technically an action, spiritually a mistake.
Common Mistakes to Avoid
Using Too Much Liquid
Dashboard vents are not designed to be soaked. Too much cleaner can drip into electronics or leave residue. Always spray cleaner onto a towel first when wiping visible surfaces.
Ignoring the Cabin Air Filter
Cleaning the vent slats while ignoring a filthy cabin filter is like brushing your teeth while eating cookies. You may feel productive, but the source of the problem is still there.
Using Strong Household Chemicals
Bleach, ammonia, and harsh cleaners can damage interior materials and create irritating fumes. Stick with automotive-safe products.
Forgetting About Recirculation Mode
Recirculation can cool the cabin faster, but using fresh-air mode occasionally helps bring in outside air and reduce stale cabin conditions. Balance both settings based on weather, traffic, and air quality.
When to Call a Professional
DIY cleaning works well for dust, light odors, and routine maintenance. However, call a professional if you notice persistent moldy smells, water on the passenger-side floor, weak airflow even after replacing the cabin filter, strange noises from the blower, oily residue near vents, or a chemical smell. These symptoms may point to a clogged drain, blower motor issue, refrigerant leak, evaporator contamination, or another repair that requires tools and training.
A professional AC service may include checking the drain tube, inspecting the evaporator, testing system performance, replacing filters, and cleaning deeper HVAC components. It costs more than a brush and microfiber towel, but so does pretending the smell will magically move out on its own.
Real-World Experience: What Actually Works Best
In everyday car care, the best results usually come from combining all three methods instead of relying on one miracle spray. A driver might wipe the vent slats and think the job is done, only to smell mildew again the next morning. Another driver might replace the cabin filter but leave a layer of dust sitting on the dashboard vents. Car AC cleaning works best as a small system: clean the visible vents, refresh the filter, then treat the ducts if odors remain.
One practical example is the “first blast problem.” Many cars smell worst during the first 10 seconds after turning on the AC. That quick sour puff often comes from moisture and microbial buildup in the evaporator area. In that case, wiping the vent grille helps appearance, but it will not fully remove the smell. Replacing the cabin air filter and using a proper AC cleaner is more effective.
Another common situation happens after parking under trees. Leaves and tiny debris can collect near the windshield cowl, where many vehicles draw in fresh air. If those leaves stay damp, the smell can enter the HVAC system. Cleaning the cowl area, replacing the cabin filter, and vacuuming the filter compartment can make a noticeable difference. Your vents are only the final doorway; the mess may be waiting upstream like an uninvited houseguest.
Pet owners also learn this lesson quickly. Dog hair and dander travel everywhere, including vent surfaces and cabin filters. A monthly brush-and-vacuum routine can keep the vents from becoming furry little air cannons. If the car carries pets often, changing the cabin air filter more frequently is a smart move, especially before allergy season.
For rideshare drivers, commuters, parents, and anyone who spends serious time in the car, clean AC vents are more than a cosmetic detail. Cleaner airflow can make the cabin feel fresher, help reduce dust buildup, and improve comfort during long drives. It also creates a better impression for passengers. Nobody gets into a car and says, “Ah yes, I was hoping for notes of mildew and dashboard lint.”
The most useful habit is drying the AC system before parking. A few minutes before reaching your destination, turn off the AC button but leave the fan running. This pushes air through the vents and helps reduce moisture inside the system. It will not solve every odor problem, but it can help prevent that musty smell from coming back quickly.
Finally, pay attention to patterns. If the vents smell only when the AC is on, the evaporator area may be the issue. If the smell appears with heat and AC, check the cabin filter and ducts. If the odor is sweet, chemical, burning, or fuel-like, do not mask it with air freshener. Get the vehicle inspected. Your nose is part of your car’s early warning system, even if it occasionally overreacts to leftover tacos.
Conclusion
Cleaning car AC vents is one of those small maintenance jobs that makes your vehicle feel instantly better. Start with the visible vents, because dust on the slats is easy to remove and easy to prevent. Then check the cabin air filter, because a clogged or dirty filter can restrict airflow and spread odors. Finally, use an automotive AC duct cleaner when musty smells linger deeper in the system.
The key is not to wait until your AC smells like a locker room with wheels. A simple routinebrush, vacuum, wipe, replace the filter, and dry the systemcan keep your car’s air fresher and your passengers less suspicious. Your dashboard vents work hard every day. Give them a little attention, and they will stop blowing dusty revenge into your face.