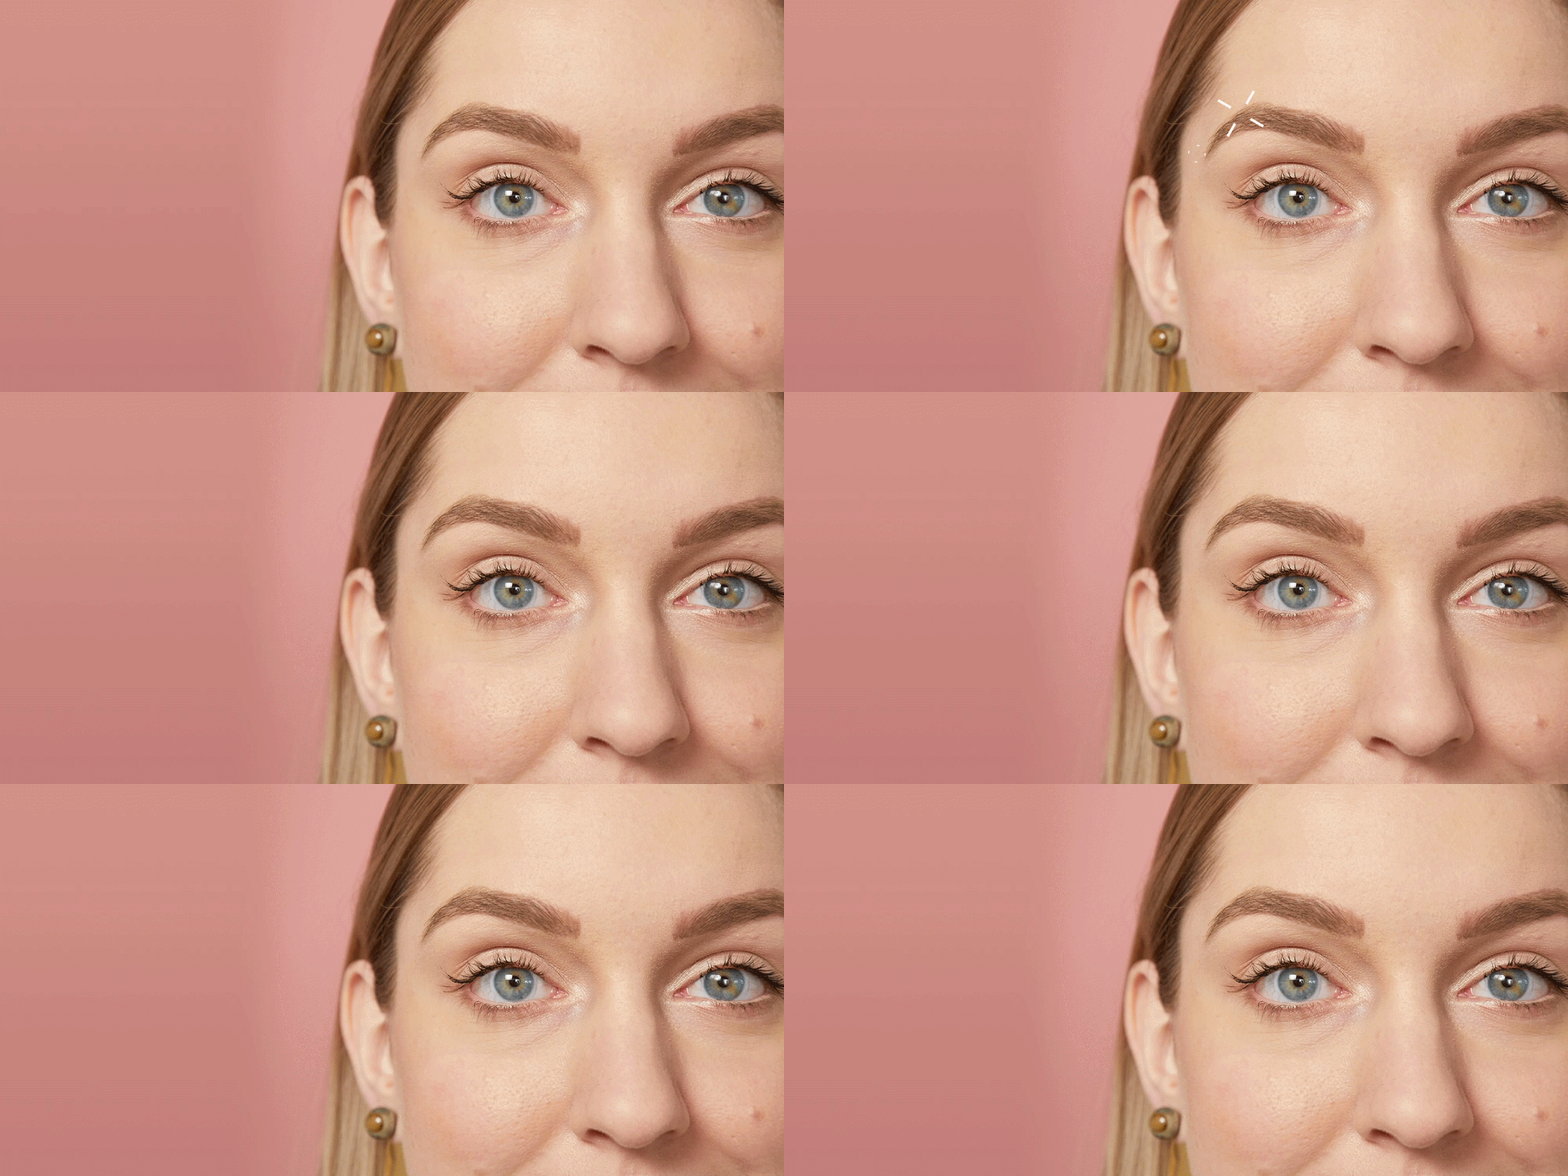
Shaping your eyebrows at home sounds simple until one tiny tweezer move turns your calm Saturday into a courtroom drama starring your left brow as Exhibit A. The good news? You do not need a celebrity brow artist living in your bathroom cabinet to get clean, balanced, natural-looking brows. You just need patience, a few proper tools, decent lighting, and the emotional strength to stop before your eyebrows start looking surprised.
The best eyebrow shape is not the trendiest shape on social media. It is the shape that works with your natural growth, face structure, eye spacing, and personal style. Some people look great with soft arches. Others shine with straighter brows, fuller brows, or gently tapered tails. The goal is not to copy someone else’s face. The goal is to groom what you already have so your brows frame your eyes without looking like they were drawn during a power outage.
This guide breaks down how to shape eyebrows at home step by step, including brow mapping, trimming, tweezing, filling, aftercare, and common mistakes to avoid. Whether your brows are thick, sparse, uneven, overgrown, or recovering from a past “I’ll just pluck one more hair” incident, these expert-inspired tips will help you create your best eyebrow shape safely and confidently.
Why Eyebrow Shape Matters
Eyebrows do more than sit above your eyes looking mysterious. They help define facial expression, balance your features, and give your makeup or bare-face look a more polished finish. A small cleanup can make the eye area appear fresher, while over-plucking can make brows look thin, uneven, or harsh.
Still, brow shaping should never feel like a punishment or a beauty exam. Your eyebrows are sisters, not identical twins. Actually, sometimes they are distant cousins who only see each other at holidays. That is normal. Natural asymmetry exists on every face, and the best at-home eyebrow shaping respects that instead of fighting it with tweezers and panic.
Tools You Need to Shape Eyebrows at Home
Before touching a single hair, gather the right tools. Using poor-quality tools can lead to broken hairs, irritation, uneven trimming, and general eyebrow nonsense.
Basic eyebrow shaping kit
- Slanted stainless steel tweezers
- Spoolie brush or clean brow brush
- Small brow scissors
- Brow pencil or white eyeliner for mapping
- Clear brow gel, optional
- Cotton pads
- Gentle cleanser
- Rubbing alcohol for cleaning tools
- Cold compress or soothing gel for aftercare
Skip oversized scissors, dull tweezers, and anything that looks like it came from a junk drawer archaeological dig. Brow hairs are small, the skin around your eyes is delicate, and precision matters.
Step 1: Start With Clean Skin and Clean Tools
Wash your face with a gentle cleanser before shaping your brows. This removes oil, makeup, sunscreen, and dirt that can make tweezing less clean. Then wipe your tweezers and brow scissors with rubbing alcohol and let them dry.
Clean tools help reduce the chance of irritation, clogged follicles, or small bumps after tweezing. It is not glamorous, but neither is explaining why your eyebrow area is angry because your tweezers were living beside loose coins and old lip balm.
Step 2: Use Natural Light, Not a Magnifying Mirror
Good lighting is your eyebrow safety net. Shape your brows near a window or in bright, even bathroom lighting. Avoid harsh shadows because they can trick you into removing hairs that are actually important to the shape.
Also, put down the magnifying mirror. Magnifying mirrors make every tiny hair look like a forest emergency. When you zoom in too much, you lose sight of the overall shape and are more likely to over-pluck. Use a regular mirror, step back often, and check your brows as part of your whole face.
Step 3: Map Your Eyebrows Before Tweezing
Brow mapping is the secret weapon of at-home eyebrow shaping. It helps you find where your brows should start, arch, and end based on your own features. You can use a brow pencil, makeup brush handle, or any straight slim tool.
Find where your brow should start
Hold the pencil vertically from the side of your nose up toward the inner corner of your eye. Where the pencil meets your brow area is your natural starting point. Mark it lightly.
Find your arch
Angle the pencil from the side of your nose through the outer edge of your iris while looking straight ahead. The point where it crosses your brow is where your arch naturally works best. Mark that spot. Do not force a dramatic arch if your brows naturally sit straighter. Your face is not a theme park ride; the arch does not need to be extreme.
Find your brow tail
Angle the pencil from the side of your nose to the outer corner of your eye. Where it reaches your brow area is where the tail should generally end. A tail that is too short can make brows look unfinished, while a tail that dips too low can make the eye area appear heavier.
Connect the guide
Use your brow pencil to lightly outline the shape you want. Keep the outline soft and realistic. The goal is to create a guide, not draw a logo above your eyes. Once the shape is mapped, you should only remove hairs that fall outside the outline.
Step 4: Brush Brows Into Place
Brush your brow hairs upward and slightly outward with a spoolie. This reveals the natural length and direction of the hairs. Some hairs may look long when brushed straight up, but they settle nicely when brushed diagonally. That is why you should not trim everything that pops above the brow line at first glance.
For the inner part of the brow, brushing upward often works well. For the middle and tail, brush in the direction the hair naturally grows. This helps prevent accidental gaps from over-trimming.
Step 5: Trim Conservatively
Trimming is where many brows go from “clean and cute” to “tiny staircase.” Be careful. Use small brow scissors and trim only the very tips of hairs that clearly extend beyond your mapped shape.
Do not cut straight across the whole brow. Instead, trim one hair or a few hairs at a time. After each small cut, brush the brow back into place and check the shape. Long brow hairs often provide fullness, so removing too much length can create sparse-looking areas even if you did not tweeze anything.
Step 6: Tweeze Only the Stray Hairs
Now comes the main event: tweezing. Hold the skin gently taut with one hand and tweeze with the other. Grip each hair near the base and pull in the direction of hair growth. This helps remove the hair more cleanly and reduces unnecessary tugging.
Focus on obvious stray hairs between the brows, below the brow line, and outside your mapped outline. Be very cautious about tweezing above the brows. Removing too much from the top can flatten the natural shape or make the brows look uneven.
A good rule: tweeze a few hairs, then stop and step back. Repeat this process slowly. Eyebrow shaping is not a race. There is no trophy for finishing in three minutes, although there may be regret.
Step 7: Shape One Brow, Then Match Gently
Do not completely finish one eyebrow before starting the other. Instead, alternate between brows. Remove a few hairs from one side, then do the same on the other. This keeps the shape more balanced and helps prevent one brow from becoming dramatically thinner than the other.
Remember, brows do not need to be perfectly identical. They should look related and balanced. Chasing perfect symmetry often leads to over-plucking, and over-plucking usually leads to a long emotional conversation with a brow pencil.
Step 8: Fill Sparse Areas Before Judging the Shape
Some brows look uneven because of sparse spots, not because the shape is wrong. Before tweezing more, use a brow pencil or powder to fill gaps with short, feather-like strokes. Choose a shade close to your natural brow color, usually slightly lighter if your hair is dark and slightly deeper if your brows are very fair.
Fill lightly at the front of the brow and add more definition toward the arch and tail. Then brush through with a spoolie to soften the color. A clear or tinted brow gel can help hold hairs in place and make the finished shape look more natural.
Best Eyebrow Shape for Different Face Shapes
Face shape can offer helpful guidance, but it should not become a strict rulebook. Your natural brow growth matters most. Still, these general tips can help you choose a flattering direction.
Round face
A softly defined arch can add gentle structure. Avoid overly rounded brows because they may echo the roundness of the face too much.
Oval face
Oval faces usually work well with a natural, softly angled brow. Keep the shape balanced and avoid making the arch too sharp.
Square face
A slightly fuller brow with a soft arch can balance stronger jawlines. Very thin brows may look too delicate against defined features.
Heart-shaped face
A soft, natural arch often works beautifully. Avoid heavy, blocky brows at the front because they can overpower a narrower chin.
Long face
A straighter brow can help create the appearance of balance. Avoid overly high arches that visually lengthen the face even more.
Common Eyebrow Shaping Mistakes to Avoid
Over-plucking the inner corners
If the brows start too far apart, the nose bridge can look wider and the face may lose balance. Use brow mapping before removing hair from the center.
Making the arch too high
A dramatic arch can look stylish on some people, but forcing it can create a permanently surprised expression. Let your bone structure and natural growth guide you.
Cutting too much length
Long hairs often help brows look full. Trim only what truly sticks out after brushing the hairs into their natural direction.
Using wax too close to the eye
At-home waxing can remove too much hair quickly and may irritate sensitive skin. If you are not experienced, tweezing is usually easier to control for brow cleanup.
Tweezing every day
Daily tweezing makes it easy to lose the natural shape. Give your brows time to grow and review the shape weekly instead of attacking every tiny new hair like it owes you money.
Aftercare: How to Calm Skin After Tweezing
After shaping, wipe away pencil marks and apply a cool compress for a few minutes if the skin looks red. Avoid heavy makeup, strong exfoliating acids, retinoids, or alcohol-heavy products directly on the brow area right after tweezing. The skin may be more sensitive for a short time.
If you notice strong irritation, swelling, burning, or bumps that do not calm down, stop grooming the area and consider asking a dermatologist or licensed professional for advice. Brows are important, but healthy skin is more important.
How Often Should You Shape Your Eyebrows?
For most people, a light cleanup every one to two weeks is enough. If you are growing out over-plucked brows, wait several weeks before reshaping. In some cases, brows need a few months to show their natural growth pattern again.
During the grow-out stage, use brow gel, pencil, or powder to make the shape look neater without removing more hair. This requires patience, but future you will be grateful. Present you may be annoyed, but present you also once thought pencil-thin brows were “just a quick cleanup,” so patience is fair.
Should You Tweeze, Wax, Thread, or Shave?
For beginners, tweezing is usually the safest and most precise at-home option because it removes one hair at a time. Waxing removes many hairs quickly, which can be useful but risky near the eyes if you are inexperienced. Threading is precise, but it is usually best done by a trained professional. Brow razors can clean fine hairs, but they require a steady hand and do not remove hair from the root.
If your skin is sensitive, acne-prone, sunburned, recently exfoliated, or affected by strong skin-care products, be extra cautious with hair removal. The skin around the eyes is delicate, and irritation is easier to prevent than fix.
How to Fix Uneven Eyebrows
Uneven brows are common. Before removing more hair, try filling the thinner or lower brow first. Makeup can correct many small differences without sacrificing real brow hair.
If one arch is higher, do not automatically tweeze the lower brow to match. That can make both brows thinner. Instead, lightly fill under the higher arch or above the lower arch to create visual balance. Use clear gel to lift hairs where needed.
If the unevenness is major, step away from the tweezers for a few weeks. Let the brows grow, then reshape gradually. When in doubt, book one professional shaping appointment and maintain the shape at home afterward.
Expert-Style Tips for Natural-Looking Brows
- Follow your natural brow shape instead of copying trends.
- Map before tweezing so you know what to keep.
- Use short pencil strokes instead of drawing one solid line.
- Keep the front of the brow softer than the tail.
- Step back from the mirror after every few hairs.
- Trim less than you think you need to.
- Do major shaping in daylight, not at midnight with confidence and bad lighting.
Personal Experience: What At-Home Brow Shaping Teaches You
Anyone who has shaped eyebrows at home knows the process is part beauty routine, part patience test, and part negotiation with your own reflection. The first big lesson is that brows look completely different when you stop staring at them from two inches away. Up close, every hair looks rebellious. From a normal distance, most of those hairs are simply contributing to the shape. This is why stepping back from the mirror is not just a tip; it is eyebrow therapy.
Another experience many people share is learning that less really is more. The best brow cleanup often comes from removing only the obvious strays. You tweeze under the arch, clean the center, brush everything into place, and suddenly the brows look fresh without looking “done.” The moment you start chasing tiny imperfections, things can go sideways. One extra hair becomes five extra hairs, and then you are Googling how long eyebrows take to grow back while holding a brow pencil like a life raft.
Trimming also teaches humility. A long brow hair may look wild when brushed straight up, but once it lies naturally, it may be exactly what gives the brow fullness. Cutting too much can create gaps that are harder to hide than stray hairs. The better approach is to trim slowly, hair by hair, checking the shape after each tiny snip. It feels slower, but it saves you from creating a mysterious bald patch that no one asked for.
People with sparse brows often discover that shaping is not always about removing hair. Sometimes the biggest improvement comes from filling in the right places. A few soft pencil strokes through the tail, a little powder through the arch, and a brush-through with a spoolie can make the brows look more balanced without tweezing anything. This is especially helpful when growing out old over-plucking or trying to make uneven brows look more like friendly relatives.
The most useful habit is creating a simple routine. Clean the skin, map the brows, brush them, trim only if necessary, tweeze only outside the guide, then soothe the area. Doing the same steps each time prevents impulsive decisions. Brows like consistency. They do not enjoy surprise attacks.
At-home eyebrow shaping also helps you understand your own face better. You begin to notice where your brow naturally arches, which side grows thicker, where the tail needs support, and how much grooming actually makes a difference. Over time, the process becomes less intimidating. You stop trying to create brand-new eyebrows and start refining the ones you already have.
The final experience worth mentioning is emotional: know when to stop. The best eyebrow shape usually appears a few minutes before you think you are finished. If your brows look clean, balanced, and natural, put the tweezers down. Walk away. Drink water. Celebrate your restraint. The most expert eyebrow move at home is not a fancy technique; it is the ability to leave well enough alone.
Conclusion
Learning how to shape eyebrows at home is about control, care, and restraint. Start with clean tools, map your brows before tweezing, use natural light, trim conservatively, and remove only the hairs that fall outside your guide. The best eyebrow shape is not the one that follows every trend. It is the one that works with your natural brows, frames your eyes, and makes you feel polished without looking overdone.
When in doubt, do less. You can always tweeze another hair later, but you cannot glue one back on with confidence. Well, technically you can draw it back with a pencil, but let us aim for fewer eyebrow emergencies and more calm, clean, face-framing success.
Note: This article is for general grooming and beauty education. If your skin becomes irritated, painful, or unusually red after eyebrow shaping, pause hair removal and seek advice from a qualified skin-care professional.