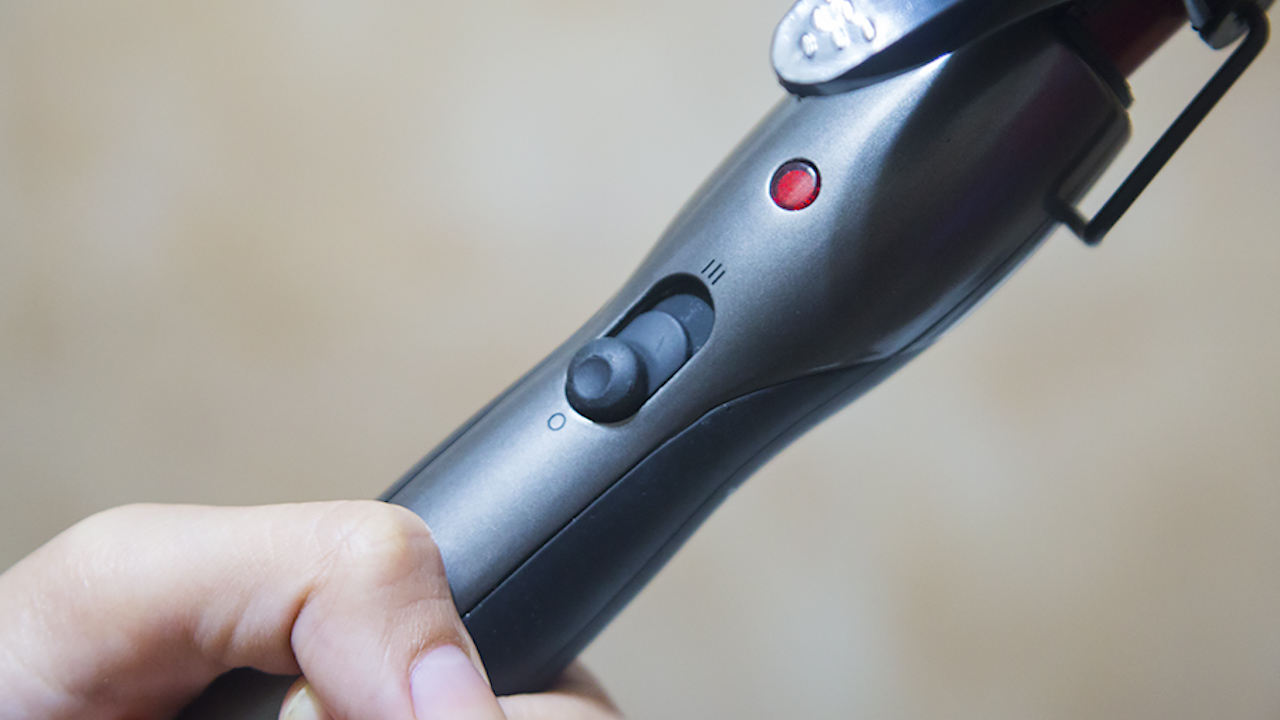
Yes, you can make hair straight with a curling iron. No, this is not a beauty myth invented during a power outage when the flat iron mysteriously disappeared. A curling iron is designed to bend hair, but with the right technique, the clamp and heated barrel can smooth hair into a straighter, sleeker shape. Think of it as asking your curling iron to work a different shift: still hot, still useful, just temporarily promoted to “straightening assistant.”
Before we begin, let’s be clear: straight hair is not better hair. Curly, wavy, coily, textured, and straight hair are all valid, beautiful, and allowed to have main-character energy. This guide is simply for the days when you want a smooth style and only have a curling iron nearby. Maybe you packed the wrong tool. Maybe your flat iron retired emotionally. Maybe you just enjoy making beauty tools multitask like tiny heated employees.
The key is technique. You need clean, dry hair, a heat protectant, proper sectioning, and a curling iron with a clamp. You also need patience, because rushing heat styling is how frizz, dents, and crispy ends enter the chat uninvited. Below is a practical, hair-friendly, step-by-step guide to straightening hair with a curling iron while reducing heat damage as much as possible.
Can You Really Straighten Hair with a Curling Iron?
You can straighten hair with a curling iron, especially if your hair is already slightly straight, wavy, or loosely curly. A curling iron will not usually create the same ultra-flat finish as a professional flat iron, because the barrel is round instead of flat. However, it can smooth bends, stretch waves, tame frizz, and create a polished blowout-style look.
The best curling iron for this method is one with a clamp, adjustable heat settings, and a smooth ceramic, tourmaline, or titanium barrel. A larger barrel, such as 1.25 inches to 2 inches, is easier for straightening because it creates less bend. A tiny barrel may turn your straightening attempt into surprise ringlets, which is cute, but not exactly the assignment.
What You Need Before You Start
Gather your tools before heating anything. Once the curling iron is hot, you do not want to wander around searching for clips like a detective in a beauty-themed mystery movie.
- A curling iron with a clamp
- Heat protectant spray, cream, or serum
- Wide-tooth comb or detangling brush
- Hair clips for sectioning
- Blow dryer, if your hair is damp
- Lightweight finishing serum or anti-frizz spray
- Heat-resistant glove, if available
- Mirror and a safe heat-proof surface
How to Make Hair Straight with a Curling Iron: 12 Steps
Step 1: Choose the Right Curling Iron
Start with the right tool. A curling iron with a clamp works best because the clamp helps hold each section against the heated barrel while you glide downward. A wand without a clamp is much harder to use for straightening and increases the chance of awkward bends, uneven tension, or accidental burns.
For smoother results, choose a curling iron with adjustable heat. Fine, fragile, color-treated, or chemically processed hair should use lower heat. Medium or healthy hair can usually handle moderate heat. Thick or coarse hair may need slightly higher heat, but “higher” does not mean “volcano mode.” The goal is to use the lowest temperature that gives results.
Step 2: Start with Clean, Conditioned Hair
Clean hair straightens more evenly because there is less product buildup blocking the tool from gliding smoothly. Wash your hair with a shampoo that fits your hair type, then use conditioner mainly from mid-lengths to ends. Heavy conditioner at the roots can make hair look flat or greasy after heat styling.
If your hair is dry, frizzy, curly, or textured, a moisturizing conditioner or leave-in conditioner can help soften the hair before styling. Just remember: products should support the process, not turn your hair into a tiny salad covered in too much dressing.
Step 3: Dry Your Hair Completely
Never use a curling iron on wet or damp hair. Direct heat on wet hair can cause steam, frizz, roughness, and serious damage. Hair may feel dry on the outside while still holding moisture inside, so check carefully before you begin.
If you wash your hair first, gently squeeze out water with a microfiber towel or soft cotton T-shirt. Avoid rough towel rubbing, which can lift the cuticle and create frizz. Let your hair air dry or blow-dry it fully using a nozzle attachment and medium heat. Aim the airflow downward to encourage a smoother finish.
Step 4: Detangle from Ends to Roots
Before heat styling, detangle your hair completely. Start at the ends, work through knots gently, and move upward toward the roots. This keeps breakage to a minimum and helps the curling iron glide without snagging.
Skipping detangling is like trying to iron a wrinkled shirt while it is still crumpled in the laundry basket. Technically, heat is involved. Practically, chaos wins.
Step 5: Apply Heat Protectant Evenly
Heat protectant is not optional. It creates a protective layer that helps reduce moisture loss and surface damage from hot tools. Use a spray, cream, or serum made for heat styling. Apply it evenly in sections so the product reaches the inner layers, not just the hair sitting politely on top.
For curling irons, apply heat protectant to dry hair unless the product label says otherwise. If the product makes your hair feel damp, wait until it is completely dry before using the iron. Hot metal plus wet product is not a spa treatment; it is a shortcut to frizz and possible damage.
Step 6: Divide Hair into Manageable Sections
Sectioning is where the magic becomes organized. Divide your hair into four to six main sections, depending on thickness. Clip away the top layers and begin with the lowest layer near the nape of your neck.
For each pass, work with a small subsection about 1 inch wide. Thick sections may look faster, but they often require repeated heat because the warmth does not reach every strand evenly. Smaller sections take more time upfront but usually give smoother results with fewer passes.
Step 7: Set the Correct Temperature
Set your curling iron to the lowest effective temperature for your hair type. Fine or damaged hair should stay on low heat. Normal or medium hair can use moderate heat. Thick, coarse, or resistant hair may require higher heat, but keep it controlled and avoid max settings unless a professional recommends it for your specific hair.
A helpful rule: if you need several passes to straighten one small section, raise the temperature slightly. If your hair smells hot, feels rough, or looks dull after one pass, lower the heat immediately. Your hair should not smell like a toaster auditioning for a salon commercial.
Step 8: Clamp Near the Roots Without Touching the Scalp
Take one small section and place it between the curling iron clamp and barrel near the roots. Keep the iron at least half an inch away from your scalp. Curling irons and scalps are not friends; they are coworkers who need personal space.
Close the clamp gently. Do not squeeze aggressively. Too much pressure can create dents, especially near the roots. Hold the section with light tension so the hair stays smooth as you move the iron downward.
Step 9: Glide the Iron Slowly Down the Hair
Instead of wrapping the hair around the barrel, pull the curling iron down the section in a smooth, controlled motion. Keep the barrel vertical or slightly angled, and avoid twisting your wrist. The goal is to smooth the strand, not curl it.
Move slowly enough for the heat to work, but not so slowly that you cook the section. For most hair, one steady pass is better than several rushed passes. If the section still has a bend, let it cool for a few seconds, then repeat once if needed.
Step 10: Smooth the Ends Carefully
The ends of your hair are usually the oldest and most fragile part, so treat them like delicate antique lace, not stubborn weeds. As you reach the ends, keep the iron moving. Do not clamp and pause at the tips.
If you want a naturally straight finish, glide straight down. If you want a soft salon-style look, slightly turn the curling iron inward at the very end. This creates a gentle curve instead of a pin-straight edge. The result looks polished without making your hair appear stiff.
Step 11: Let Each Section Cool Before Touching It
Heat shapes hair, but cooling helps set that shape. After you straighten a section, let it cool before brushing, touching, or flipping it dramatically over your shoulder. Dramatic flipping can wait. The hair needs a moment.
Once the section cools, you can lightly comb it with your fingers or a wide-tooth comb. Avoid over-brushing immediately, especially if your hair is frizz-prone. Too much handling can puff the style back up.
Step 12: Finish with a Lightweight Product
When all sections are straightened, apply a small amount of lightweight serum, smoothing cream, or anti-frizz spray. Focus on the mid-lengths and ends. Avoid applying heavy oils near the roots unless you want your fresh style to look like it has already survived three humid afternoons and a nap.
Finish by checking the back of your hair with a mirror. Look for hidden waves, dents, or sections that escaped styling like tiny fugitives. Touch up only where necessary, using quick passes and low heat.
Common Mistakes to Avoid
Using the Curling Iron on Damp Hair
This is the biggest mistake. Hair must be fully dry before a curling iron touches it. If you hear sizzling, stop immediately. That sound is not “styling progress.” It is your hair asking for better working conditions.
Using Too Much Product
Too much serum, hairspray, or cream can make hair sticky and cause the curling iron to drag. Use lightweight products and apply them in small amounts. You can always add more later, but removing excess product usually requires starting over.
Taking Sections That Are Too Large
Large sections may save time in theory, but they often lead to uneven results. The outside gets hot while the inside stays wavy. Use smaller subsections for smoother, longer-lasting straightness.
Holding the Iron in One Spot
A curling iron should keep moving when used for straightening. Holding it in one place can create dents, bends, or heat damage. Smooth, steady movement is the secret.
Skipping Heat Protectant
Heat protectant helps reduce damage from hot tools. Skipping it once may not ruin your hair, but making it a habit can lead to dryness, split ends, frizz, and breakage over time.
Best Hair Types for This Method
This technique works best on straight, slightly wavy, or loose curly hair. It can also help smooth bangs, face-framing pieces, and flipped-out ends. For thick curls, coils, or highly textured hair, a curling iron may not provide enough flat tension to fully straighten the hair. In that case, a blow dryer with a concentrator, a paddle brush, or a flat iron may be more effective.
If your hair is bleached, fragile, breaking, or recently chemically treated, use extra caution. Lower the heat, reduce passes, and avoid straightening too often. When hair is already stressed, hot tools should be occasional guests, not roommates.
How Long Will the Straight Style Last?
How long your straightened style lasts depends on your hair type, humidity, product use, and daily habits. Fine hair may stay smooth all day but lose volume quickly. Wavy hair may last one to two days with the right prep. Curly or textured hair may begin to revert sooner, especially in humid weather or after sweating.
To extend the style, sleep on a silk or satin pillowcase, wrap your hair loosely, and avoid moisture. Shower steam, rain, and sweaty workouts can all encourage your natural texture to return. Hair is loyal to its roots, literally.
How Often Should You Straighten Hair with a Curling Iron?
Heat styling should not be an everyday habit if you want to maintain healthy-looking hair. Try to limit hot tool use and give your hair recovery days. On non-heat days, consider loose braids, buns, claw clips, heatless rollers, or simply wearing your natural texture.
If you do use hot tools regularly, pay attention to signs of damage: rough texture, increased tangling, dullness, split ends, breakage, or curls that no longer bounce back. These are clues that your hair needs less heat and more conditioning.
Extra Tips for a Smoother Finish
- Use a larger curling iron barrel for straighter results.
- Keep the clamp loose to avoid dents.
- Work in small sections for better control.
- Use a comb before each pass to align the strands.
- Point the barrel downward as you glide.
- Let hair cool before brushing.
- Use humidity-resistant finishing spray in damp weather.
Experience-Based Advice: What It Is Really Like to Straighten Hair with a Curling Iron
The first time you try to straighten hair with a curling iron, expect a small learning curve. Not a mountain. More like a slightly annoying hill wearing lip gloss. The tool feels familiar if you have curled your hair before, but the movement is different. Instead of wrapping, rolling, and holding, you are clamping lightly and gliding downward. That one change makes all the difference.
One of the most useful lessons is that the curling iron should not be treated like a flat iron. A flat iron presses hair between two heated plates. A curling iron only gives you one hot barrel and a clamp, so tension matters. If you pull the section gently downward while gliding the iron, the hair smooths better. If you hold the hair loosely and let it wobble around, the result can look uneven, with random bends that seem personally committed to ruining the vibe.
Another real-world tip: the roots are the trickiest part. If you clamp too close to the scalp, you risk burning yourself. If you start too far away, the roots stay puffy while the lengths look smooth. The sweet spot is close enough to smooth the top area but far enough to protect your scalp. Practicing on a cool, unplugged curling iron can help you learn the angle before heat enters the situation like a dramatic guest star.
The ends also need special attention. Many people accidentally curl the ends under too much because the wrist naturally wants to rotate the barrel. That creates a polished curve, which can be pretty, but it may not look fully straight. If you want a straighter finish, keep your wrist steady and pull the iron straight down. For a softer look, rotate only slightly at the last inch. Tiny movement, big difference.
Product amount matters more than people think. Too little heat protectant leaves hair vulnerable. Too much can make the iron drag or create a coated feeling. The best approach is a light, even mist or a small amount of cream distributed through sections. Let it dry completely before using the curling iron. Hair should feel smooth, not wet, sticky, or crunchy.
Humidity is another reality check. You can do every step correctly, admire your smooth hair in the mirror, step outside, and suddenly your hair remembers its original personality. This is normal. A lightweight anti-humidity spray can help, but it cannot defeat tropical moisture with superhero-level certainty. In humid weather, aim for smooth and natural rather than perfectly glass-straight.
Finally, the biggest experience-based lesson is knowing when to stop. If a section does not become perfectly straight after one or two passes, do not keep attacking it with heat. Let it cool, move on, and blend it later. Hair styling should improve your look, not start a long-term feud with your ends. A curling iron can absolutely help straighten hair in a pinch, but healthy hair habits are what keep the style looking good next week, next month, and beyond.
Conclusion
Straightening hair with a curling iron is possible when you use the right tool, prep your hair properly, and keep heat under control. The method works best with a clamp curling iron, small sections, steady tension, and a smooth downward glide. It may not replace a flat iron for every hair type, but it is a smart backup technique for travel, quick touch-ups, bangs, ends, and soft straight styles.
The golden rules are simple: dry your hair completely, use heat protectant, avoid high heat when lower heat works, keep the iron moving, and give your hair breaks between heat sessions. Your curling iron may have been born to curl, but with good technique, it can straighten up and behave beautifully.