Noise has a rude little habit: it never knocks before entering. It slips under doors, sneaks through windows, vibrates through floors, and somehow finds the one gap behind the baseboard you forgot existed. Whether you are building a home office, podcast studio, nursery, bedroom, gaming room, music space, or simply a peaceful corner where the neighbor’s leaf blower cannot audition for a heavy metal band, learning how to soundproof a room from floor to ceiling can make your home dramatically more comfortable.
True soundproofing is not the same as hanging a few foam panels and hoping the laws of physics take the afternoon off. Foam can help reduce echo inside a room, but blocking sound transmission requires a smarter strategy: seal air gaps, add mass, reduce vibration, absorb sound inside cavities, and treat every weak point from the floor to the ceiling. In other words, soundproofing is less “magic blanket” and more “tiny construction detective work.”
This guide walks you through practical, realistic soundproofing methods for walls, doors, windows, ceilings, floors, and finishing details. You will learn what actually works, what only looks impressive online, and how to choose the right approach for your budget.
What Soundproofing Really Means
Before buying materials, it helps to understand the difference between soundproofing and sound absorption. Soundproofing blocks sound from entering or leaving a room. Sound absorption reduces echo, reflection, and harshness inside the room. Both are useful, but they solve different problems.
For example, acoustic foam on the wall may make your voice sound cleaner during a video call, but it will not stop a barking dog outside the window from joining the meeting. To reduce outside noise, you need barriers, seals, and construction methods that limit sound transmission.
The Four Main Principles of Room Soundproofing
Most effective soundproofing strategies rely on four principles:
- Mass: Heavy materials resist vibration and block airborne noise better than lightweight materials.
- Sealing: Sound travels through air, so gaps around doors, windows, outlets, and trim can leak noise.
- Decoupling: Separating surfaces reduces vibration transfer through walls, ceilings, and floors.
- Absorption: Insulation and soft materials help reduce sound energy inside cavities and rooms.
The best results usually come from combining these methods. Think of it like making a sandwich, except instead of turkey and cheese, you are layering drywall, acoustic sealant, insulation, and the sweet hope of silence.
Start with a Noise Audit
Before tearing into walls, spend time identifying where the sound is coming from. Is it traffic through a window? Footsteps from above? Voices through a shared wall? A loud HVAC return? Your soundproofing plan should match the type of noise you are fighting.
Airborne Noise vs. Impact Noise
Airborne noise includes voices, music, television, traffic, and barking dogs. It travels through the air and passes through weak barriers. Impact noise includes footsteps, dropped objects, moving furniture, and exercise equipment. It travels through structure, which makes it harder to stop after the building is already finished.
If the problem is airborne noise, focus on sealing gaps and adding mass. If the problem is impact noise, focus on floors, underlayment, decoupling, rugs, ceiling treatments, and vibration isolation.
Soundproofing Doors: The Biggest Little Problem
Doors are often the weakest point in a room. Many interior doors are hollow-core, lightweight, and surrounded by small air gaps. That is convenient for opening and closing them, but terrible for keeping sound out. A thin hollow door can turn your “quiet room” into an acoustic suggestion box.
Upgrade to a Solid-Core Door
One of the most effective door upgrades is replacing a hollow-core door with a solid-core door. Solid-core doors have more mass, which helps block voices, music, and general household noise. This is especially useful for bedrooms, offices, studios, and media rooms.
Seal the Door Perimeter
Even a heavy door will underperform if sound can slip around the edges. Add high-quality weatherstripping around the jamb and install a door sweep or automatic door bottom to close the gap at the floor. For better results, use a threshold seal so the sweep has something firm to press against.
For small cracks between the door frame and surrounding wall, use acoustic sealant. Unlike standard caulk that can harden and crack, acoustic sealant stays flexible, helping maintain a better long-term sound seal.
Soundproofing Windows Without Living in a Cave
Windows are wonderful for sunlight, fresh air, and pretending you will start jogging tomorrow. Unfortunately, they are also common sound leaks. Single-pane windows, loose frames, and thin glass can let in traffic, construction, lawn equipment, and neighborhood noise.
Seal Window Gaps First
Start with the simplest step: seal air leaks. Use weatherstripping where the sash meets the frame and acoustic caulk around stationary gaps. If you can feel air movement, sound is probably traveling through that path too.
Add Window Inserts
Interior window inserts can create an additional barrier and air space, which helps reduce sound transmission. These are especially useful for renters or homeowners who do not want to replace windows. A tight seal matters; a loose insert is basically a decorative apology.
Use Heavy Curtains Strategically
Heavy curtains or acoustic drapes can reduce reflections and slightly soften incoming noise, but they should not be your only window soundproofing solution. They work best when paired with sealing, inserts, or better glazing.
Soundproofing Walls: Where the Real Work Begins
Walls are where soundproofing can become more serious. If you are dealing with a shared wall, noisy hallway, home theater, music room, or office, you may need more than surface treatments.
Seal Cracks, Outlets, and Penetrations
Start with the overlooked details. Remove outlet covers and inspect electrical boxes. Check baseboards, corners, pipe penetrations, cable openings, and cracks around trim. Use acoustic sealant for gaps and putty pads for electrical boxes when appropriate. Sound loves shortcuts, and wall penetrations are its favorite little tunnels.
Add Mass with Extra Drywall
Adding a second layer of drywall can significantly improve sound isolation, especially when combined with damping compound between layers. A common soundproofing upgrade is a second layer of 5/8-inch drywall because it adds useful mass. Stagger seams between layers and seal edges carefully.
Use Damping Compound
Damping compound between drywall layers helps convert vibration into tiny amounts of heat. No, your wall will not become a toaster. The point is to reduce vibration energy so less sound transfers through the assembly.
Consider Decoupling for Serious Projects
For higher-performance soundproofing, decoupling methods such as resilient channels, sound isolation clips, hat channels, or staggered-stud walls can reduce vibration transfer. These methods are more involved and must be installed correctly. A single misplaced screw can create a rigid connection that weakens performance, which is acoustics’ way of saying, “Nice try.”
Soundproofing the Ceiling
Ceilings matter when noise comes from upstairs neighbors, kids, pets, plumbing, or footsteps. Ceiling soundproofing can be tricky because impact noise travels through structure. Still, the right combination of mass, insulation, sealing, and decoupling can help.
Add Insulation in the Ceiling Cavity
If the ceiling is open during renovation, install mineral wool or fiberglass insulation in the joist cavity. Insulation does not block sound by itself, but it helps absorb energy inside the cavity and improves the overall assembly when paired with drywall and sealing.
Install Sound Isolation Clips and Channels
For stronger results, attach sound isolation clips and hat channels before installing new drywall. This decouples the ceiling surface from the framing above, reducing vibration transfer. It is one of the better options for serious ceiling soundproofing, especially under bedrooms, apartments, or media rooms.
Use Multiple Layers of Drywall
Adding two layers of 5/8-inch drywall with damping compound can improve sound isolation. Seal the perimeter with acoustic sealant and avoid leaving gaps around light fixtures, ducts, and vents.
Soundproofing the Floor
Floors are important for both airborne sound and impact noise. If you are trying to keep sound from traveling down, or reduce noise coming up from below, treat the floor as part of the whole room system.
Use Rugs and Thick Pads
The easiest floor upgrade is a dense rug with a thick felt or rubber rug pad. This helps reduce impact noise inside the room and softens reflections. It is not a complete soundproofing solution, but it is affordable, renter-friendly, and much easier than rebuilding the floor. Your downstairs neighbor may not send flowers, but they might stop glaring in the hallway.
Add Acoustic Underlayment
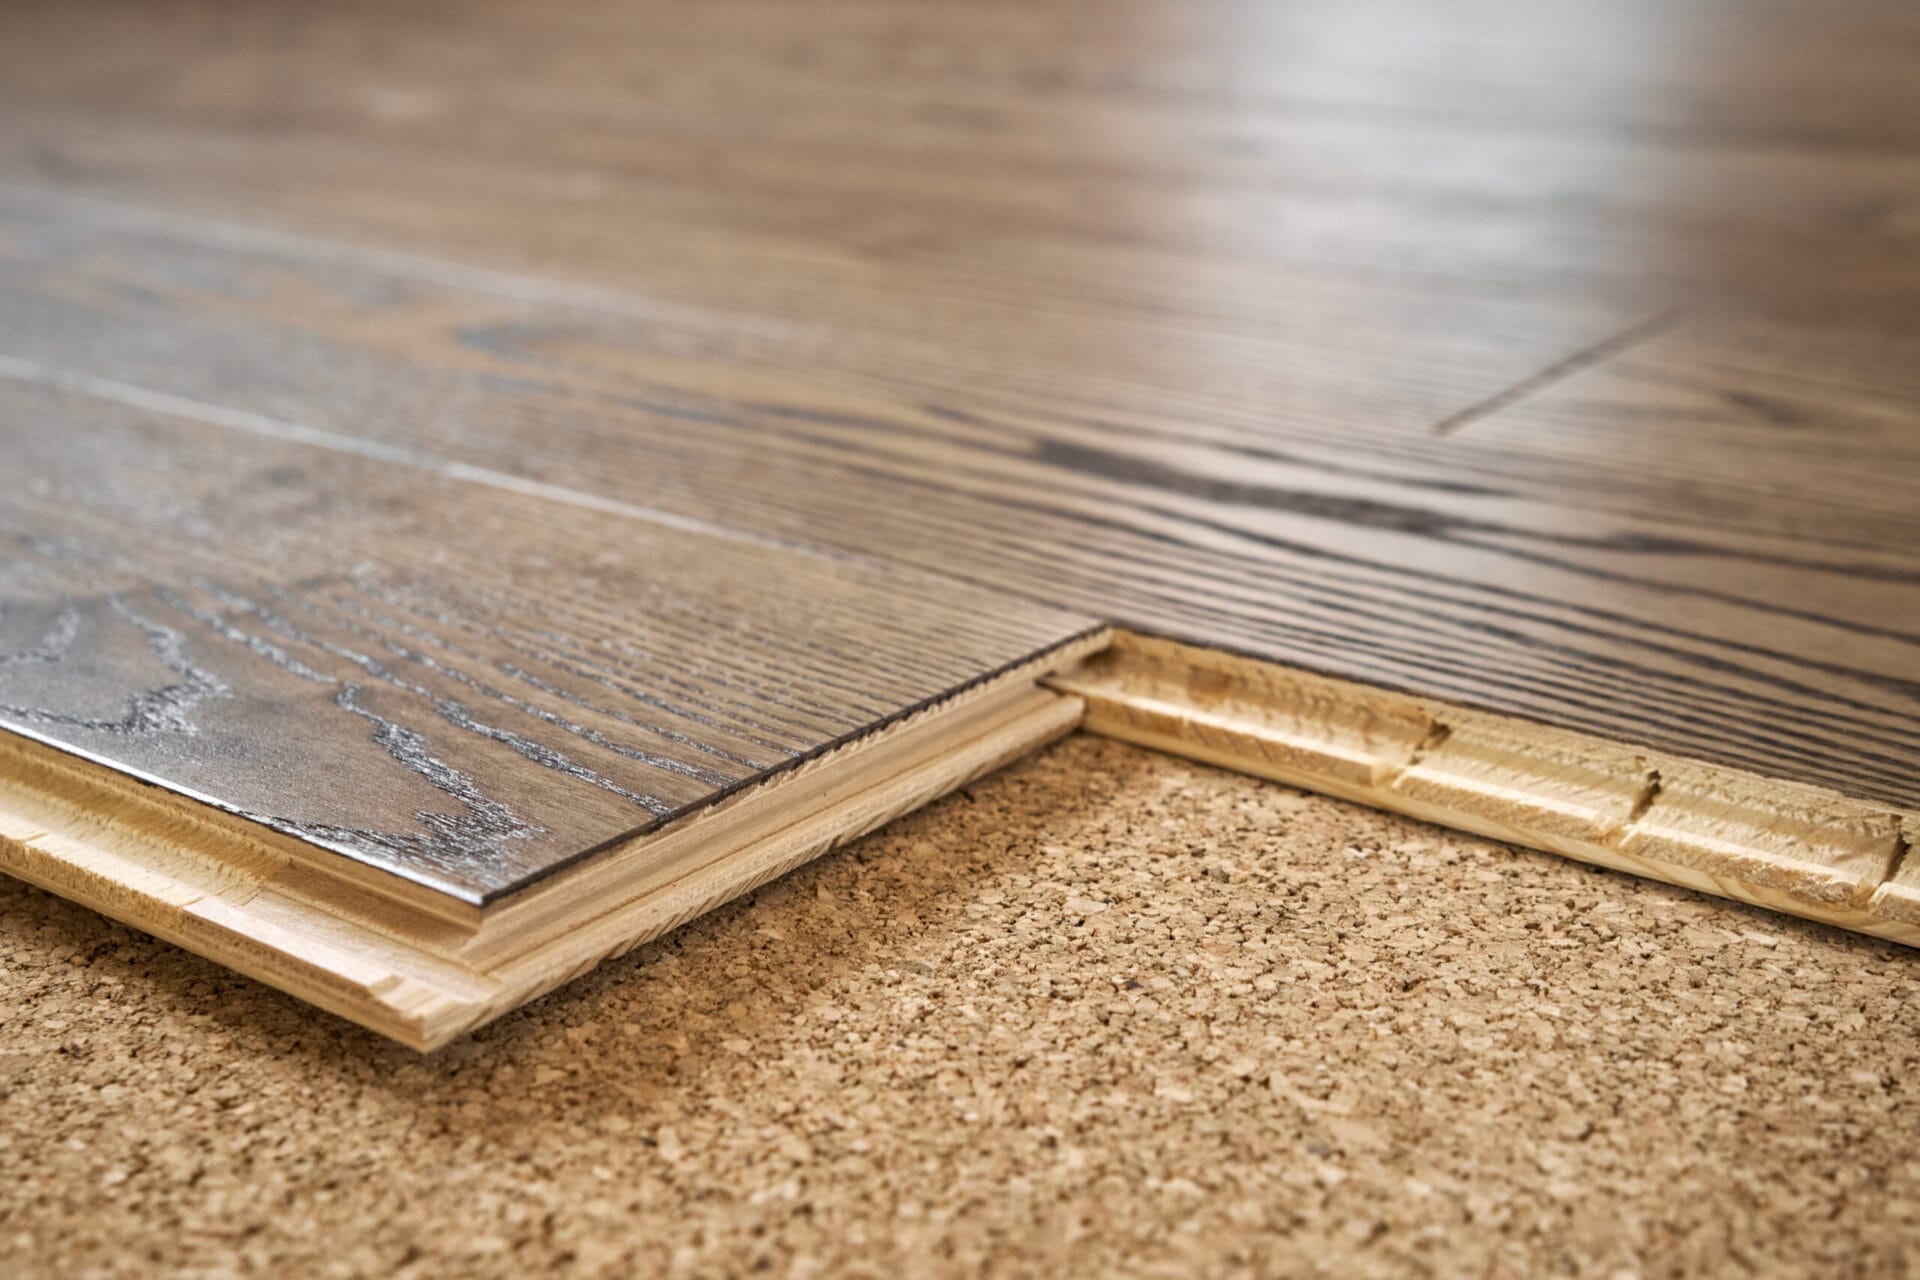
If you are installing new flooring, use acoustic underlayment designed for sound control. Cork, rubber, felt, and specialized acoustic mats can reduce impact noise when properly matched to the flooring system. Always check flooring manufacturer requirements, especially for vinyl plank, laminate, engineered hardwood, or tile.
Float the Floor for High Performance
For studios, theaters, and high-end sound isolation, a floating floor can help reduce vibration transfer. This typically involves isolation pads, sleepers, underlayment, and layered subfloor materials. It is more expensive and complex, but it can be worth it when performance matters.
Do Acoustic Panels Soundproof a Room?
Acoustic panels are useful, but they are often misunderstood. They reduce echo and improve the sound inside the room. They are excellent for recording, streaming, music practice, home theaters, and offices where speech clarity matters. However, they do not replace mass, sealing, or decoupling.
Use acoustic panels after you address sound leaks. Place panels at reflection points on walls, add bass traps in corners if low-frequency buildup is a problem, and consider ceiling clouds for rooms with hard floors and bare walls. The result is a room that sounds calmer inside, even if the panels are not doing the heavy lifting of blocking outside noise.
HVAC, Vents, and Flanking Paths
Sound does not always travel straight through the wall you suspect. It can move through ducts, ceiling cavities, floors, shared framing, recessed lights, and gaps behind trim. These indirect routes are called flanking paths, and they can ruin an otherwise solid soundproofing project.
Treat Air Vents Carefully
Never block required ventilation just to reduce noise. Instead, consider lined ductwork, flexible duct sections, sound baffles, or professional HVAC solutions. A silent room with bad air is not a victory; it is just a very quiet mistake.
Seal Around Fixtures
Recessed lights, ceiling fans, pipe penetrations, and wall plates can all create weak points. Use appropriate fire-rated or acoustic materials where required, and follow local building codes. When in doubt, hire a qualified contractor.
Best Soundproofing Materials for a Room
The right materials depend on your noise problem, budget, and whether you own or rent. Here are common options:
- Acoustic sealant: Seals gaps while staying flexible.
- Weatherstripping: Closes gaps around doors and operable windows.
- Solid-core doors: Add mass and block more sound than hollow-core doors.
- 5/8-inch drywall: Adds mass to walls and ceilings.
- Mineral wool or fiberglass insulation: Absorbs sound inside cavities.
- Damping compound: Reduces vibration between drywall layers.
- Sound isolation clips and channels: Decouple drywall from framing.
- Acoustic underlayment: Reduces floor impact noise.
- Acoustic panels: Improve interior sound quality and reduce echo.
Budget-Friendly Soundproofing Plan
If you want noticeable improvement without a full remodel, start with the weak points:
- Seal door gaps with weatherstripping and a door sweep.
- Seal window gaps with weatherstripping and acoustic caulk.
- Add thick rugs and rug pads.
- Use heavy curtains over windows.
- Add bookshelves, upholstered furniture, and soft décor to reduce reflections.
- Seal cracks around trim, outlets, and wall penetrations.
This approach will not create a recording-studio bunker, but it can make a bedroom, office, or apartment feel noticeably quieter.
Advanced Soundproofing Plan
For a serious room soundproofing project, use a full-room strategy:
- Replace hollow-core doors with solid-core doors.
- Seal the door with compression seals and an automatic door bottom.
- Add window inserts or upgrade windows.
- Install additional drywall with damping compound on walls.
- Use insulation inside wall and ceiling cavities.
- Install sound isolation clips and channels for walls or ceilings when needed.
- Add acoustic underlayment or floating floor systems.
- Treat flanking paths through vents, outlets, and fixtures.
The more complete the system, the better the results. Soundproofing one wall while ignoring the door, ceiling, and window is like wearing a raincoat with flip-flops in a thunderstorm. Technically, you tried.
Common Soundproofing Mistakes to Avoid
Mistake 1: Confusing Foam with Soundproofing
Foam reduces echo; it does not block much sound transmission. Use it for room acoustics, not as your main sound barrier.
Mistake 2: Leaving Gaps Unsealed
Small gaps can seriously reduce performance. Sound follows air leaks, so sealing is not optional.
Mistake 3: Treating Only One Surface
Noise can travel through floors, ceilings, doors, ducts, windows, and framing. Treat the room as a system.
Mistake 4: Ignoring Low Frequencies
Bass from music, subwoofers, and mechanical equipment is harder to block because low-frequency energy travels through structure. More mass, decoupling, and damping are usually required.
Mistake 5: Blocking Ventilation
Do not stuff towels into vents or permanently block airflow. Use proper HVAC noise control methods instead.
Real-World Experience: What Actually Makes a Room Quieter
In real homes, soundproofing rarely happens in one dramatic weekend montage. It usually happens in layers. The first layer is awareness. You stand in the room, close the door, and listen like a suspicious detective in a movie. Suddenly, you hear everything: the gap under the door, the window frame that rattles when a truck passes, the outlet on the shared wall, the ceiling vent that seems to have a direct subscription to hallway gossip.
One of the most practical experiences many homeowners have is discovering that the door matters more than expected. A room with decent walls but a hollow-core door can still feel noisy because the door acts like the weak link. Replacing it with a solid-core door and sealing the perimeter often creates an immediate improvement. It is not glamorous work, but it is satisfying. Few things feel as heroic as installing a door sweep and realizing the hallway noise just lost its VIP access.
Windows are another lesson in humility. Heavy curtains can help the room feel softer, but if the window has gaps, the noise still gets through. A proper seal around the sash and frame can make more difference than decorative fabric alone. Window inserts can be especially helpful when outside traffic or neighborhood noise is the main problem. The key is fit. A window insert that does not seal tightly is like putting a lid on a jar and then politely leaving it half open.
Floors are where expectations need to stay realistic. A rug and dense rug pad can reduce footstep noise inside the room and make the space feel warmer, quieter, and less echoey. But if heavy impact noise is coming from above, treating only your floor will not solve the whole problem. Impact noise is structural, which means the best fix is often at the source: carpet, underlayment, or isolation above. When that is not possible, ceiling upgrades with insulation, clips, channels, and drywall can help, but they require more investment.
Another real-world lesson is that acoustic panels are wonderful when used correctly. They make offices, studios, and media rooms sound more polished by reducing echo. Video calls become clearer. Recordings sound less boxy. Movies feel more controlled. But acoustic panels do not magically stop the neighbor’s television from entering through a shared wall. They are finishing tools, not fortress walls.
The best experience-based advice is to start with leaks before luxury. Seal the door. Seal the windows. Seal cracks. Add soft surfaces. Then decide whether you need construction-level upgrades. Many people skip straight to expensive products when a tube of acoustic sealant and a better door sweep would have solved a surprising amount of the problem. Soundproofing rewards patience, observation, and a willingness to fix boring details. The boring details, naturally, are where the noise has been hiding this entire time.
Conclusion
Soundproofing a room from floor to ceiling is not about one miracle product. It is about building a complete system that blocks, seals, absorbs, and controls vibration. Start by identifying your noise source, then treat the biggest weak points first: doors, windows, gaps, floors, walls, ceilings, and flanking paths.
For light noise problems, weatherstripping, door sweeps, rugs, curtains, and acoustic sealant may be enough to make the room more peaceful. For serious sound isolation, you may need added drywall, damping compound, insulation, decoupled assemblies, upgraded doors, window inserts, and acoustic underlayment. The right solution depends on your space, your budget, and how much noise you are trying to defeat.
Quiet does not happen by accident. It is designed, sealed, layered, and occasionally caulked with the determination of a person who has heard one leaf blower too many. With the right plan, your room can become calmer, more private, and far less interested in broadcasting every sound from the outside world.