If your presentation feels flatter than a pancake left under a textbook, video might be the fix. A well-placed clip can wake up your audience, explain a concept faster than three crowded bullet points, and give your voice a tiny break when your throat starts filing complaints. The good news? Google Slides makes adding video surprisingly simple once you know where the buttons live.
This beginner’s guide walks you through exactly how to insert videos into Google Slides, when to use YouTube versus Google Drive, how to adjust playback, and what to do when your video decides to be dramatic five minutes before the meeting. We’ll keep it practical, beginner-friendly, and just a little funbecause presentation stress is already doing enough.
Why Add Video to Google Slides in the First Place?
Before we get into the “click here, then click there” part, let’s talk strategy. Adding video is not just about making slides look fancy. It serves a real purpose when used well.
Video can explain faster than text
If you’re demonstrating software, showing a quick tutorial, sharing customer feedback, or highlighting a product, a short video often communicates more clearly than a paragraph ever could. Instead of describing a process in painful detail, you can simply show it.
It keeps attention from wandering off
Let’s be honest: audiences are brave, but not always focused. A video clip changes the pace of a presentation. That shift helps reset attention, especially during longer decks, training sessions, webinars, and classroom lessons.
It adds proof, emotion, and polish
A testimonial video adds credibility. A product demo adds confidence. A short clip from a campaign or company update adds energy. Used intentionally, video makes your Google Slides presentation feel less like a document on life support and more like an experience.
What You Need Before You Insert a Video
Google Slides is friendly, but it does expect you to bring the right type of video to the party. Before inserting anything, make sure you have one of these ready:
- A YouTube video you want to search for inside Slides
- A YouTube link you can paste by URL
- A video file stored in Google Drive
If your video is on your computer but not yet in Drive, upload it to Google Drive first. That’s the easiest way to use local video files inside a presentation. Common Google Drive-friendly video formats include MP4, MOV, AVI, WMV, FLV, WebM, and Ogg, so most standard video files should work without too much fuss.
One more important detail: if you insert a video from Google Drive and plan to share the deck with other people, they may also need permission to access that video file. A gorgeous embedded clip is a lot less impressive when everyone else sees a blank box and mild disappointment.
Method 1: How to Insert a YouTube Video by Searching Inside Google Slides
This is the easiest option when you know the kind of video you want but do not already have a specific link copied.
- Open your Google Slides presentation.
- Click the slide where you want the video to appear.
- In the top menu, click Insert.
- Select Video.
- Stay on the Search YouTube tab.
- Type keywords into the search bar.
- Preview the available results.
- Click the video you want.
- Select Insert or Select.
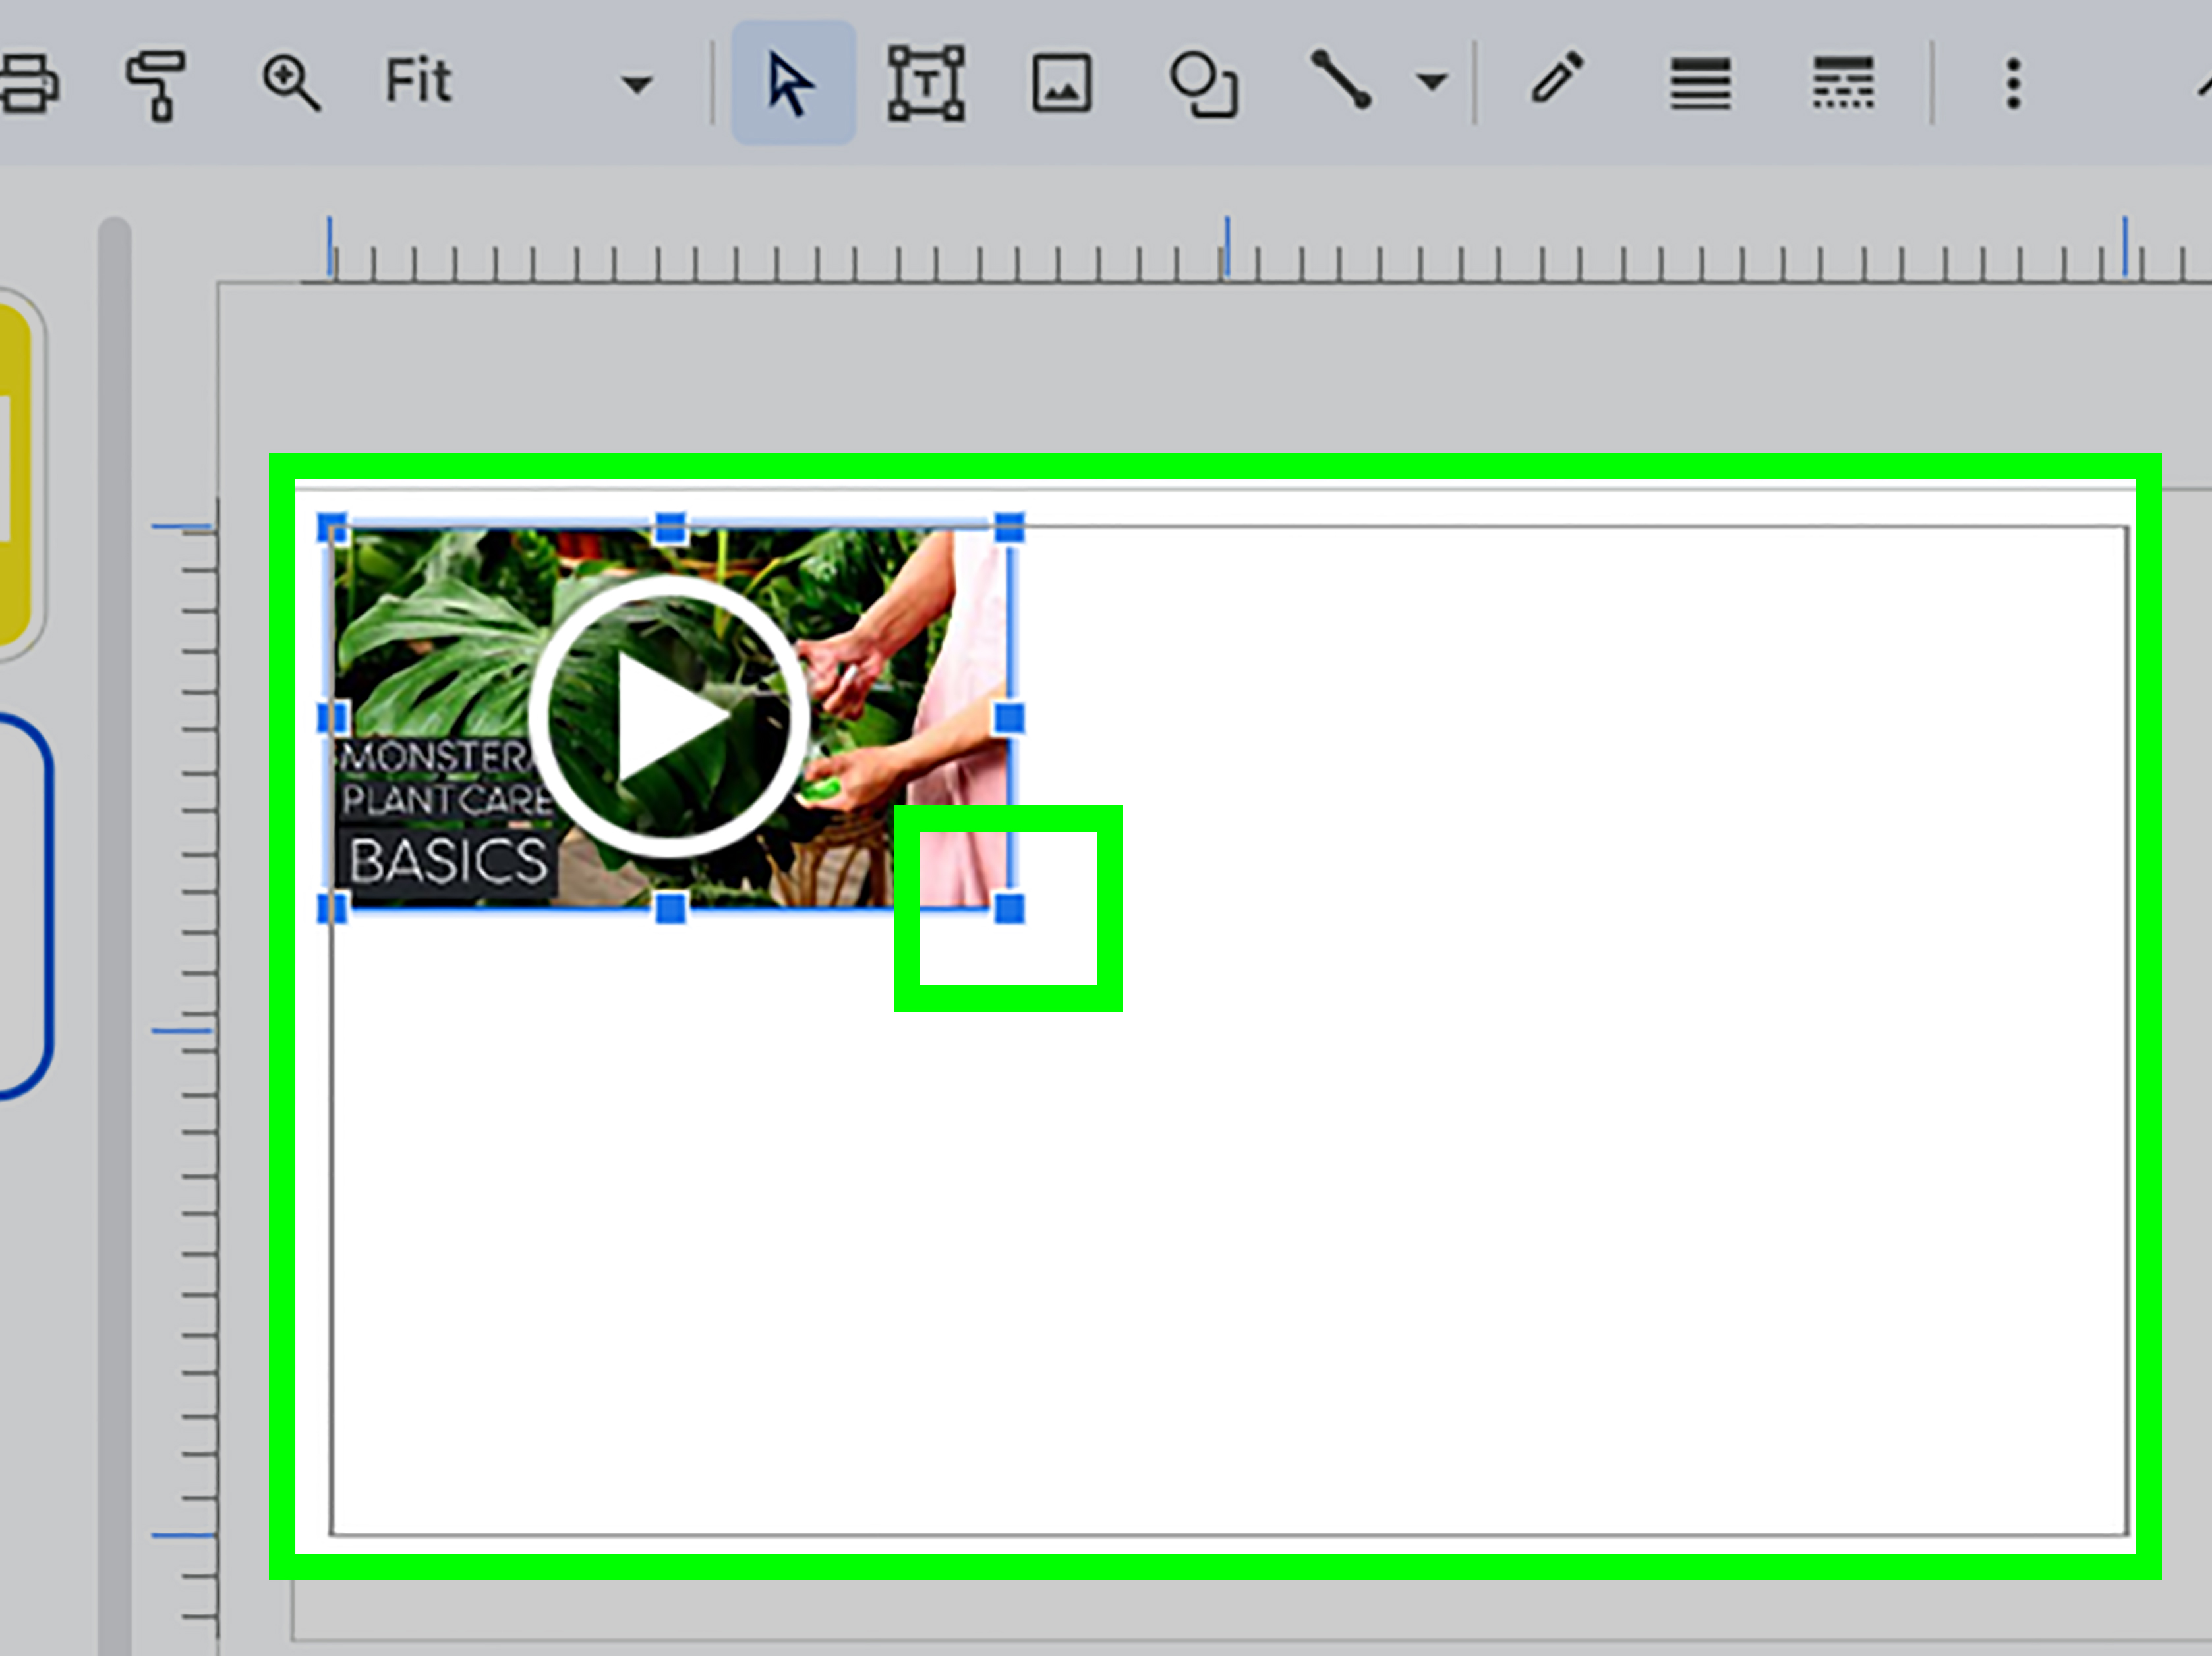
That’s it. Your video will appear on the slide as an embedded object that you can resize and move around. This method is especially useful for classroom content, public tutorials, interviews, explainers, and official brand videos already hosted on YouTube.
Example: If you’re making a training deck about cybersecurity awareness, you could search YouTube directly inside Slides for a short clip on phishing red flags and insert it without ever leaving the presentation.
Method 2: How to Insert a Video by URL
If you already know exactly which video you want, using a URL is faster than searching. This works best when you have a YouTube link ready to paste.
- Open your presentation in Google Slides.
- Go to the slide where the video should appear.
- Click Insert > Video.
- Choose the By URL tab.
- Paste the video link into the field.
- Wait for the preview to appear.
- Click Select.
This is a great method when you’ve already picked your clip during research and do not want to search for it again. It also reduces the chance of accidentally inserting the wrong video, which is especially important when your search phrase is something broad like “best marketing video.” That could go anywhere. Some places are educational. Some places are… not.
Best time to use the URL method
Use it when you already have a saved link in your notes, chat thread, content calendar, or draft outline. It is also ideal when you want a very specific YouTube video and do not trust search results to behave.
Method 3: How to Insert a Video From Google Drive
If the video is your own file, an internal company recording, or something you do not want to host publicly on YouTube, Google Drive is usually the better option.
Step 1: Upload the video to Google Drive
If the file is still sitting on your computer, upload it first:
- Open Google Drive.
- Click New.
- Select File upload.
- Choose your video file.
- Wait for it to finish processing.
Step 2: Insert the Drive video into Google Slides
- Return to your Google Slides presentation.
- Select the slide where you want the video.
- Click Insert > Video.
- Open the Google Drive tab.
- Choose the video from your Drive.
- Click Select.
This method is excellent for private training videos, team updates, product walkthroughs, and recorded presentations. If your organization blocks YouTube access or prefers internal hosting, Drive is your friend.
When Google Drive is the smarter choice
- When the video is private or internal
- When you want tighter control over file sharing
- When the clip is your original content
- When YouTube is unavailable or inappropriate for the setting
How to Resize, Move, and Clean Up the Video on the Slide
Once the video is inserted, do not just leave it awkwardly floating in the middle like it lost the rest of the layout. Make it fit your design.
Click the video once to select it. Then:
- Drag the corners to resize it
- Click and drag the object to reposition it
- Align it with nearby text or images for a cleaner look
- Keep enough white space so the slide does not feel crowded
A good rule of thumb: if the video is the star of the slide, make it large and give it breathing room. If it supports text, keep it smaller and let the message lead.
Simple layout ideas
Full-width demo slide: Use a large video centered on the slide with a short headline above it.
Side-by-side explainer slide: Put the video on the left and summary bullets on the right.
Quote plus clip slide: Add one strong sentence from the video speaker beside the embedded clip.
How to Control Video Playback in Google Slides
This is where beginners often level up. Inserting a video is easy. Making it behave is where the magic happens.
Select the video, then click Format options. In the sidebar, look for Video playback. Depending on your current interface and setup, you may see different playback choices, but the most important ones are these:
- Play on click: The video starts when you advance the slide. This is a common default.
- Play automatically: The video starts without extra clicks when you reach that slide.
- Play manually: The video starts only when you click directly on the embedded video.
If you want a smoother presentation, autoplay is often the best choice. It removes the awkward pause where you say, “And now let me just… click this… unless… okay, there it goes.” Nobody misses that part.
Can you play only part of a video?
In many workflows, yes. Google Slides users commonly set start and end times in video playback options to show only a selected segment from a longer clip. That is especially useful when the good part starts at 1:42 and the first 101 seconds are just branding, theme music, and dramatic drone footage over a parking lot.
If your Slides interface shows segment controls, trim the clip to the exact moment you need. That keeps presentations tighter and much more professional.
How to Share a Google Slides Deck With Embedded Video
This part matters more than most beginners realize.
When you share a presentation that includes a video from Google Drive, your viewers may need access to both:
- The presentation itself
- The embedded video file
Google often helps by suggesting permission updates through its access checker, but do not assume everything is fine. Test it. If your viewers cannot access the video, they may see a broken playback experience during the presentation.
Quick sharing checklist
- Open the presentation and click Share
- Confirm the intended audience has viewer access
- Check the Google Drive video’s sharing settings if it is private
- Open the deck in a different account or browser to test playback
This one habit saves a shocking number of presentation disasters.
Common Problems and Easy Fixes
The video will not insert
First, make sure you are using one of the supported methods: YouTube search, YouTube URL, or Google Drive. If the file is local, upload it to Drive first. Also confirm the browser is updated and your internet connection is not having an identity crisis.
The video will not play for other viewers
That is usually a permissions problem. Check whether the audience has access to the Google Drive file, not just the slide deck.
The video looks blurry or plays poorly
Playback quality can be affected by internet speed. Google Drive also notes that connection quality impacts playback experience. Test the presentation on the same network you plan to use live whenever possible.
The video is too long
Do not make your audience sit through a six-minute clip unless the whole thing is essential. Use a short segment or edit the original file before uploading it.
You need a web video that is not ideal for embedding
If direct embedding is not practical, use a screenshot thumbnail linked to the external video. It is less seamless, but sometimes it is the cleanest workaround.
Best Practices for Using Video in Presentations
- Keep clips short and purposeful
- Use video only when it strengthens the message
- Test audio and playback before presenting
- Prefer autoplay only when timing matters
- Do not overload multiple slides with videos
- Choose high-quality clips that match your audience and setting
The goal is not to turn your slideshow into a streaming platform. The goal is to make your point more clearly.
Beginner-Friendly Example Scenarios
For teachers
Insert a short science animation from YouTube into a lesson slide, then add two discussion questions under it. The video becomes the hook, and the slide becomes the activity.
For marketers
Add a 20-second campaign ad to a strategy deck. Follow it with a slide showing performance metrics. Now the room sees the creative and the results together.
For trainers
Upload a private screen recording to Google Drive, embed it into a team onboarding deck, and set it to play automatically on the correct slide. Clean, efficient, and no tab juggling.
For job seekers
Use a short portfolio clip in a presentation for an interview. A quick product demo or design walkthrough can say more than “I am detail-oriented” ever will.
Extra Experience: What Beginners Usually Learn the Hard Way
The first time most people add video to Google Slides, they assume the hard part is the insertion. It usually is not. The tricky part is everything around it: timing, permissions, slide design, and real-world presentation conditions.
One common beginner experience goes like this: you build a great-looking deck, insert a Google Drive video, and feel like a presentation wizard. Then meeting time arrives, you click the slide, and nothing happens. Why? The team can open the deck, but the embedded file is still restricted. Suddenly you are giving an impromptu TED Talk on “Why Testing Matters,” and not in a fun way. After that happens once, you never forget to verify sharing settings again.
Another very real experience is the autoplay surprise. Autoplay sounds wonderful in theory. In practice, if you are still speaking when the slide appears, the video can jump in like an overly enthusiastic coworker who answers before the question is finished. Beginners often learn to use autoplay only when the transition is planned. If you need to introduce the clip first, manual or on-click playback gives you better control.
Then there is the issue of video length. New presenters tend to think, “This three-minute clip is amazing. Everyone will love it.” Sometimes they do. More often, the room starts checking phones around minute one and mentally moving to a farm upstate by minute two. Short clips win. A 15- to 45-second segment usually has more punch than a long video that swallows your momentum. If the point can be made with one strong moment, use one strong moment.
Many beginners also discover that slide layout matters more than expected. They drop a video onto a text-heavy slide, and suddenly the whole thing looks like a garage sale. A better approach is to let the video breathe. Give it space. Reduce nearby text. Use one headline, one takeaway, and the clip. The cleaner the slide, the more professional the presentation feels.
There is also the “conference room reality check.” A video that plays perfectly on your home Wi-Fi might stutter on weak office internet or classroom bandwidth. That is why experienced presenters test early, test again, and keep a backup plan. Sometimes that means storing the file in Drive, bringing a second device, or having a static screenshot with a link ready just in case. Glamorous? No. Smart? Absolutely.
Over time, most users settle into a simple rhythm. Public clip? Use YouTube. Private clip? Use Google Drive. Need a fast impact? Keep it short. Need control? Adjust playback settings. Need confidence? Test it in presentation mode before humans are watching. Once you’ve done it a few times, inserting videos into Google Slides feels less like a technical challenge and more like a creative tool. And that’s when presentations start getting a lot more interesting.
Conclusion
Learning how to insert videos into Google Slides is one of those small skills that pays off quickly. Whether you are creating a classroom lesson, client pitch, webinar deck, team training, or portfolio presentation, video can make your slides more engaging, more useful, and far less forgettable.
Start with the method that matches your situation: search YouTube for public content, paste a URL when you already have the right link, or use Google Drive for private files. Then fine-tune the playback settings, confirm your sharing permissions, and test the deck before presenting. Do that, and your slides will look polished instead of panicked.
In other words: let the video help the presentation, not hijack it. Your audience will thank you, your future self will thank you, and your slides may finally stop looking like they were assembled during a caffeine emergency.